A' Sculpture Design Award
A' Sculpture Design Award is an international, juried design accolade established to recognize and promote good sculpture designs.
A' Sculpture Design Award
Good sculpture design deserves great recognition.
A' Sculpture Design Award is your tool of choice to advertise, publicize and promote your good sculpture designs, to make your great sculpture designs publicly known, appreciated and loved in all major countries, in all major languages, so that you and your good sculpture design work gets the righteous attention you truly deserve and entitled to.
A' Sculpture Design Award’s media exposure provides victorious designers with the chance to attain national and international fame, to honor them as well as to incentivize them, but most importantly, to help their work reach their true potential.
It is free to sign-up for A' Sculpture Design Award, it is free to upload your sculpture design and it is free, anonymous, confidential and obligation-free to obtain a preliminary score, before you nominate your work for A' Sculpture Design Award consideration.
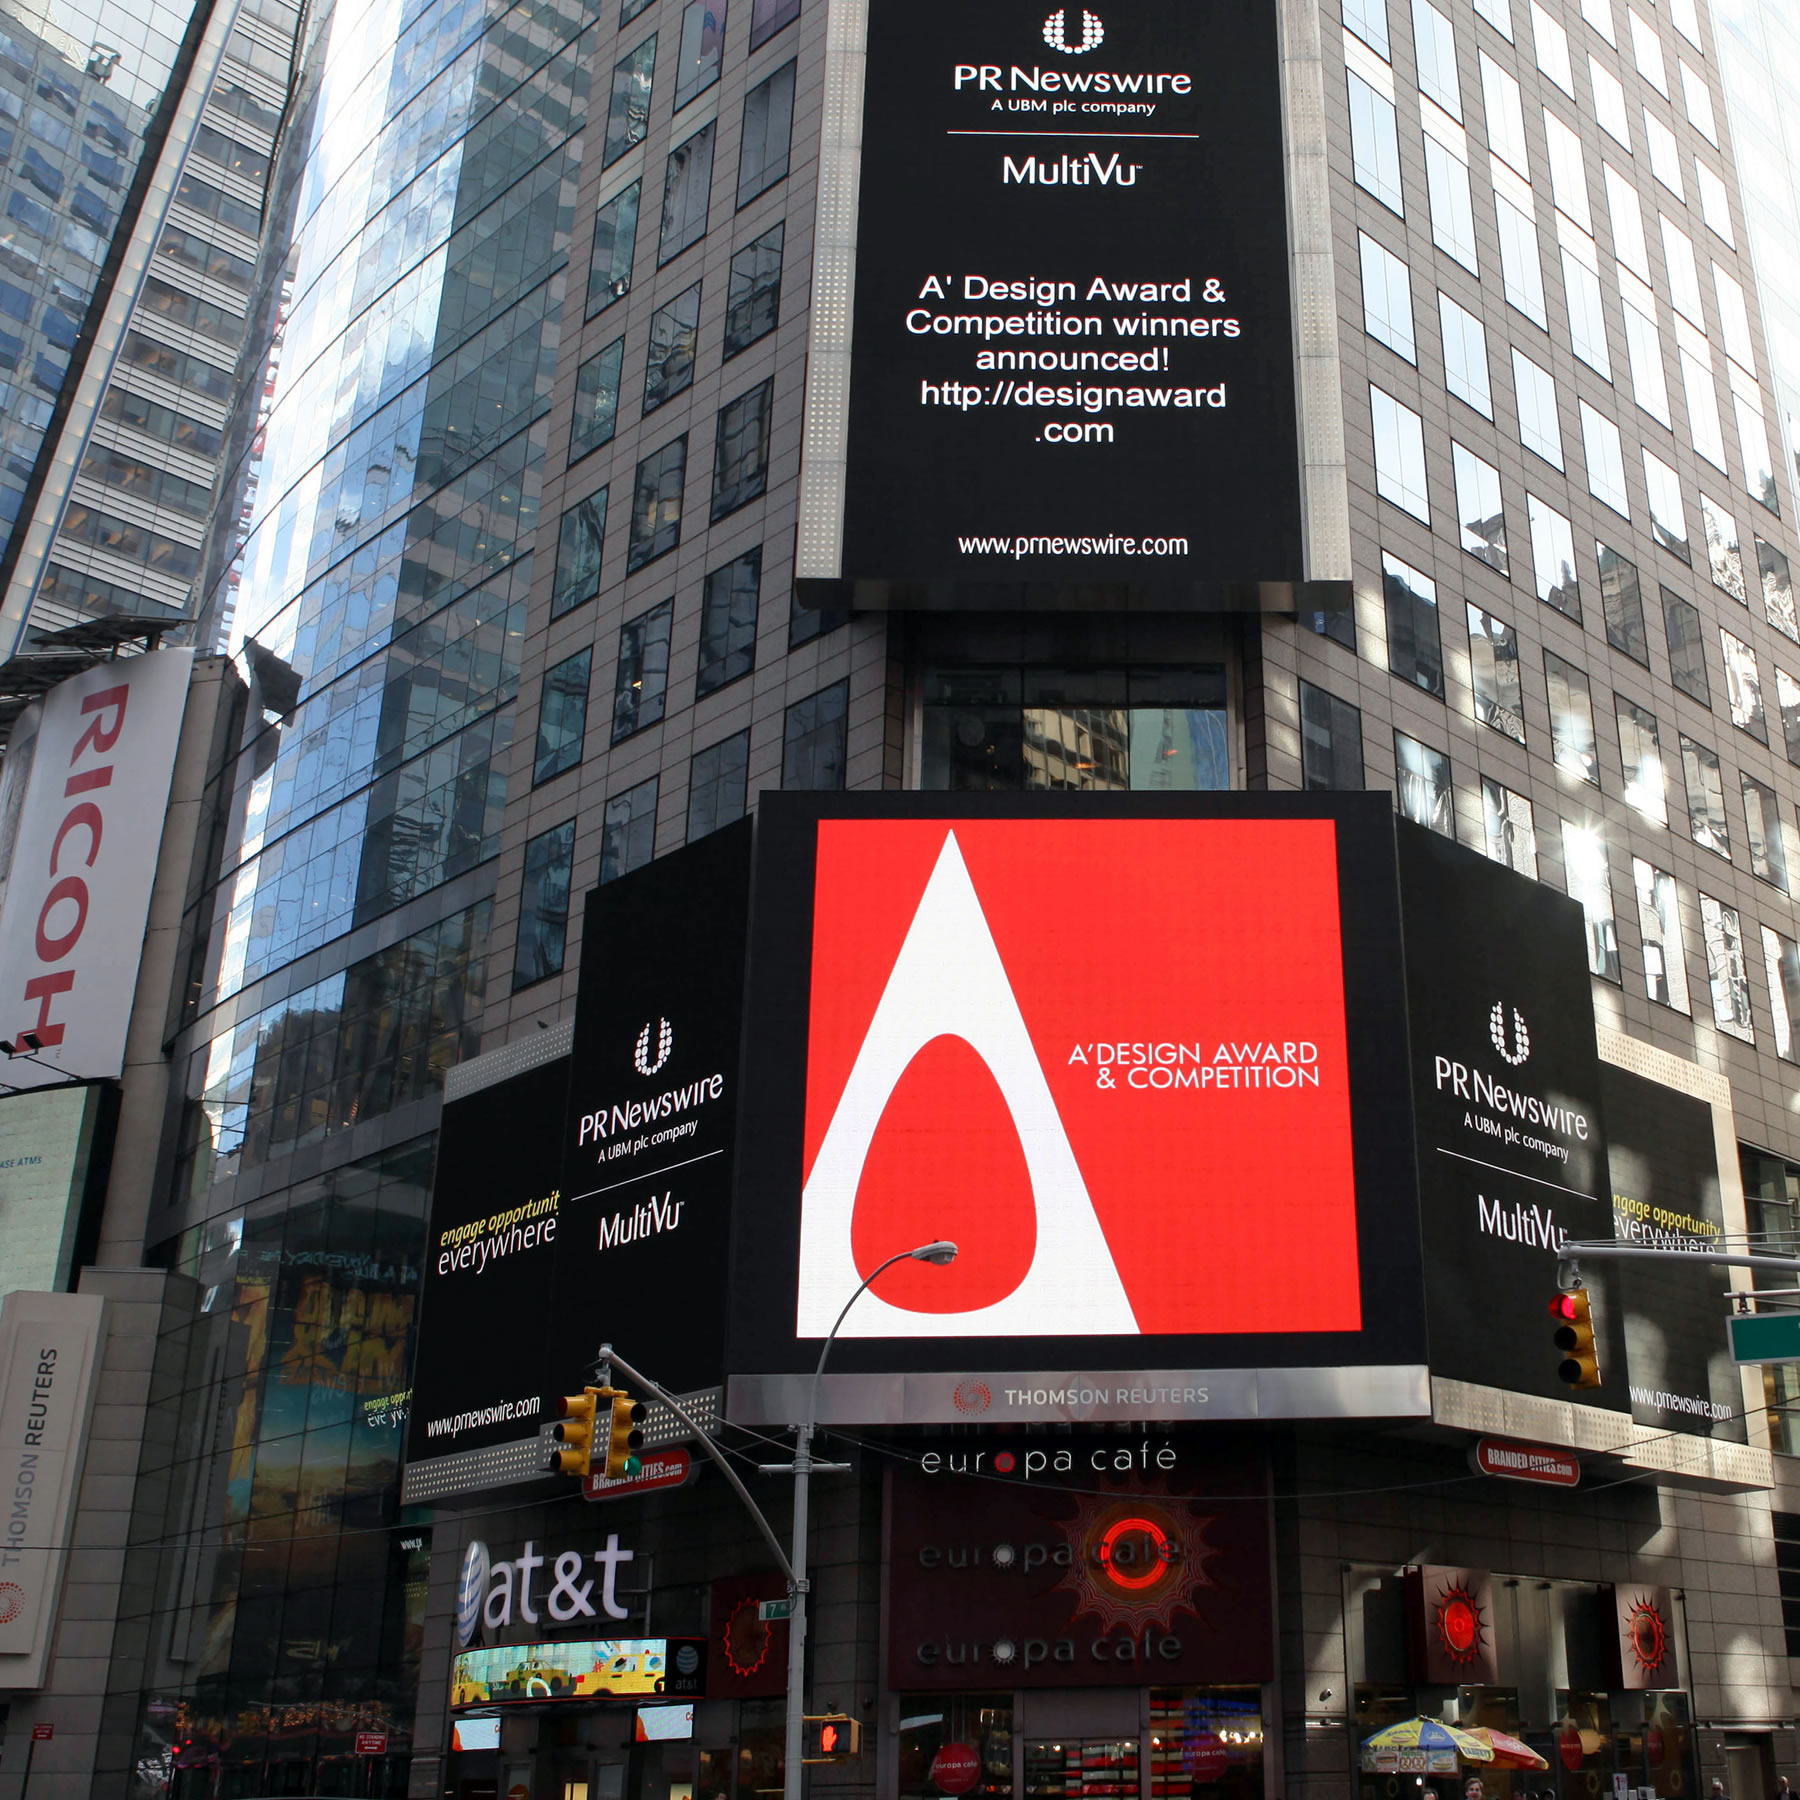
FAME, PRESTIGE, PUBLICITY
Dominate Sculpture design Industry by winning a prestigious, respected and coveted award that gets you published and promoted worldwide.
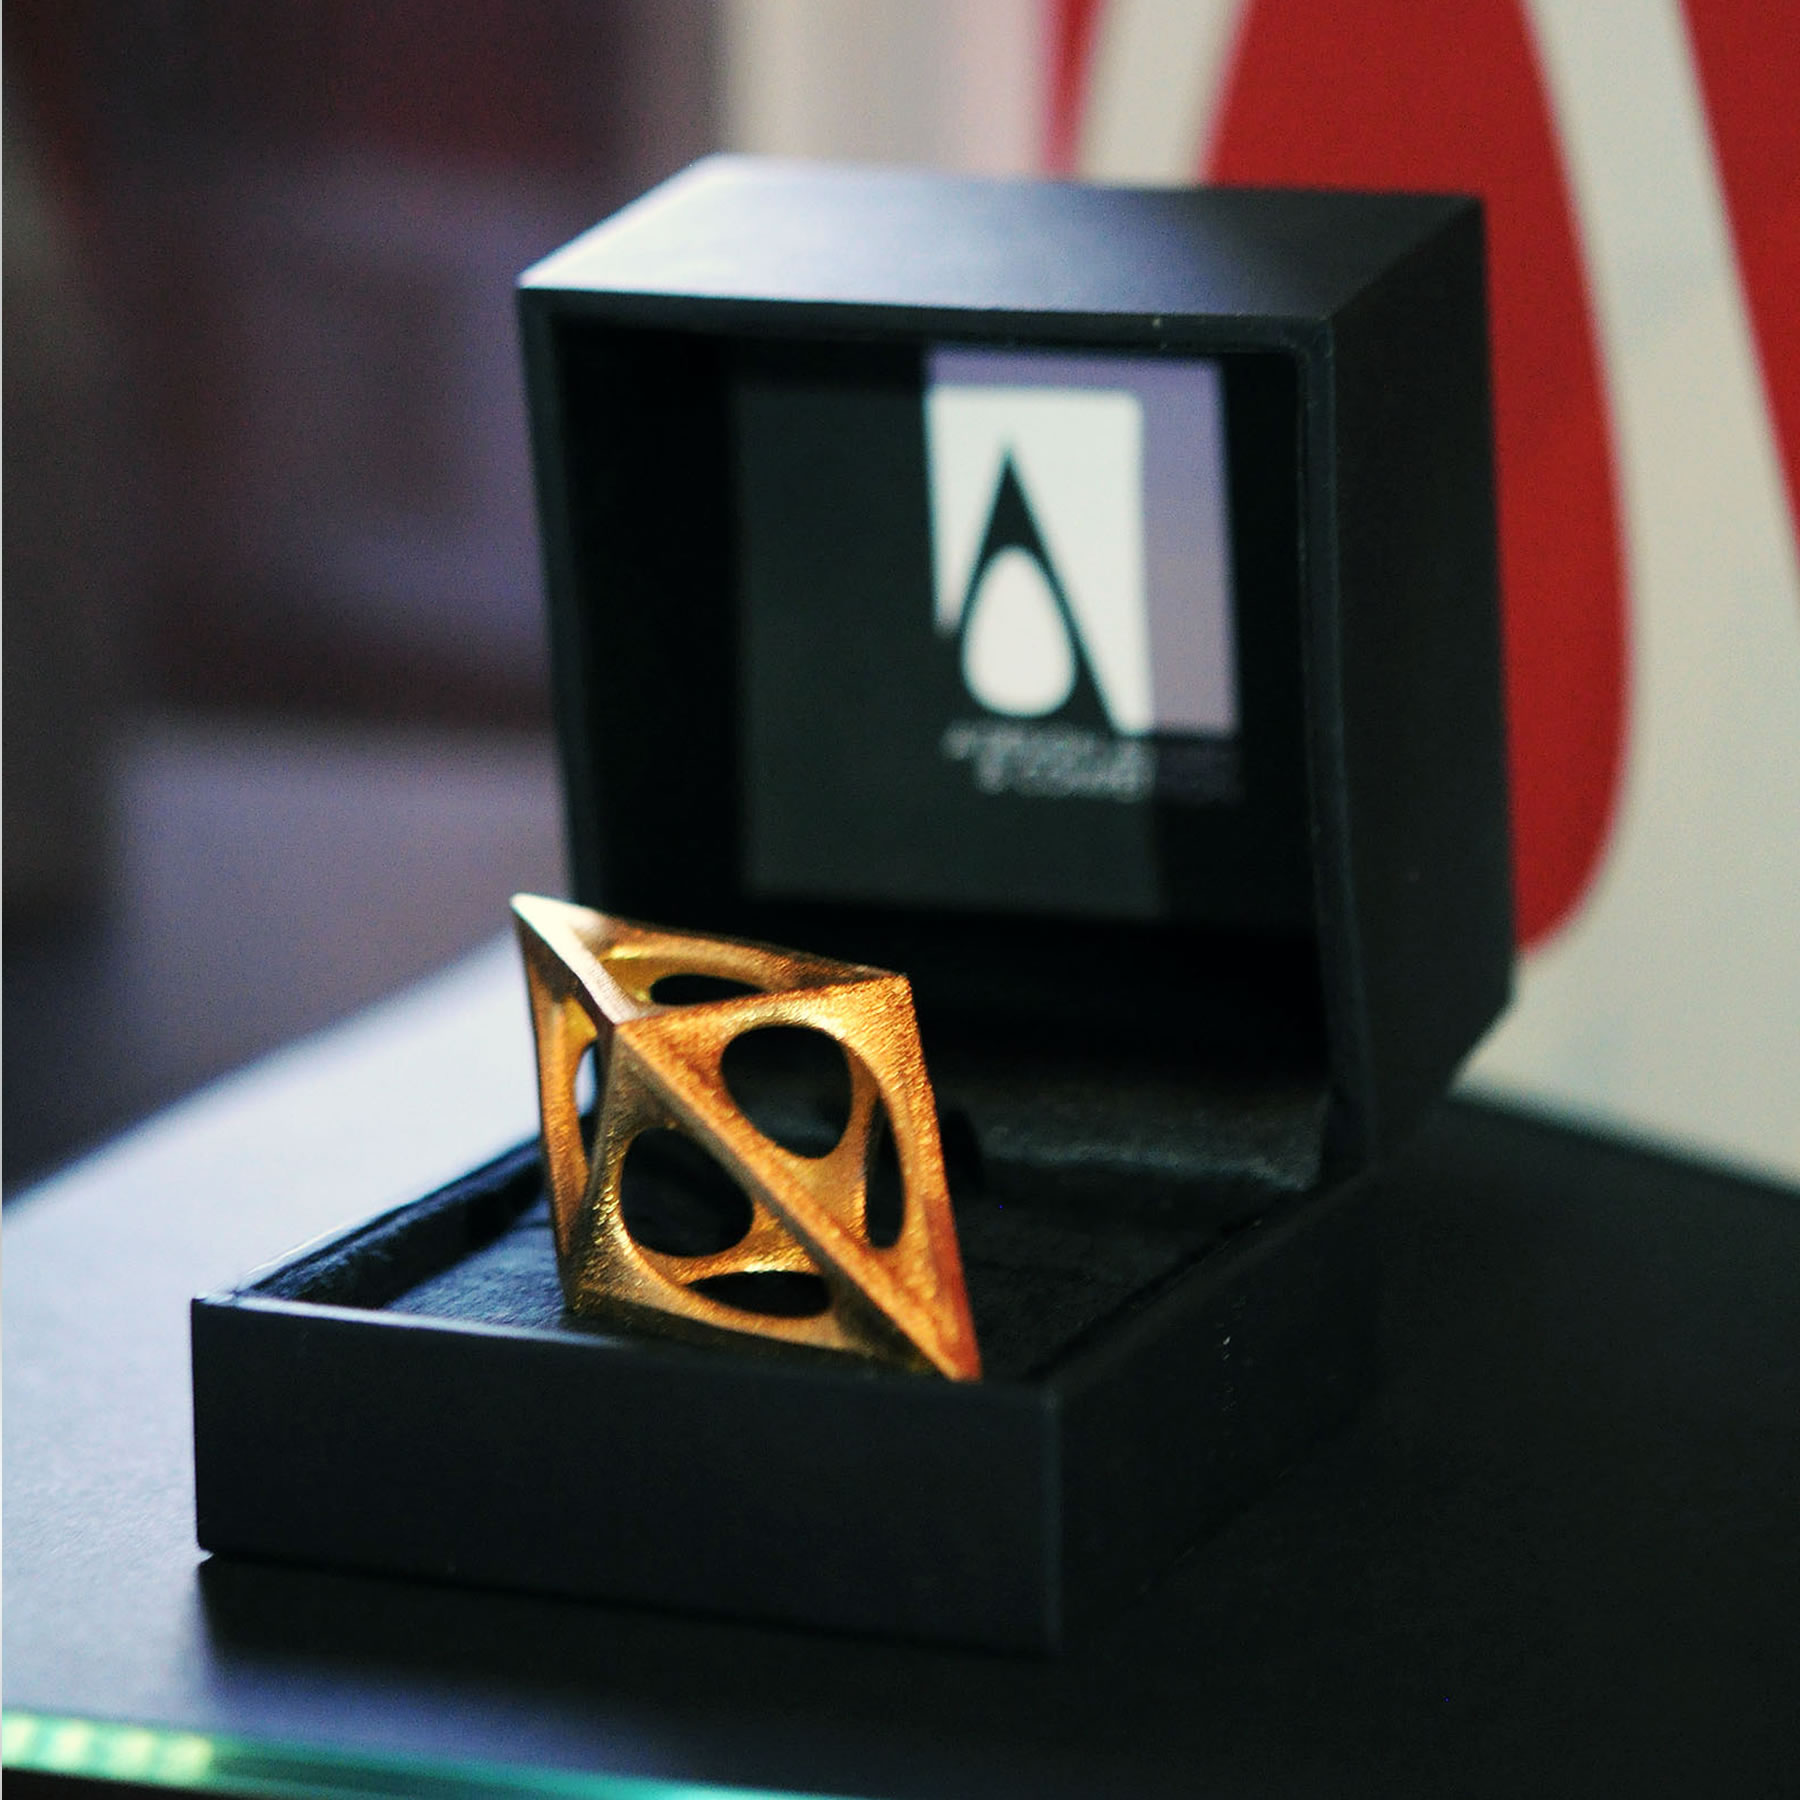
TROPHY, CERTIFICATE, YEARBOOK
Claim your 3D Metal Printed Sculpture design Award Trophy, your Certificate of Sculpture design Excellence, Sculpture design Award-Winner Logo and Your Yearbook of Award-Winning Projects.
EXHIBITION, PR & GALA-NIGHT
Empower your sculpture designs with a well-designed, world-class public relations programme. Get exhibited in Italy and internationally. Get invited to the Gala-Night and Award Ceremony.
SEE THE WINNERS
A' Sculpture Design Award winner showcase is a source of amazing and unlimited inspiration and creativity for everyone interested in good sculpture design.
VEDI I VINCITORI
Affluent customers and design buyers regularly check A' Design Award winner showcase, featuring 18.463 winners in all categories, to find latest, trendsetting products, projects, arts and design.
JOIN SCULPTURE DESIGNS AWARD
Good sculpture design deserves great recognition, if you have a good sculpture design, nominate it for A' Sculpture Design Award, and you too may become a winner and get your design recognized, respected, promoted and advertised worldwide.
VISION
The A' Design Award aims to highlight, advertise and promote good sculpture design for a better future. A' Sculpture Design Award aims to channel the attention of press, interactive medias, design journalists, distributors and buyers to the award winners.
MISSION
Provide a fair, ethical, apolitical and competitive platform for companies, designers and innovators from all fields with different experience levels, different disciplines and market focus to compete on. A' Sculpture Design Award aims to provide a global audience for award winners to showcase their success and talents to.
ACTION
The A' Sculpture Design Award is an international indicator of quality and perfection in sculpture design, the A' Sculpture Design Award is recognized worldwide and takes the attention of design-oriented companies, professionals and interest groups.
WHO IS AWARDED?
The A' Sculpture Design Award is given to best sculpture designs. Submission is open to all concept stage works, prototypes as well as finished works and realized projects.
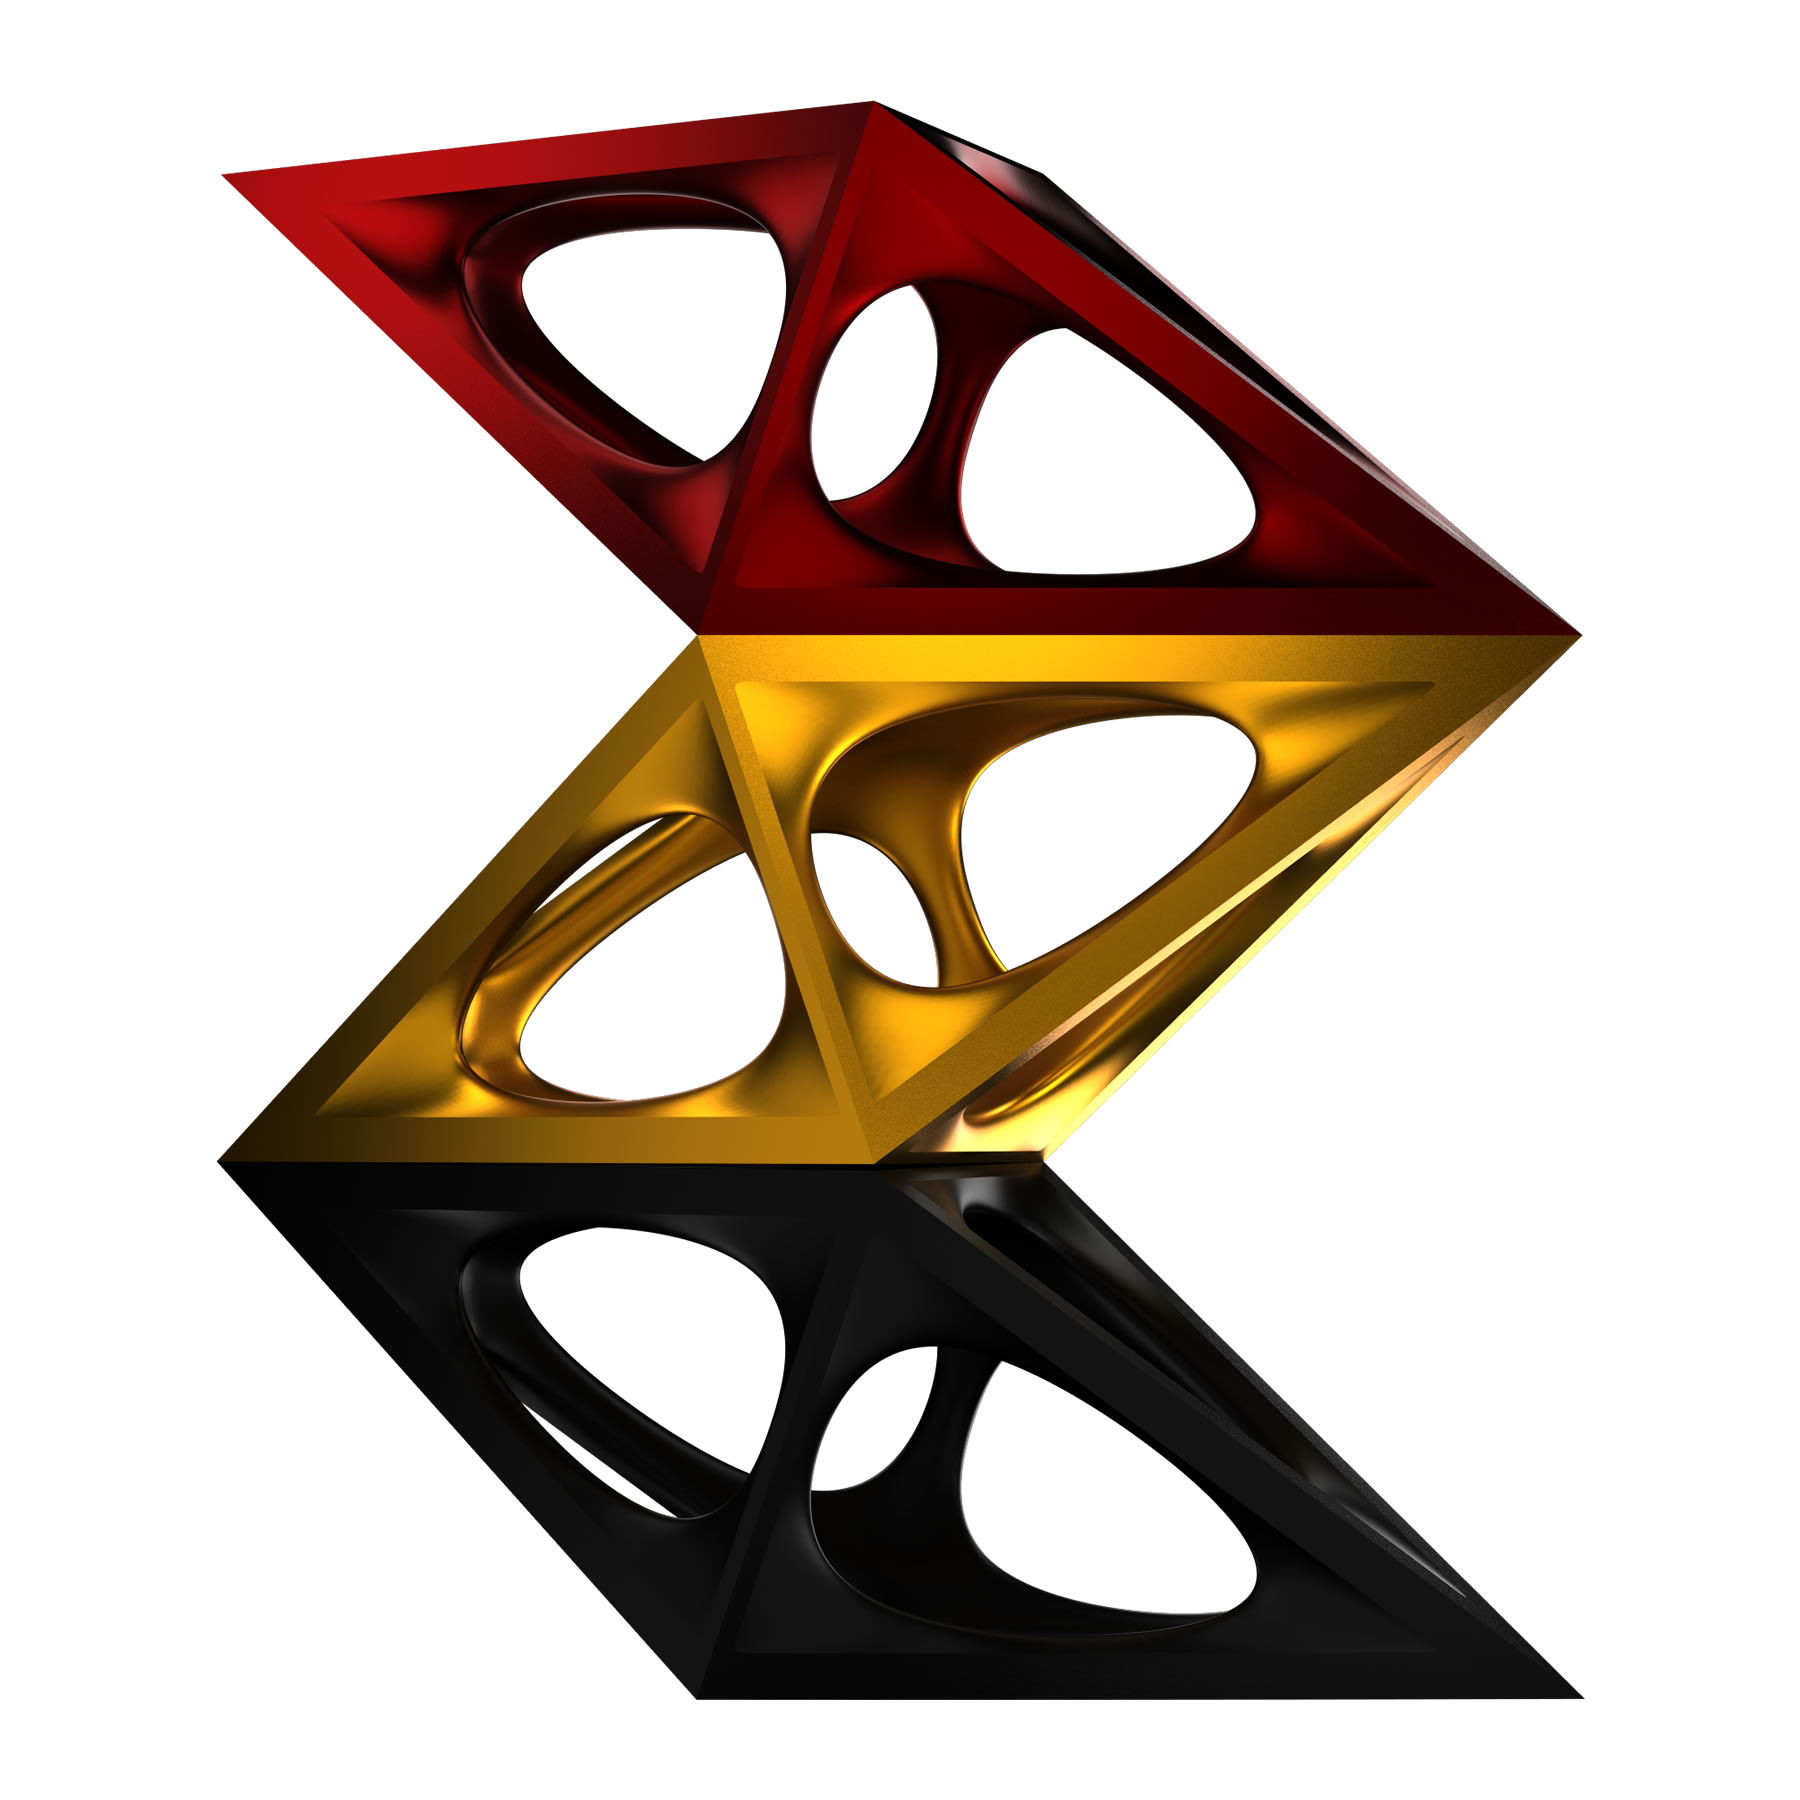
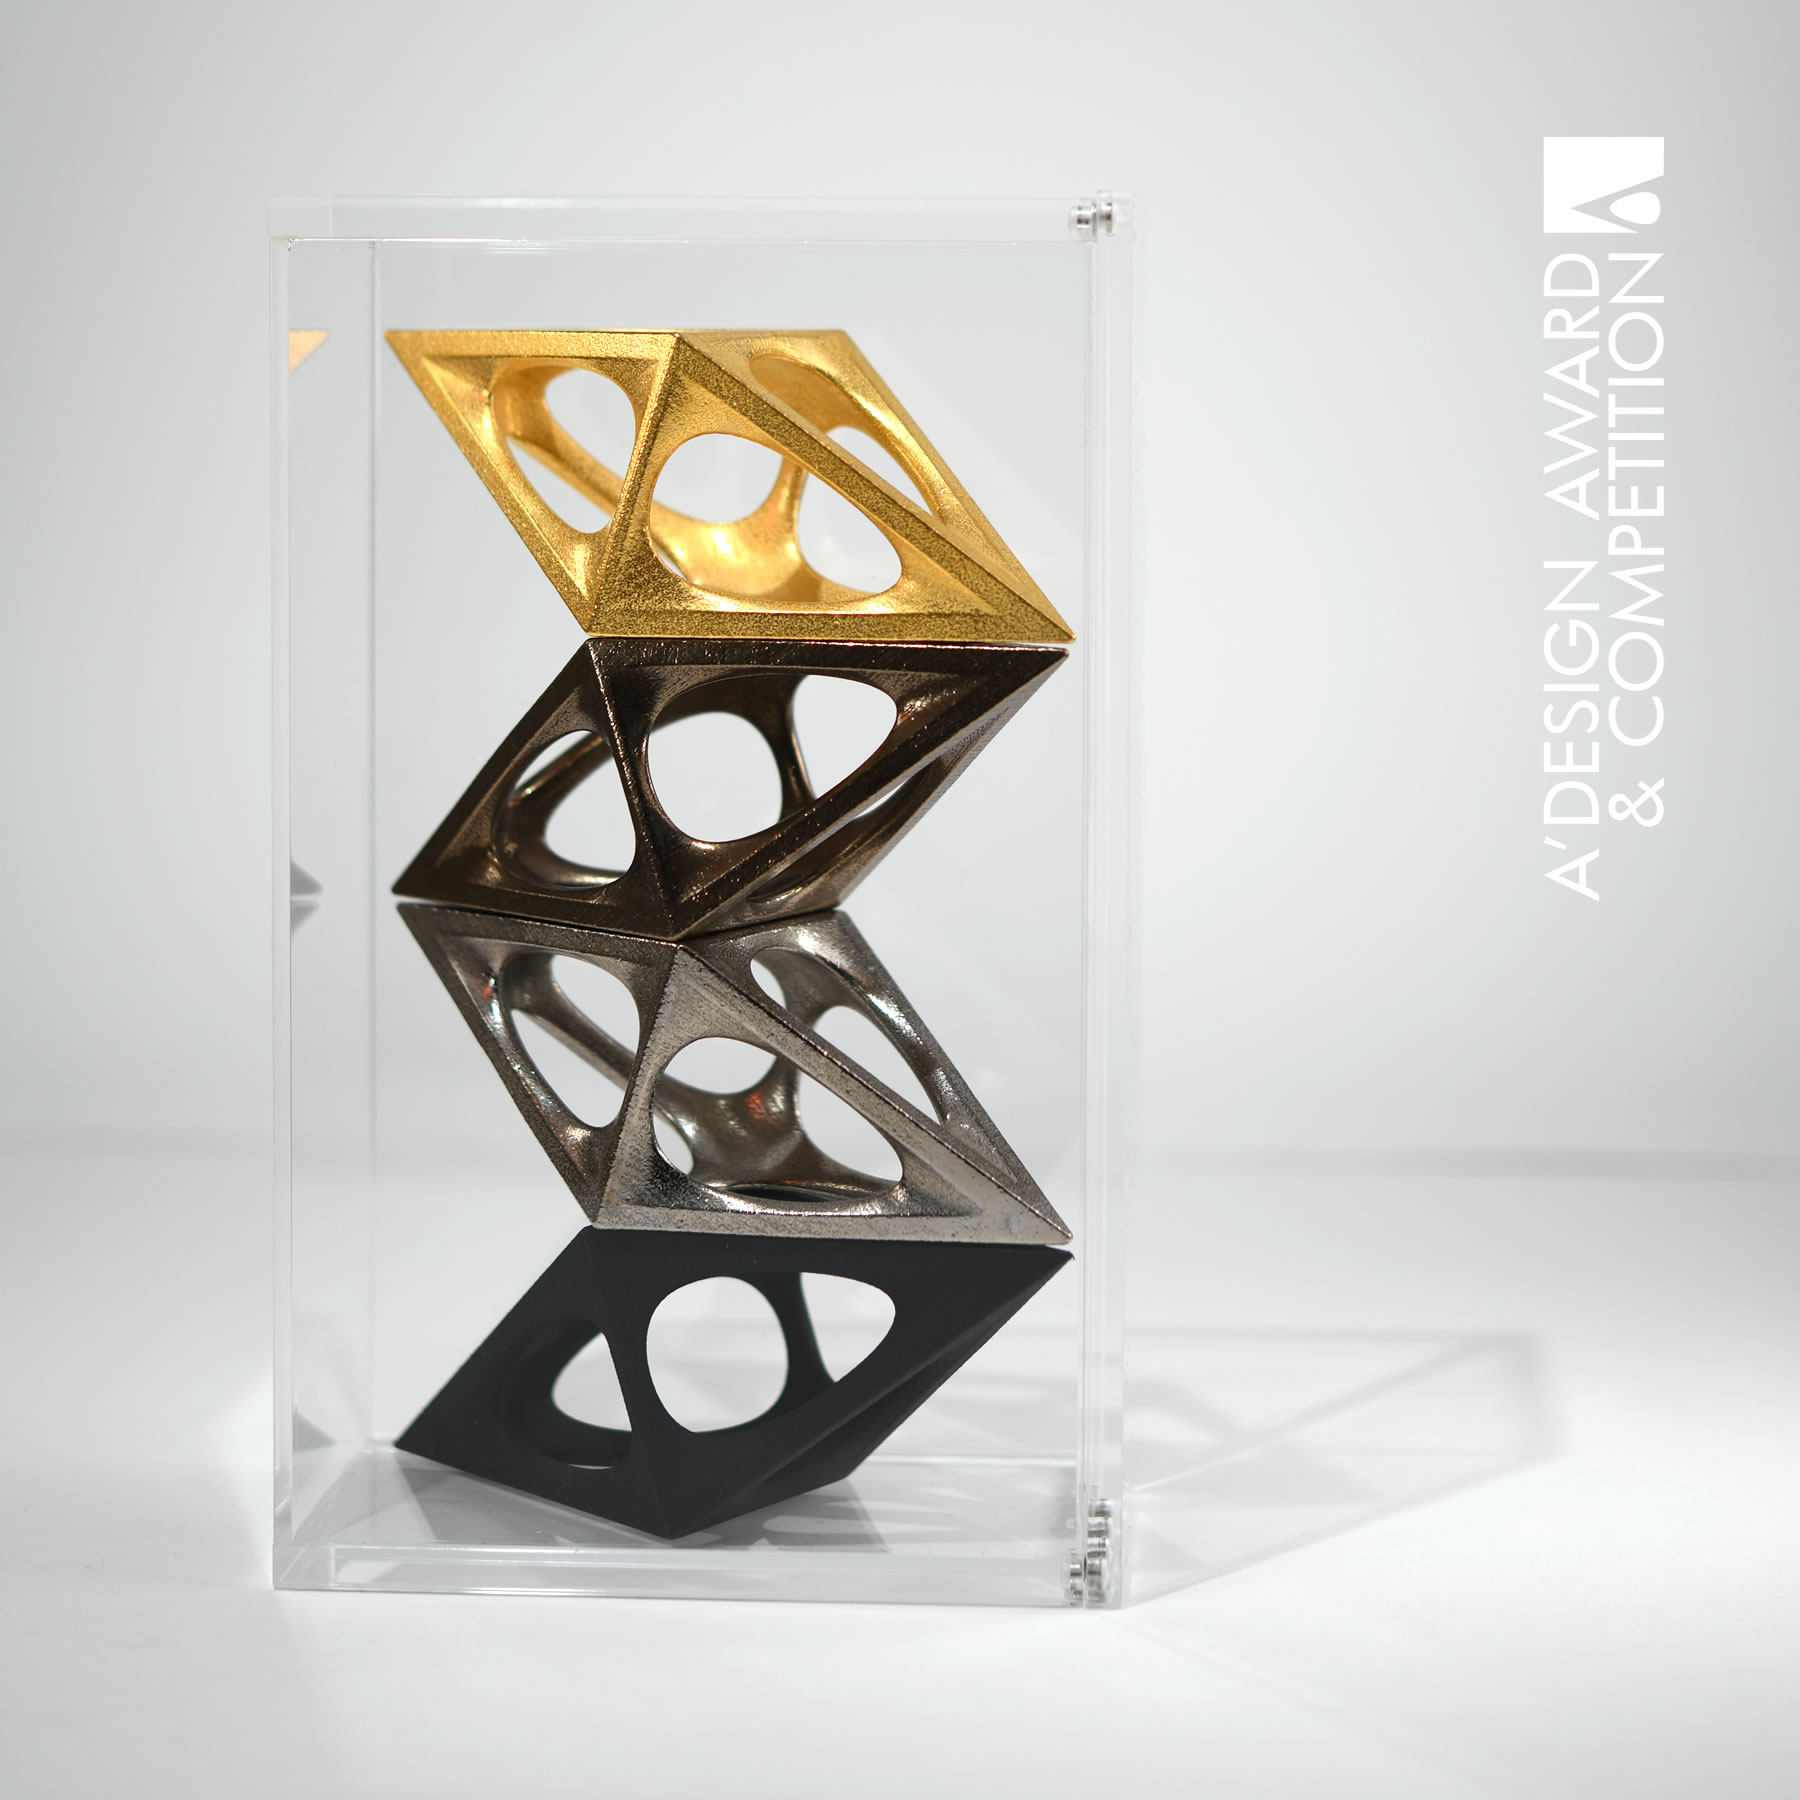
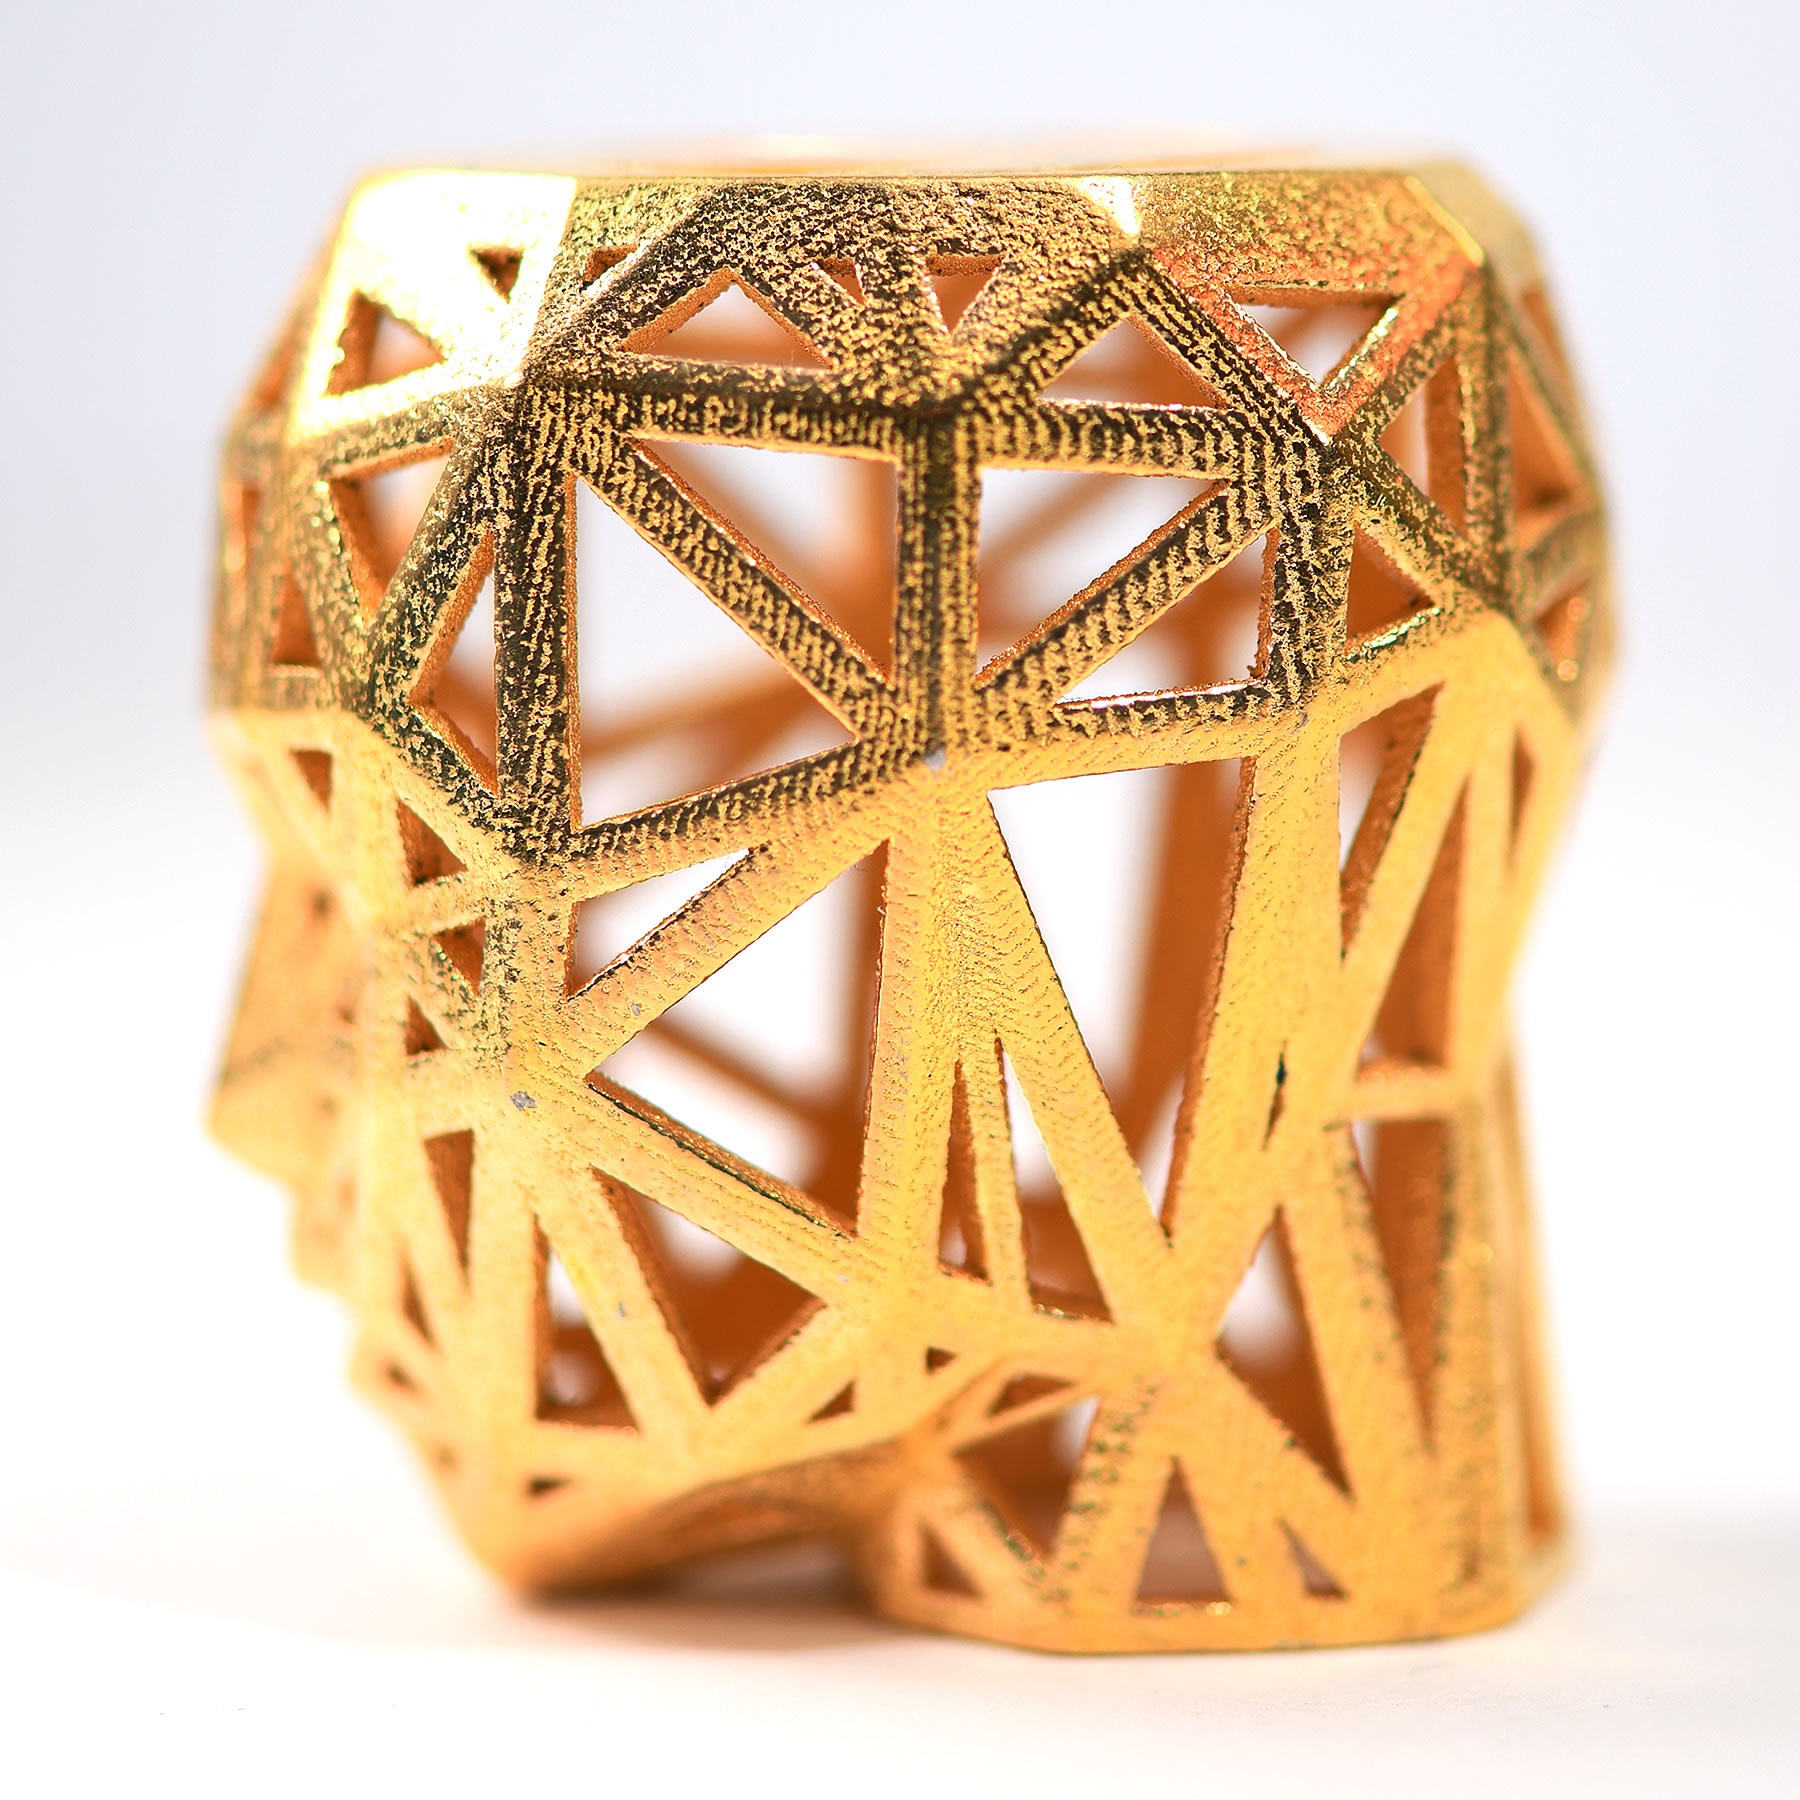
UNIQUE AWARD TROPHY
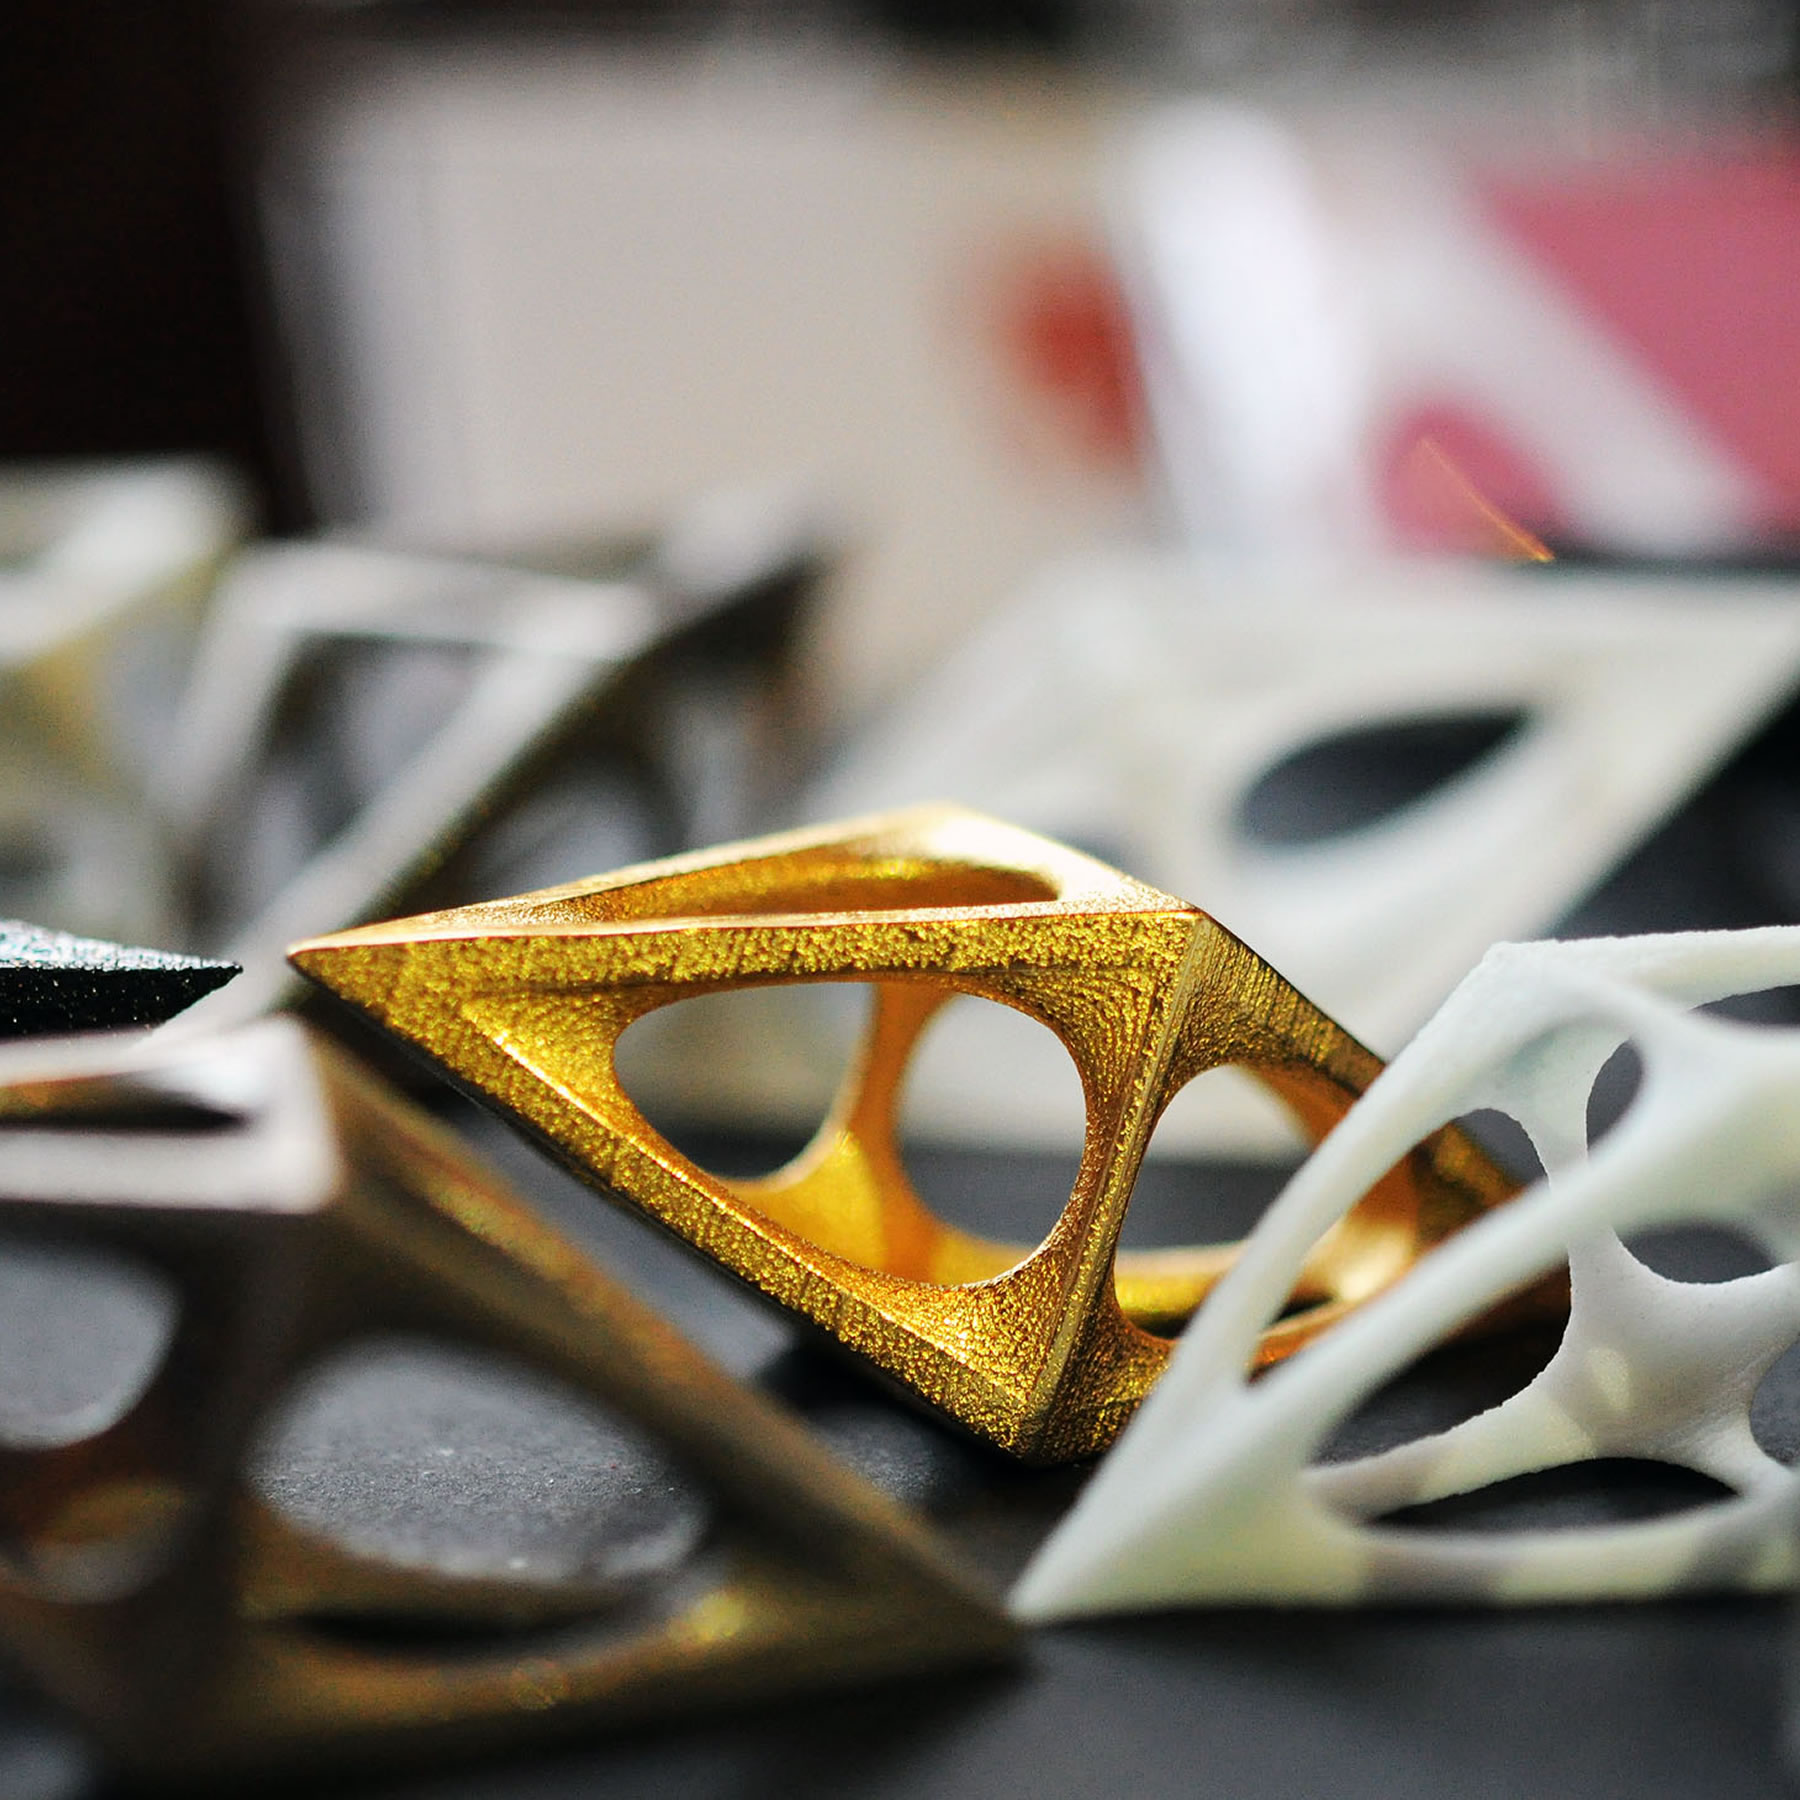
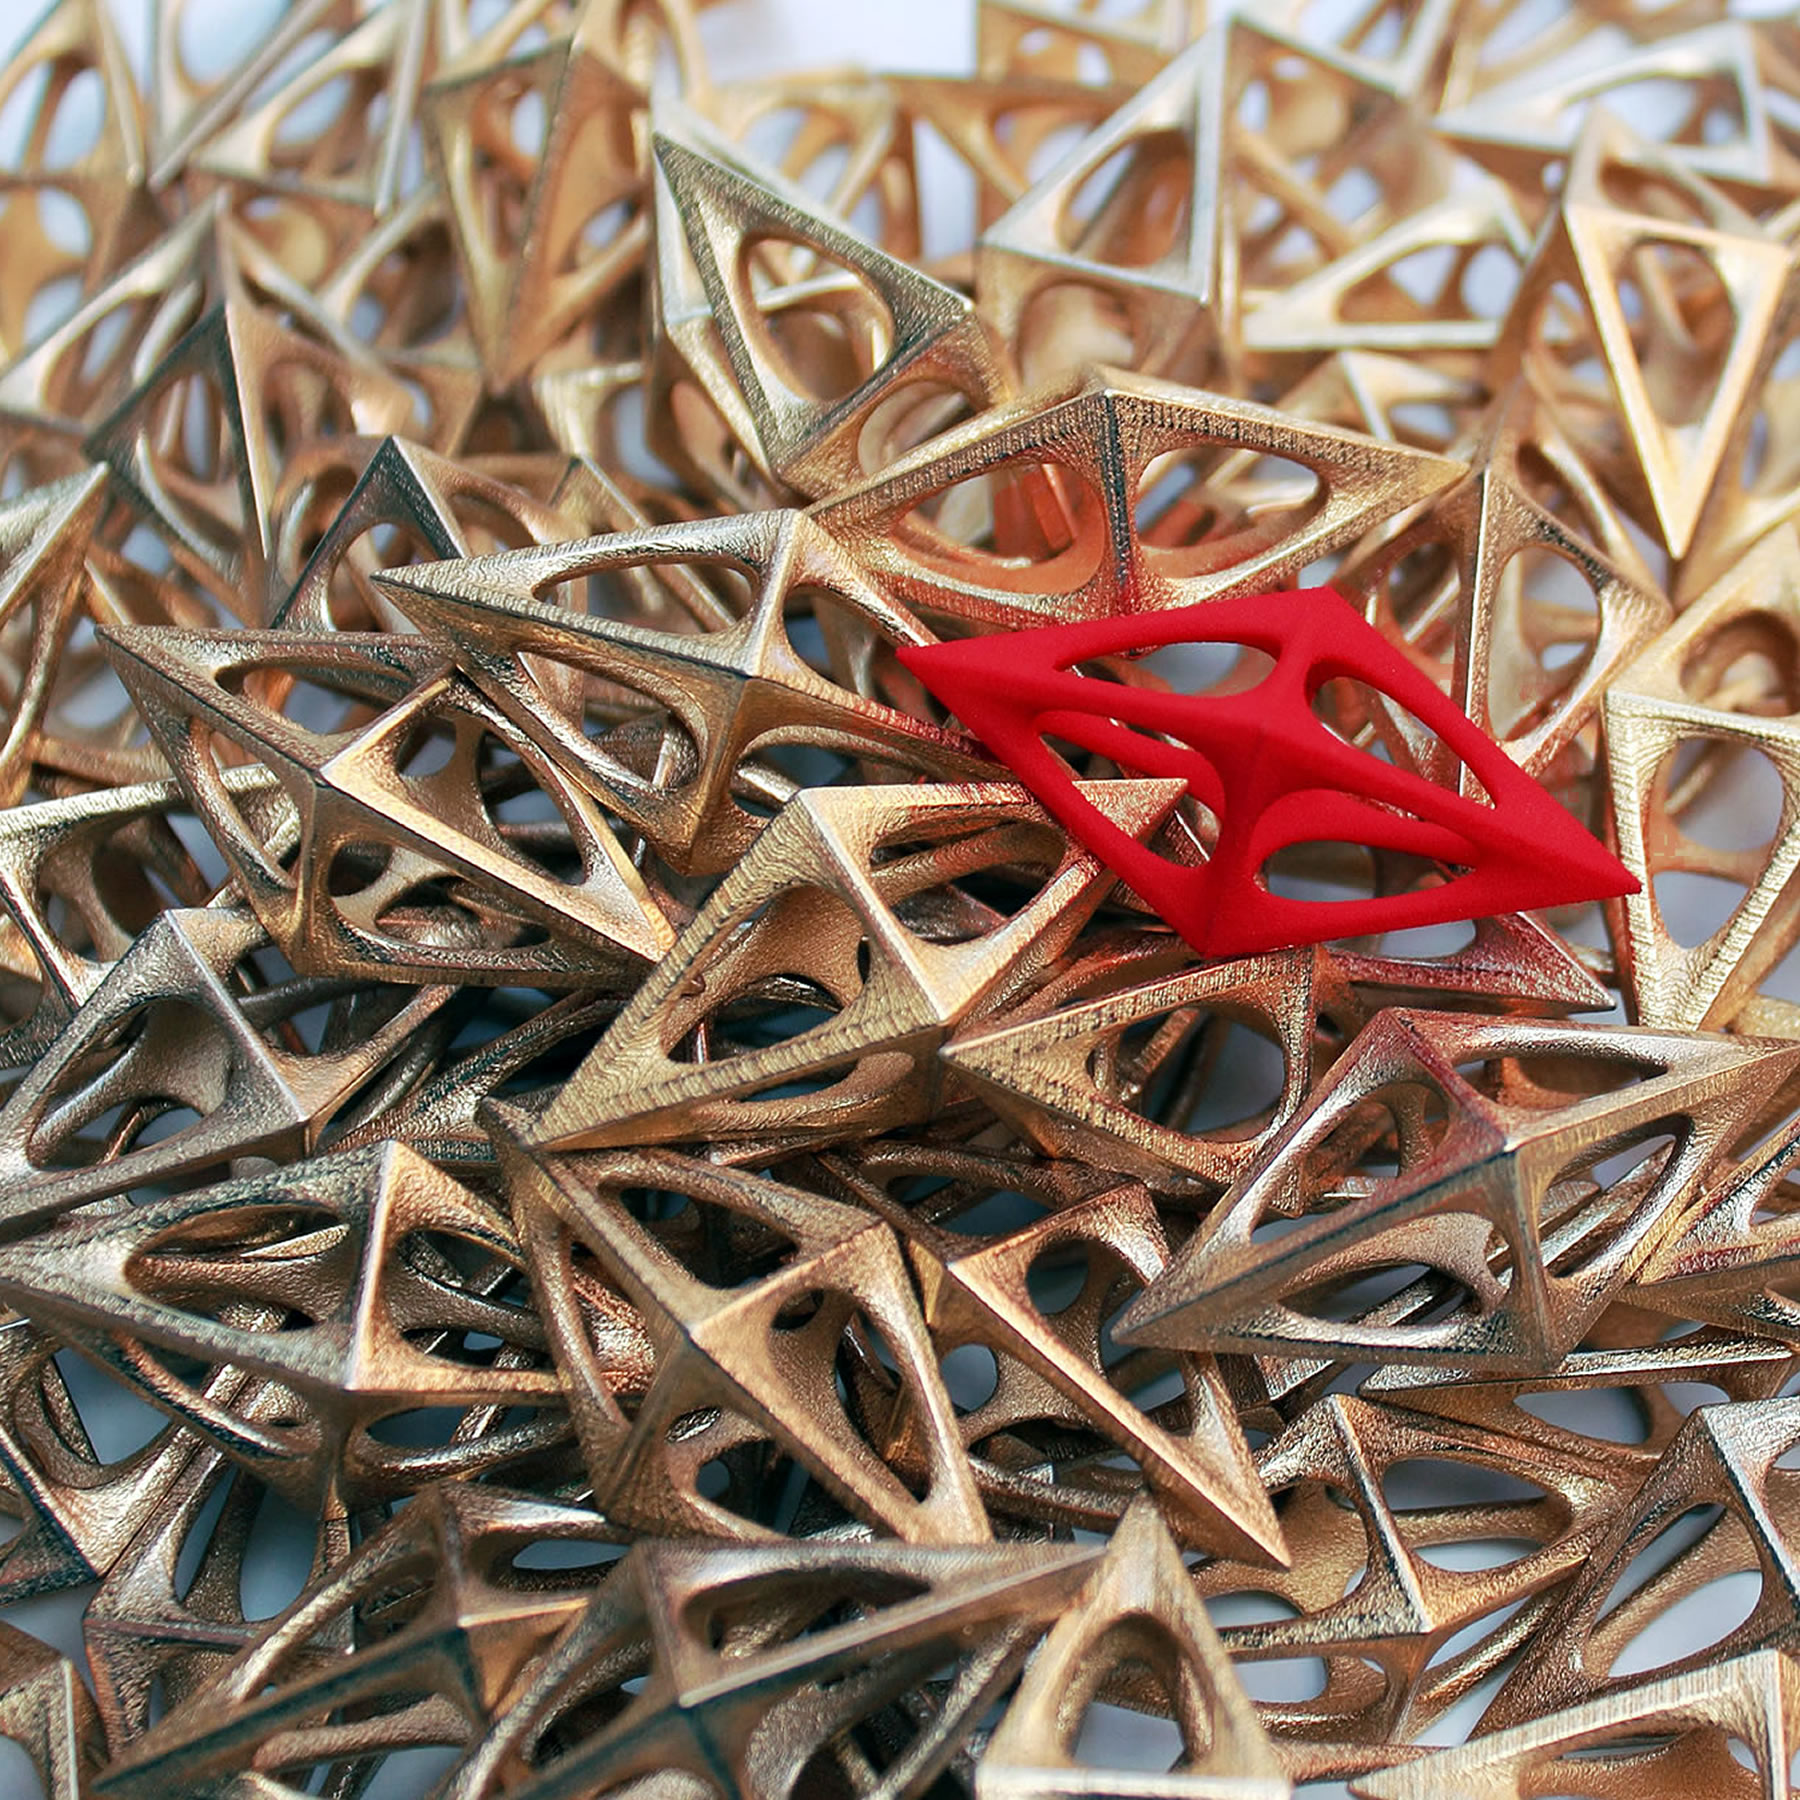
The A' Sculpture Design Award Trophy was designed to be realized by the newest production techniques in order to underline the innovation behind award-winning designs.
HIGHLIGHTING INNOVATION
The A' Sculpture Design Award Trophies are realized by 3D metal printing of stainless steel. Platinum and Gold Trophies and are electro plated in gold color.
WHAT IS AWARDED?
You can nominate original and innovative sculpture design work designed within the last 5 years; including but not limited to products, projects, services, experiences and designs..
WHO IS AWARDED?
The A' Sculpture Design Award is open to all entities, especially accepting nominations from brands, manufacturers, creative agencies, architecture offices and design studios..
WHEN IS AWARDED?
There are six entry periods, First, Early, Standard, Late, Last, Omega. It is recomended to join before the end of Late Entry Deadline, that is on February 28th. Results are announced every year, starting from April 15th to winners and May 1st to Public.
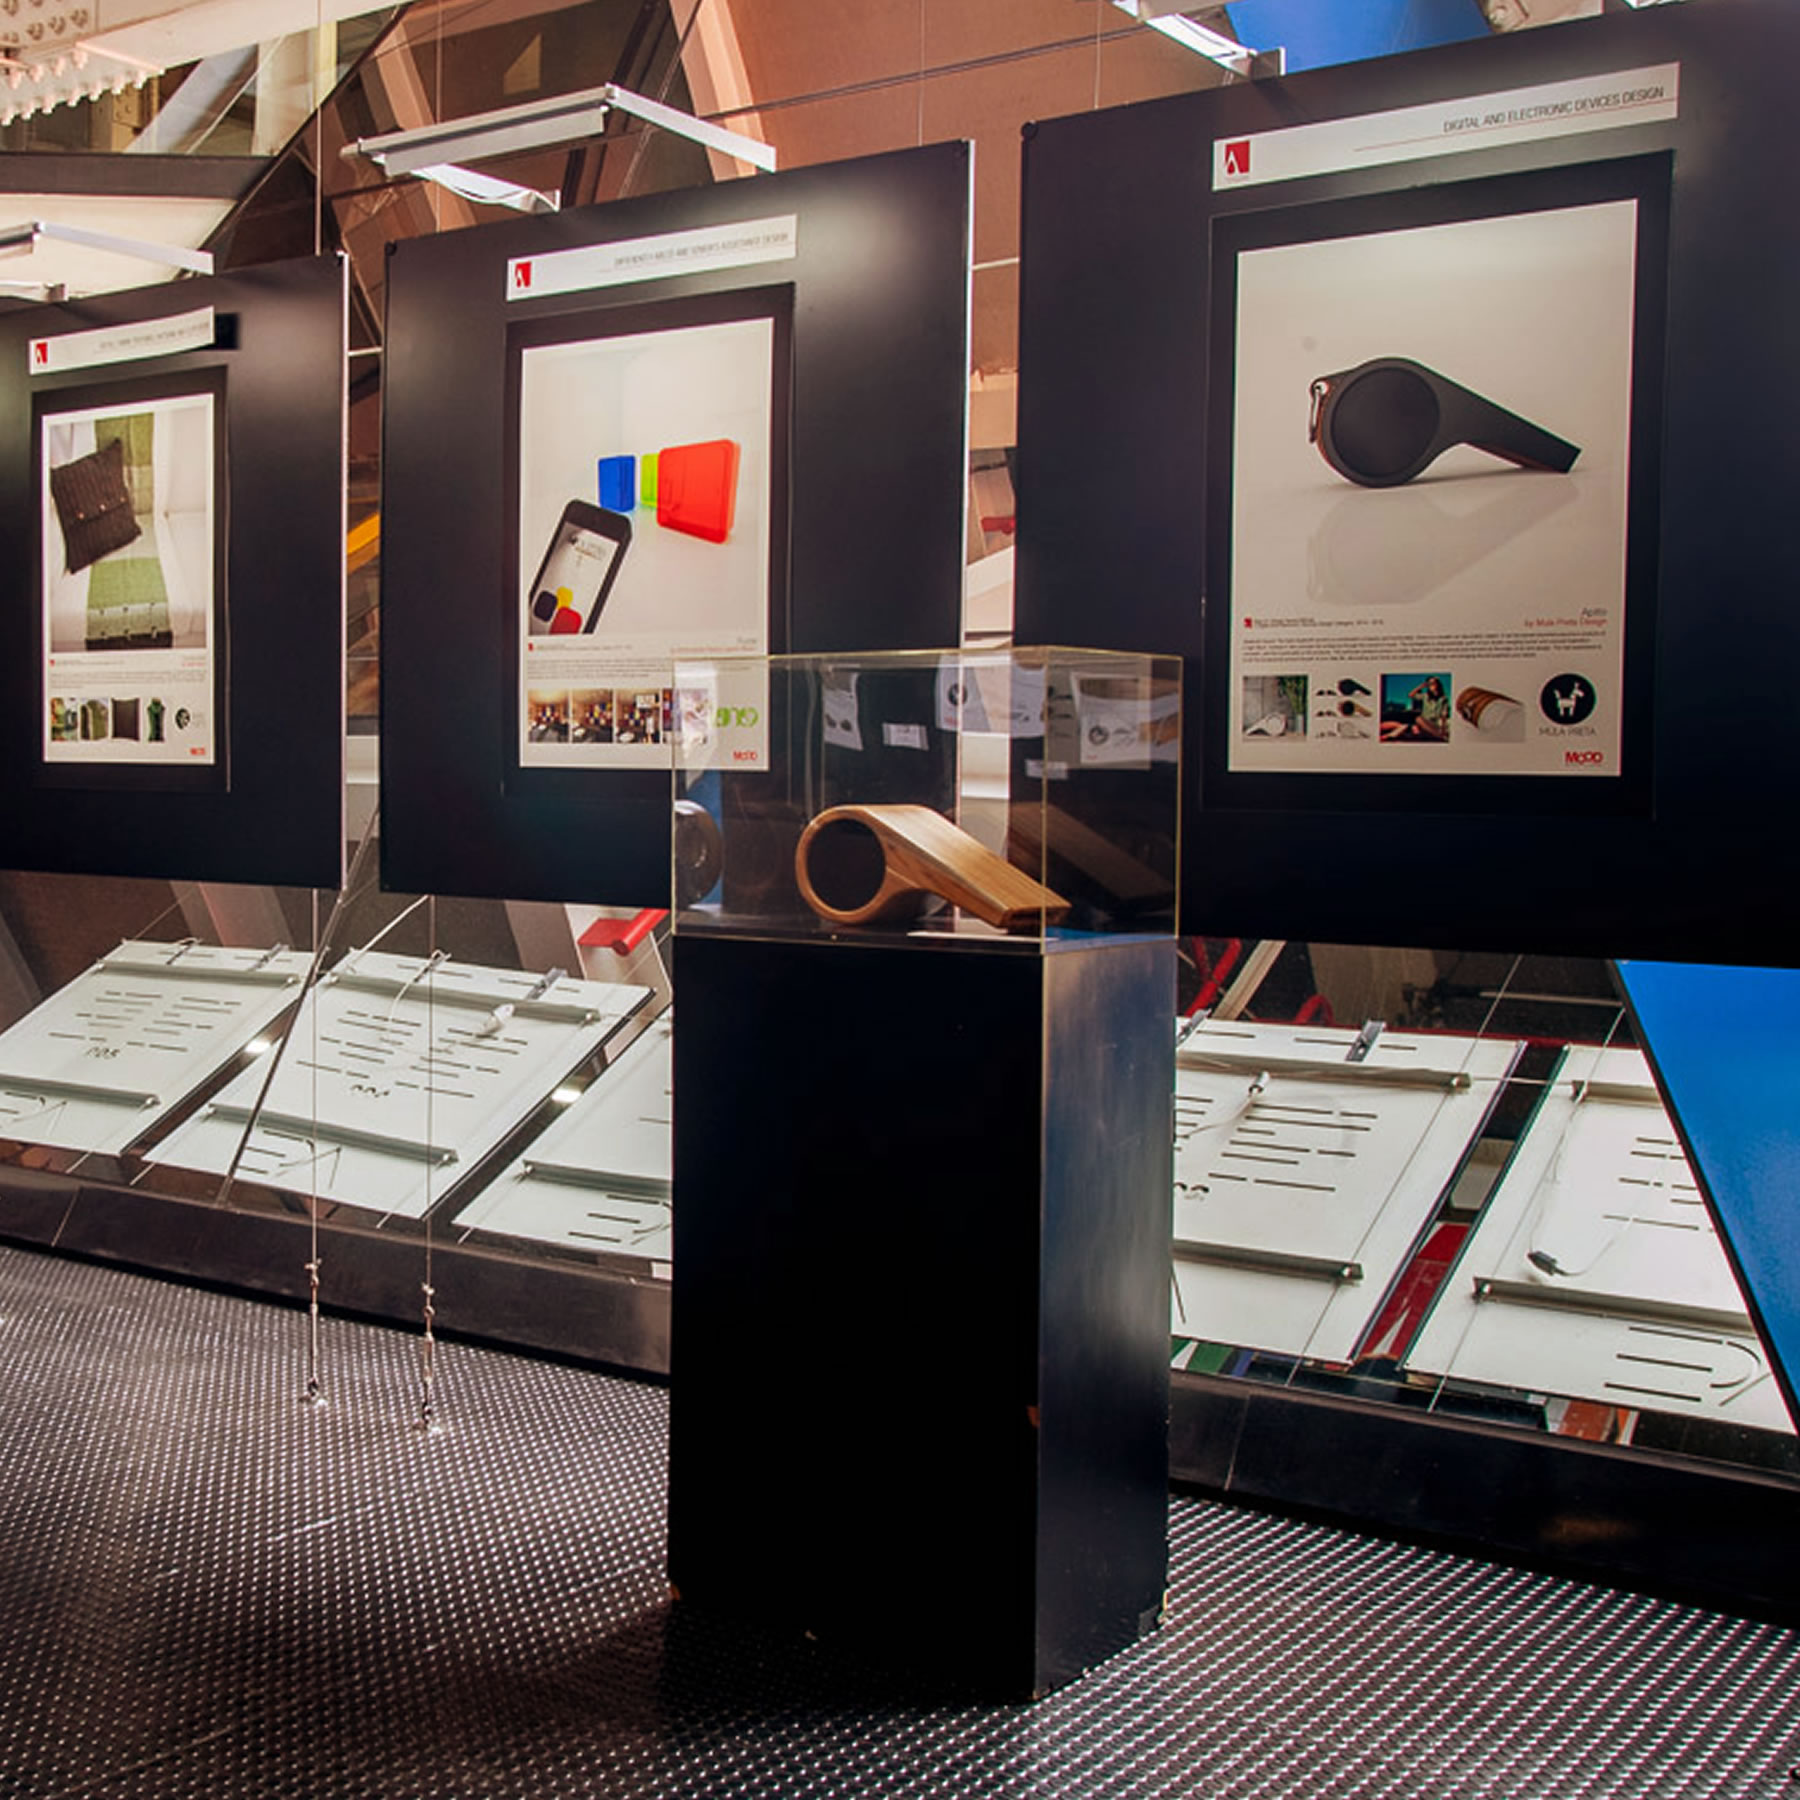
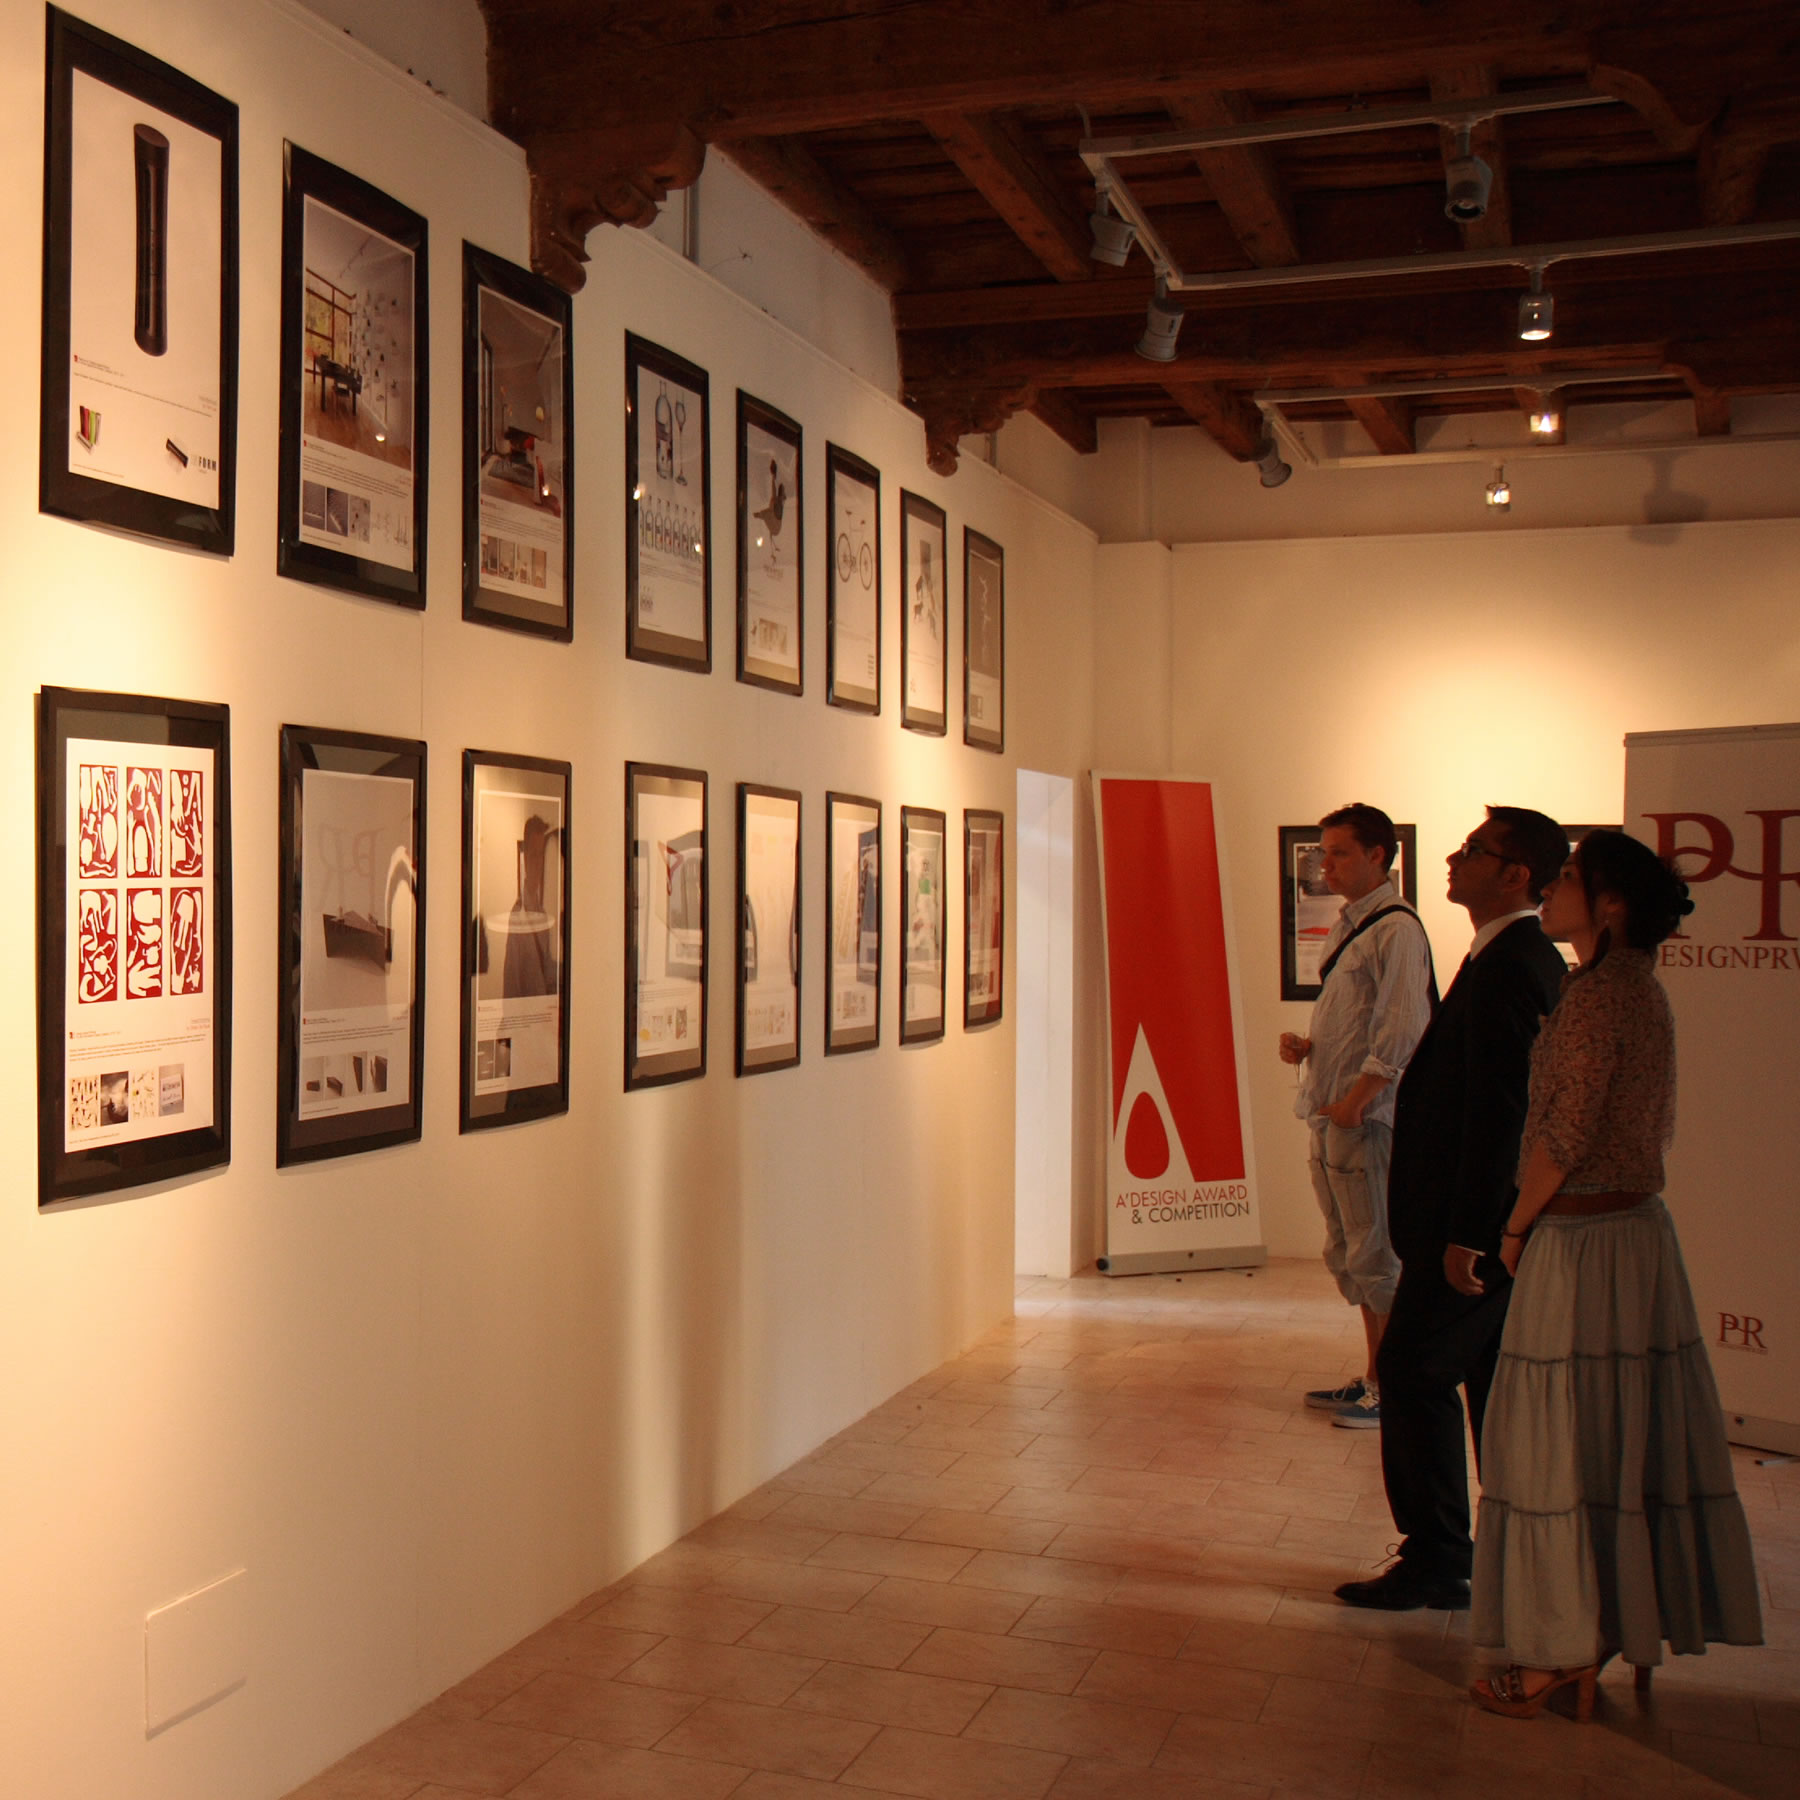
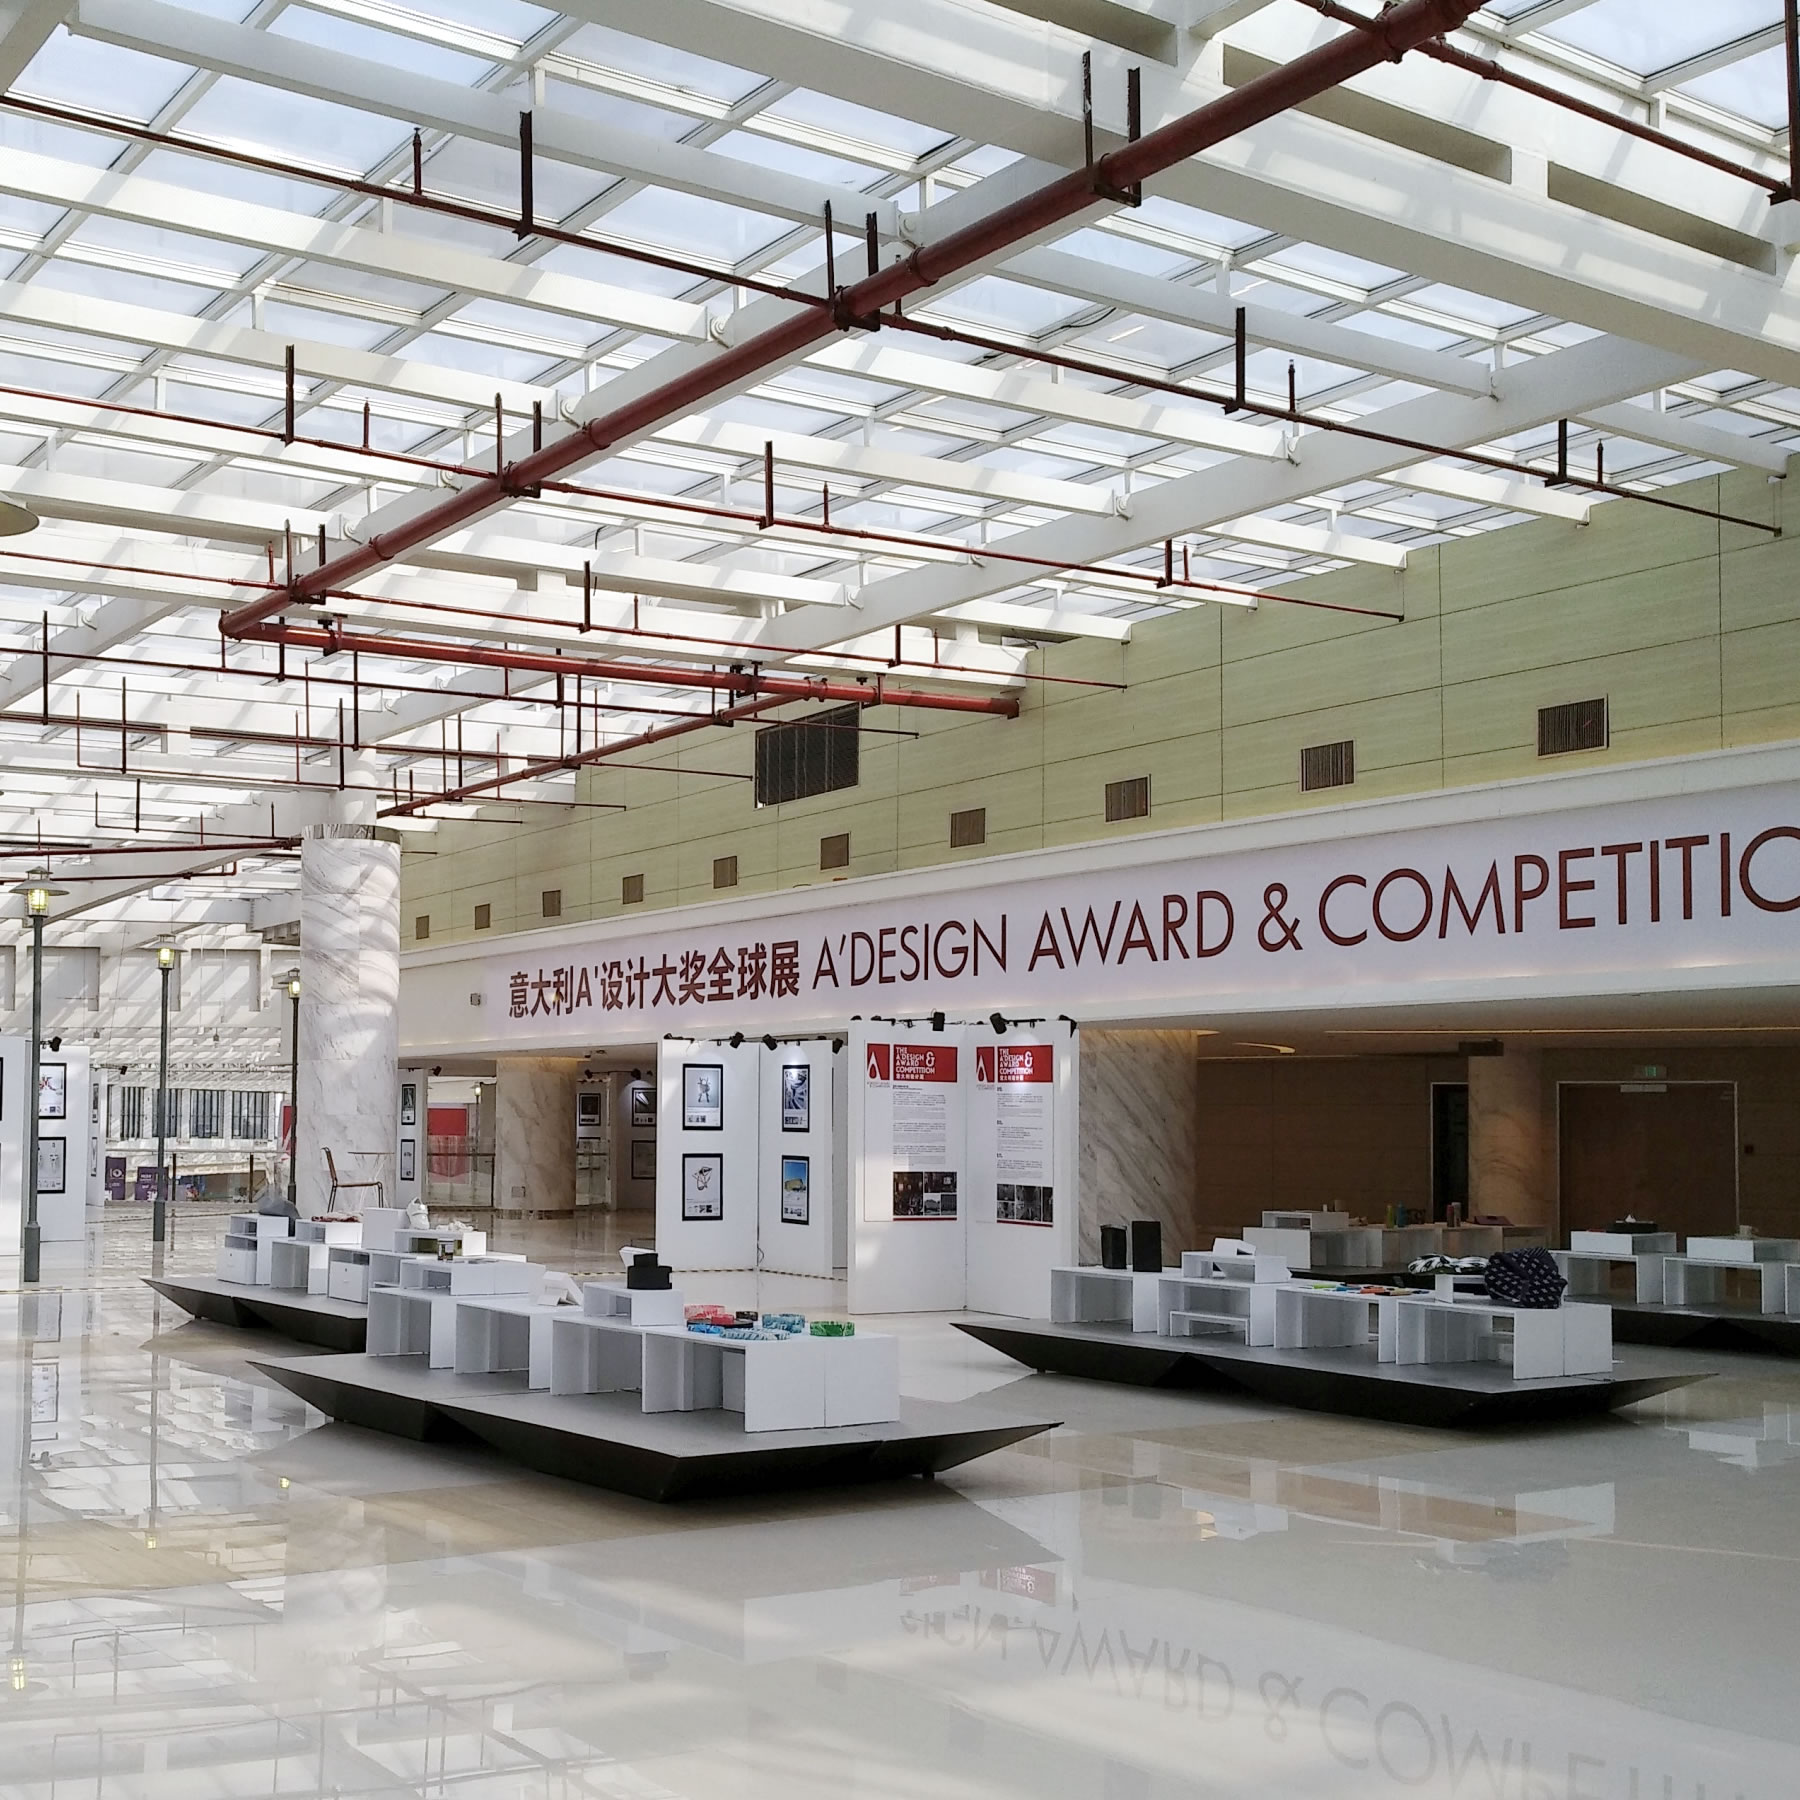
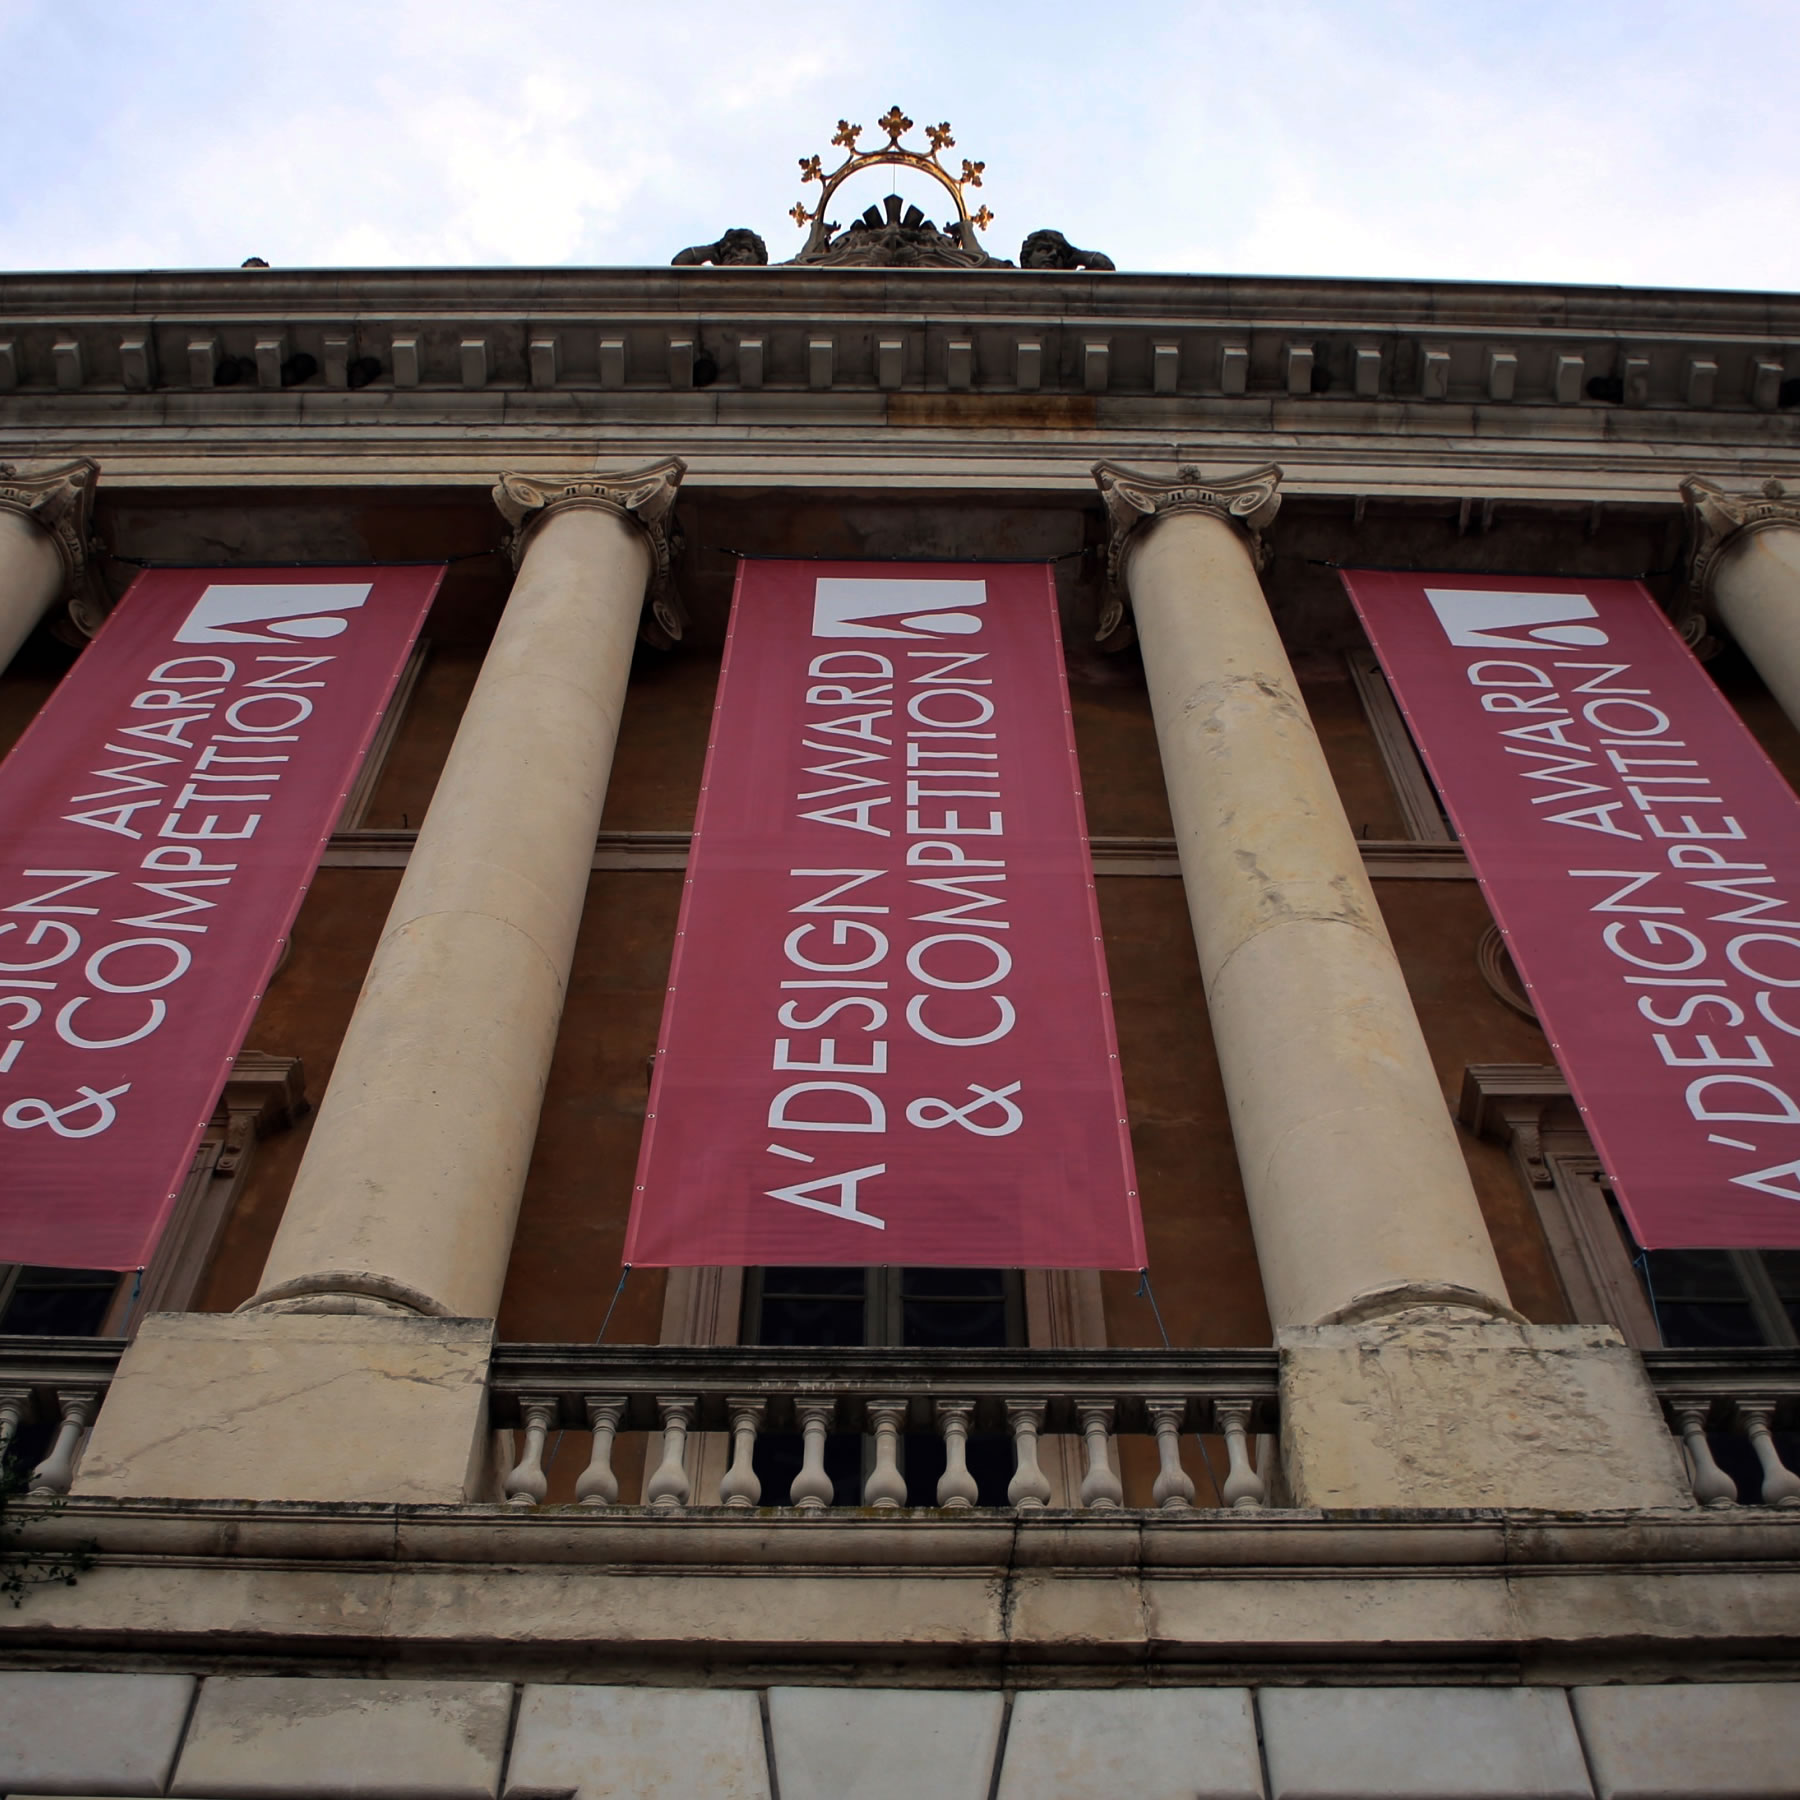
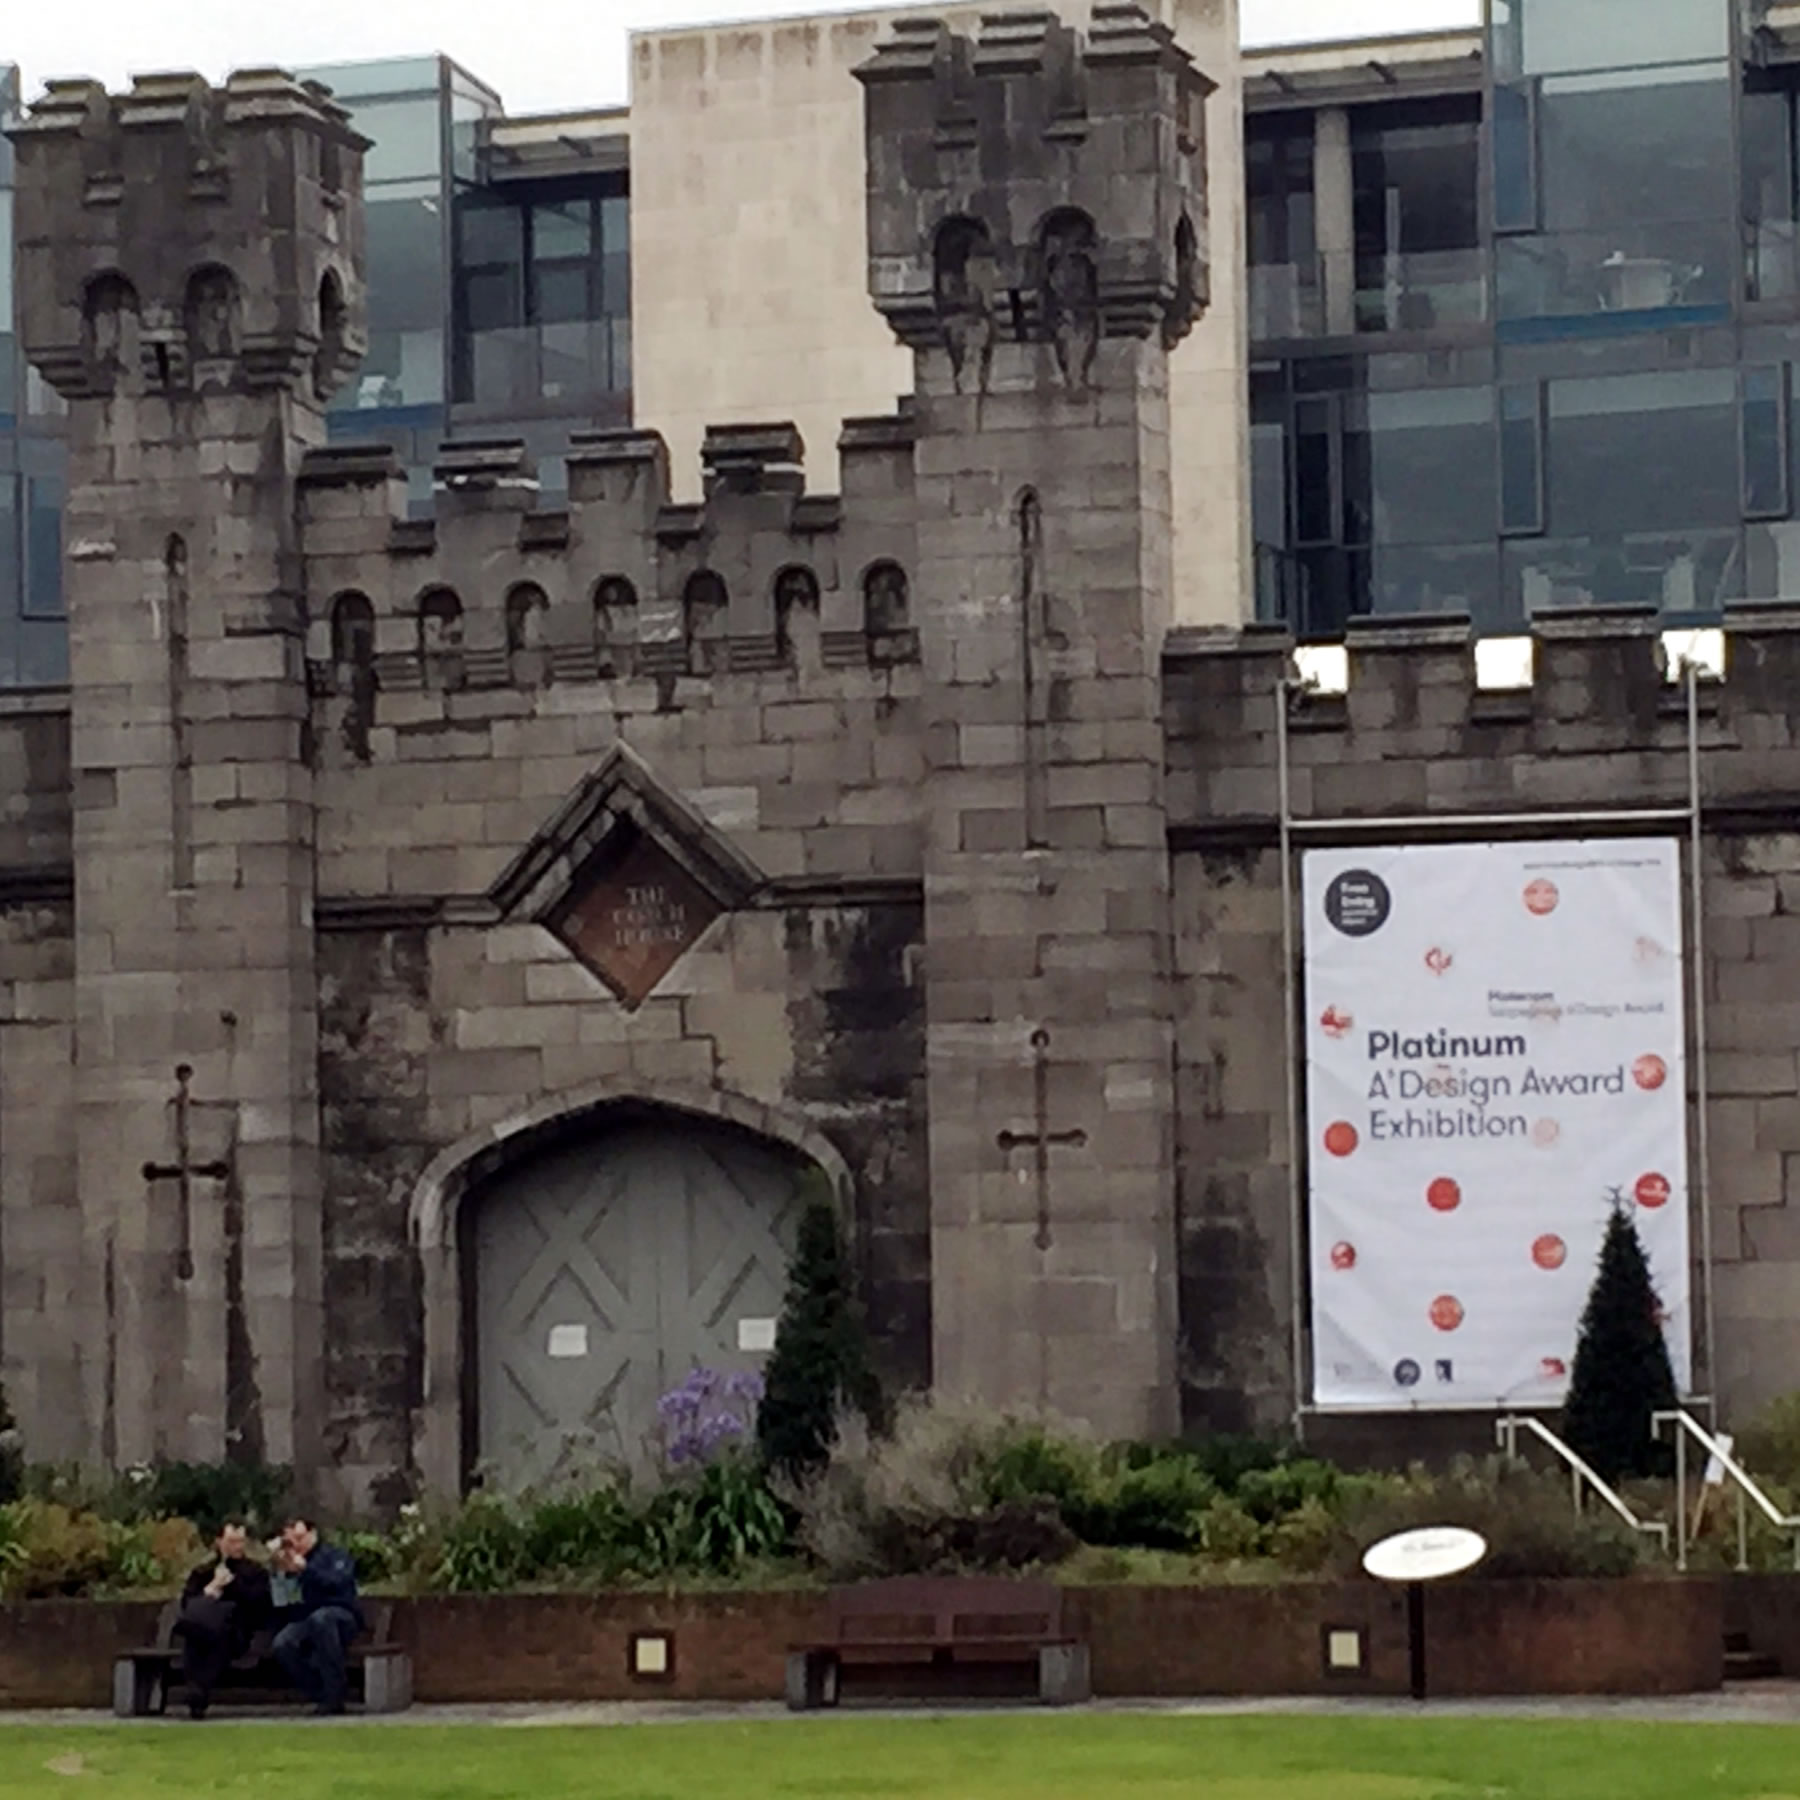
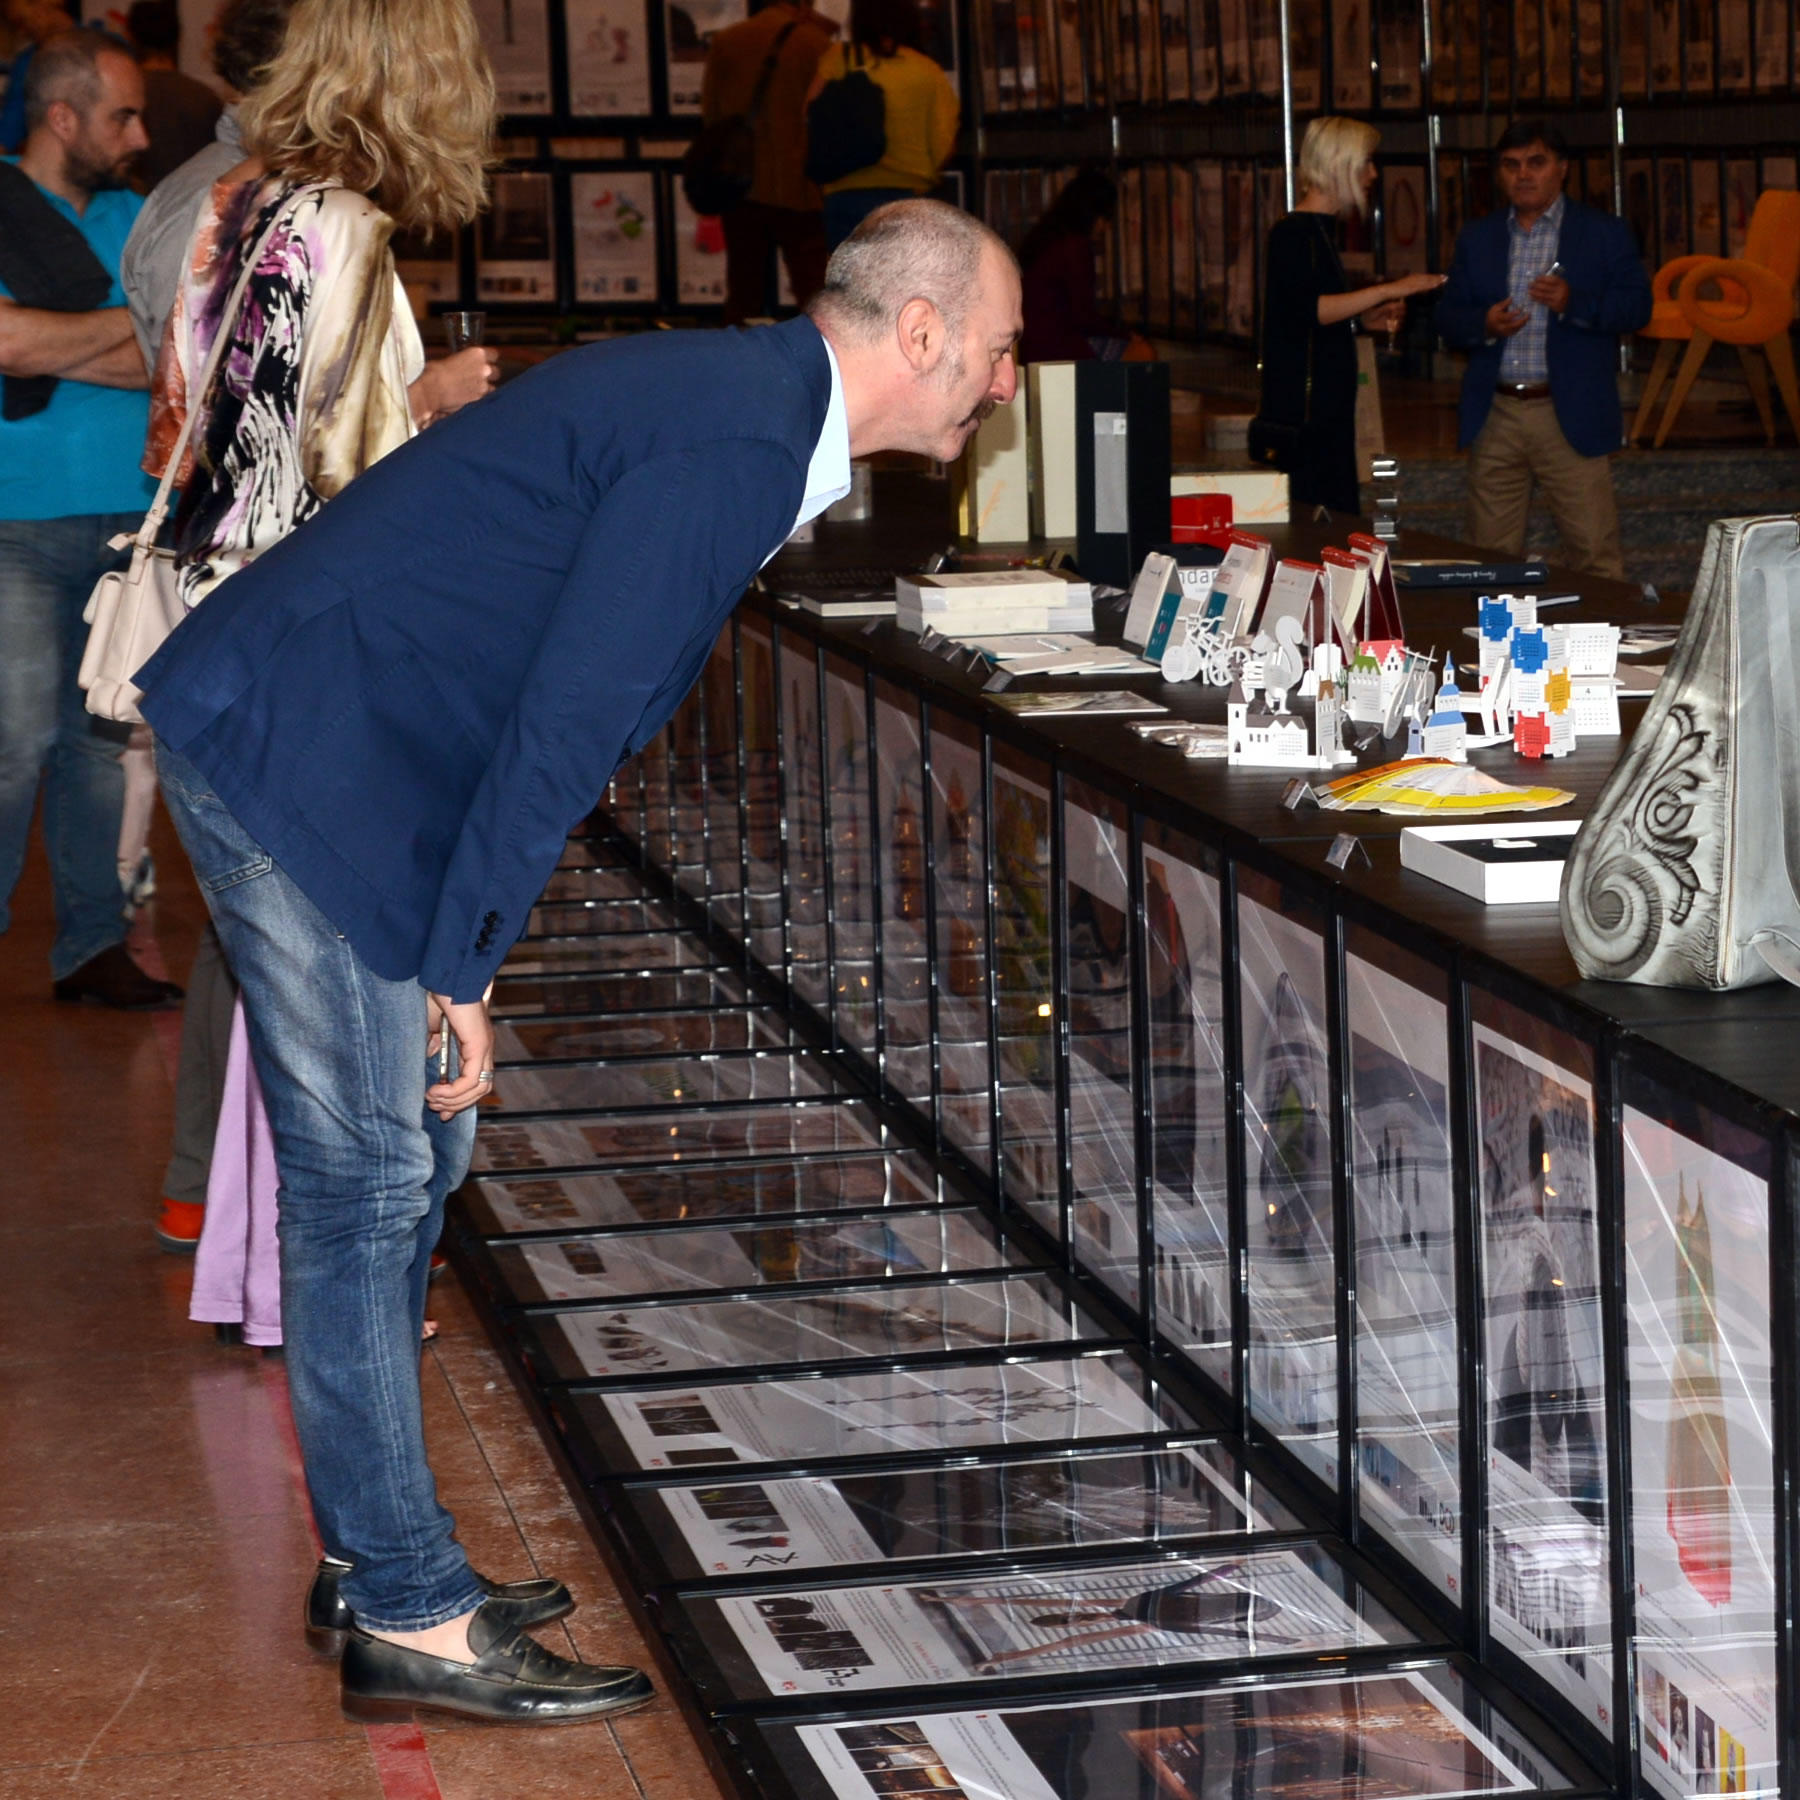
SCULPTURE DESIGN EXHIBITION
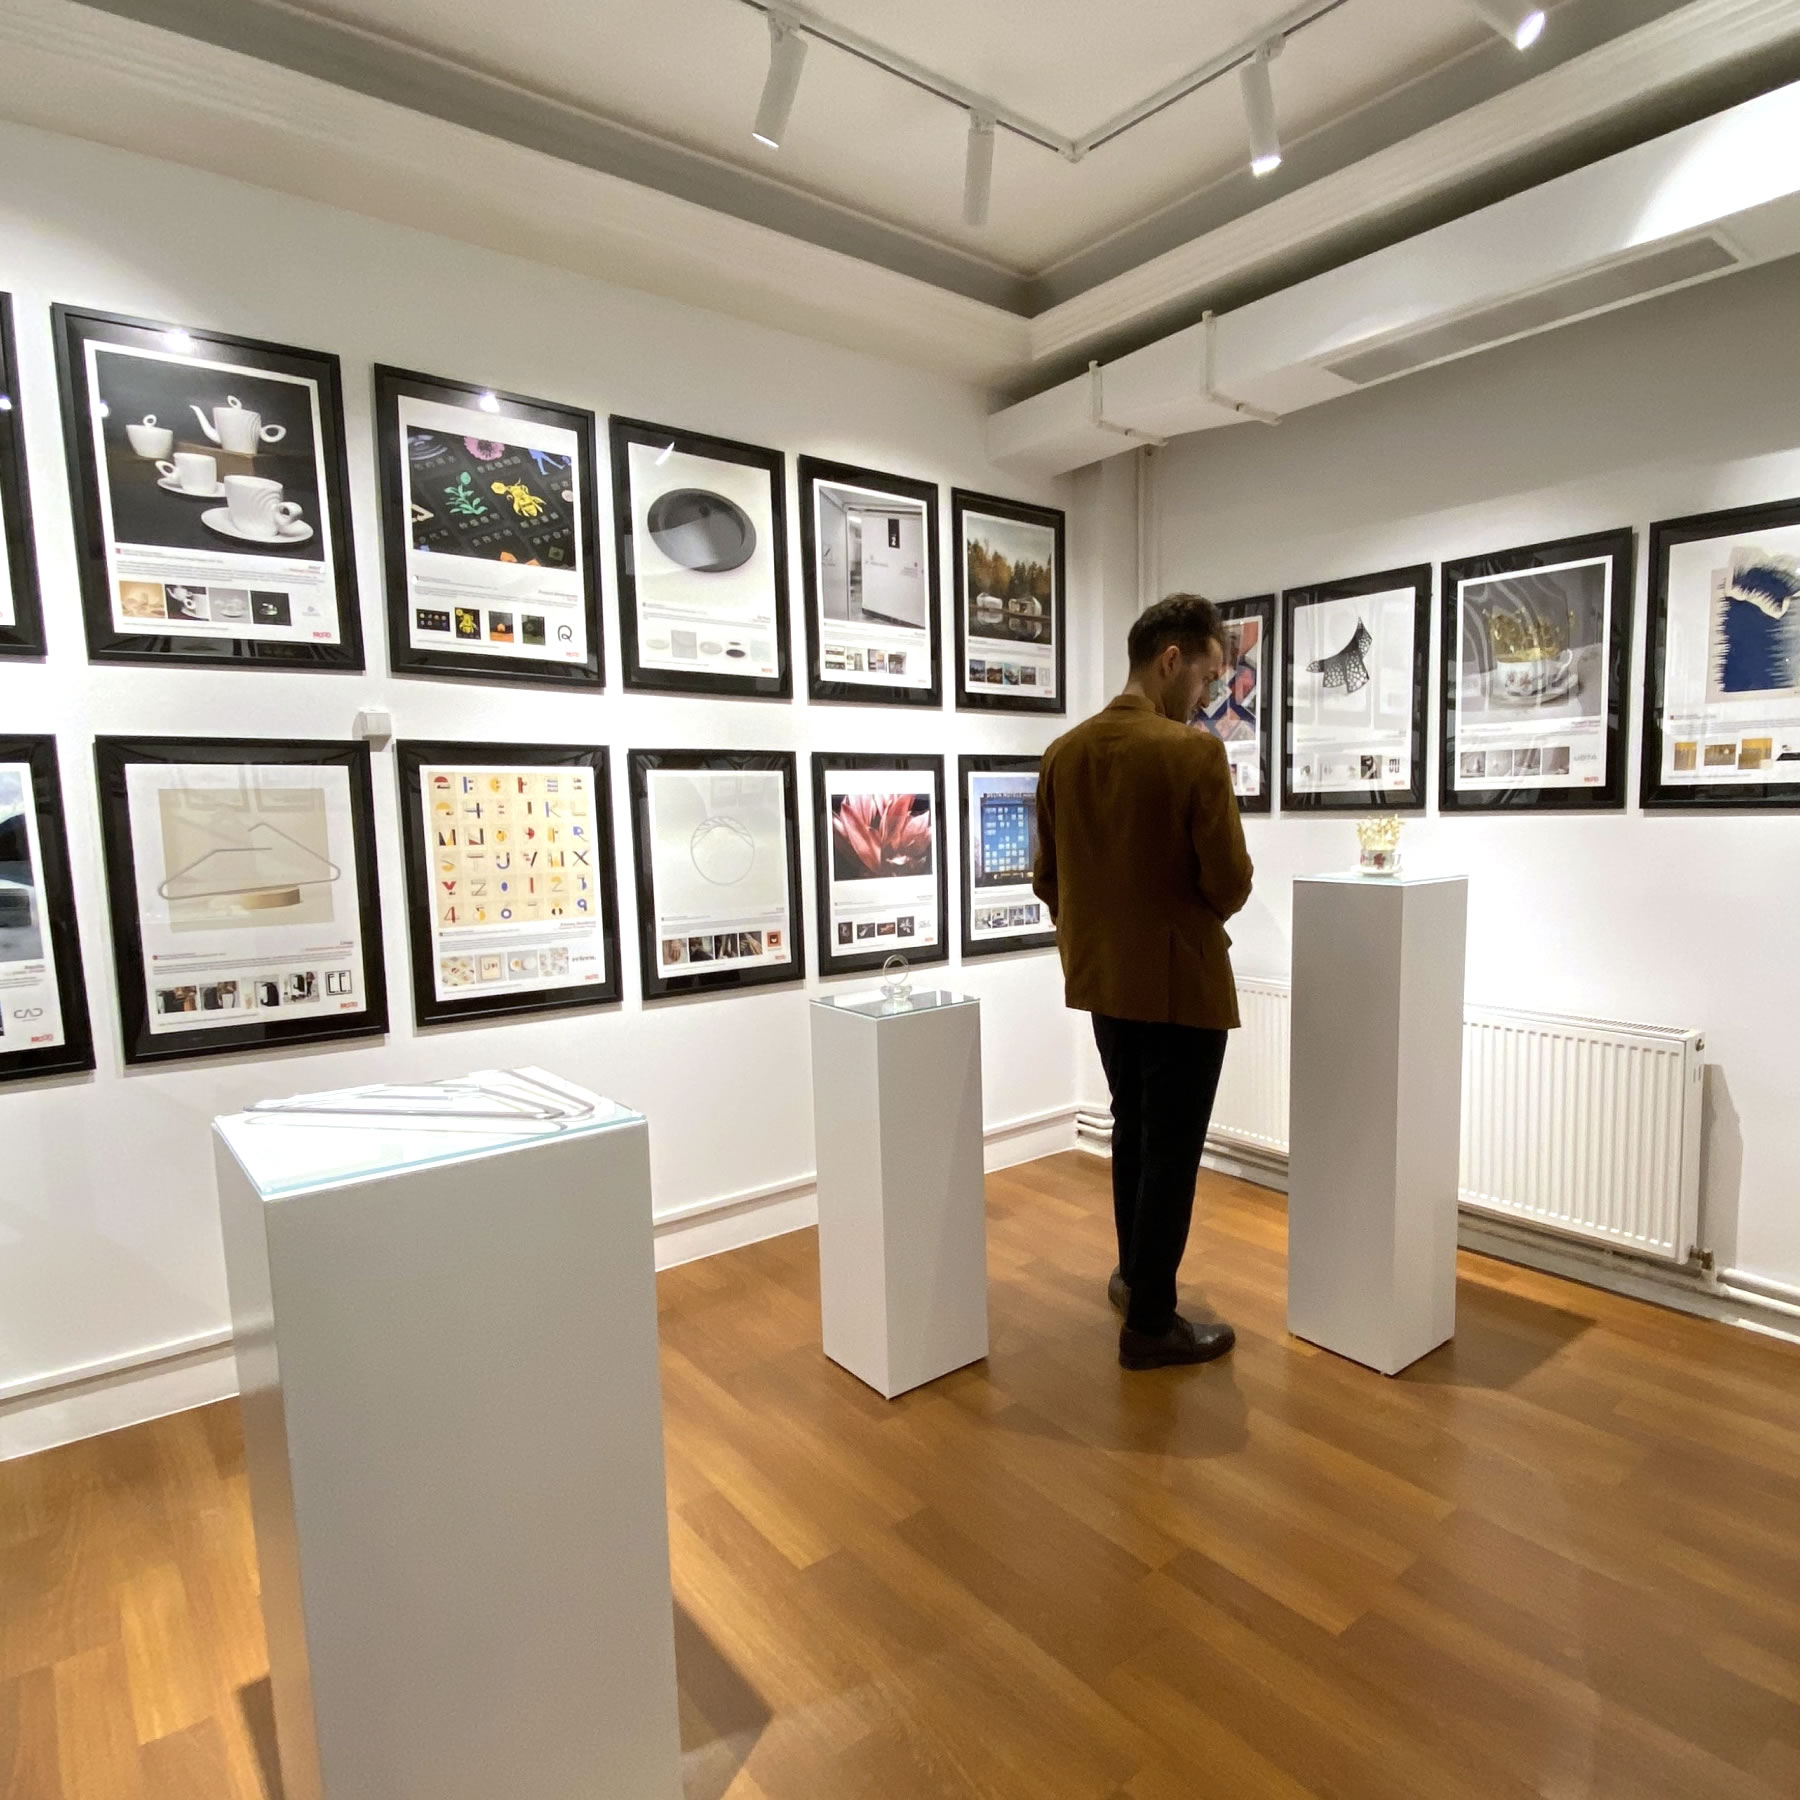
The Museum of Outstanding Design, the moving design museum was founded by A' Design Award & Competition in order to exhibit the award-winning sculpture designs in Italy and abroad, internationally.

ARE YOU IN THE MOOD?
Eligible A' Sculpture Design Award winners are provided free of charge exhibition space in the MOOD. No matter how big or small your sculpture design, it will be exhibited.
WE DO IT FOR YOU
If you are unable to send a physical version of your award-winning sculpture design, A' Sculpture Design Award will prepare a large poster presentation and exhibit your work on behalf of you.
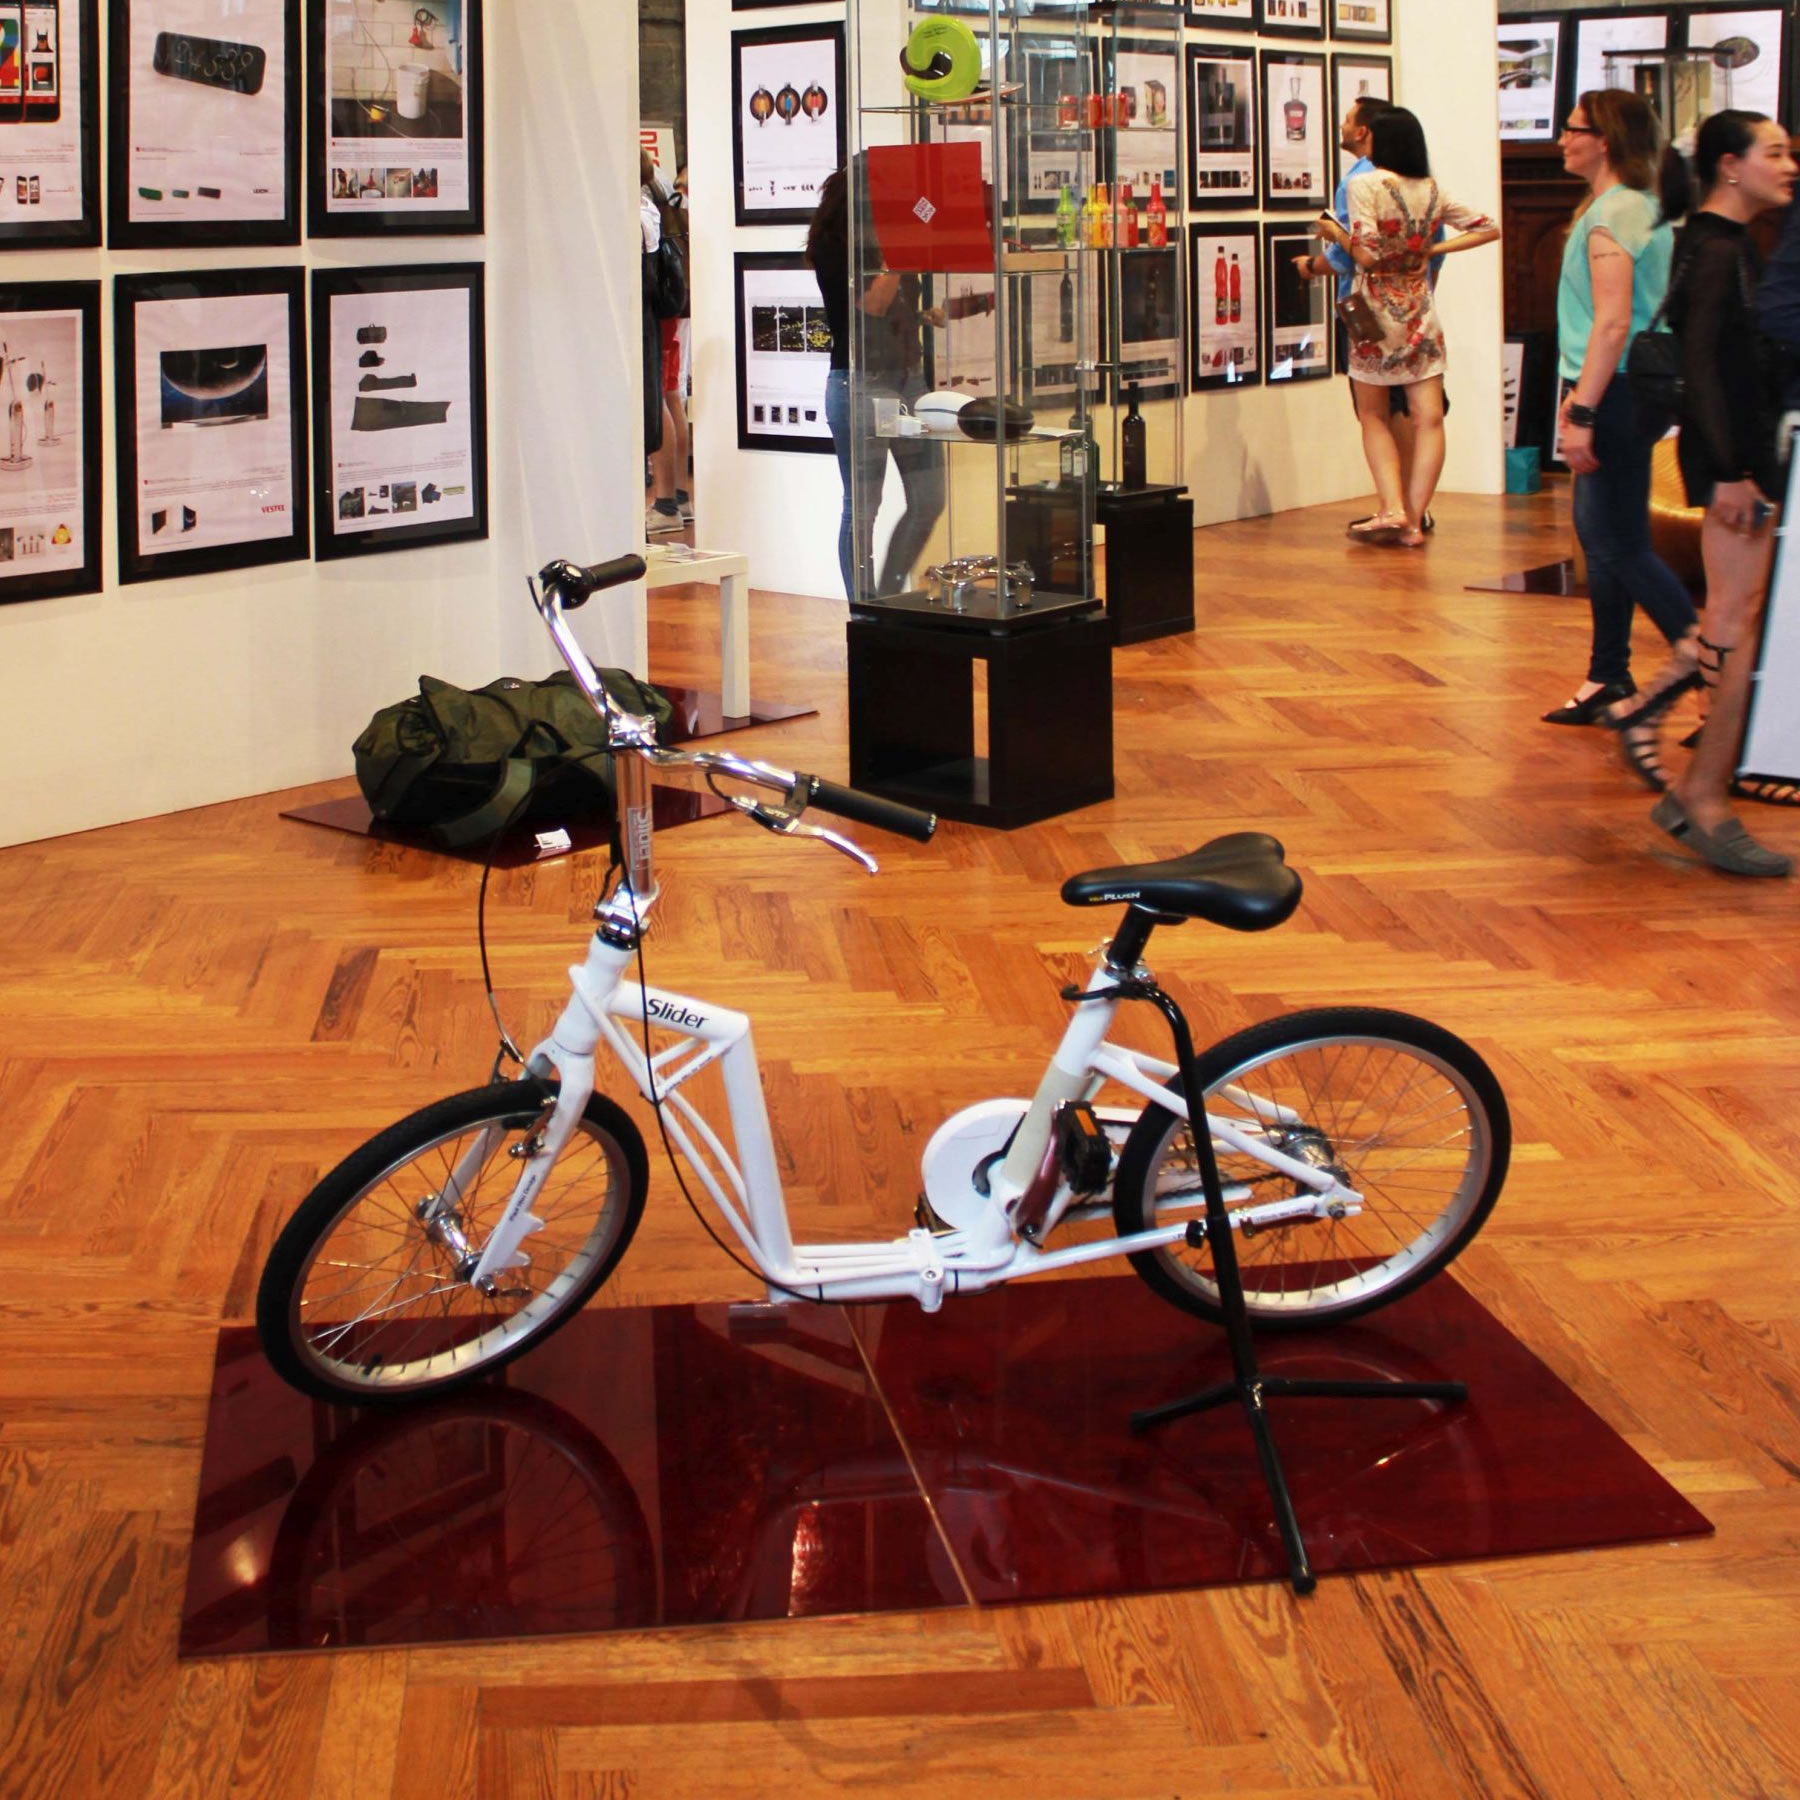
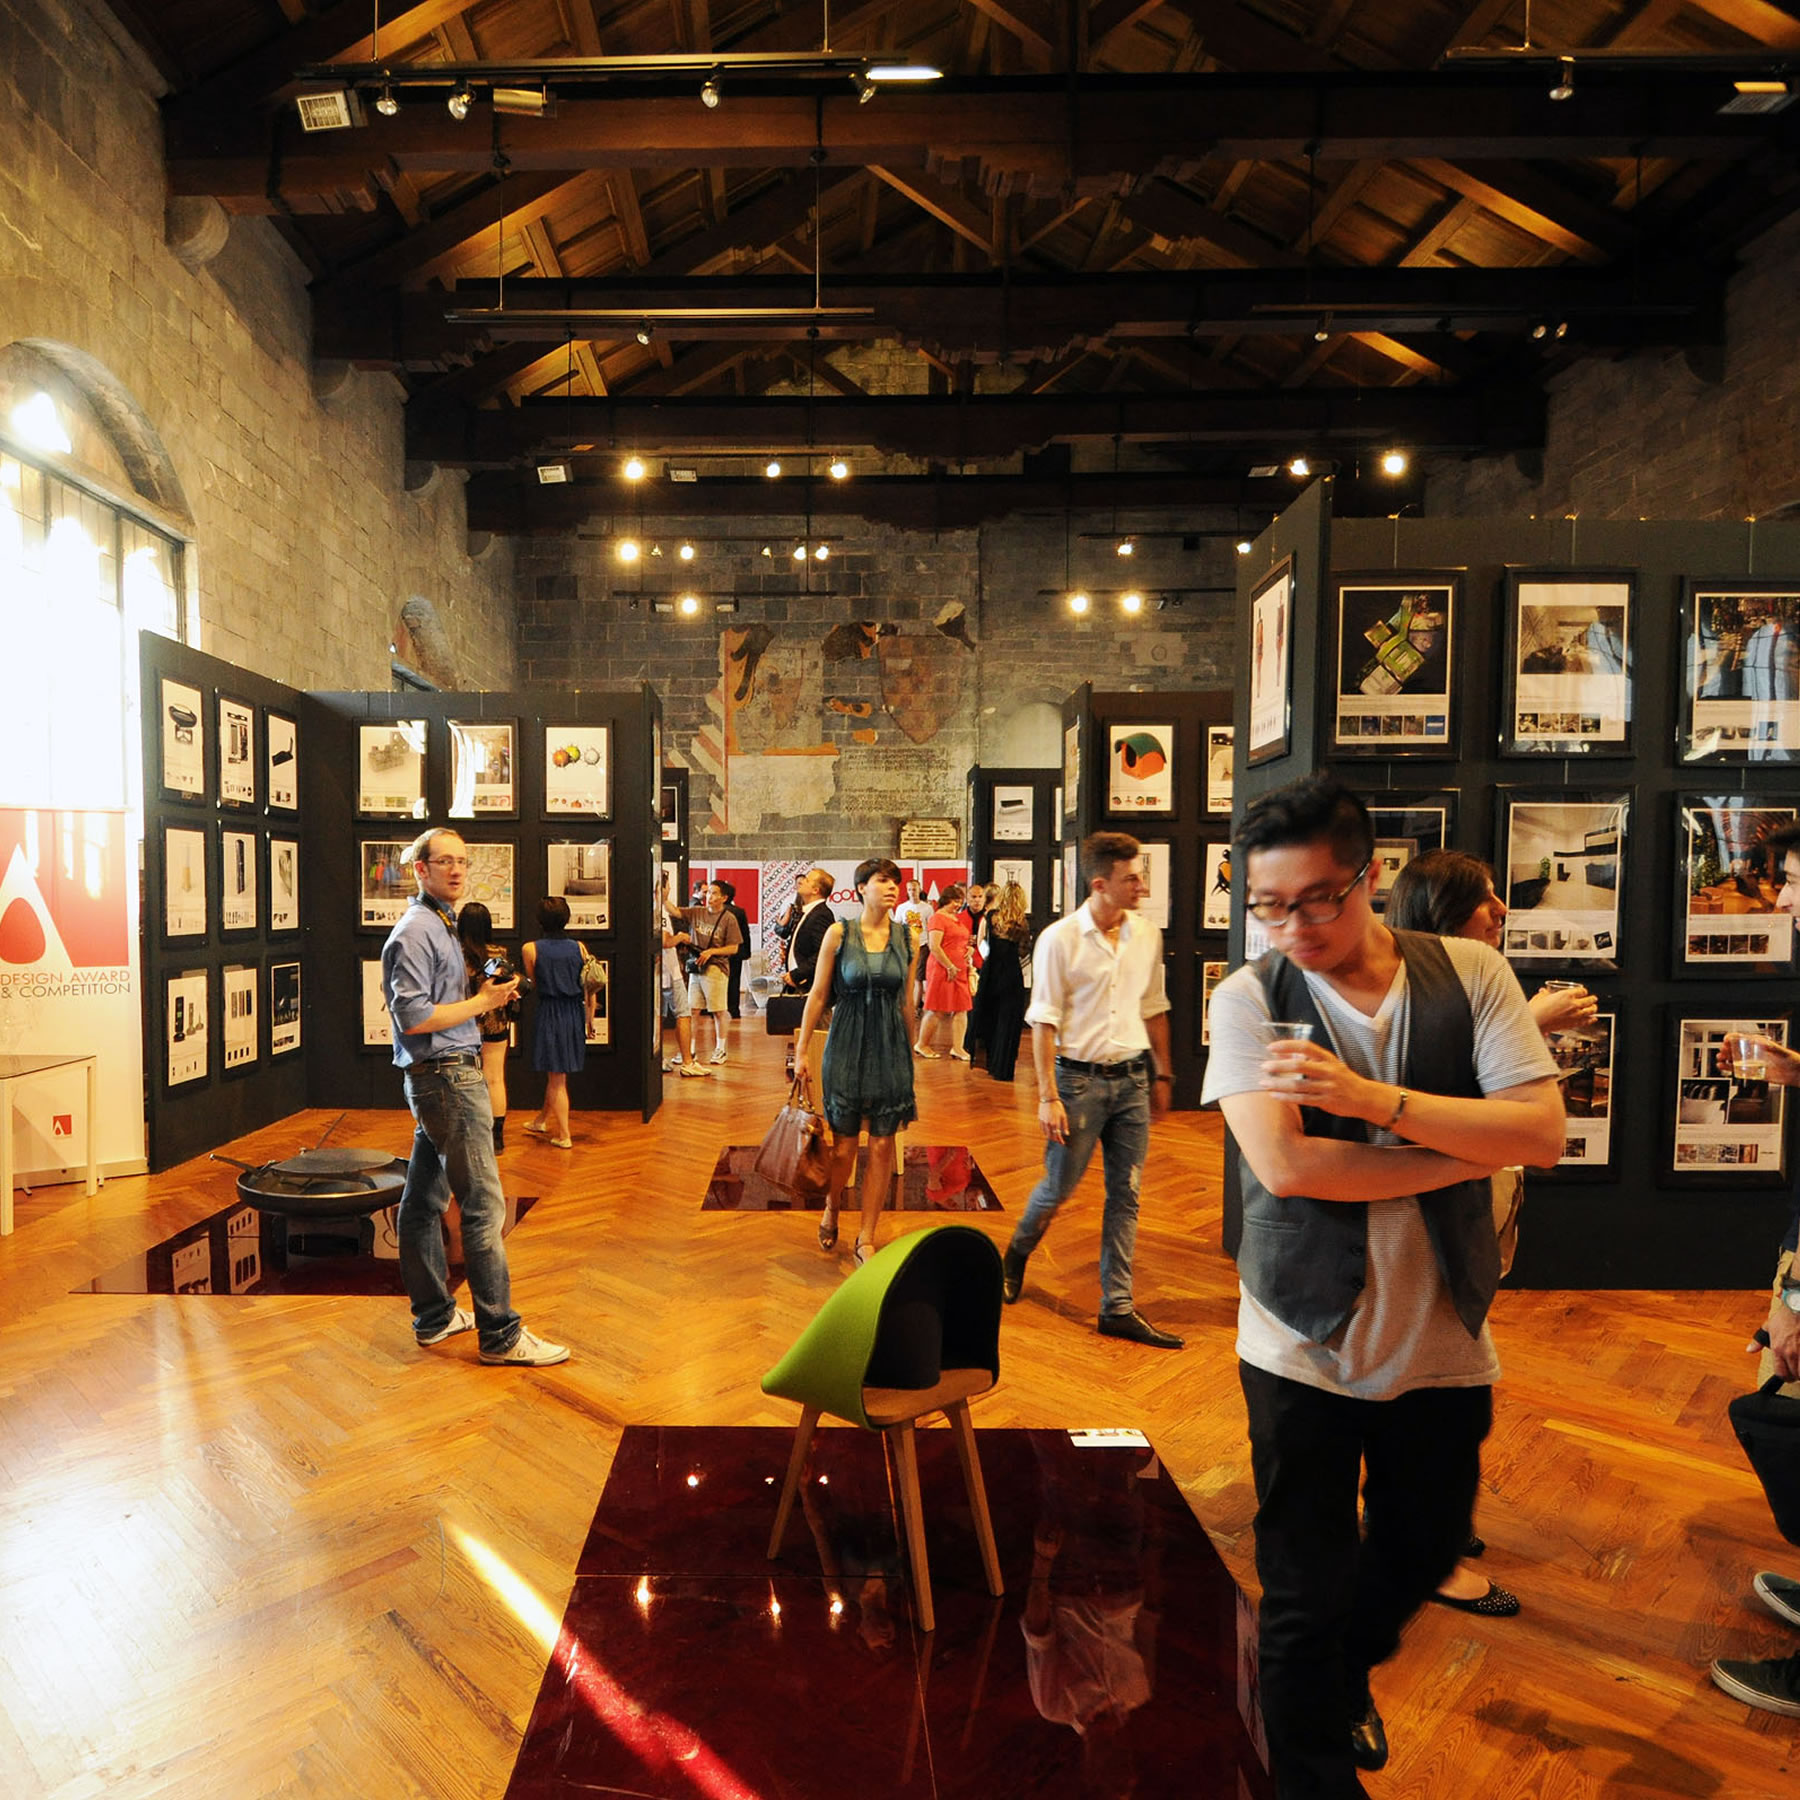
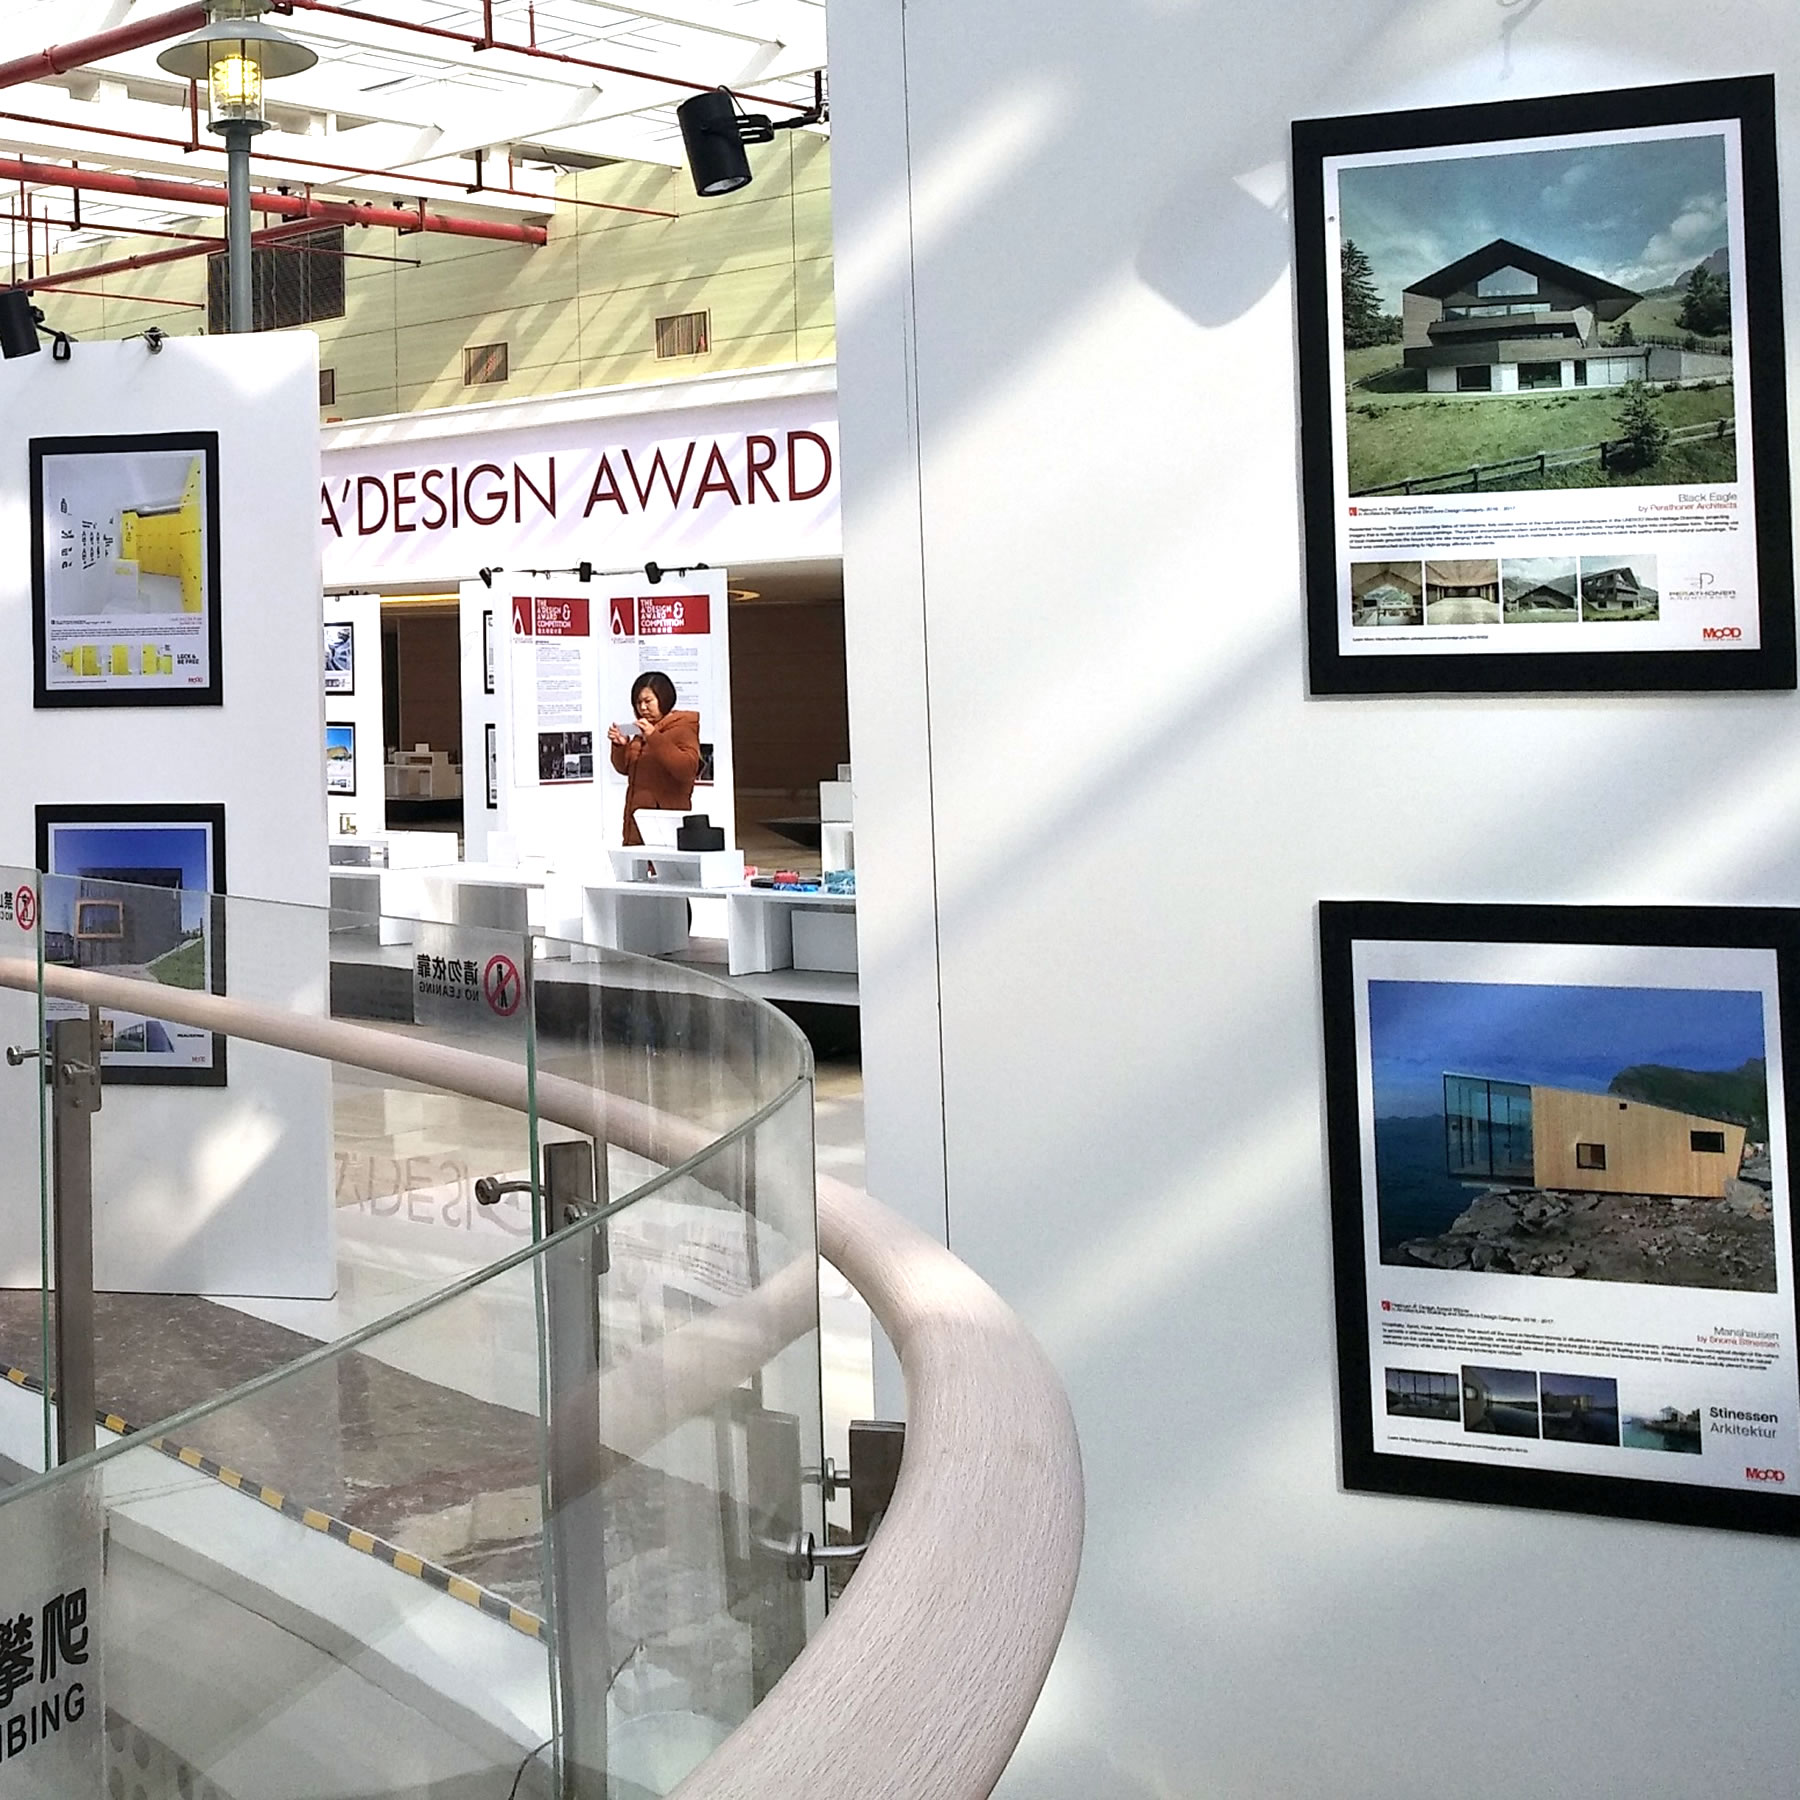
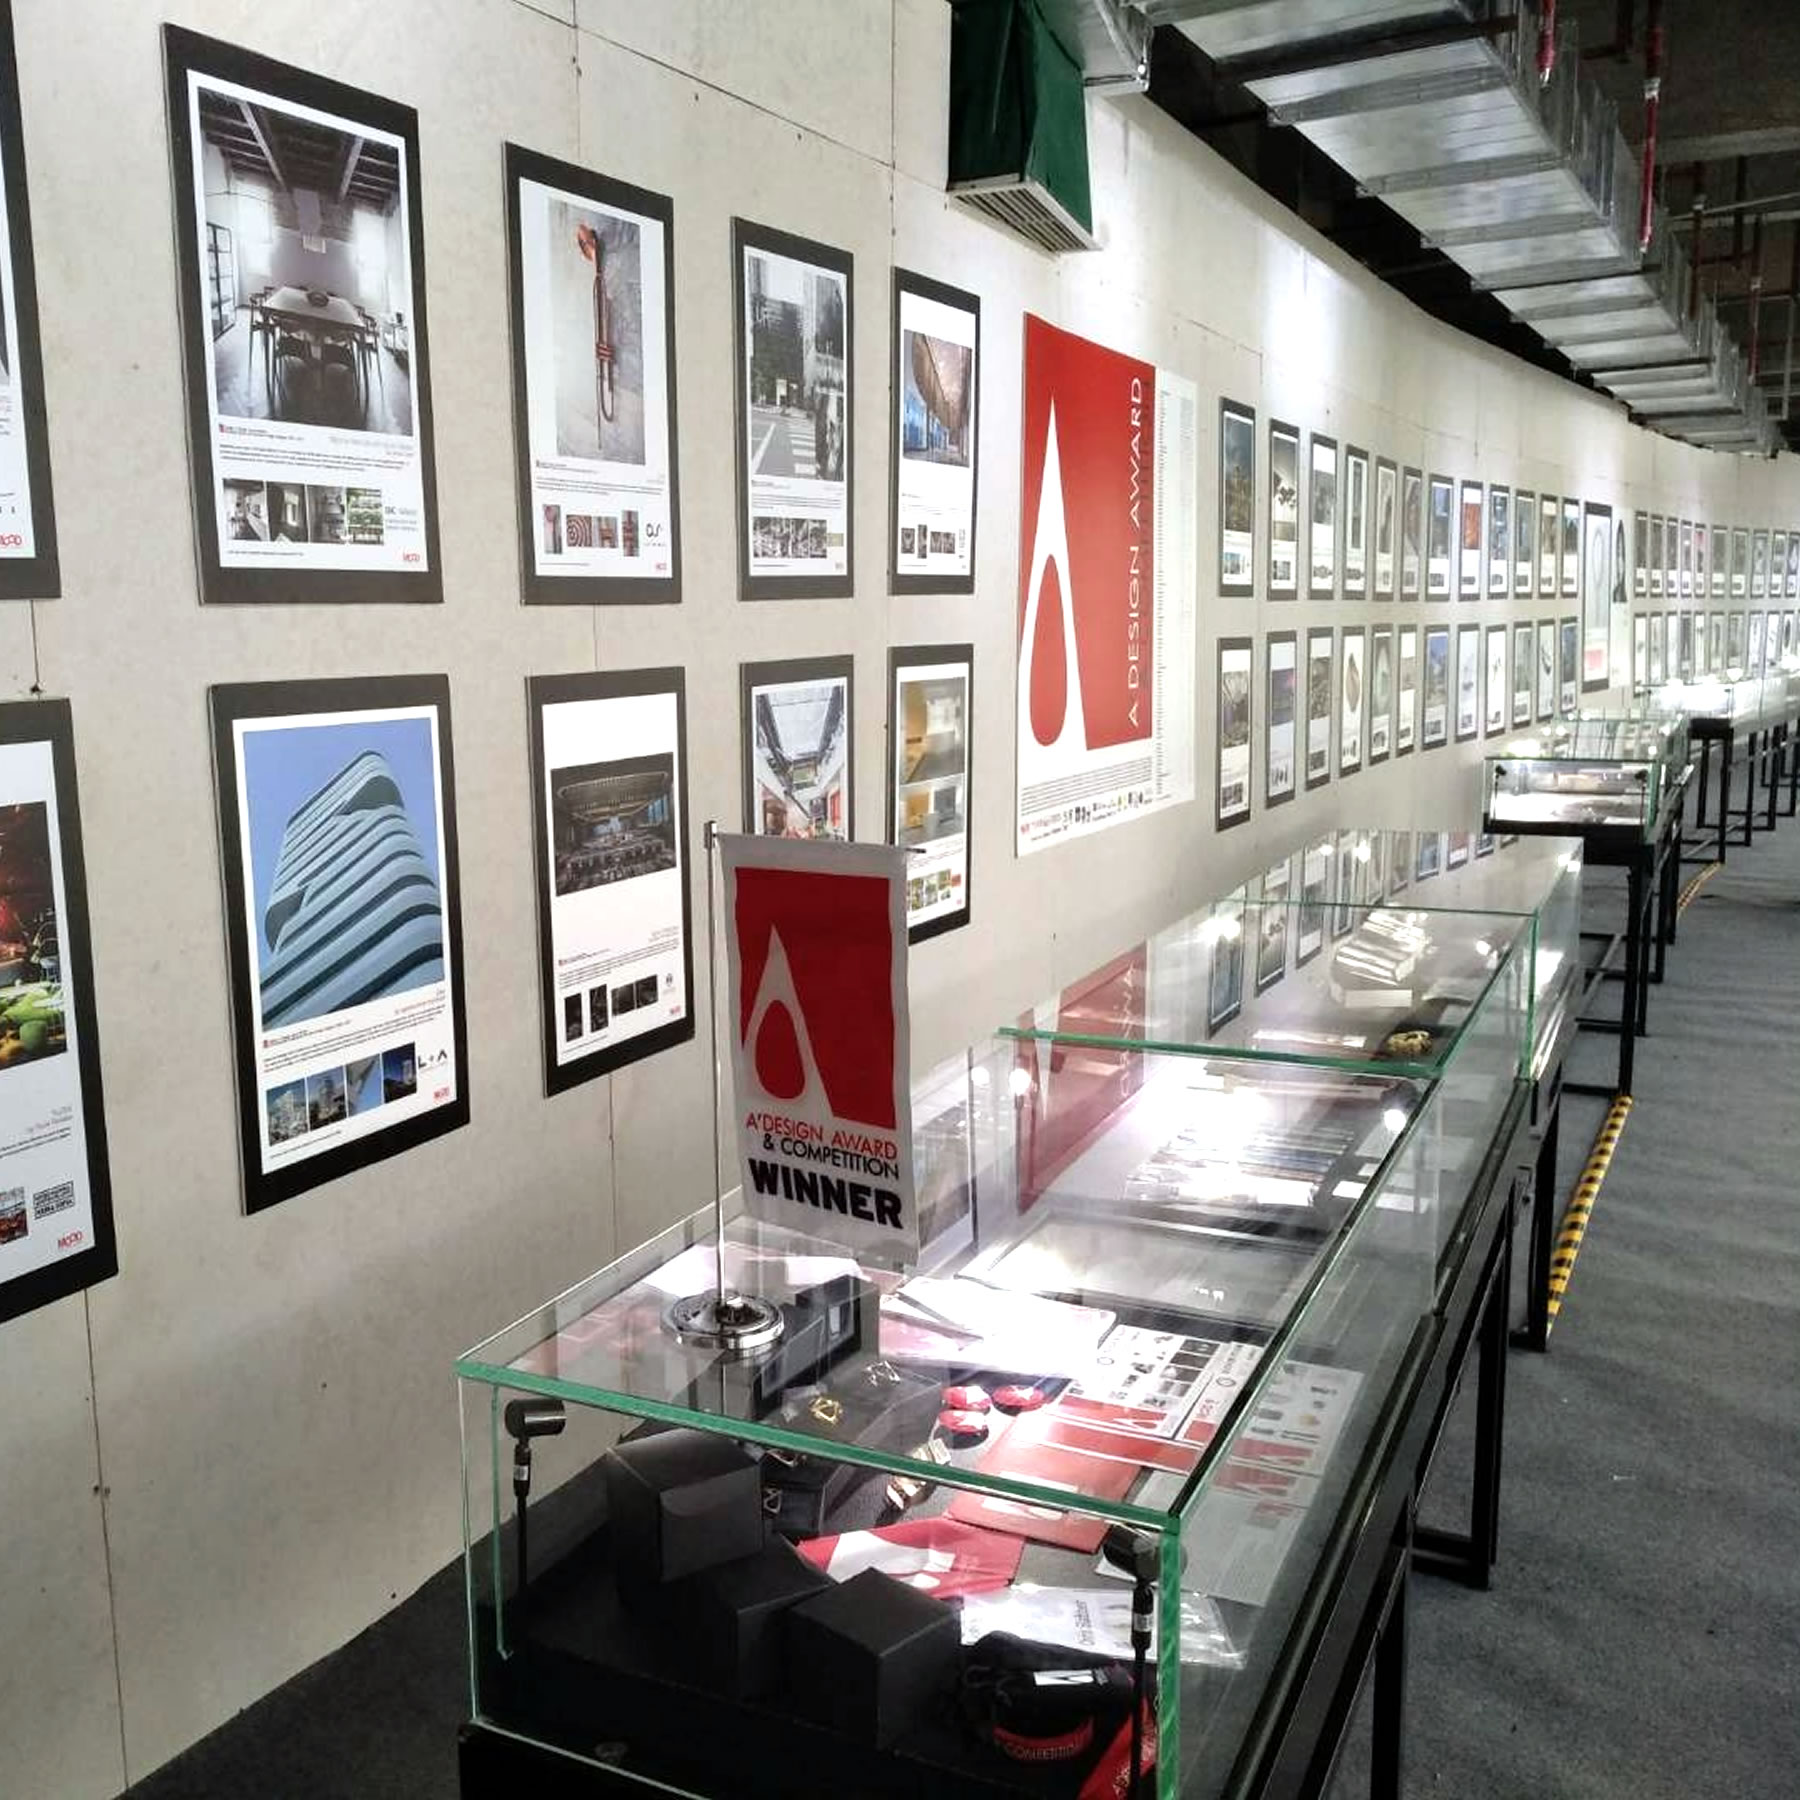
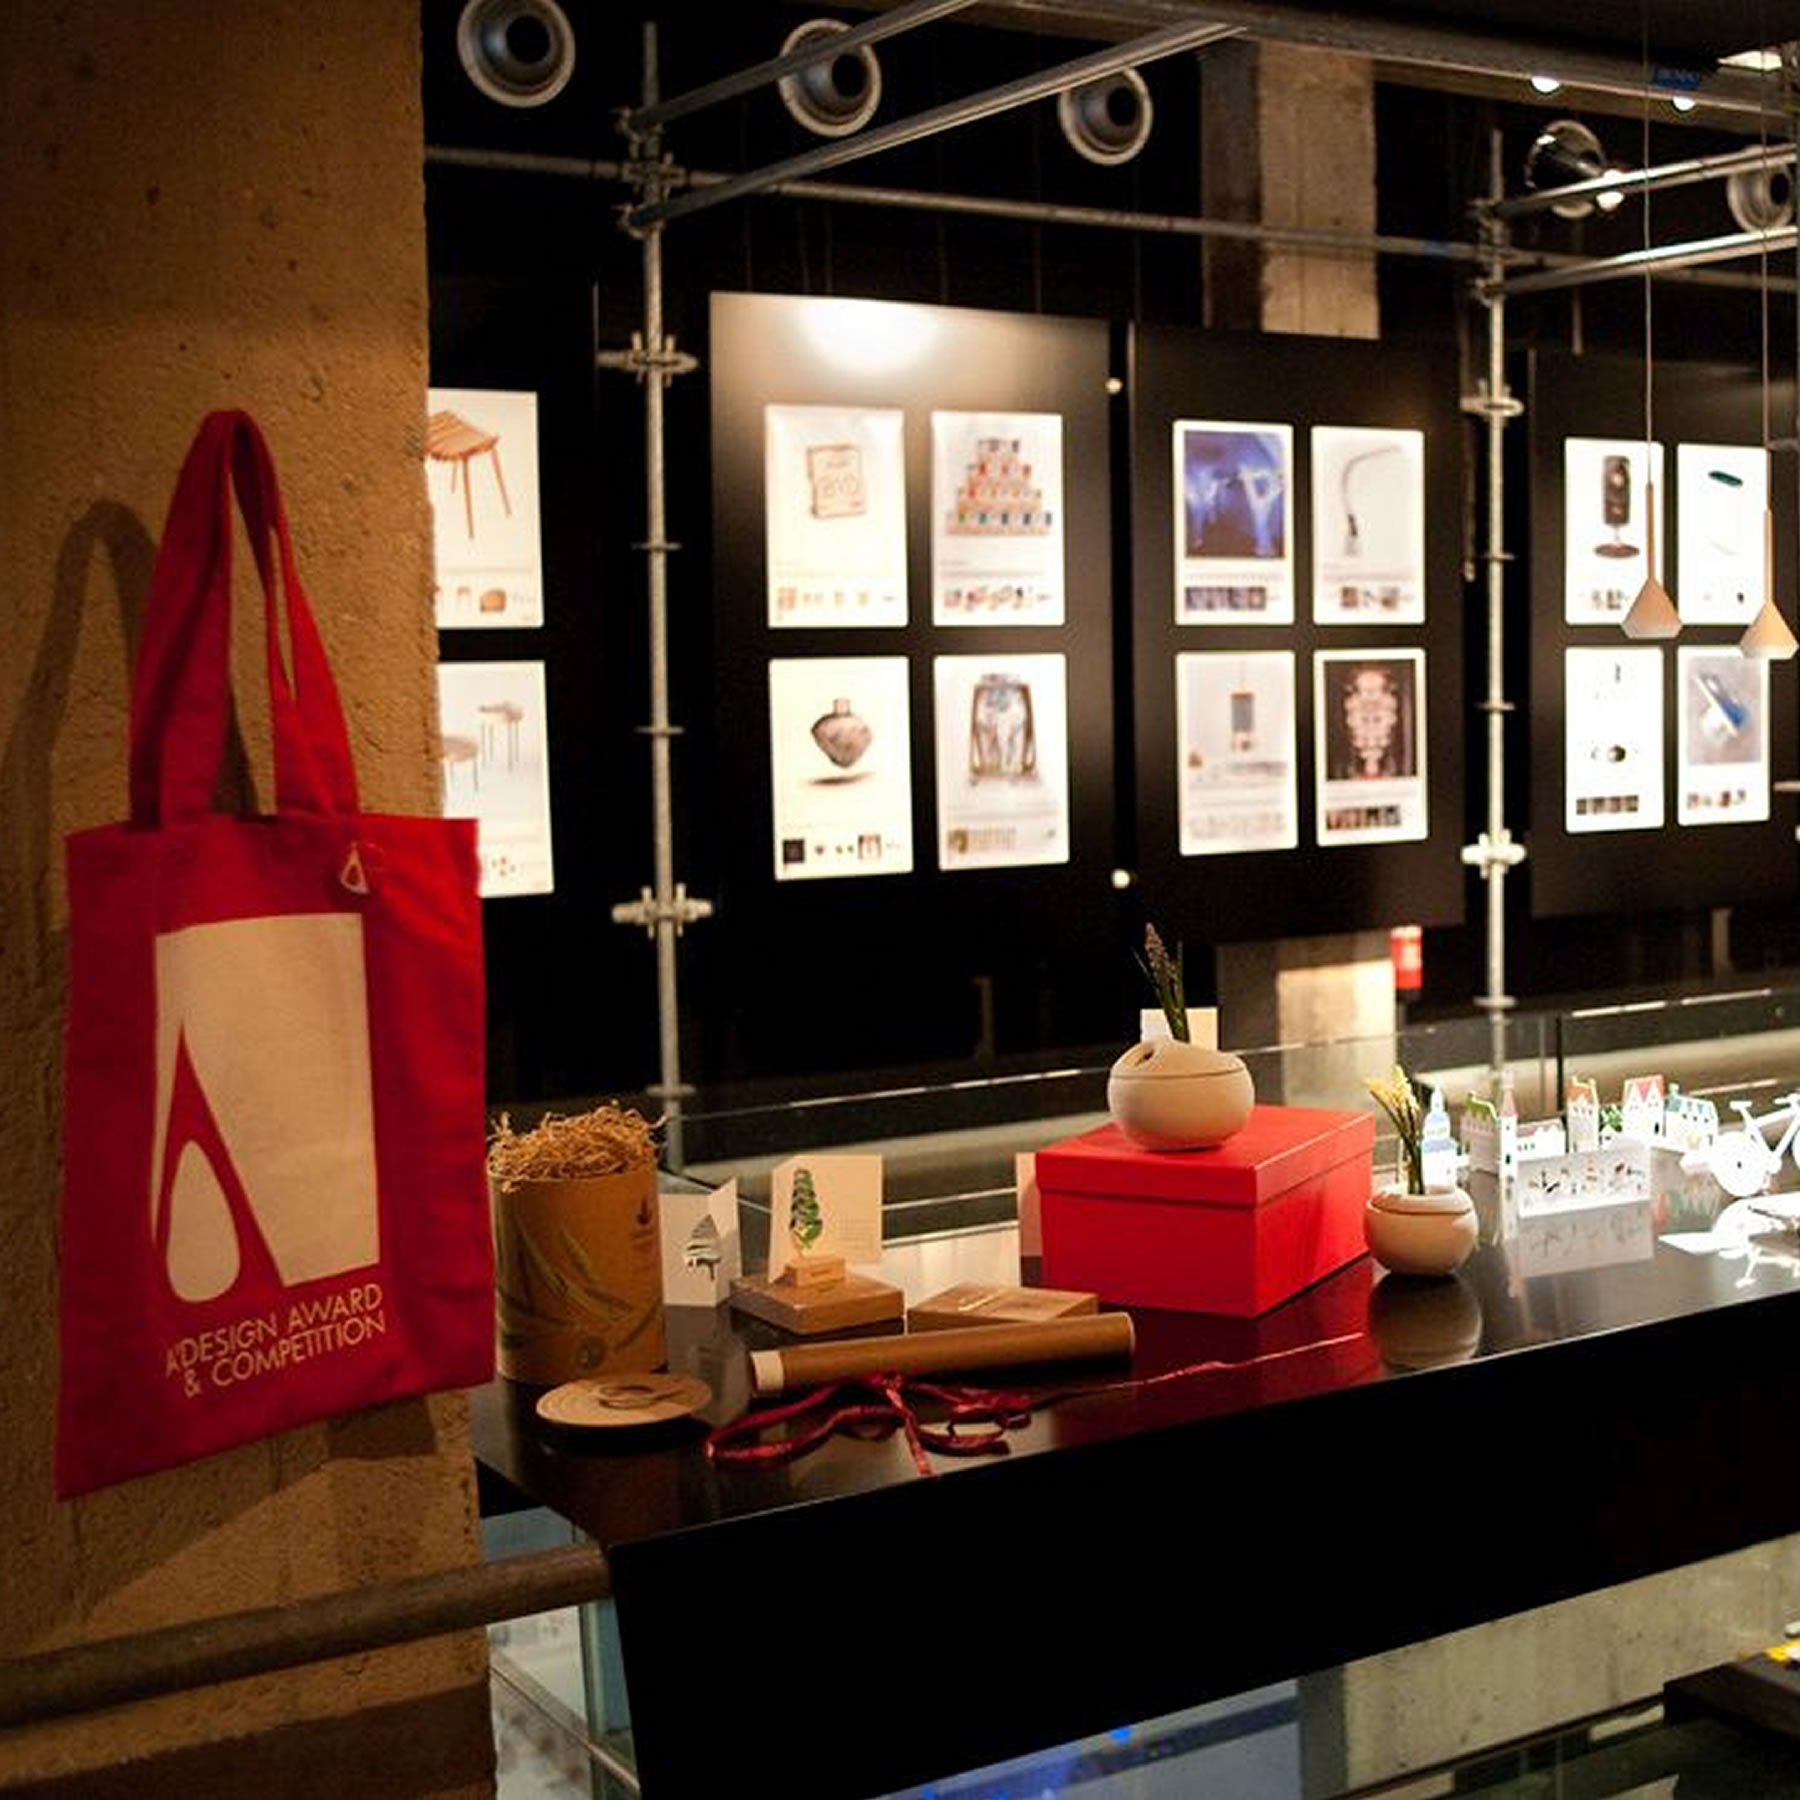
INTERNATIONAL EXHIBITION
A' Design Award works hard to exhibit all award-winning sculpture designs in multiple countries each year to ensure your sculpture design is properly exhibited worldwide.
TRAVELING THE CONTINENTS
For each international design exhibition, as well as for exhibition of your sculpture designs in Italy, you will be given a certificate of exhibition that may be relevant for your academic progression.
SHOWCASE YOUR SCULPTURE DESIGN
We will also provide you with photos of your works from the international sculpture design exhibitions we organize, and you may find these photos useful in promoting your sculpture design to new audiences.
40×40 EXHIBITIONS
40×40 Exhibitions are international good design exhibitions featuring outstanding works of 40 Designers from 40 Countries.
GOOD DESIGN EXHIBITION
The A' Sculpture Design Award Winners are invited to take part in 40×40 Exhibitions by sending their works. Acceptance to 40×40 Exhibition is subject to the exhibition curator.
POWER TO YOU
The A' Sculpture Design Award laureates are also empowered to host and curate their own 40×40 Exhibitions, allowing them to take the center stage as the curators.
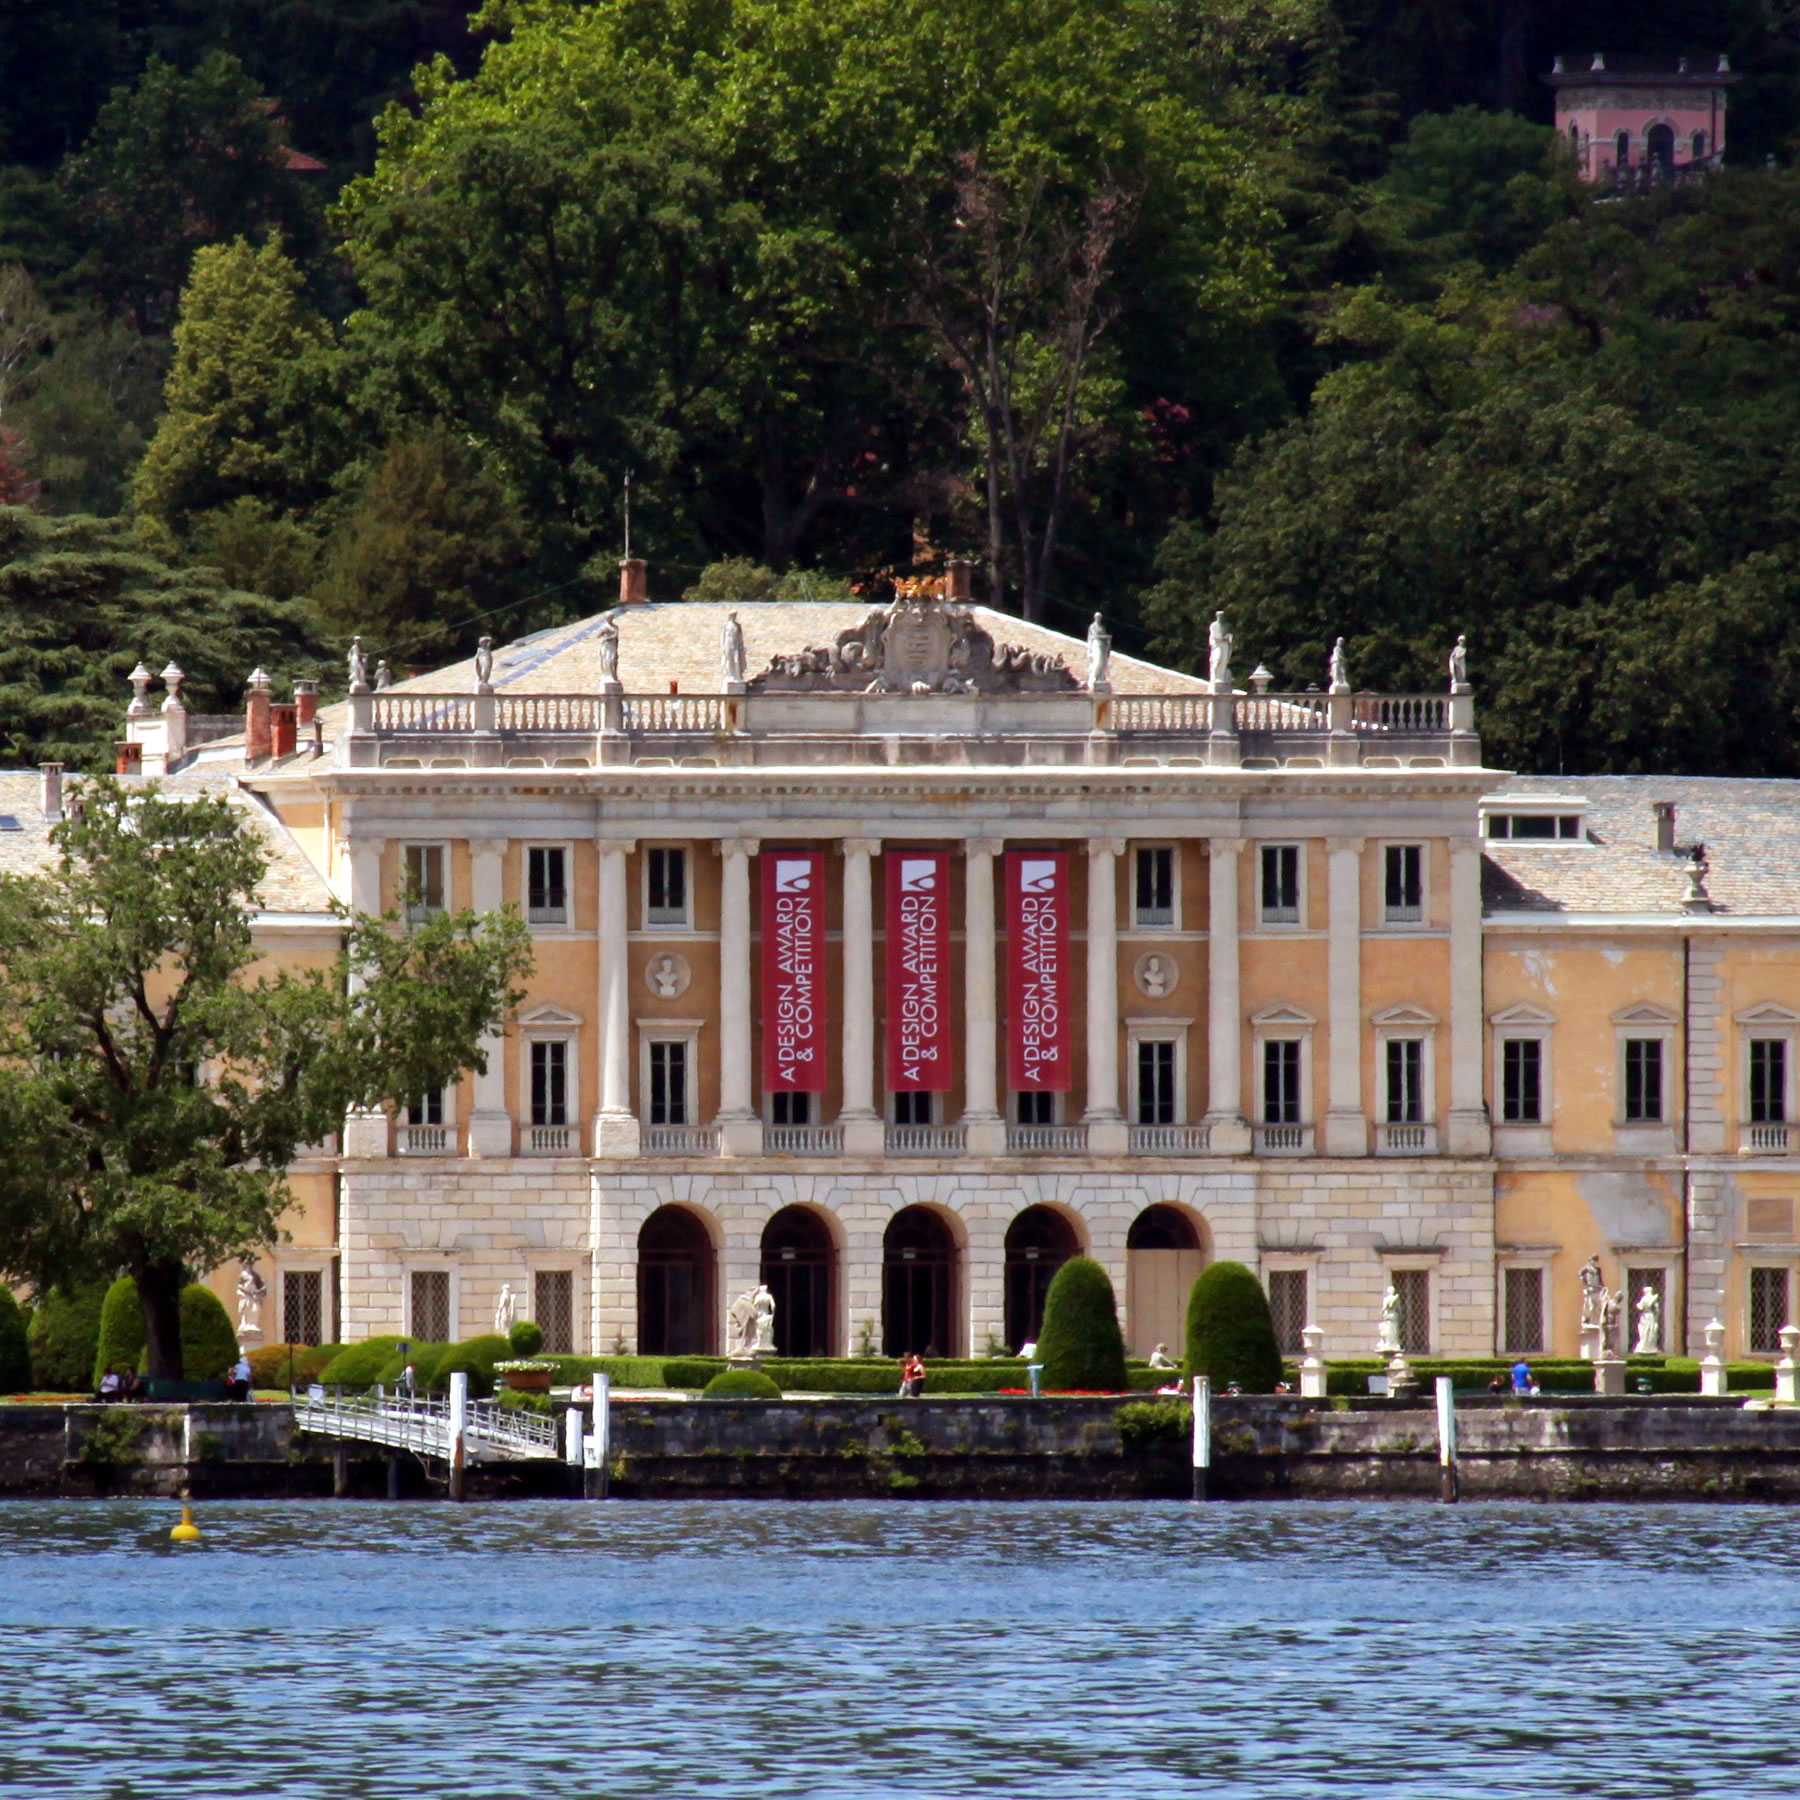
MUSEO DEL DESIGN
Museo del Design, the super contemporary design museum in Como, Italy will be accepting select A' Sculpture Design Award winner sculpture designs to its permanent collection.
AWARD WINNER'S EXHIBITION
All A' Sculpture Design Award Winners are exhibited at Museo del Design at the annual A' Design Award Winner's Exhibition, free of charge.
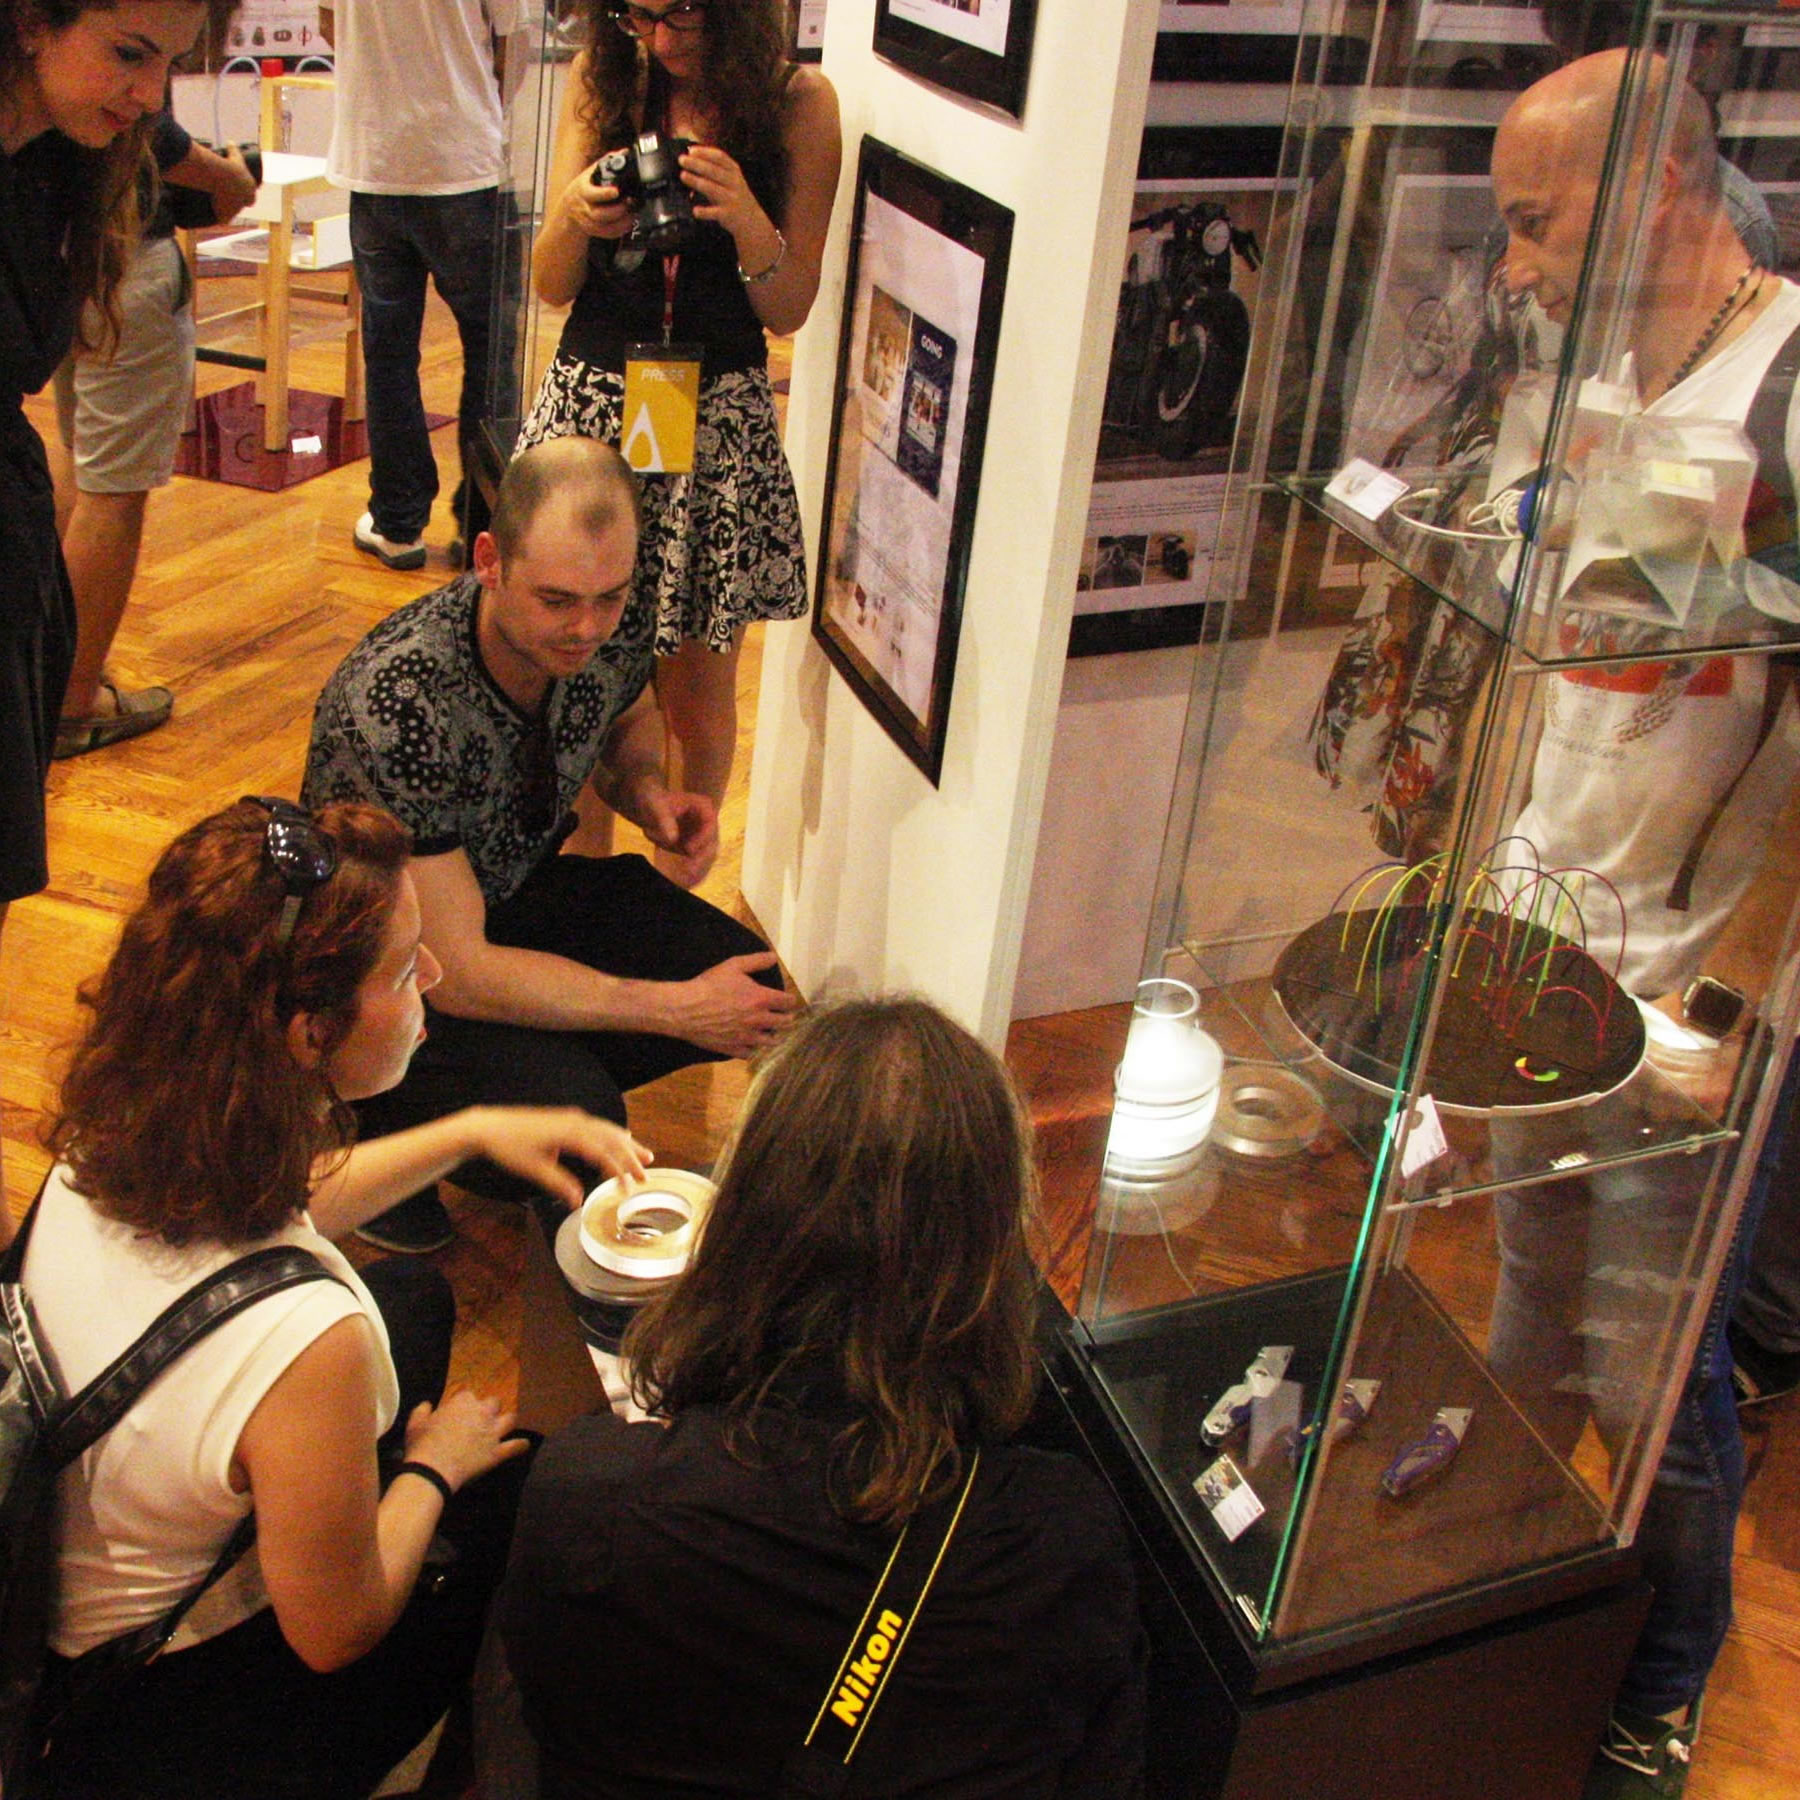
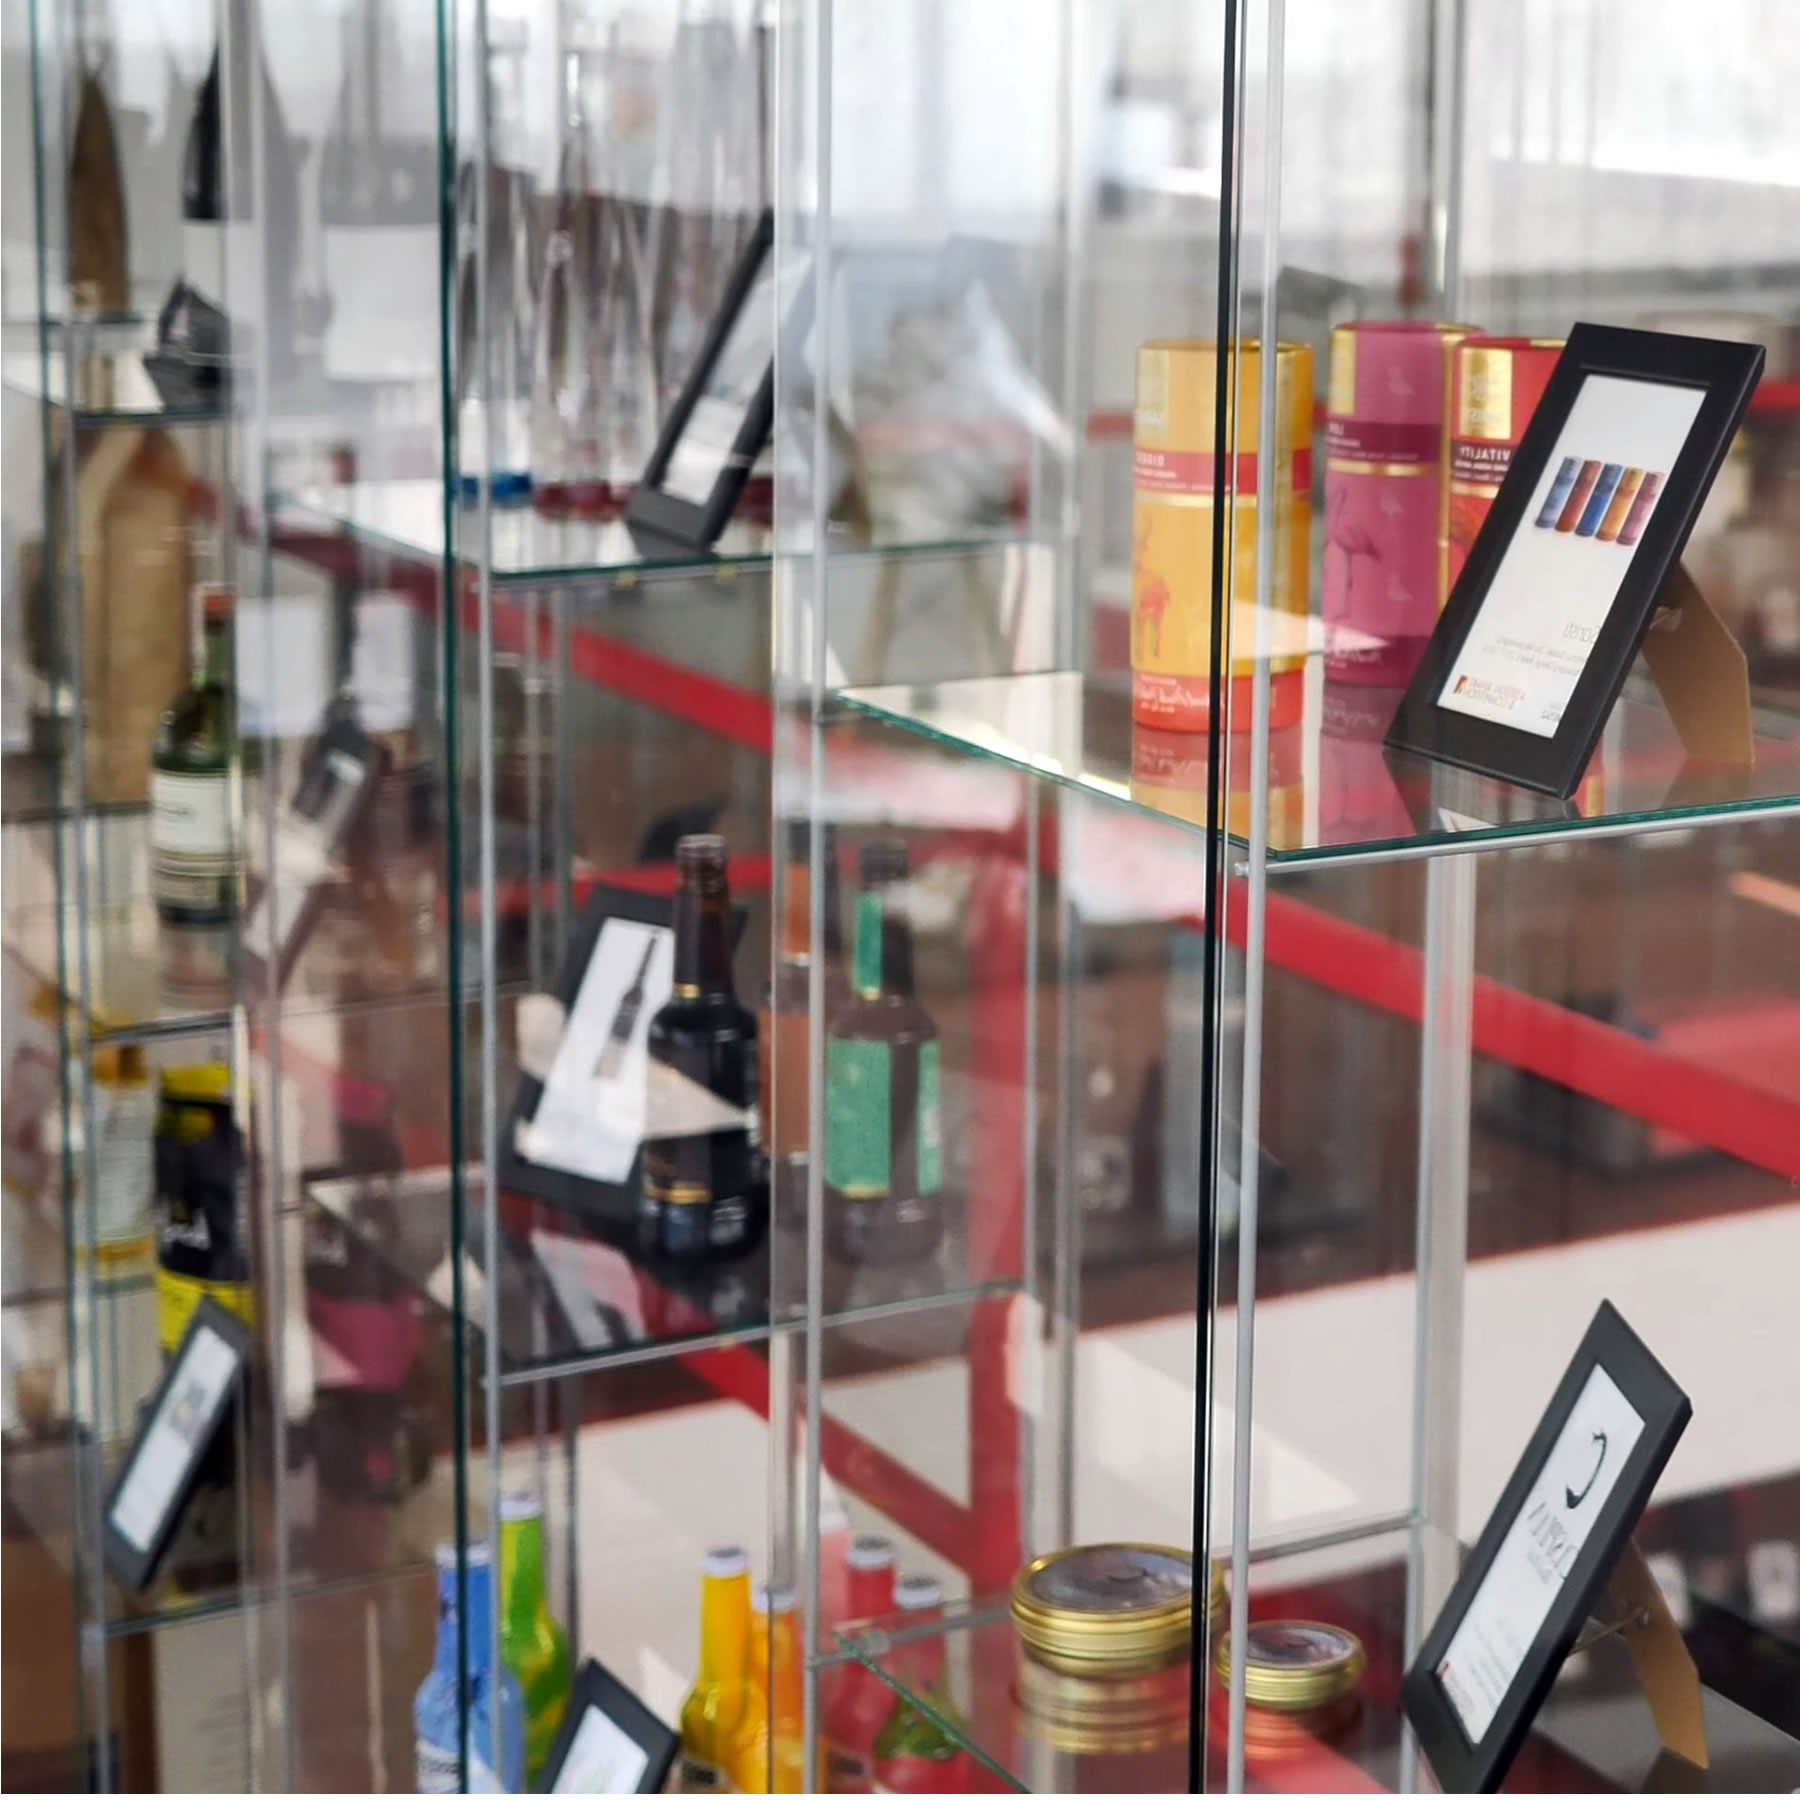
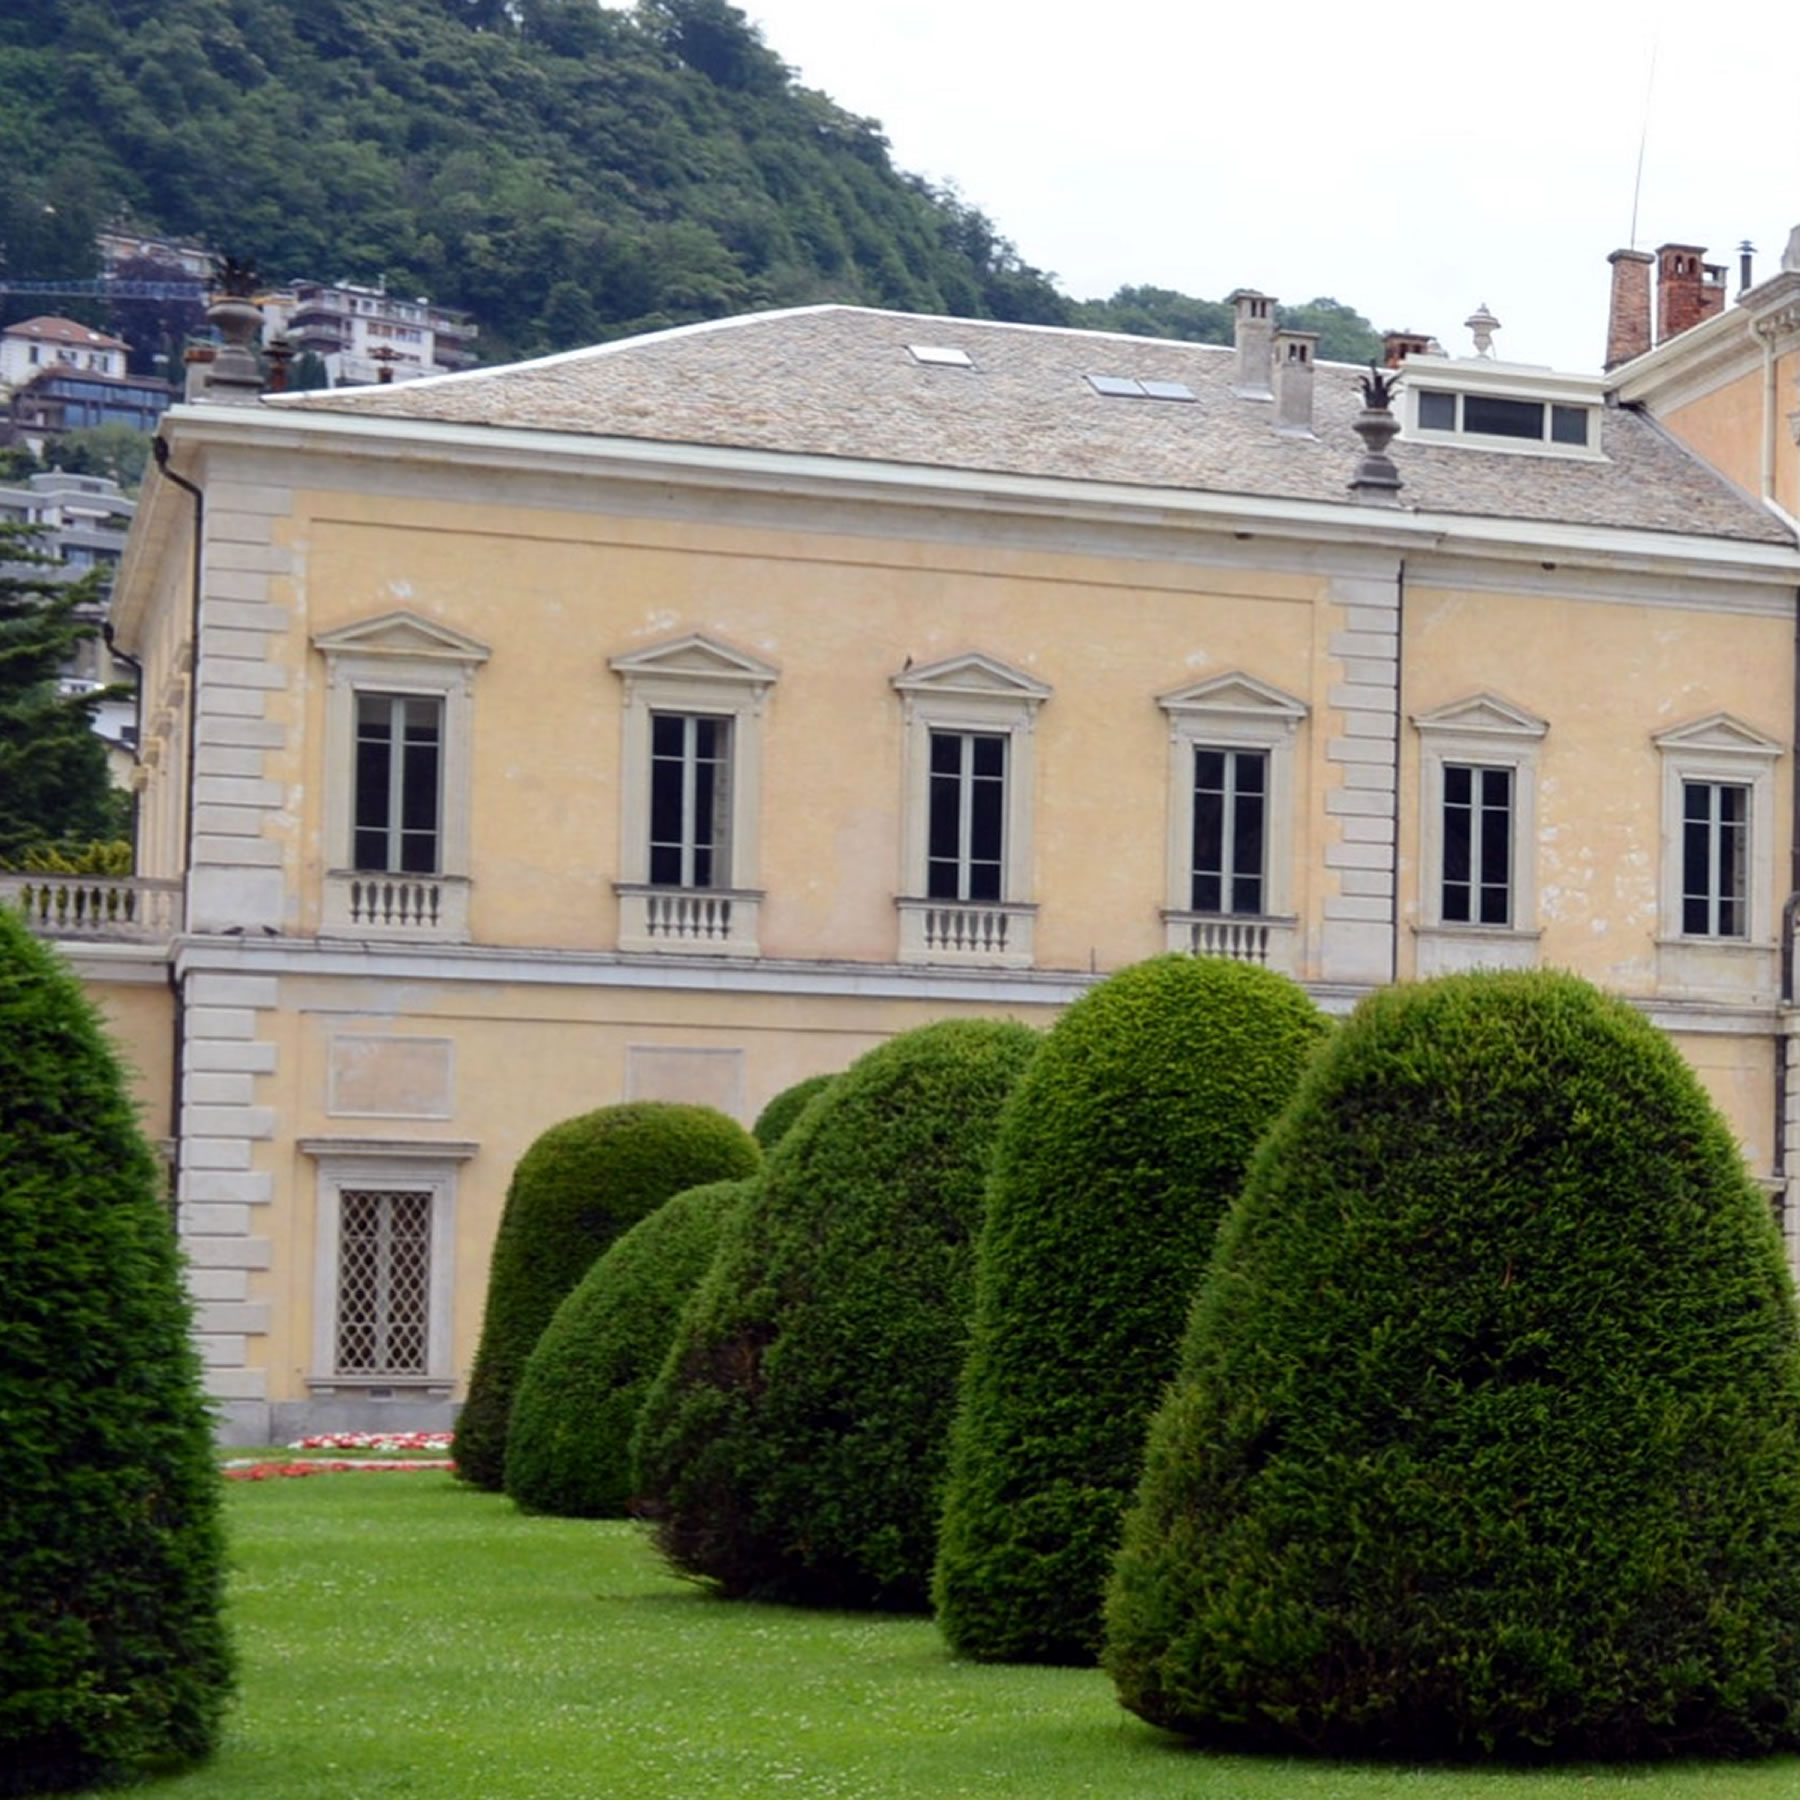
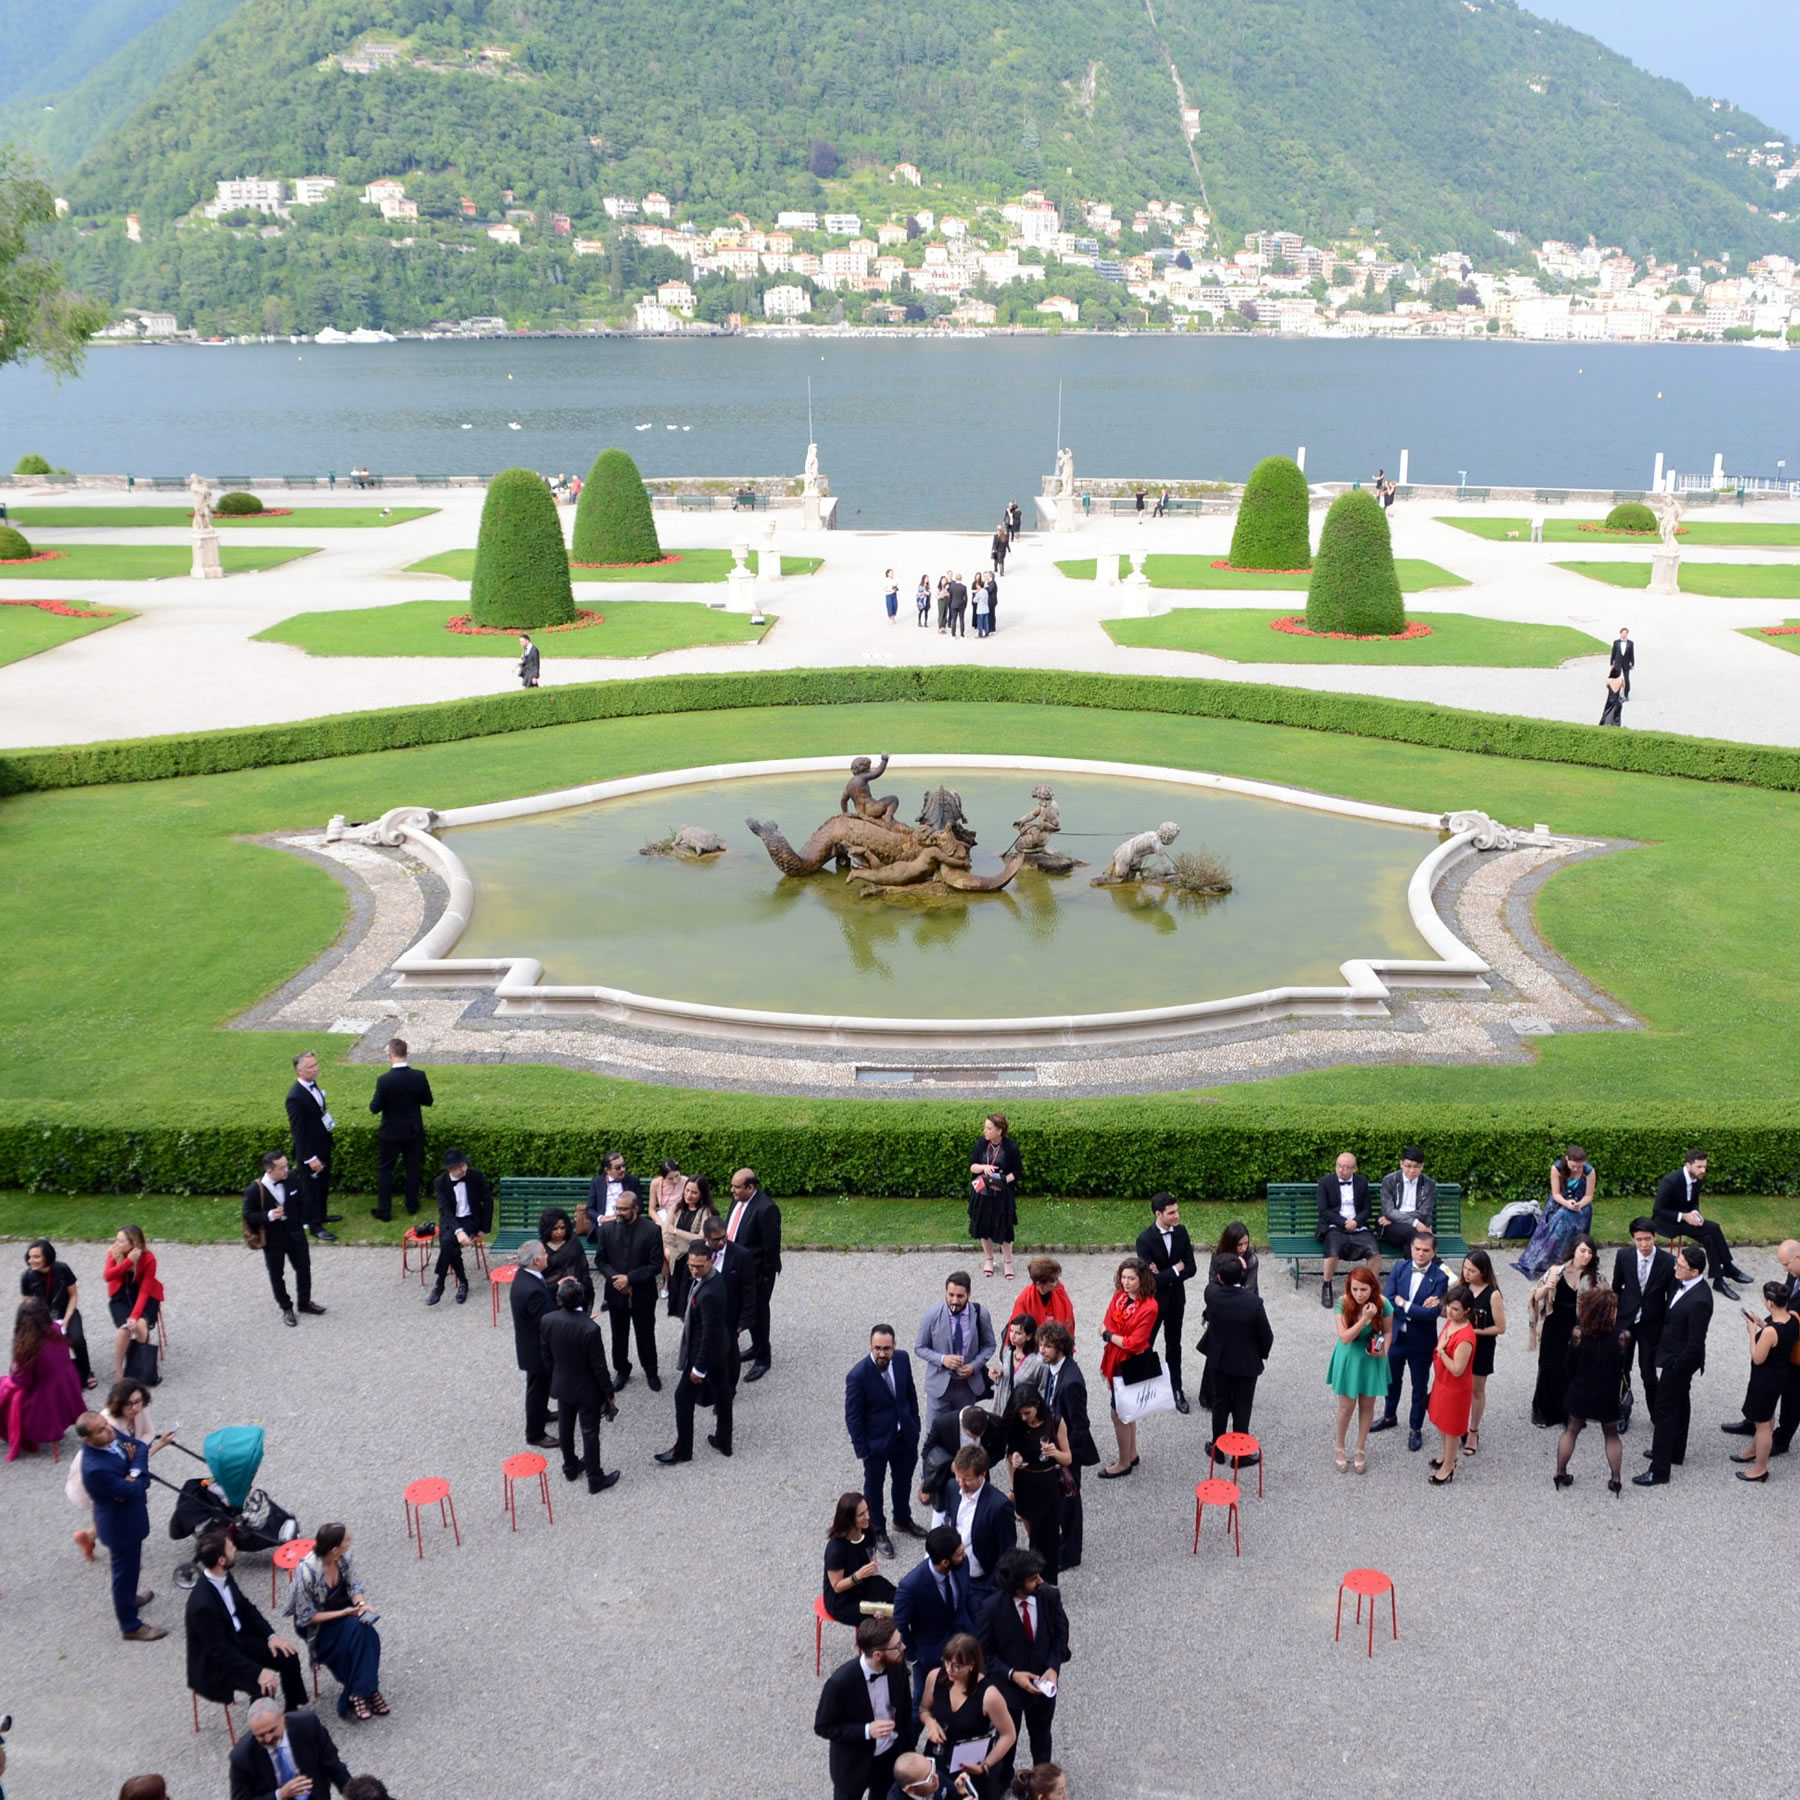
PUBLIC EXHIBITION
The A' Sculpture Design Award Exhibition at Museo del Design, located right behind Villa Olmo, allows the award-winning works to get exposed to affluent design-loving tourists visiting Como, Italy.
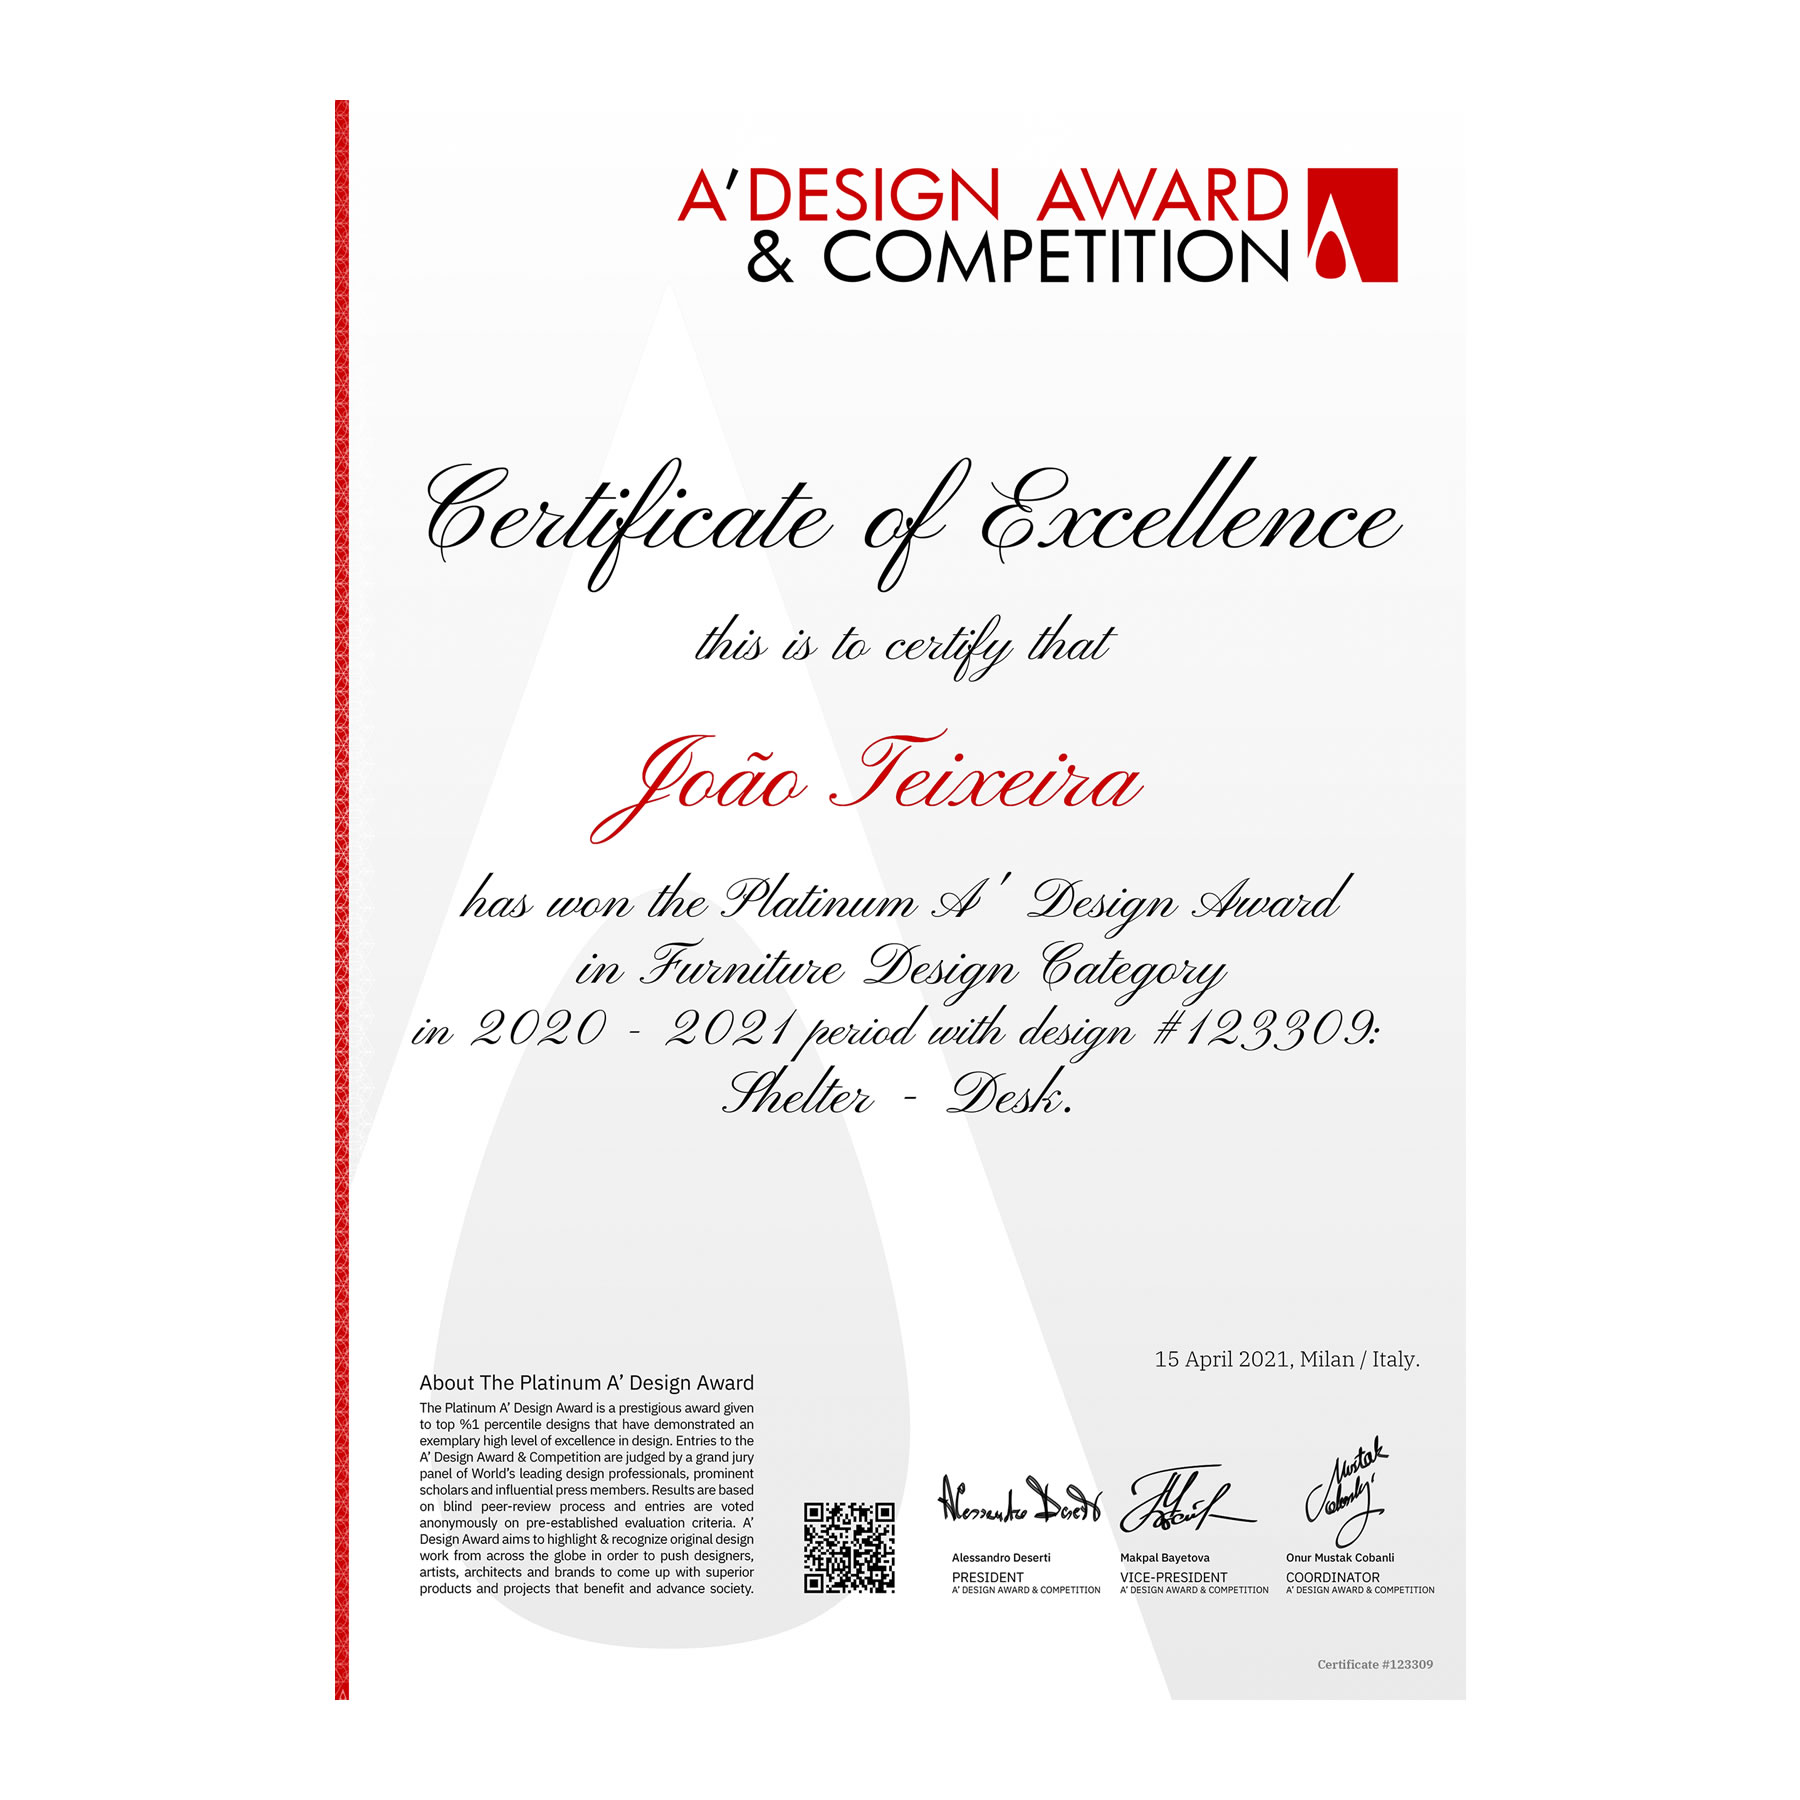
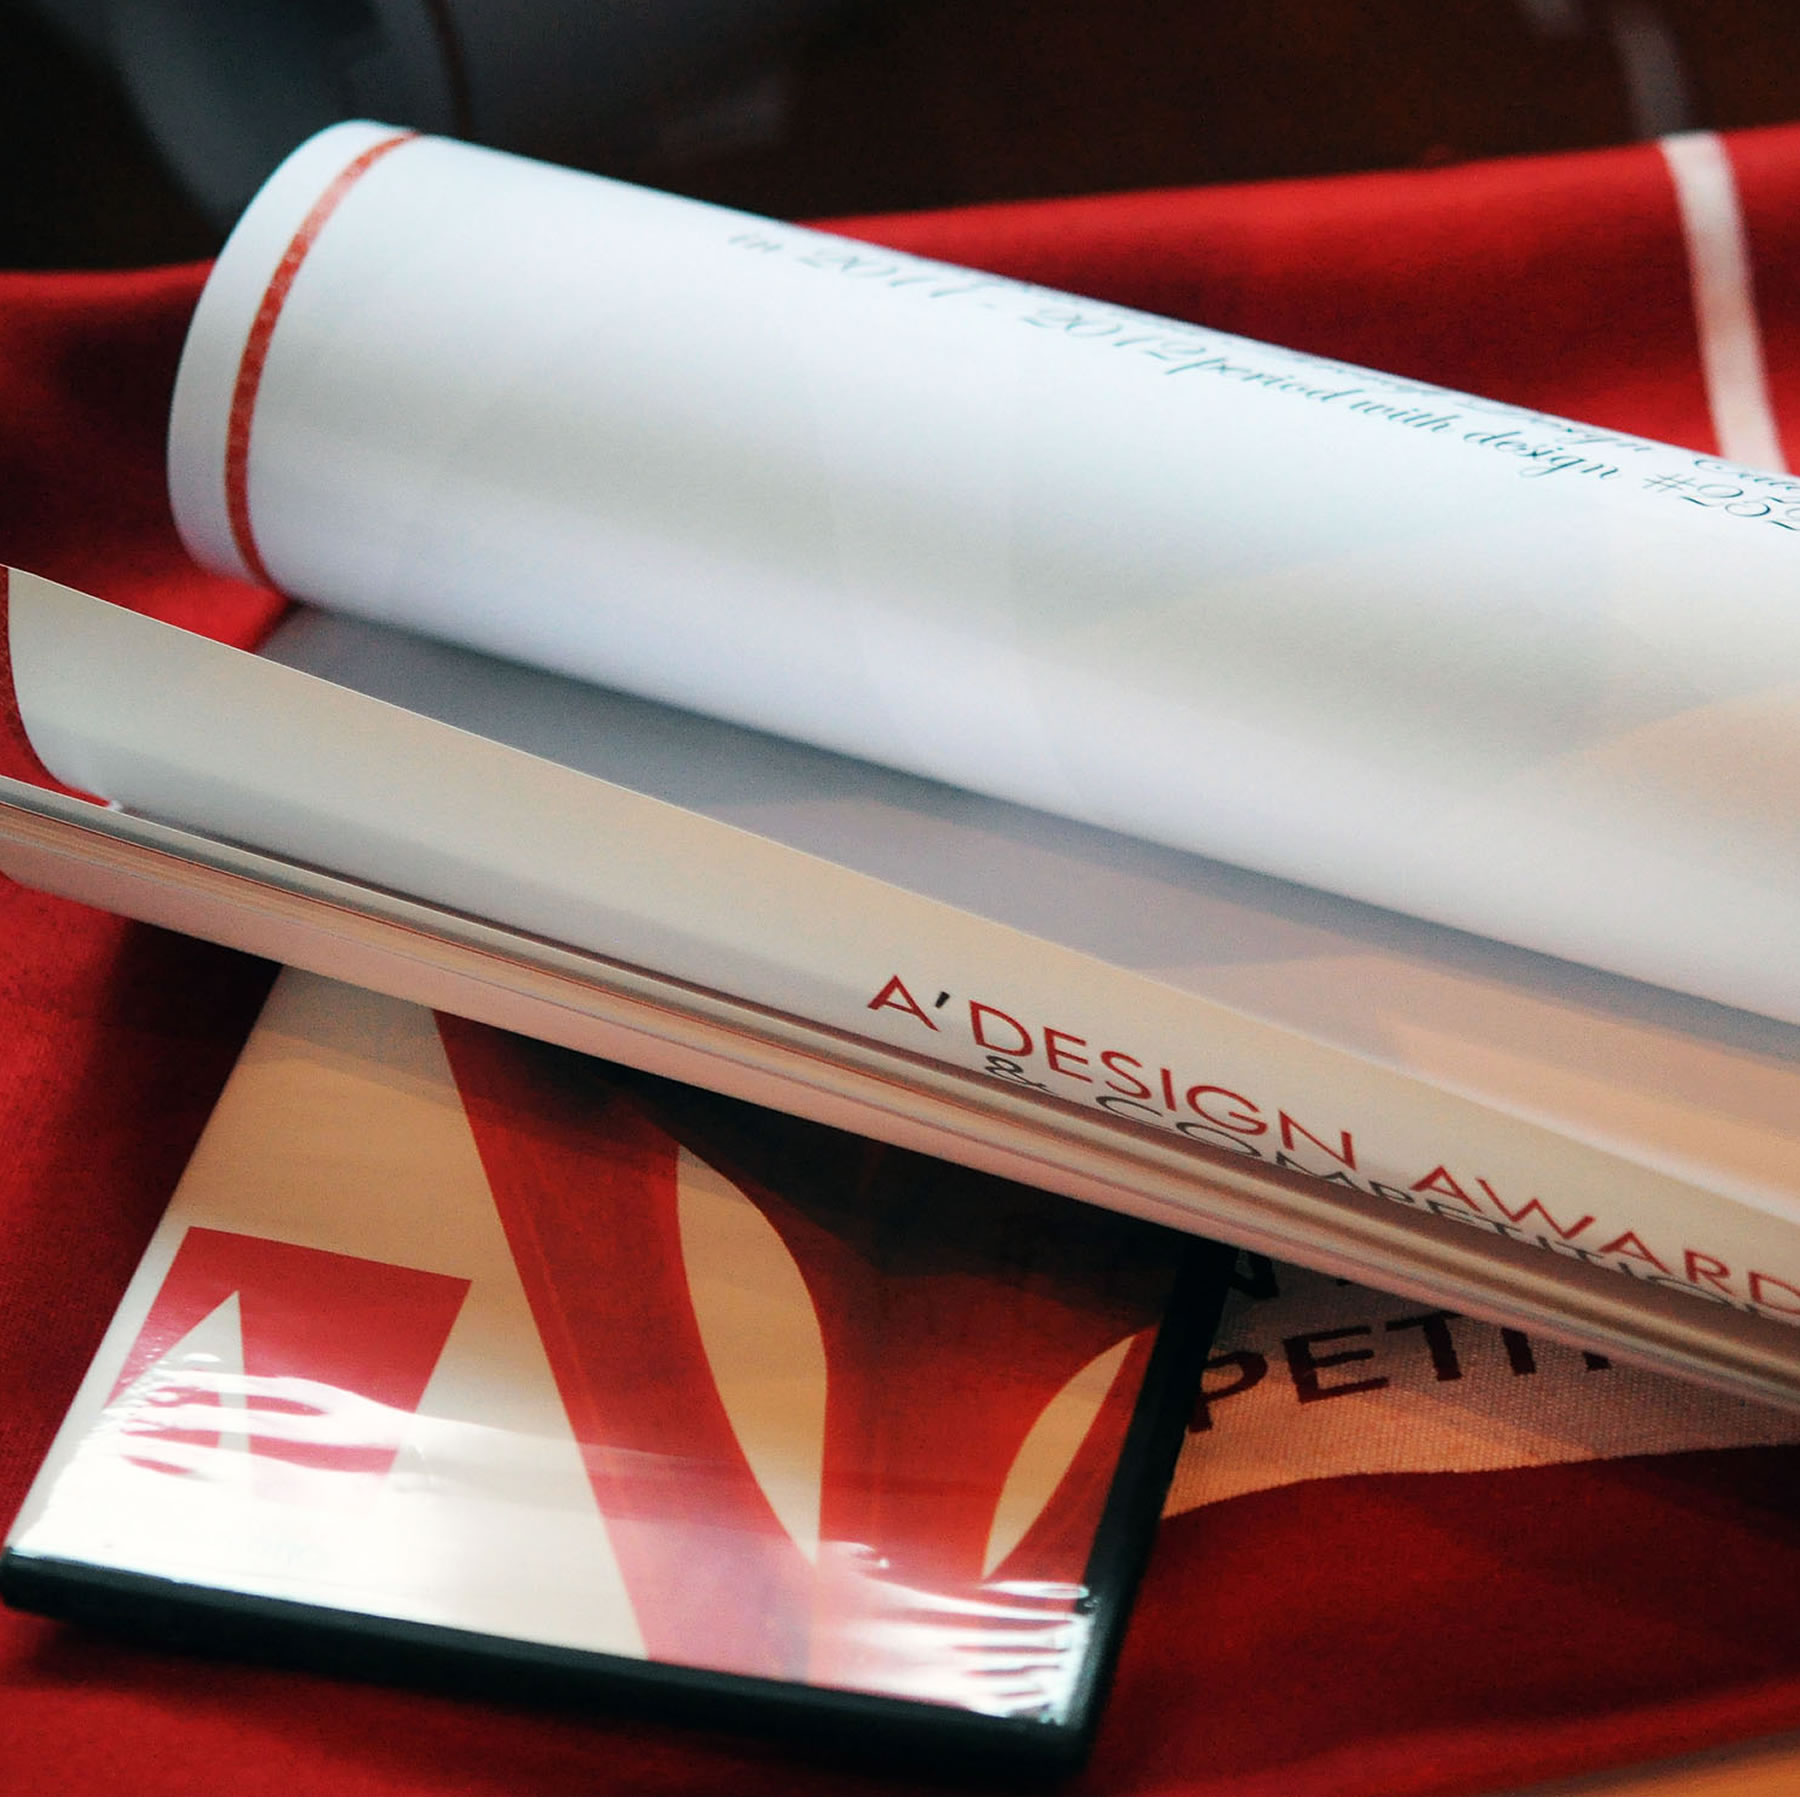
SCULPTURE DESIGN AWARD CERTIFICATE
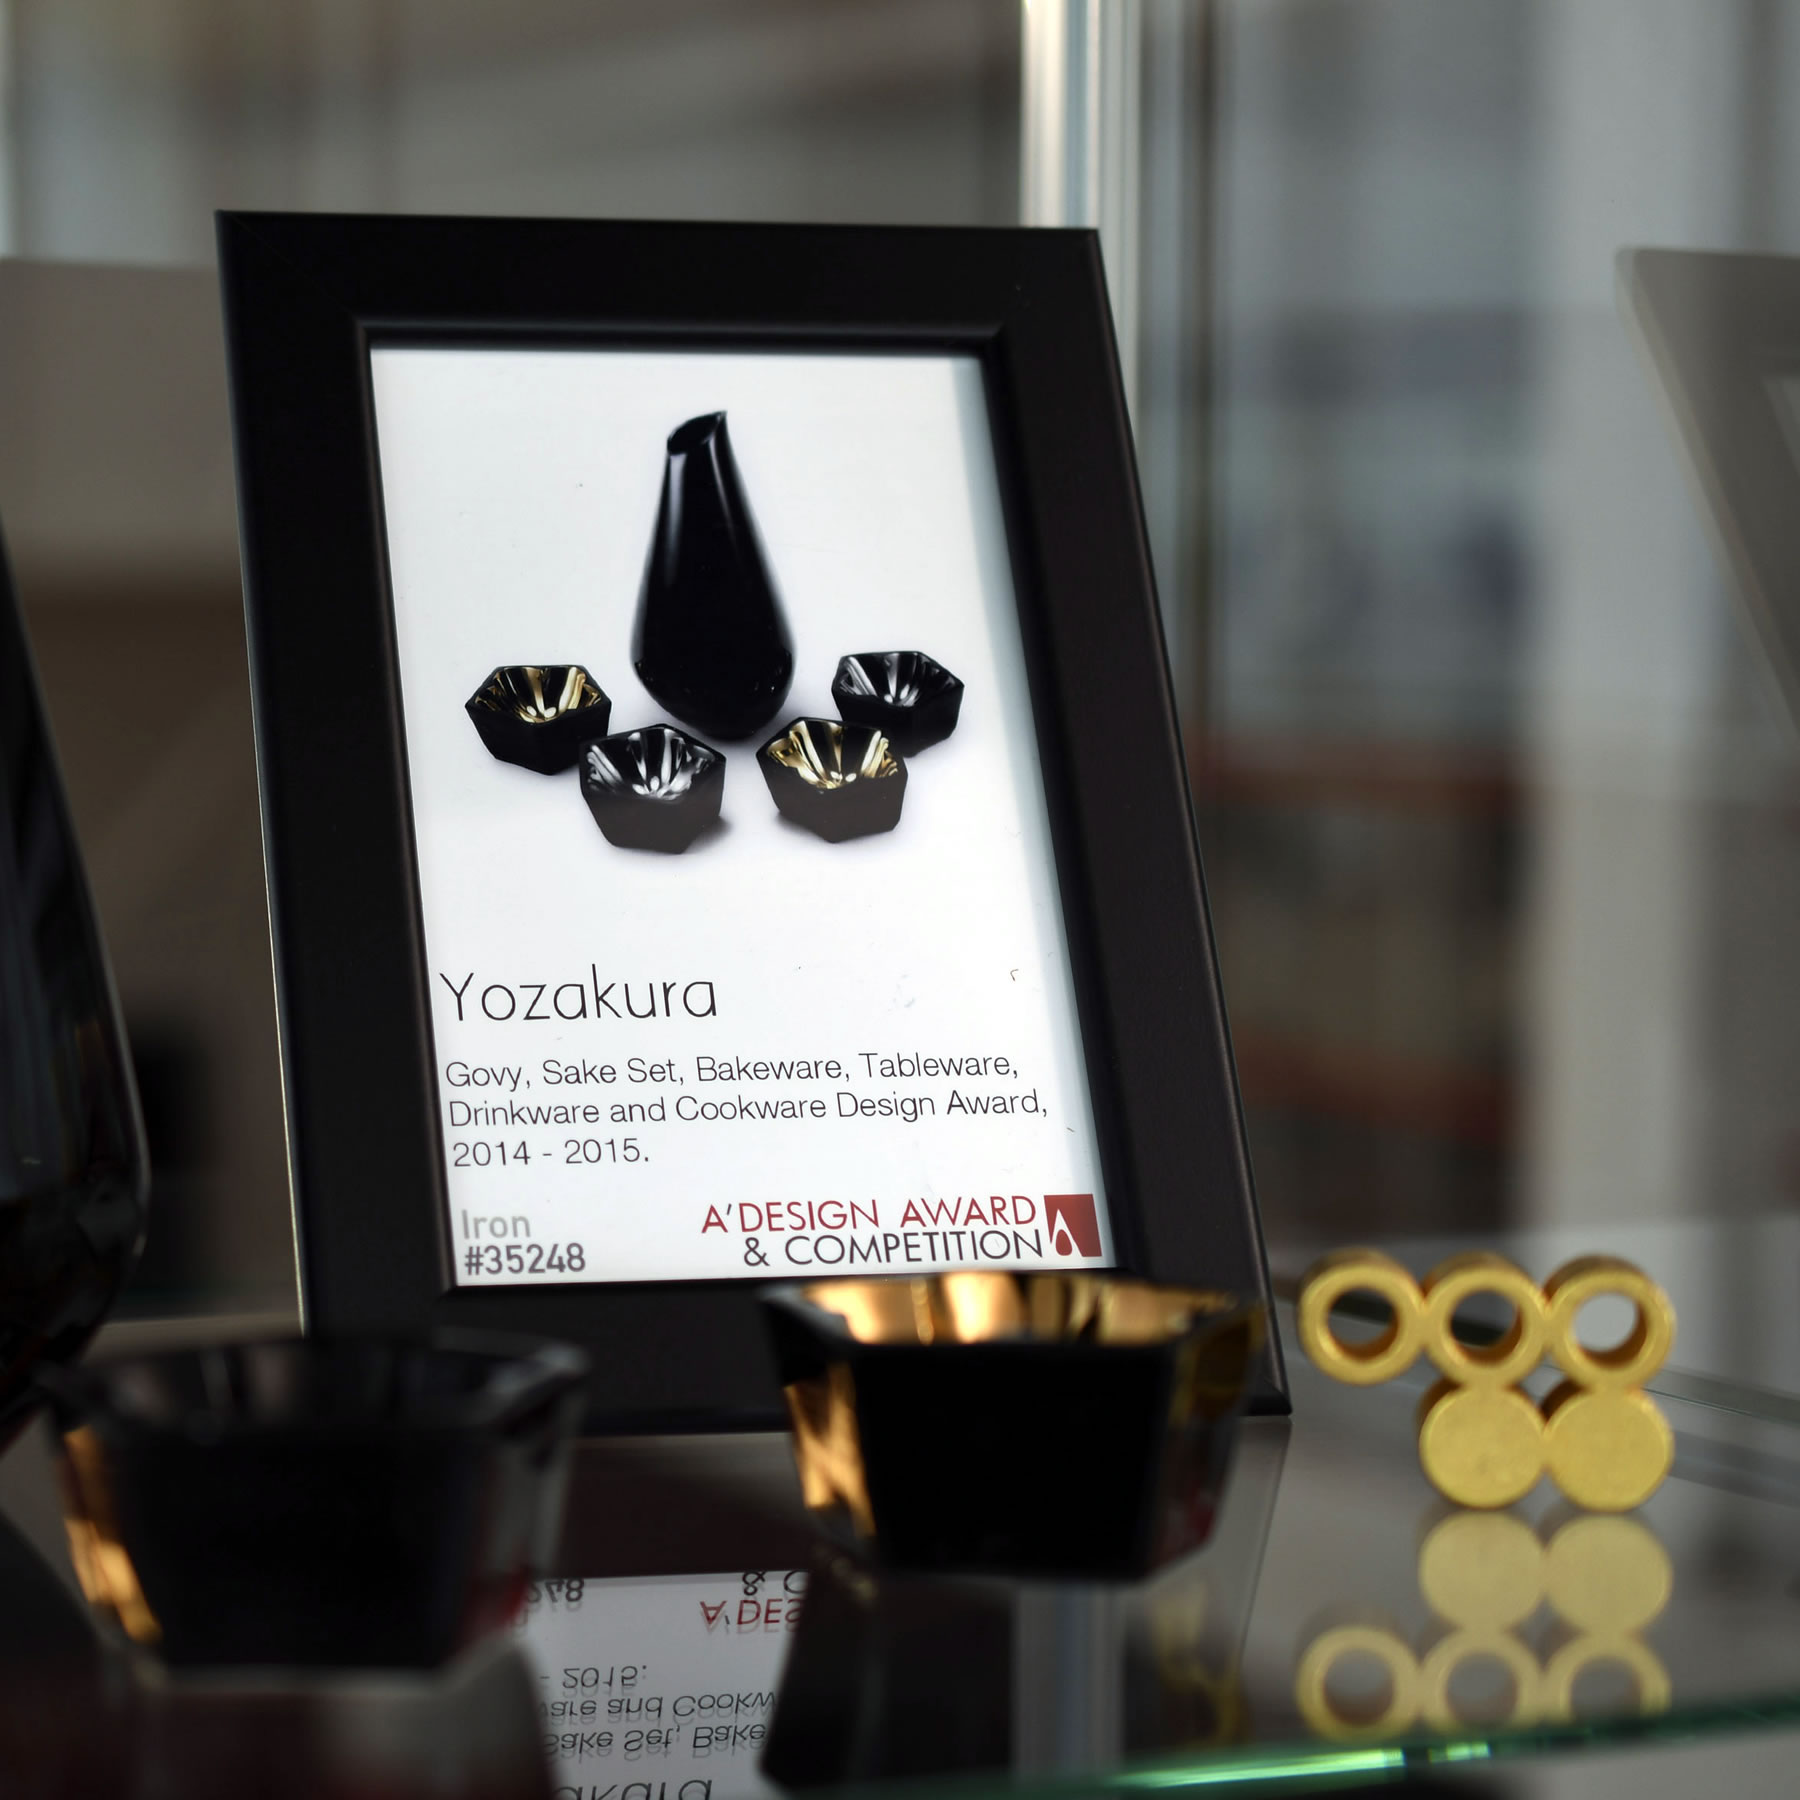
Eligible award-winning sculpture designs are given a unique framed certificate, printed on heavy paper, featuring the name of the awarded work, achievement status and the designer.
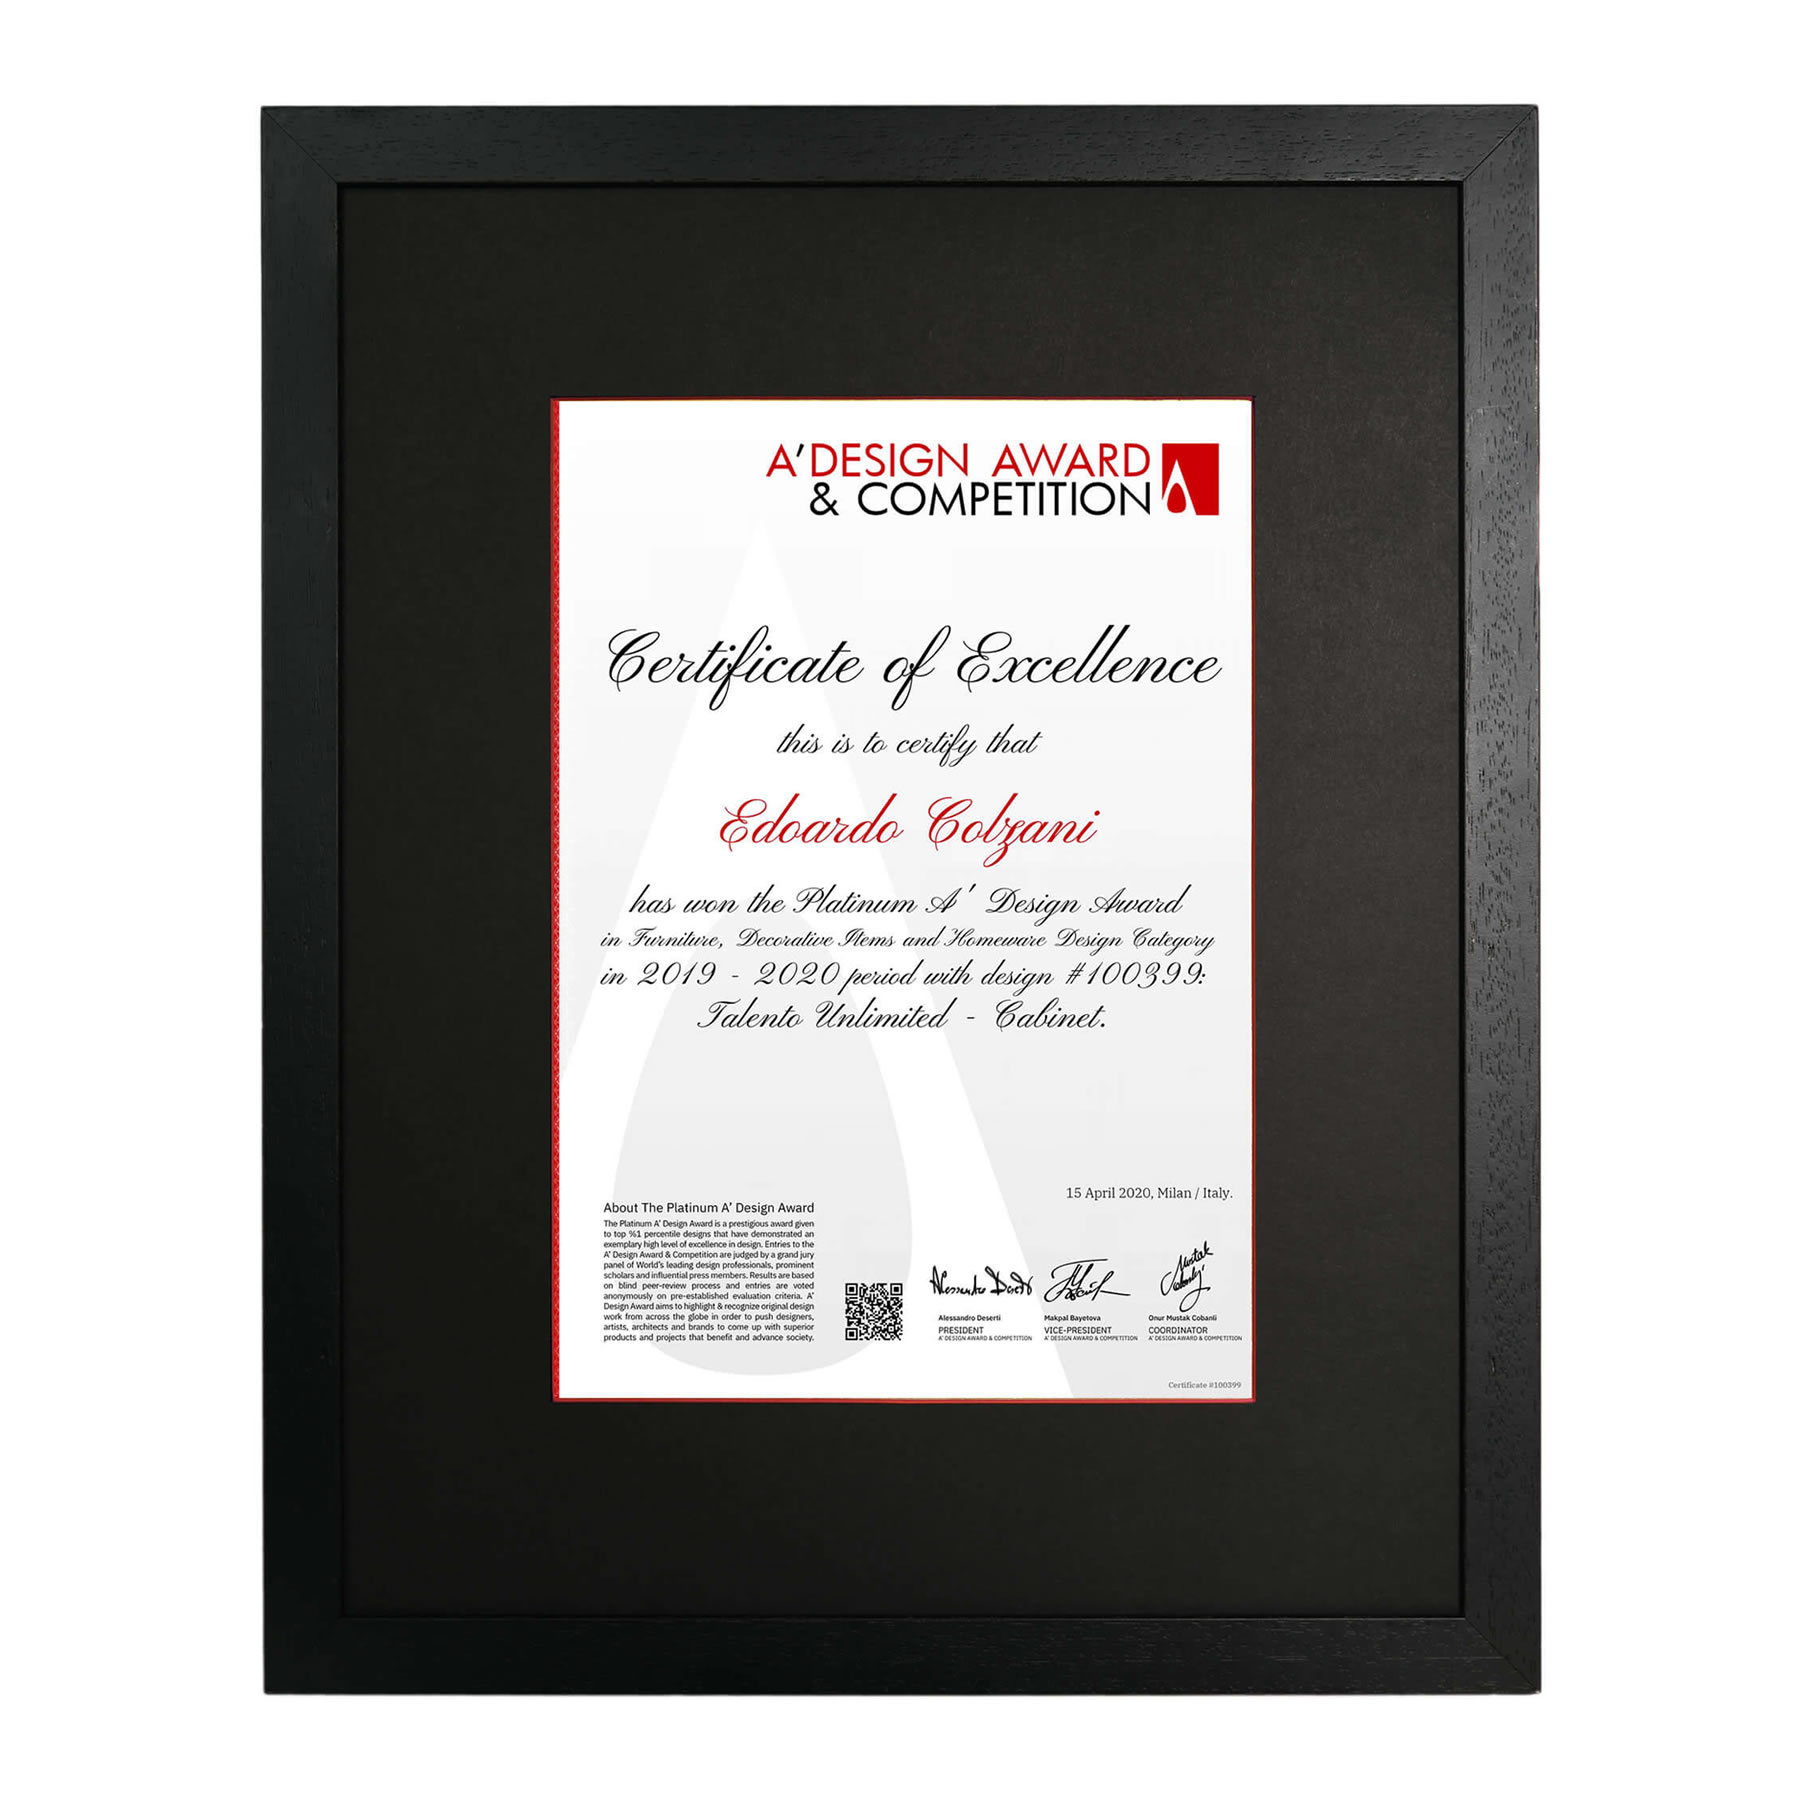
CERTIFICATE OF EXCELLENCE
The A' Sculpture Design Award Winners' Certificate is a great tool to communicate your outstanding achievement to your audiences. The A' Design Award Winners' Certificate is stamped, signed, framed and presented to you during gala-night.

FEATURES A QR CODE
The A' Sculpture Design Award Certificate features a QR Code which could be scanned by QR Code Readers in order to check the validity of the certificate.
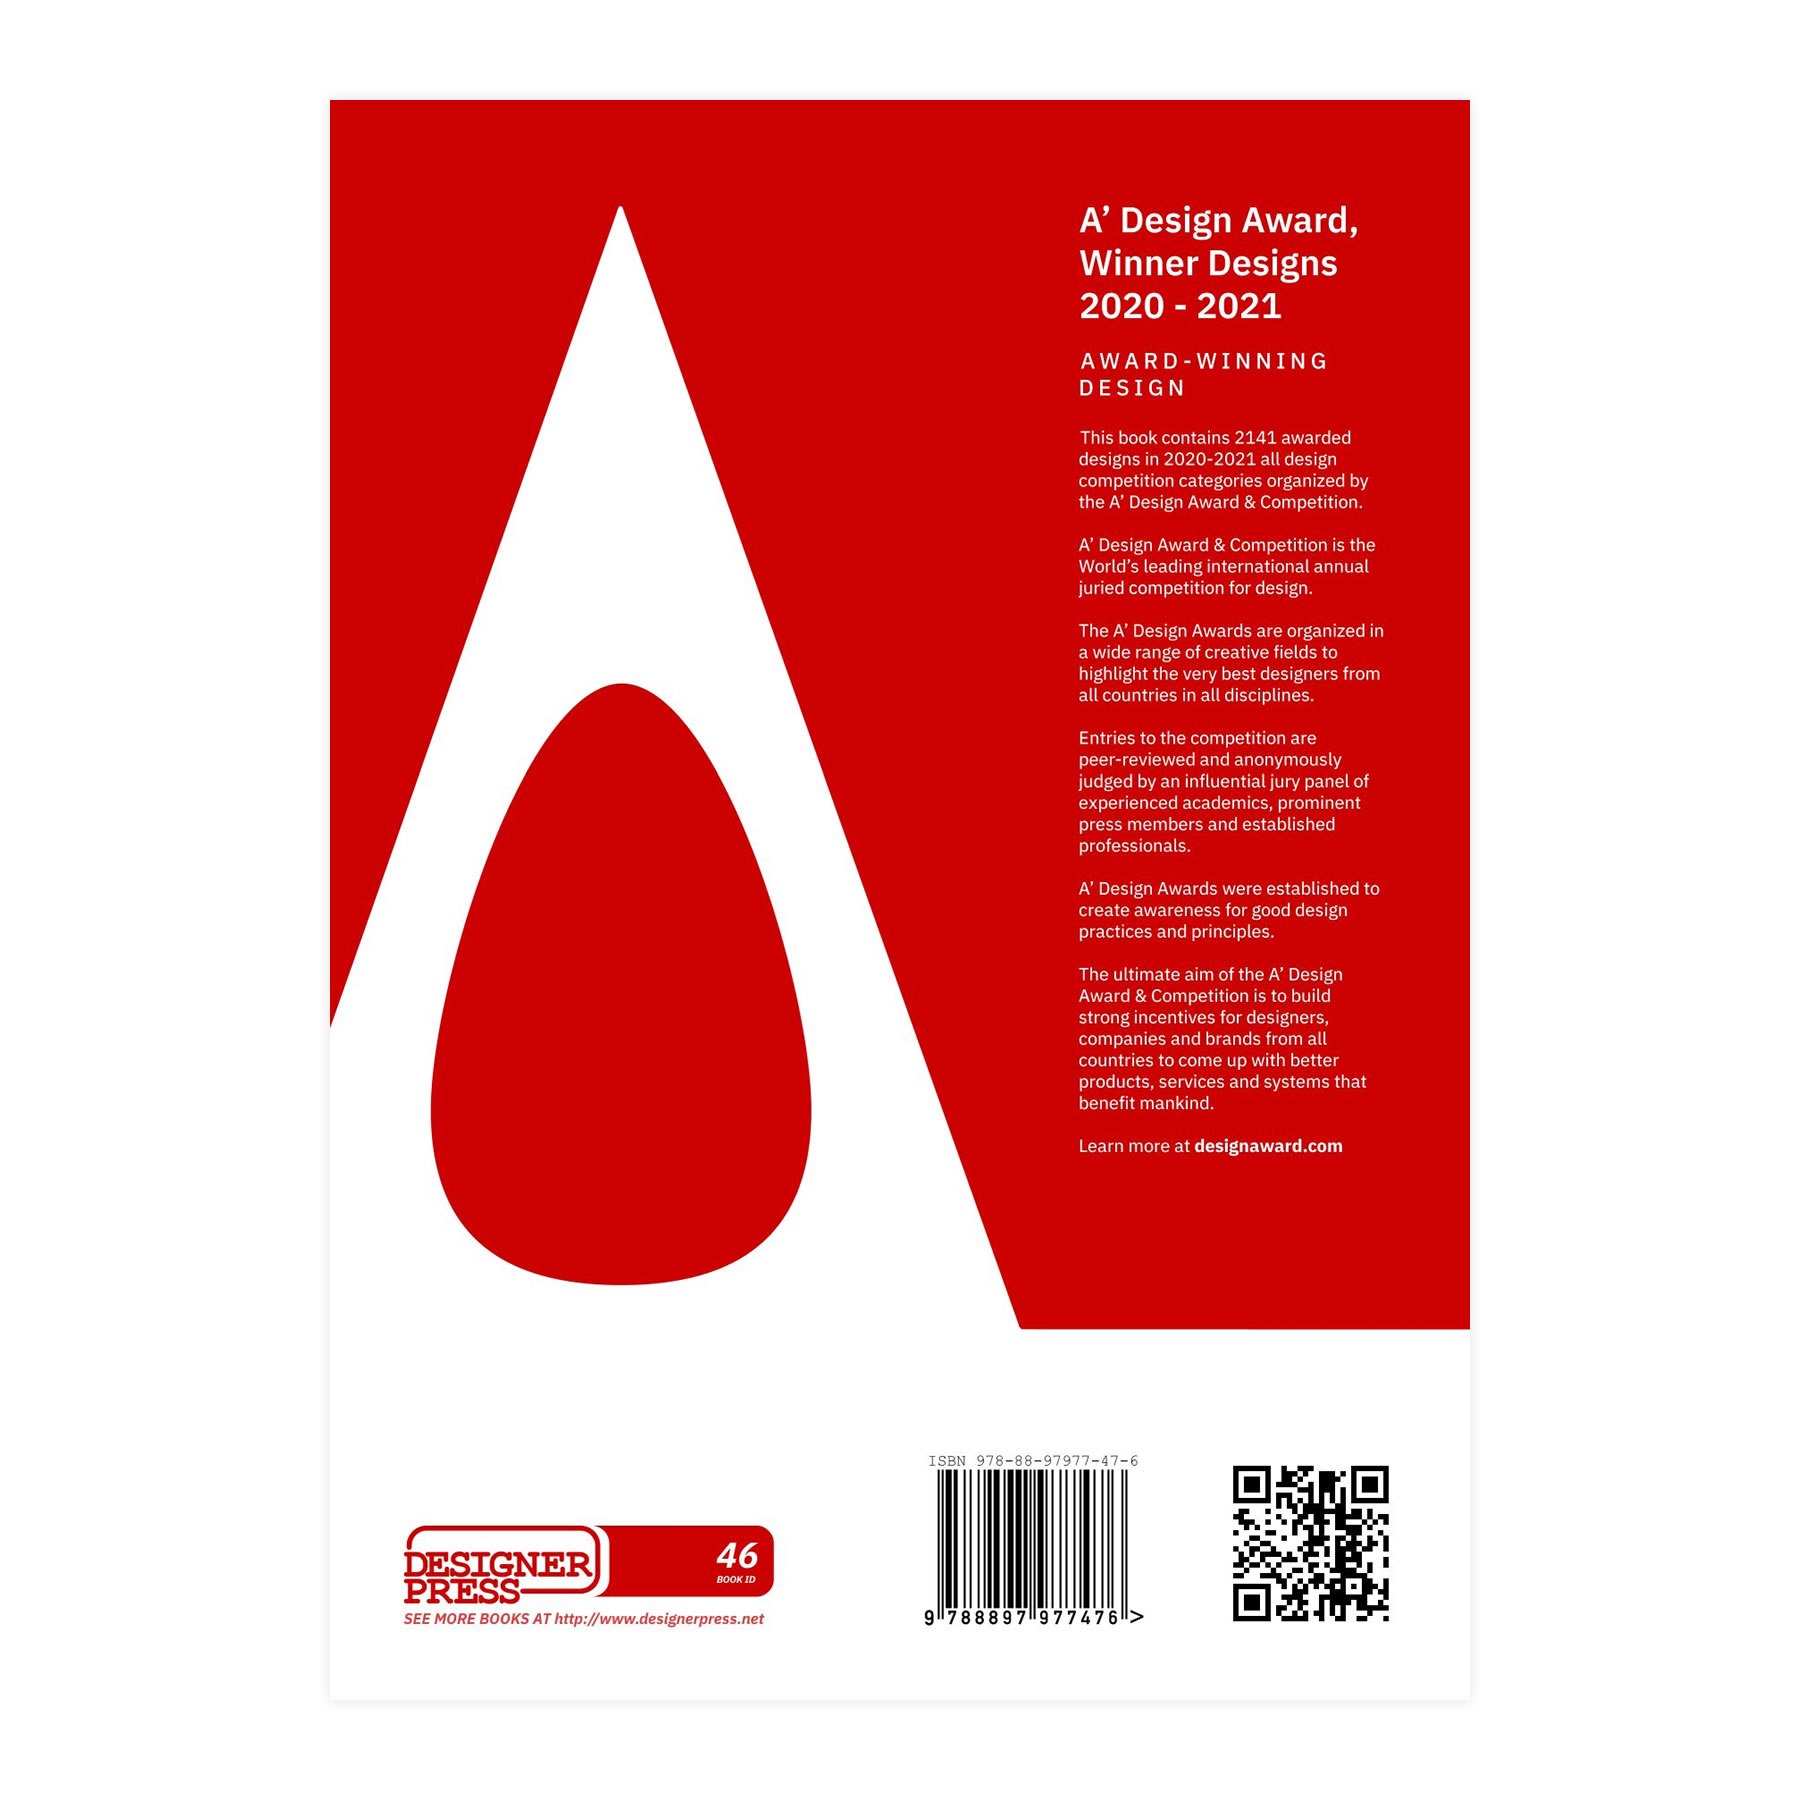
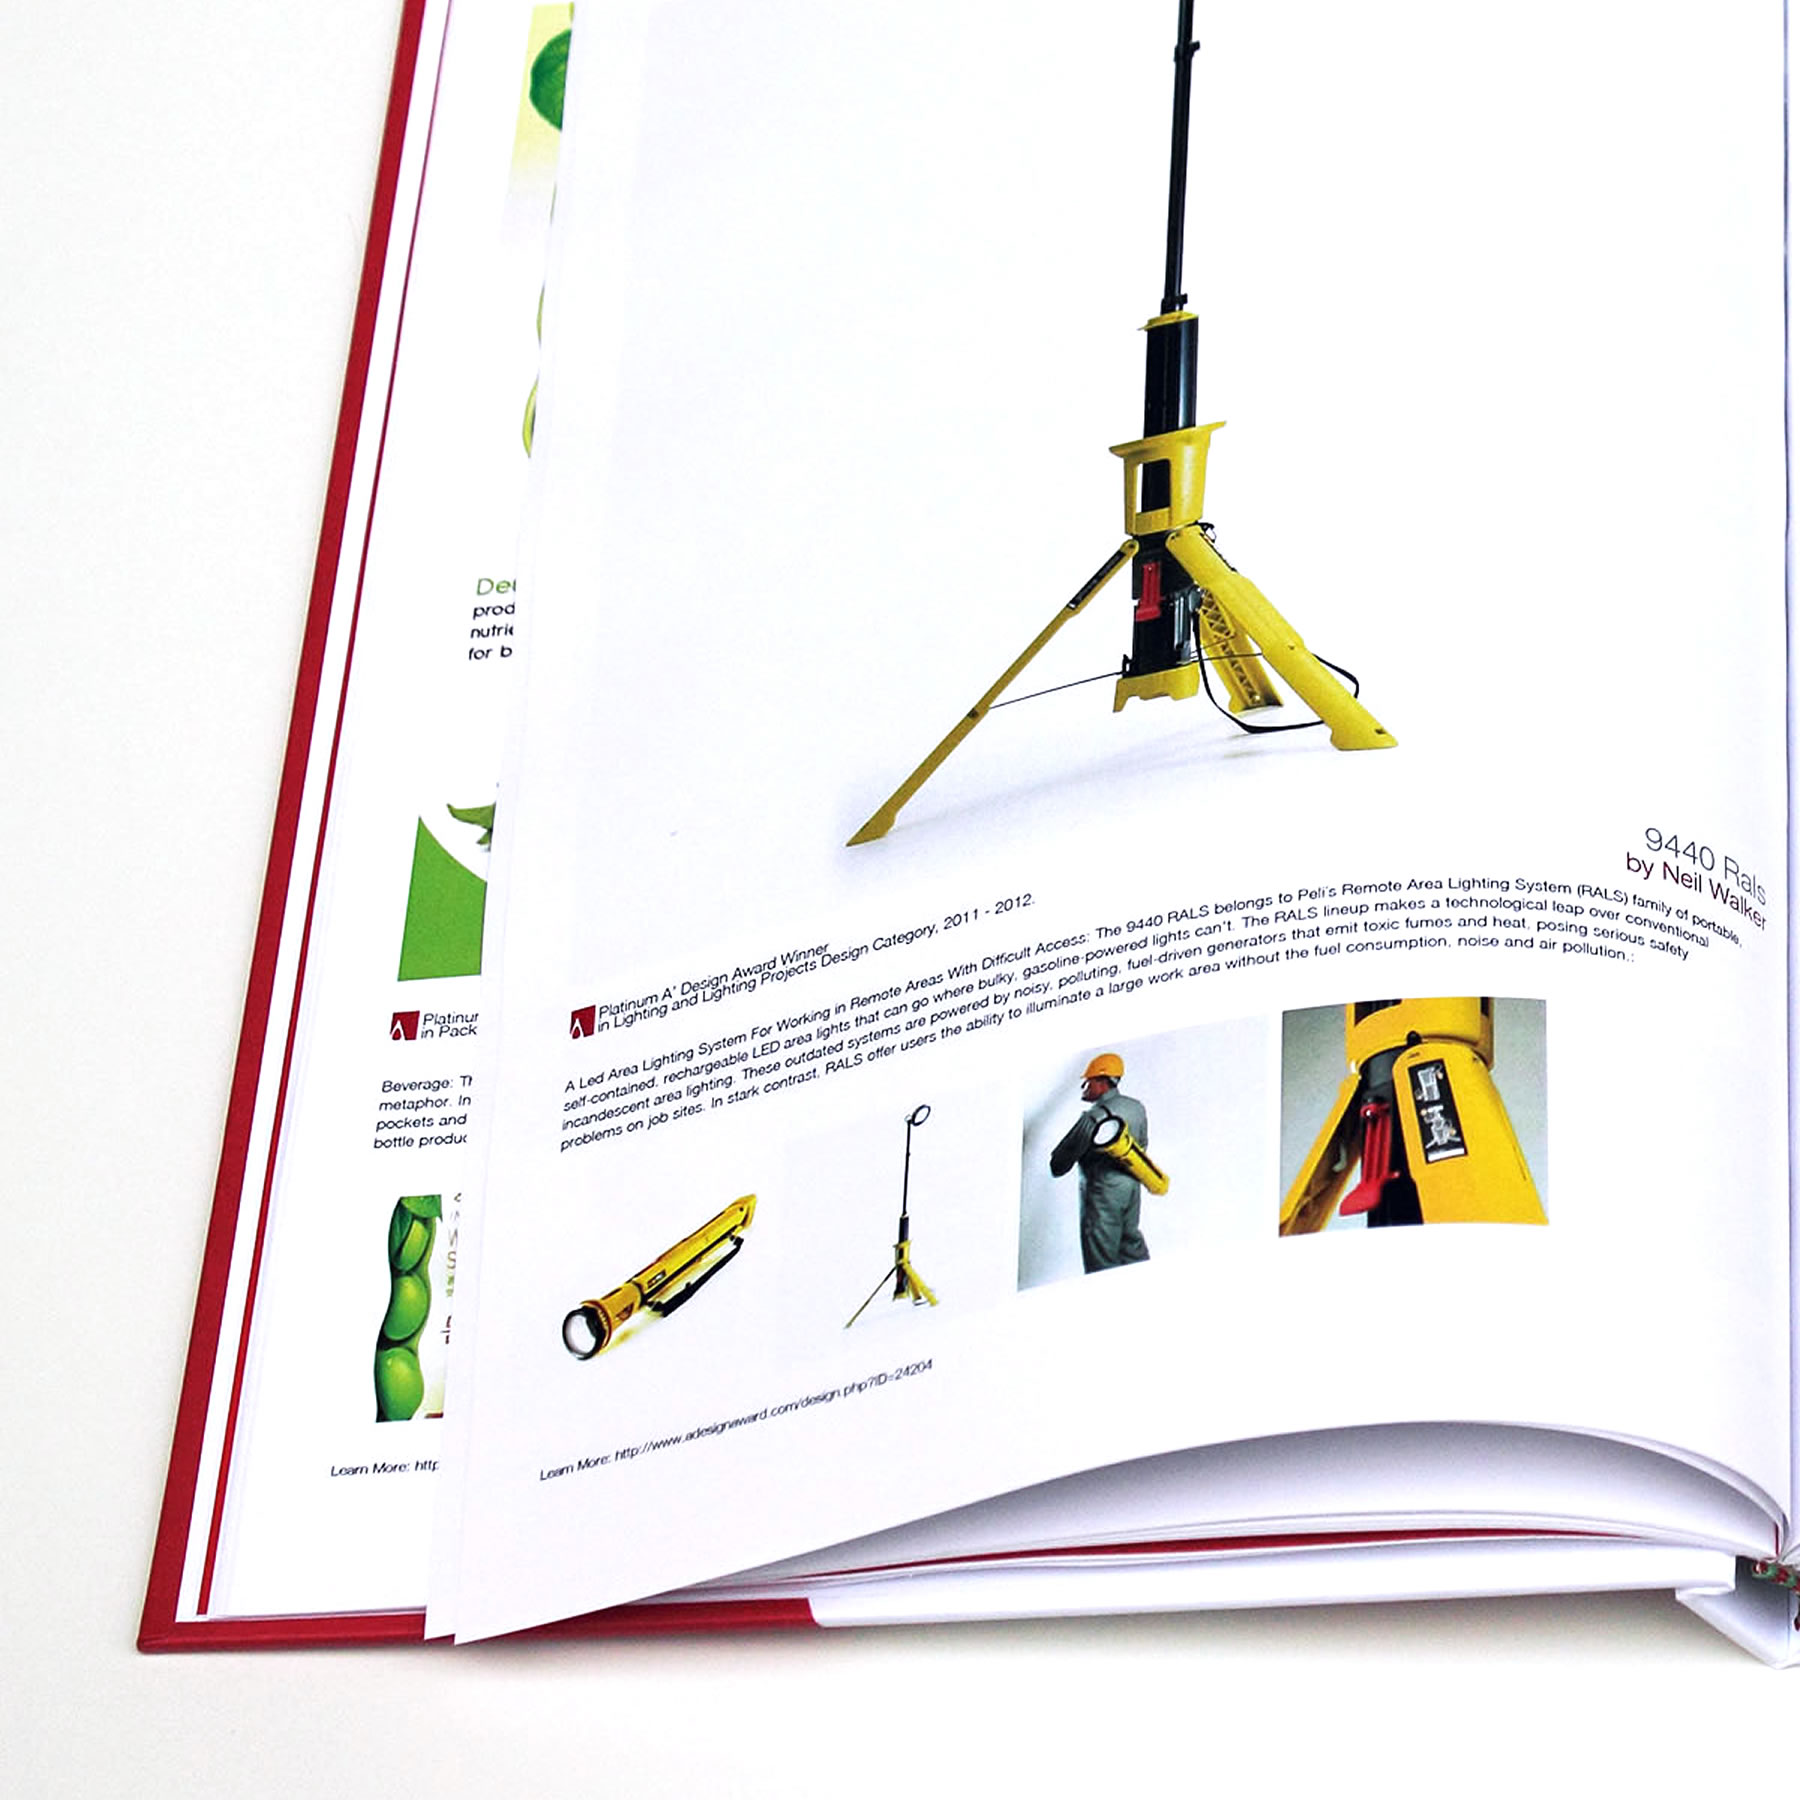
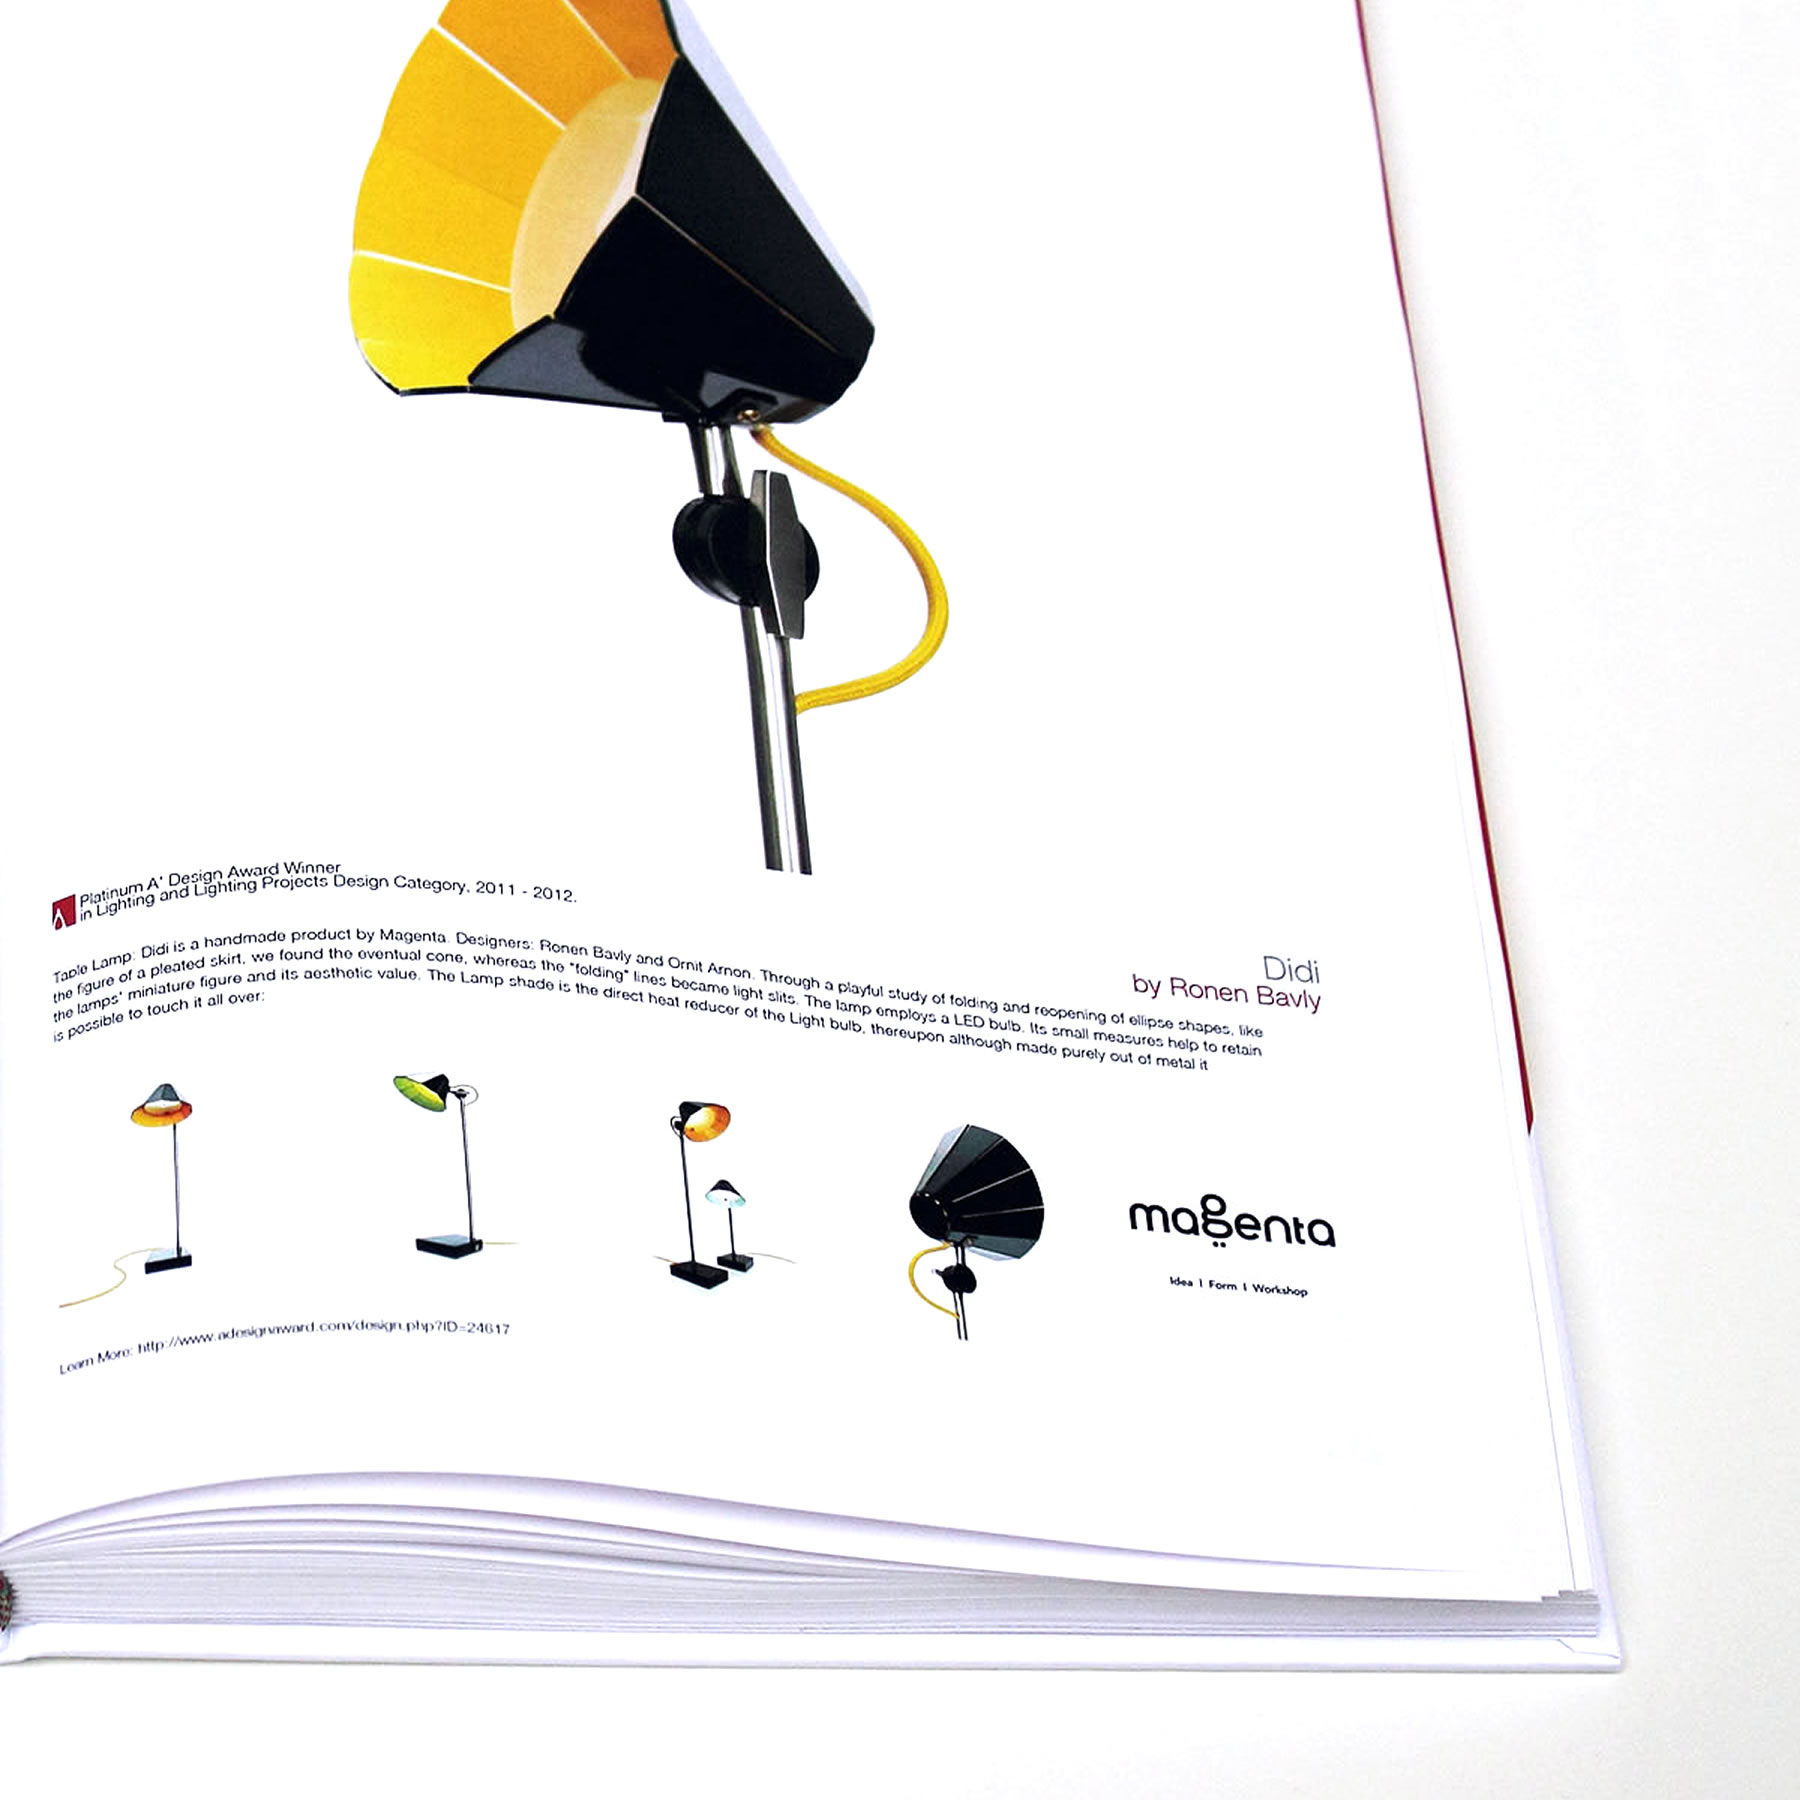
WINNER SCULPTURE DESIGNS YEARBOOK
The A' Sculpture Design Award winners are published in the annual yearbook by DesignerPress in Italy. The yearbooks helps to disseminate the award-winning sculpture designs.
SEND TO PRESS
The Hardcopy version of the A' Design Award Winner Designs Yearbook is distributed to key press members, universities and design associations.
GOOD DESIGNS ARE PUBLISHED
All A' Sculpture Design Award Winner Designs are included in the winners' yearbook free of charge. Laureates of the A' Sculpture Design Award are all listed as co-editors of the book.
HARDCOVER & DIGITAL
The A' Sculpture Design Award Winners Annual Yearbook are available as hard-copy editions in addition to digital editions, designed, registered, printed and distributed in Italy, in English, registered with valid ISBN numbers.
HIGH-QUALITY PRINTING
The A' Sculpture Design Award books are full color digital printed on acid-free paper to preserve the design for long periods of time, and are great additions to any design library.

GET & CHECK IT
The hardcover versions of the winner's yearbooks are gifted to laureates of the A' Sculpture Design Award free of charge during gala-night and award ceremony. Yearbooks are available for sale at select retailers and museum shops.
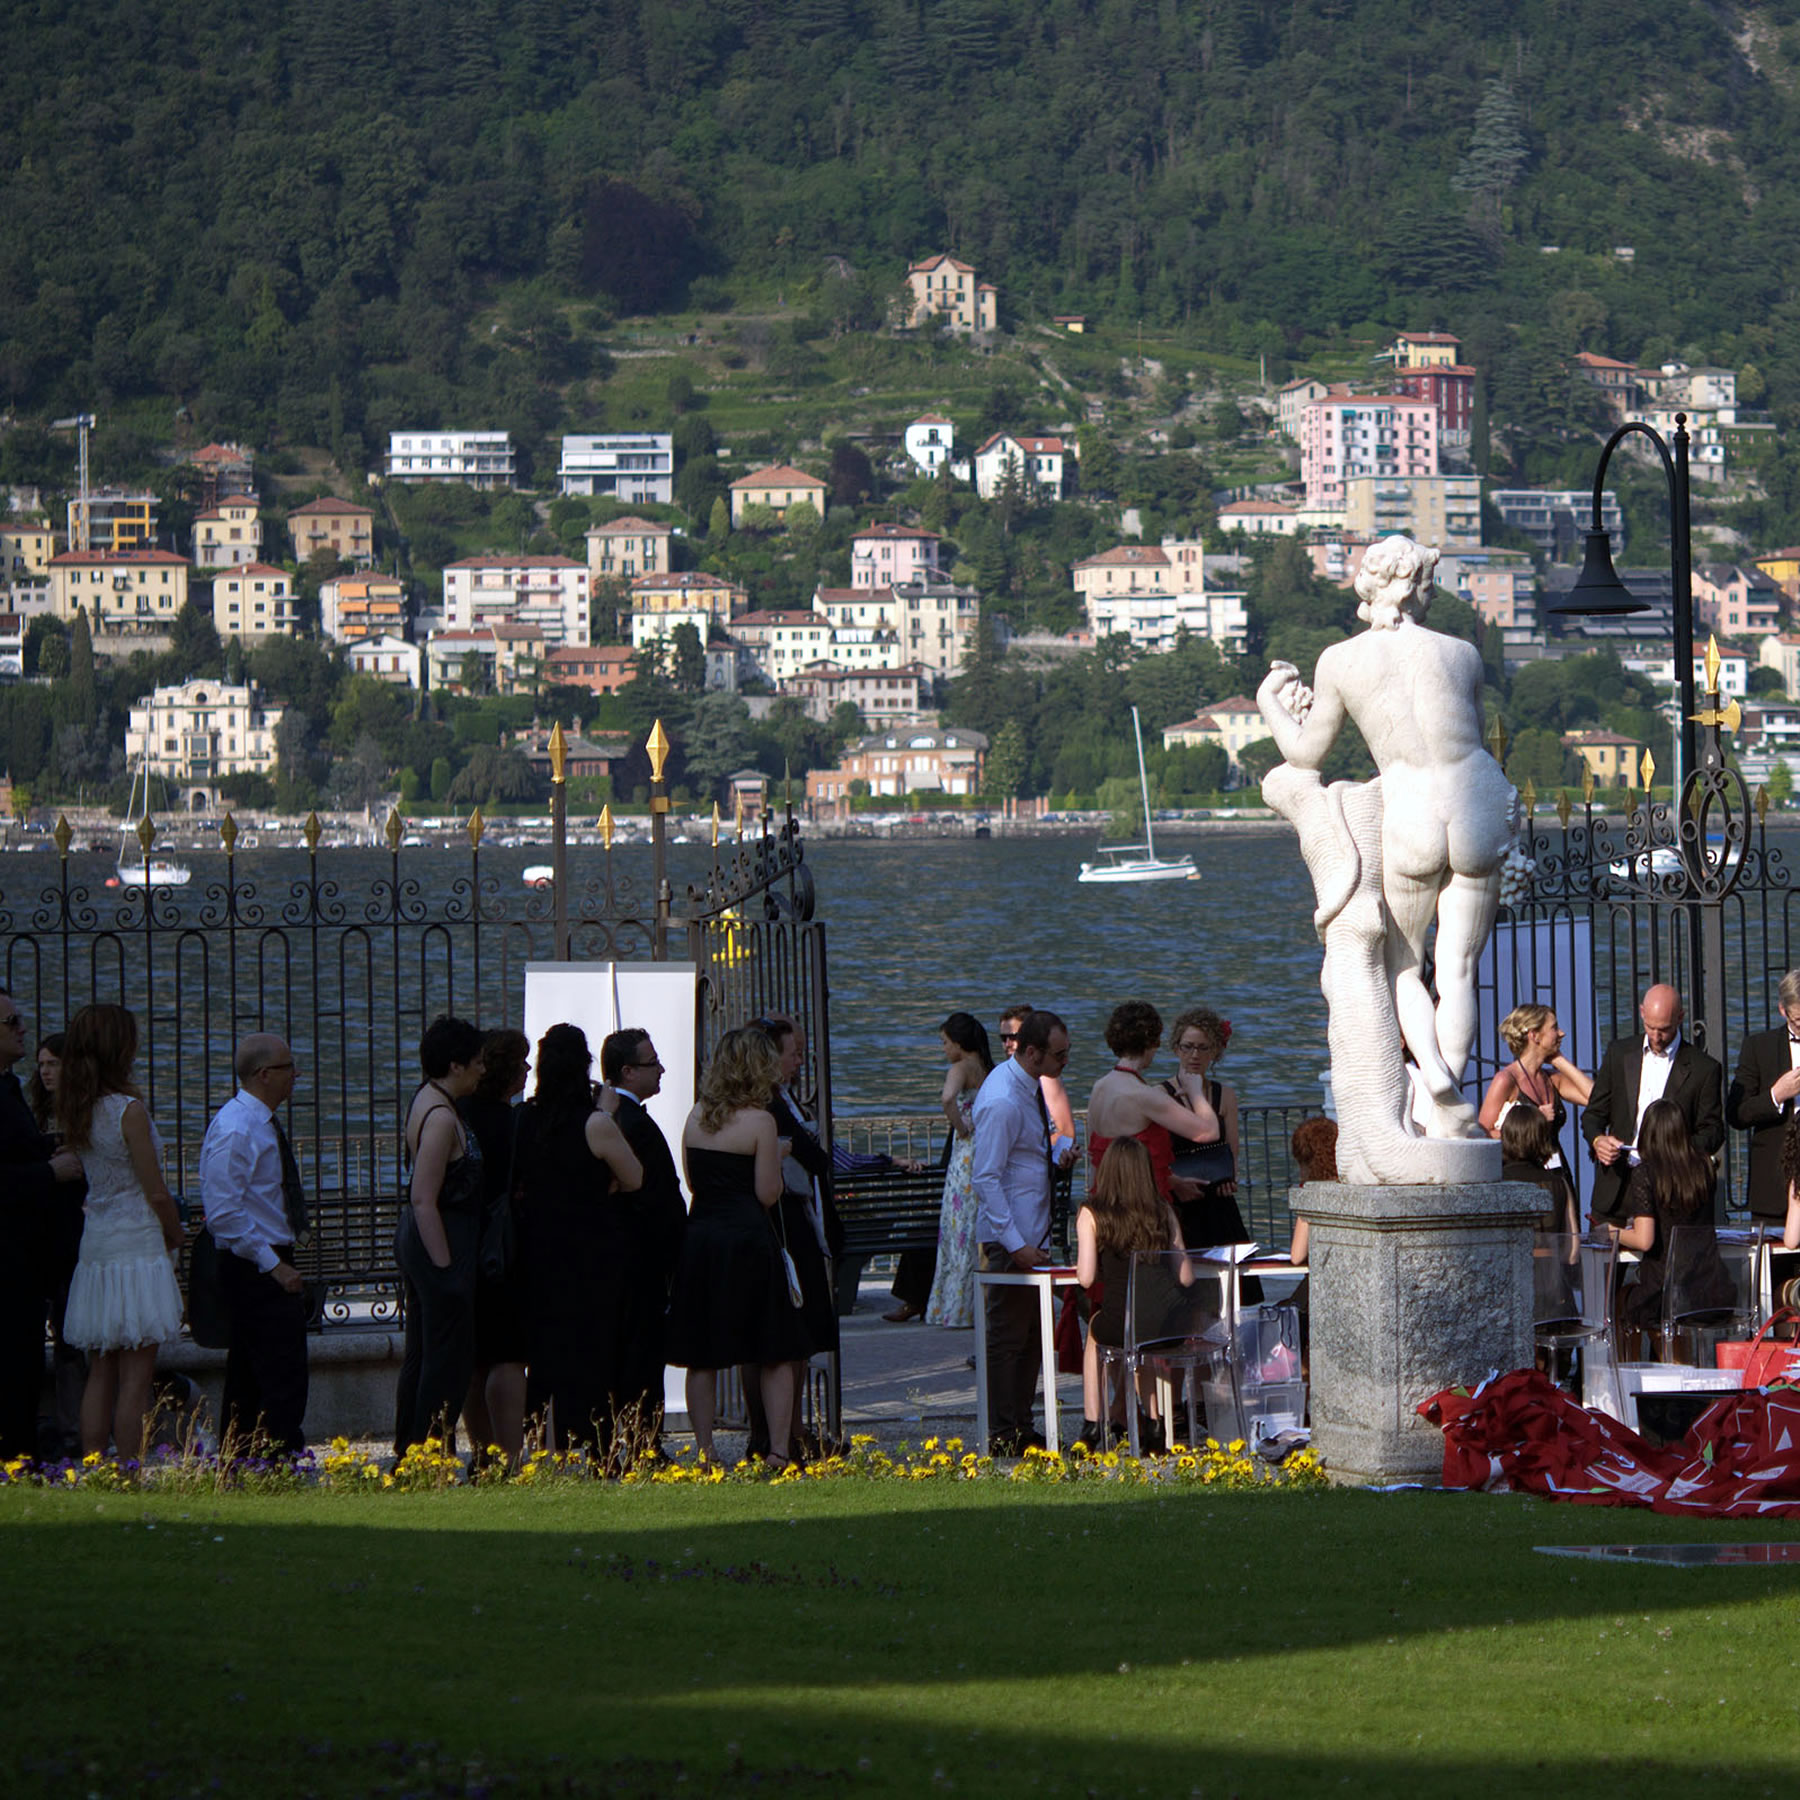
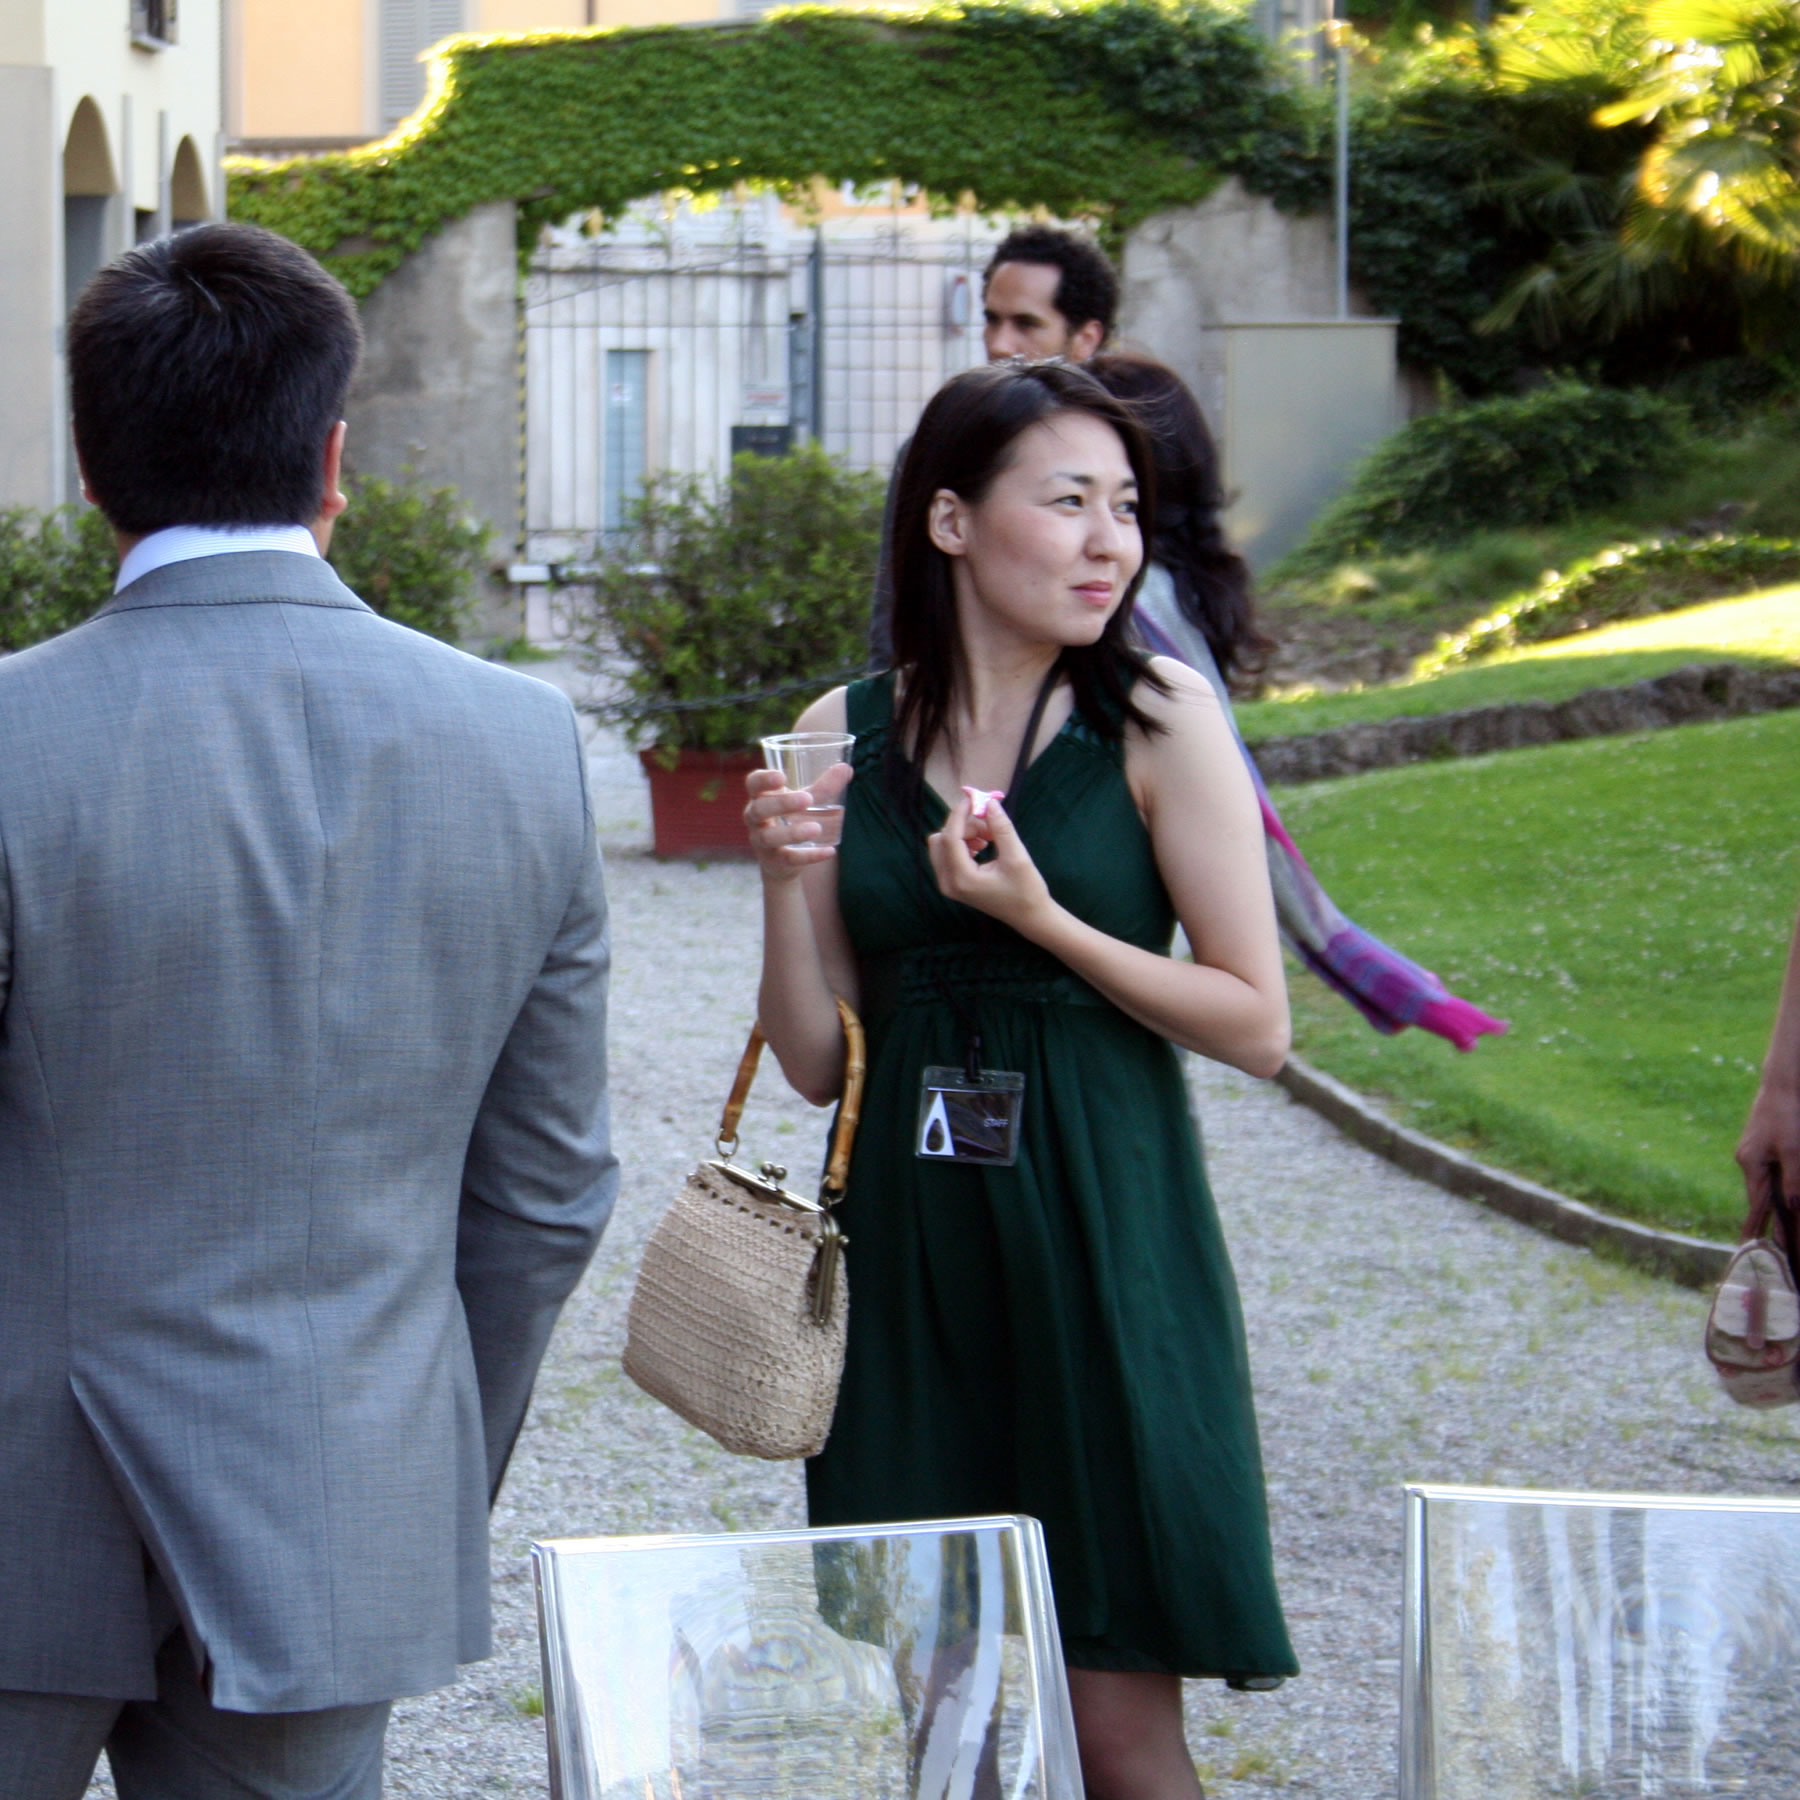

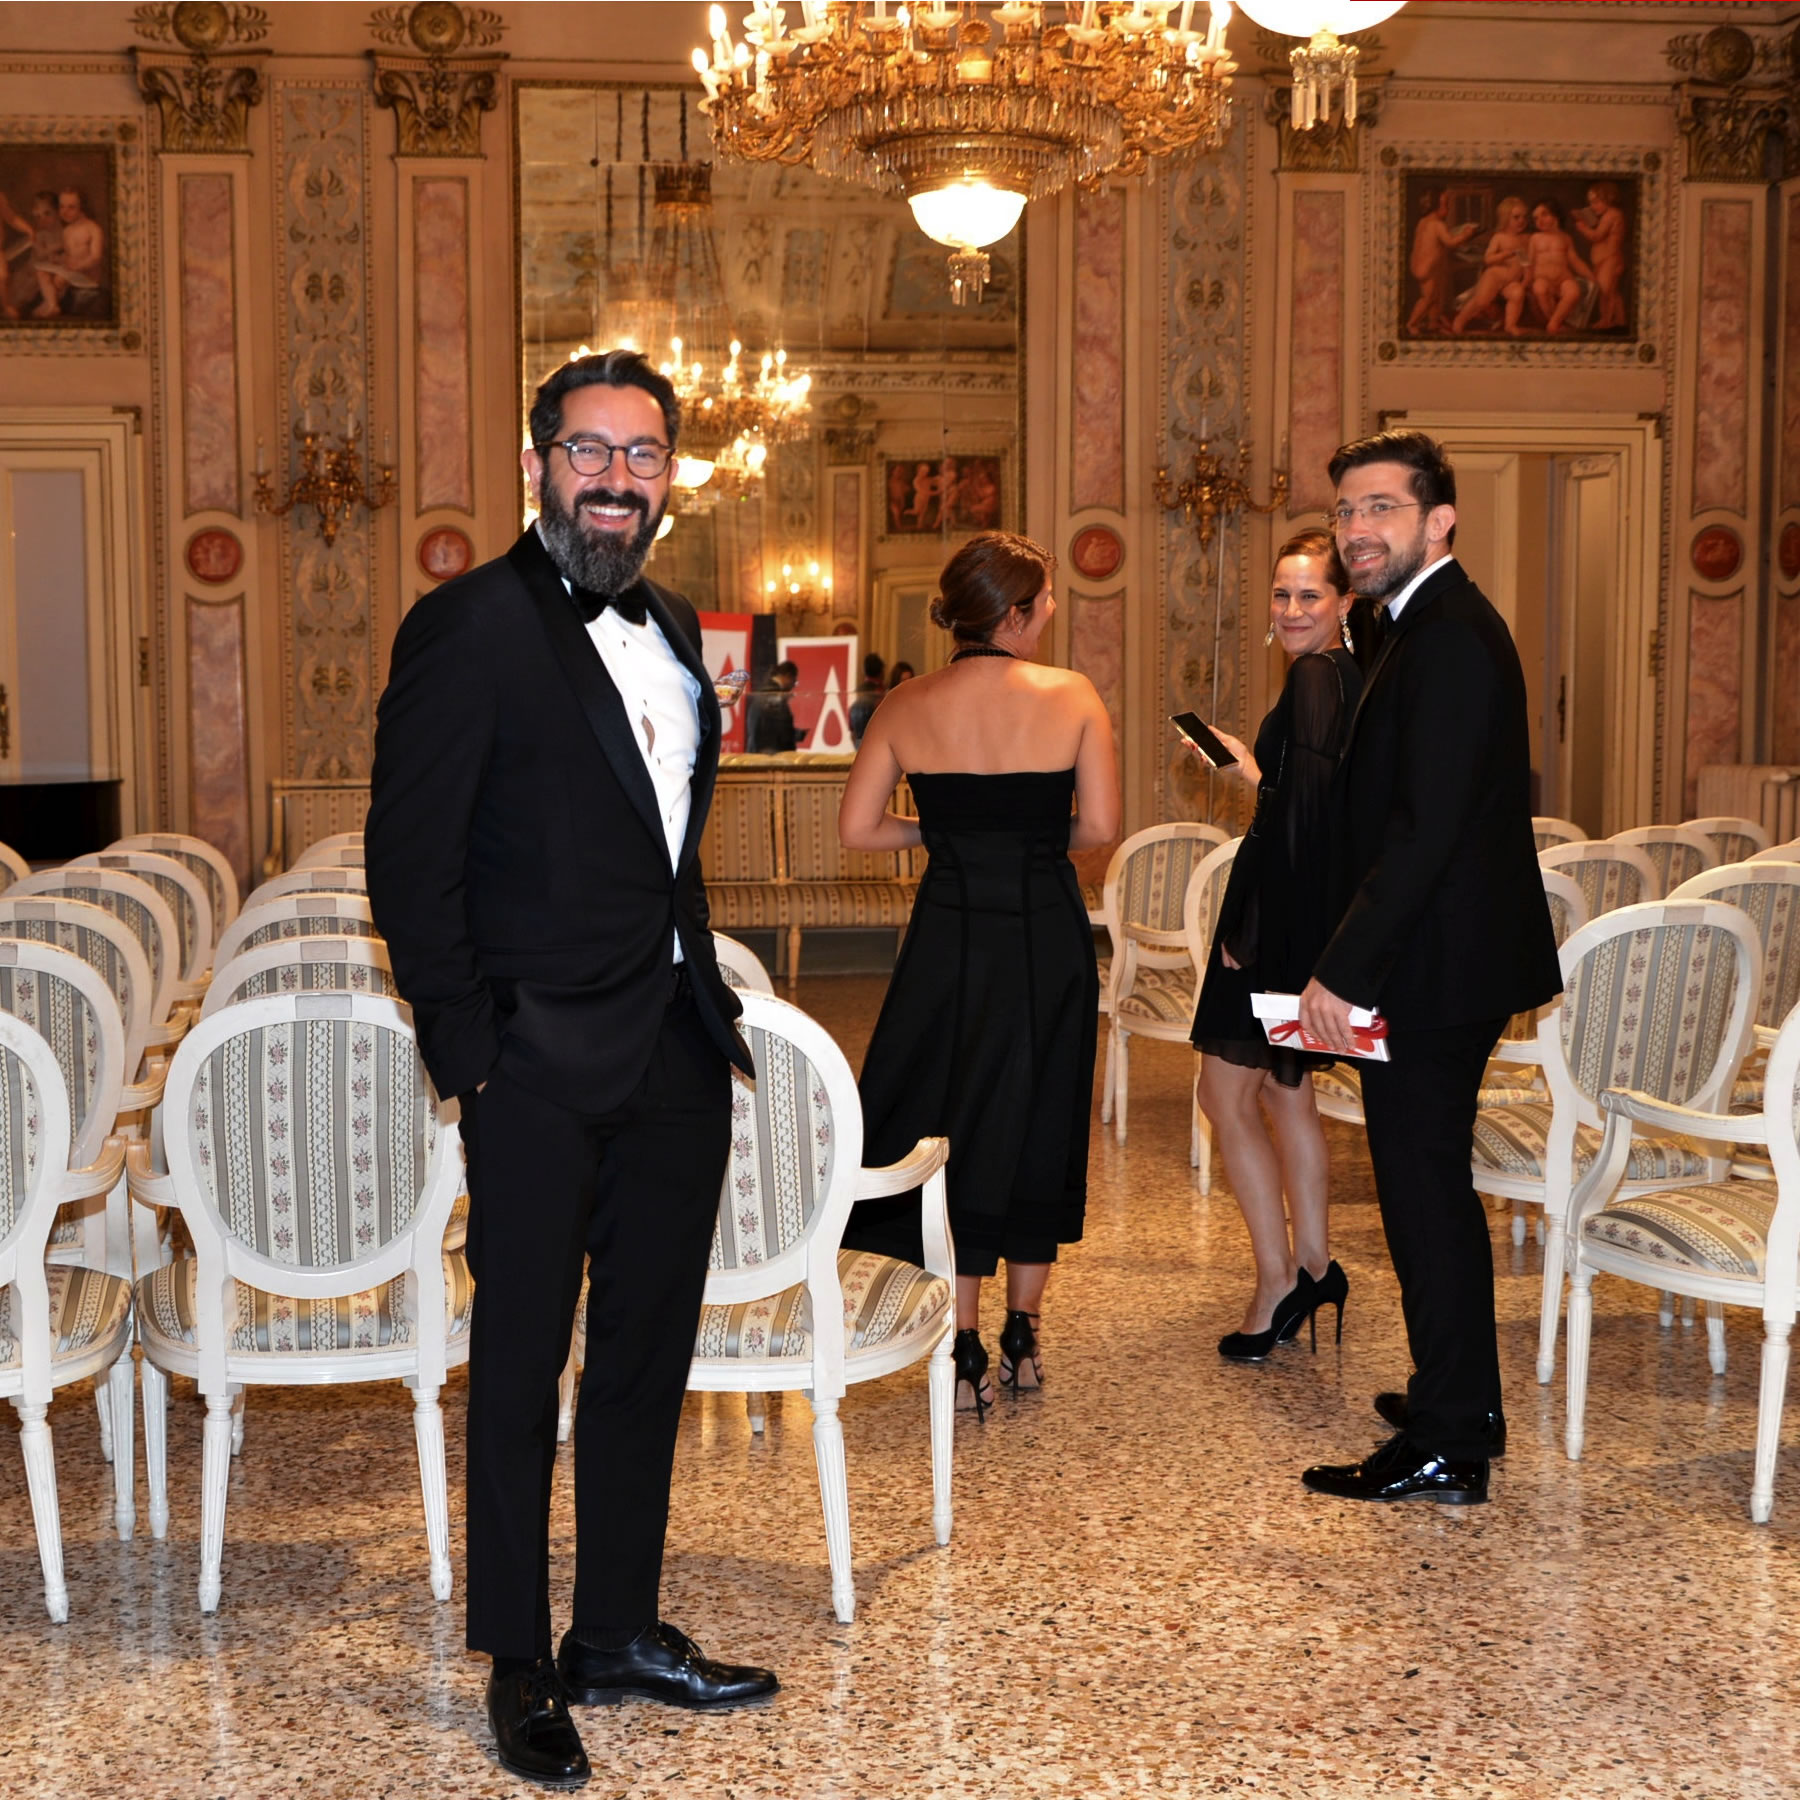
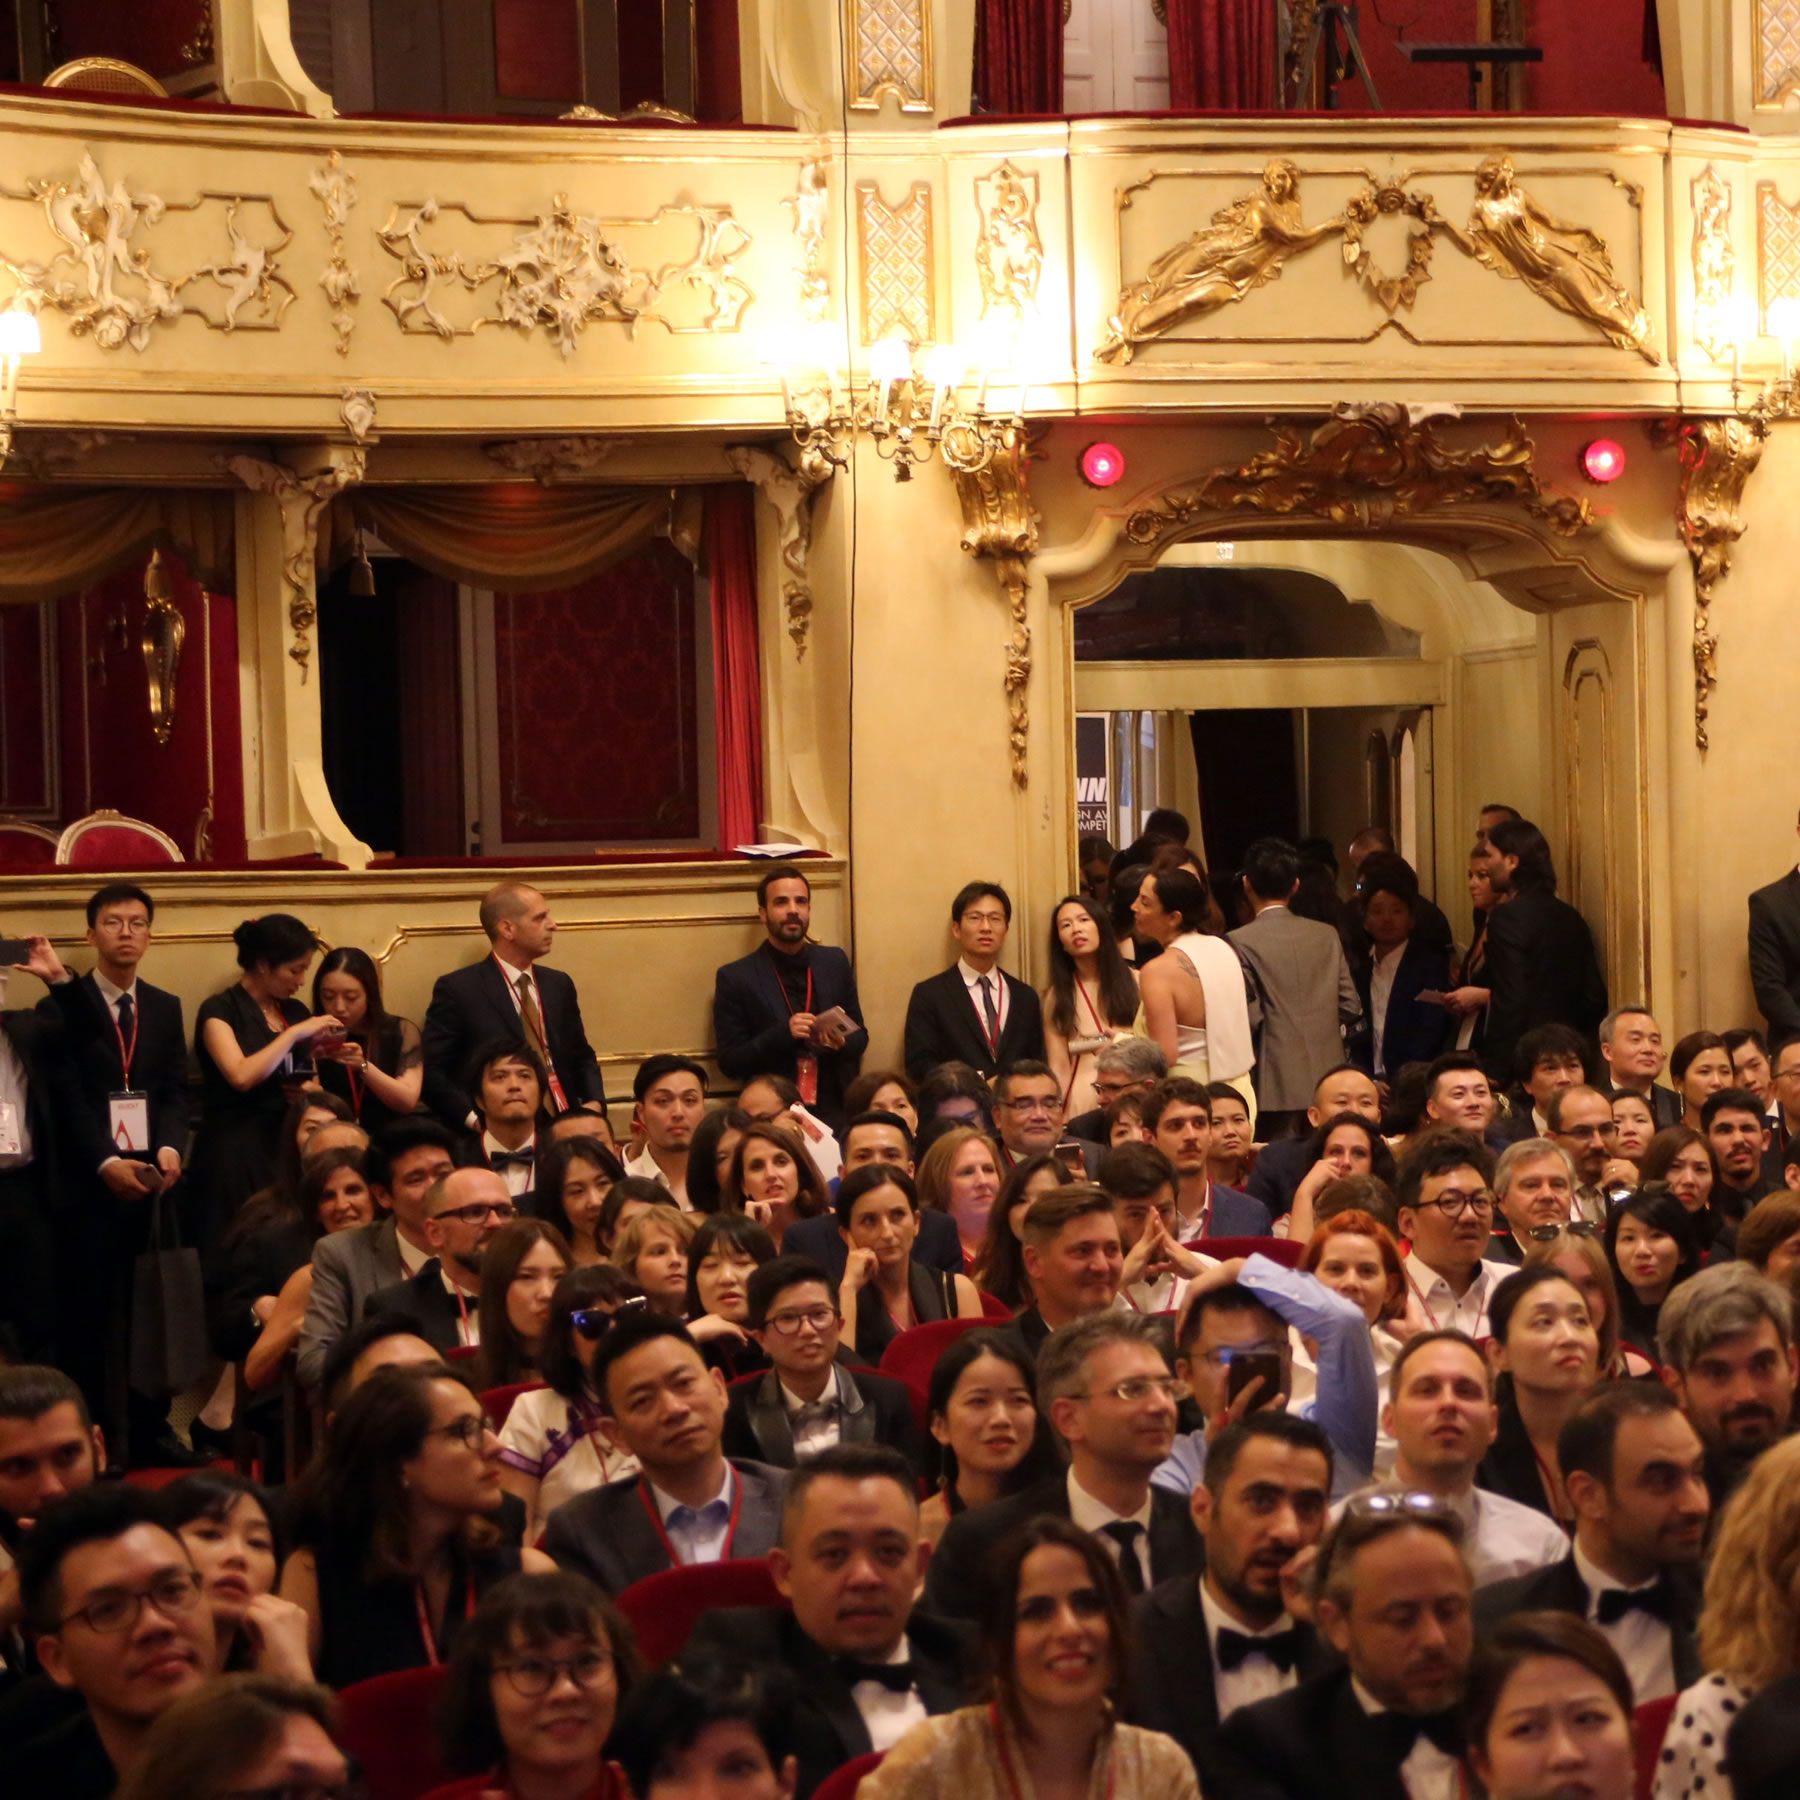
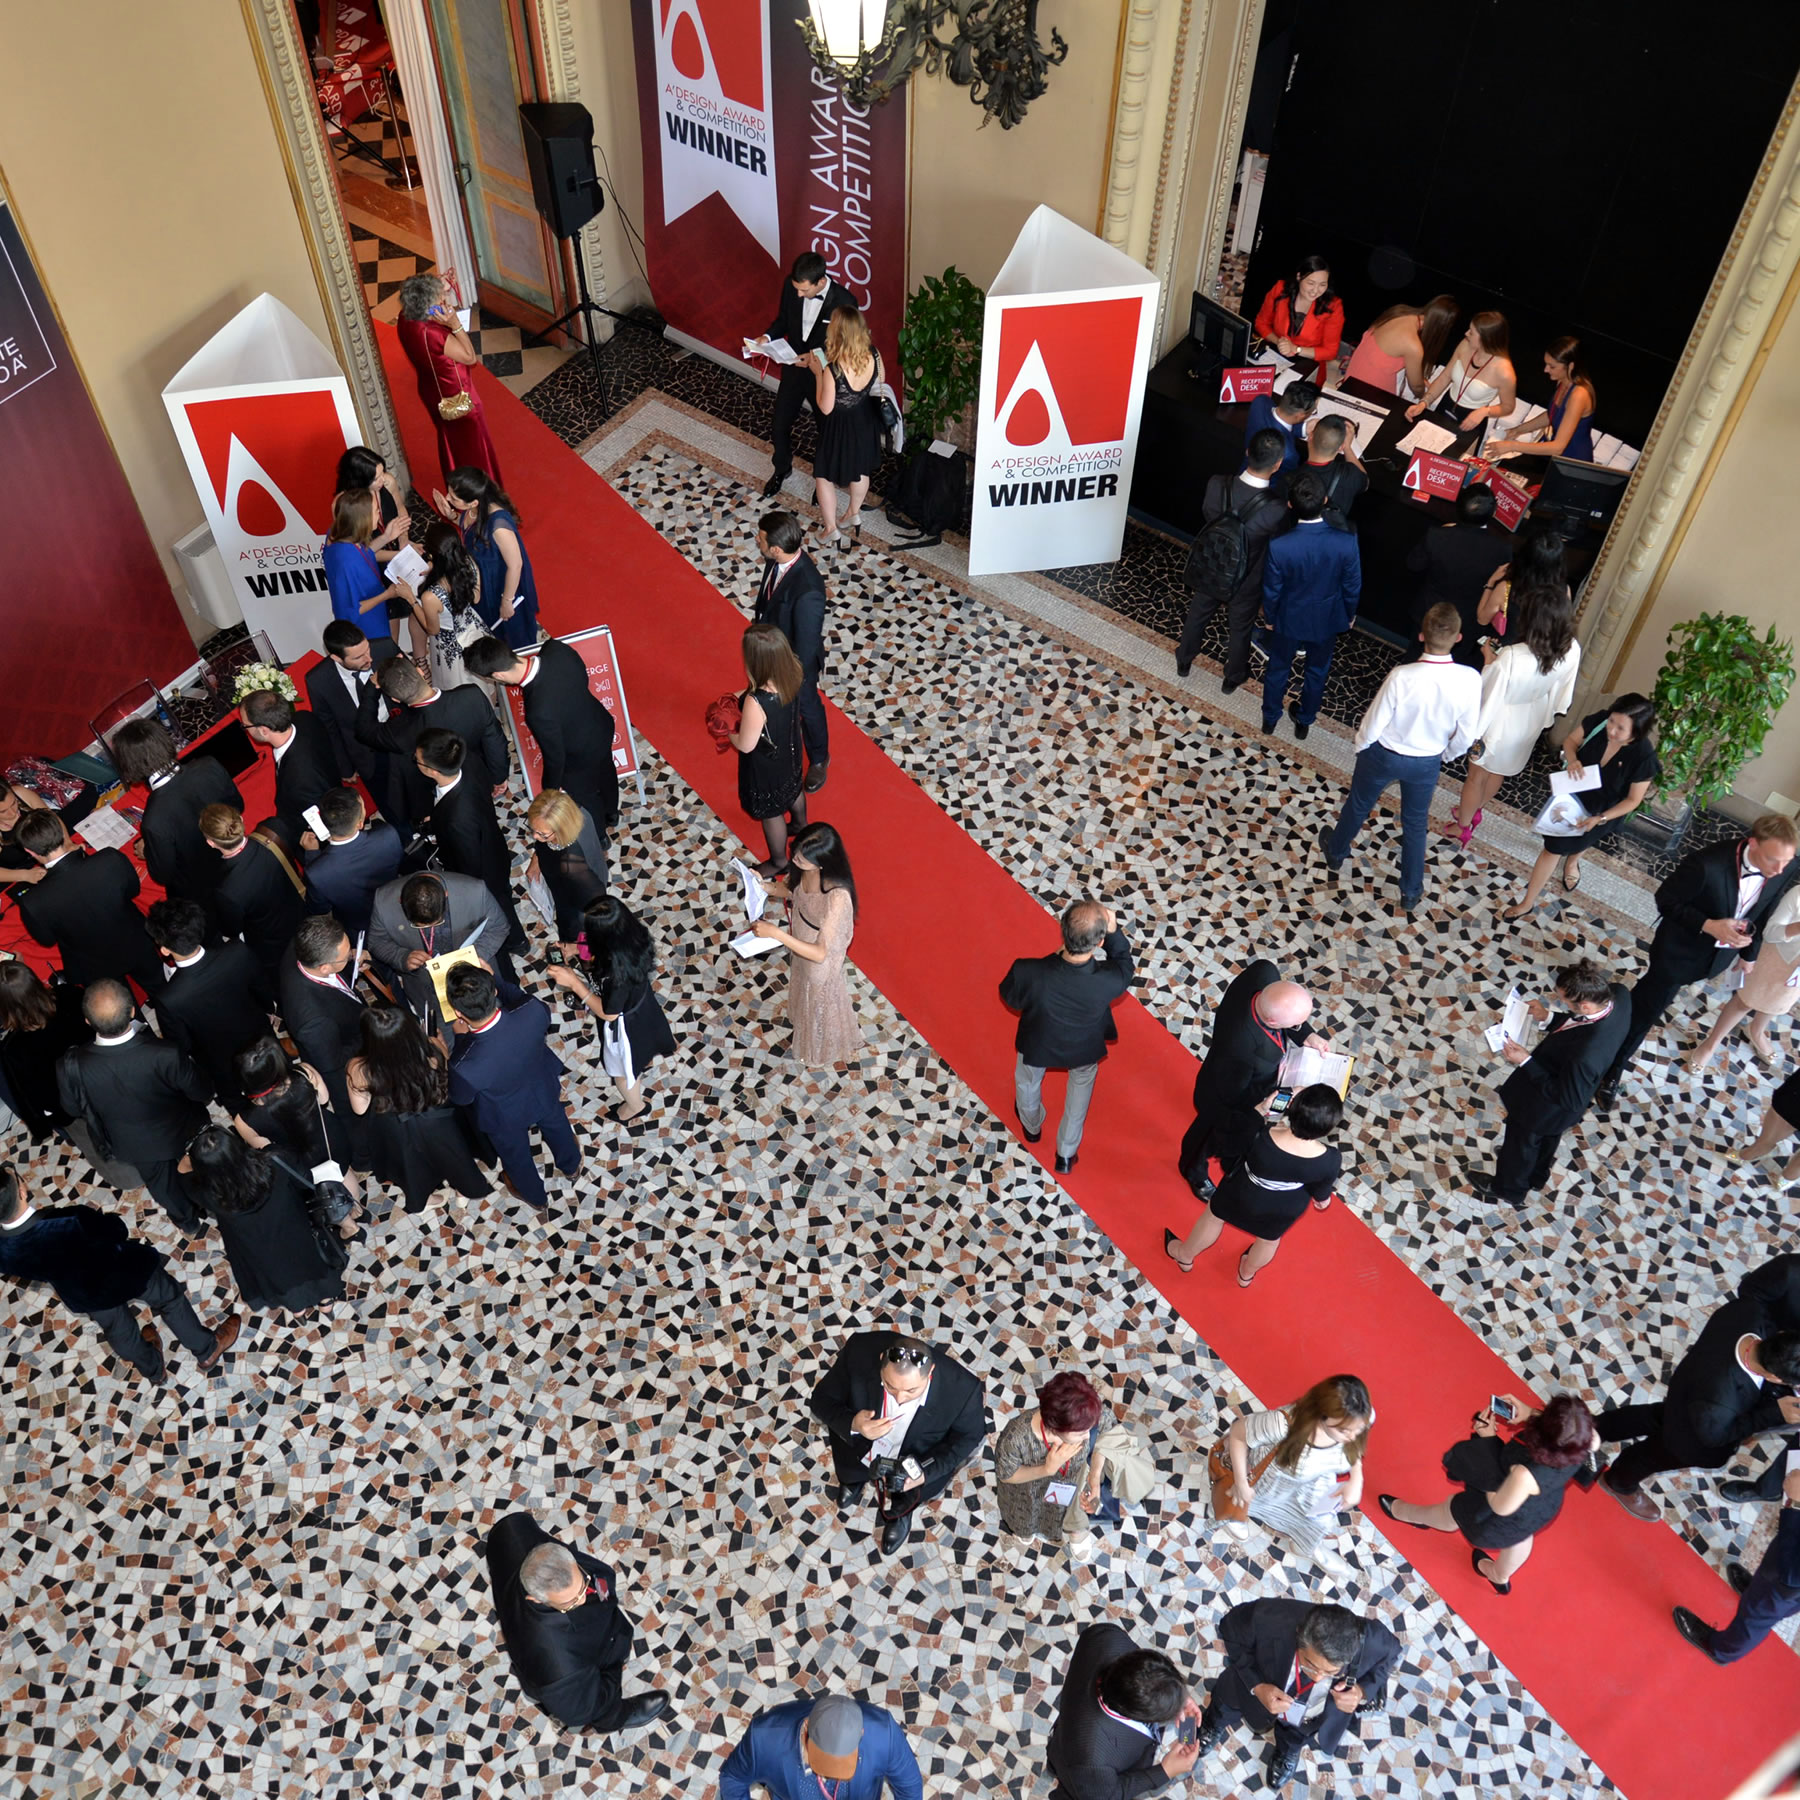
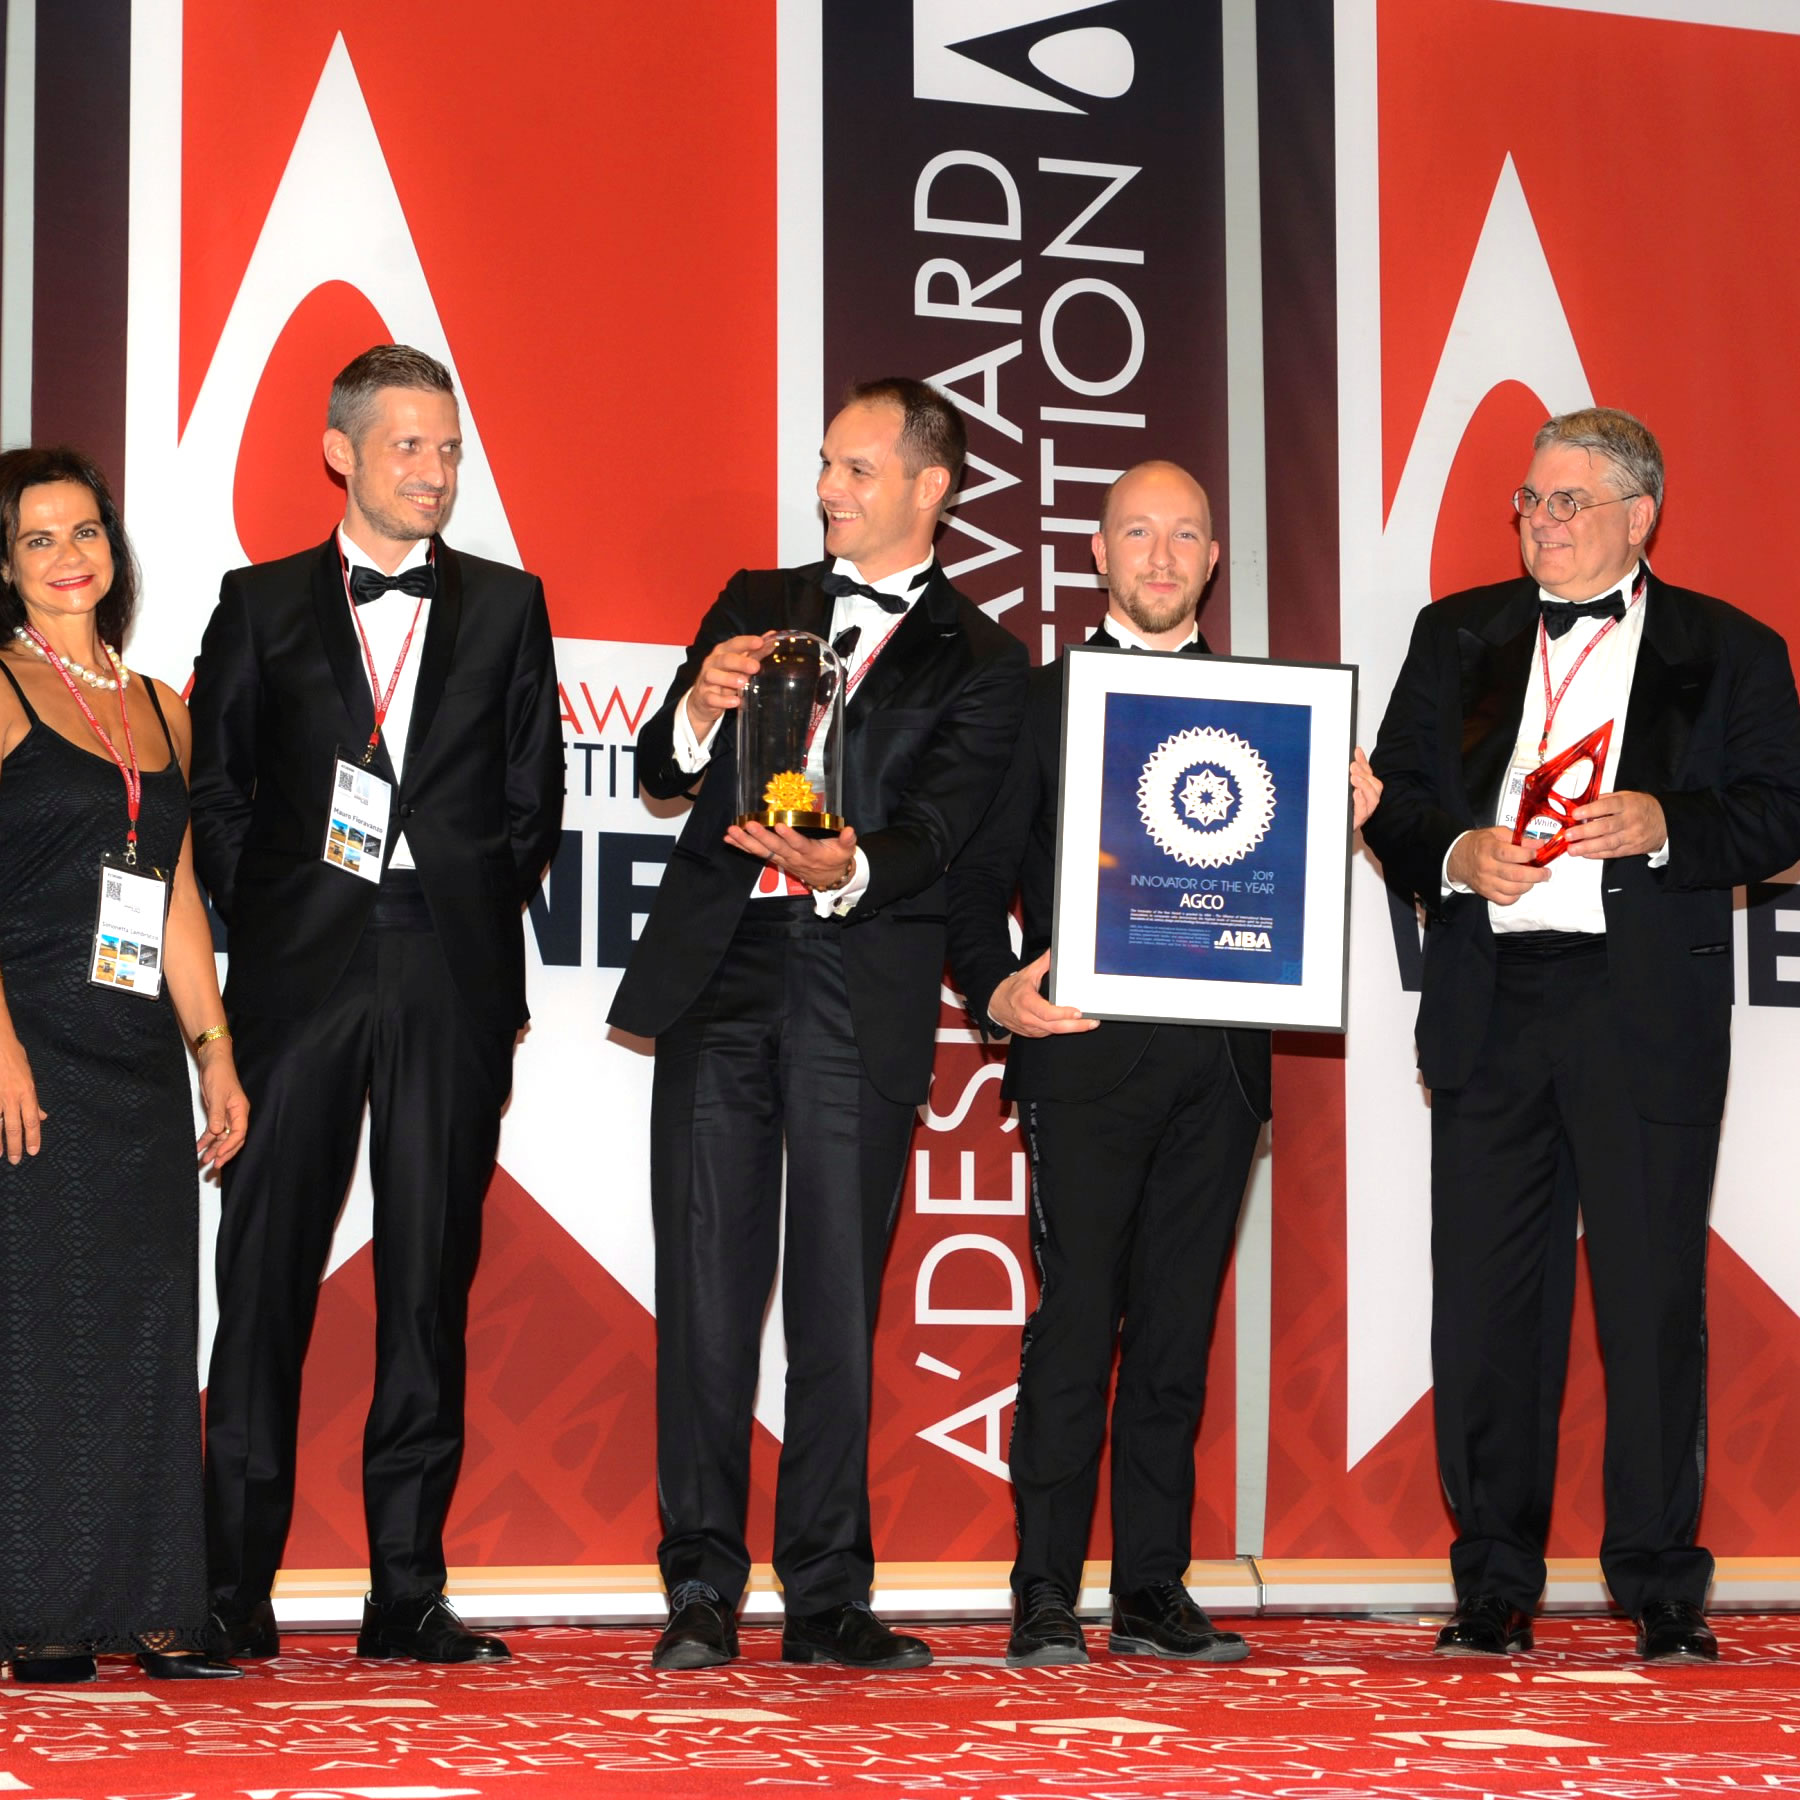
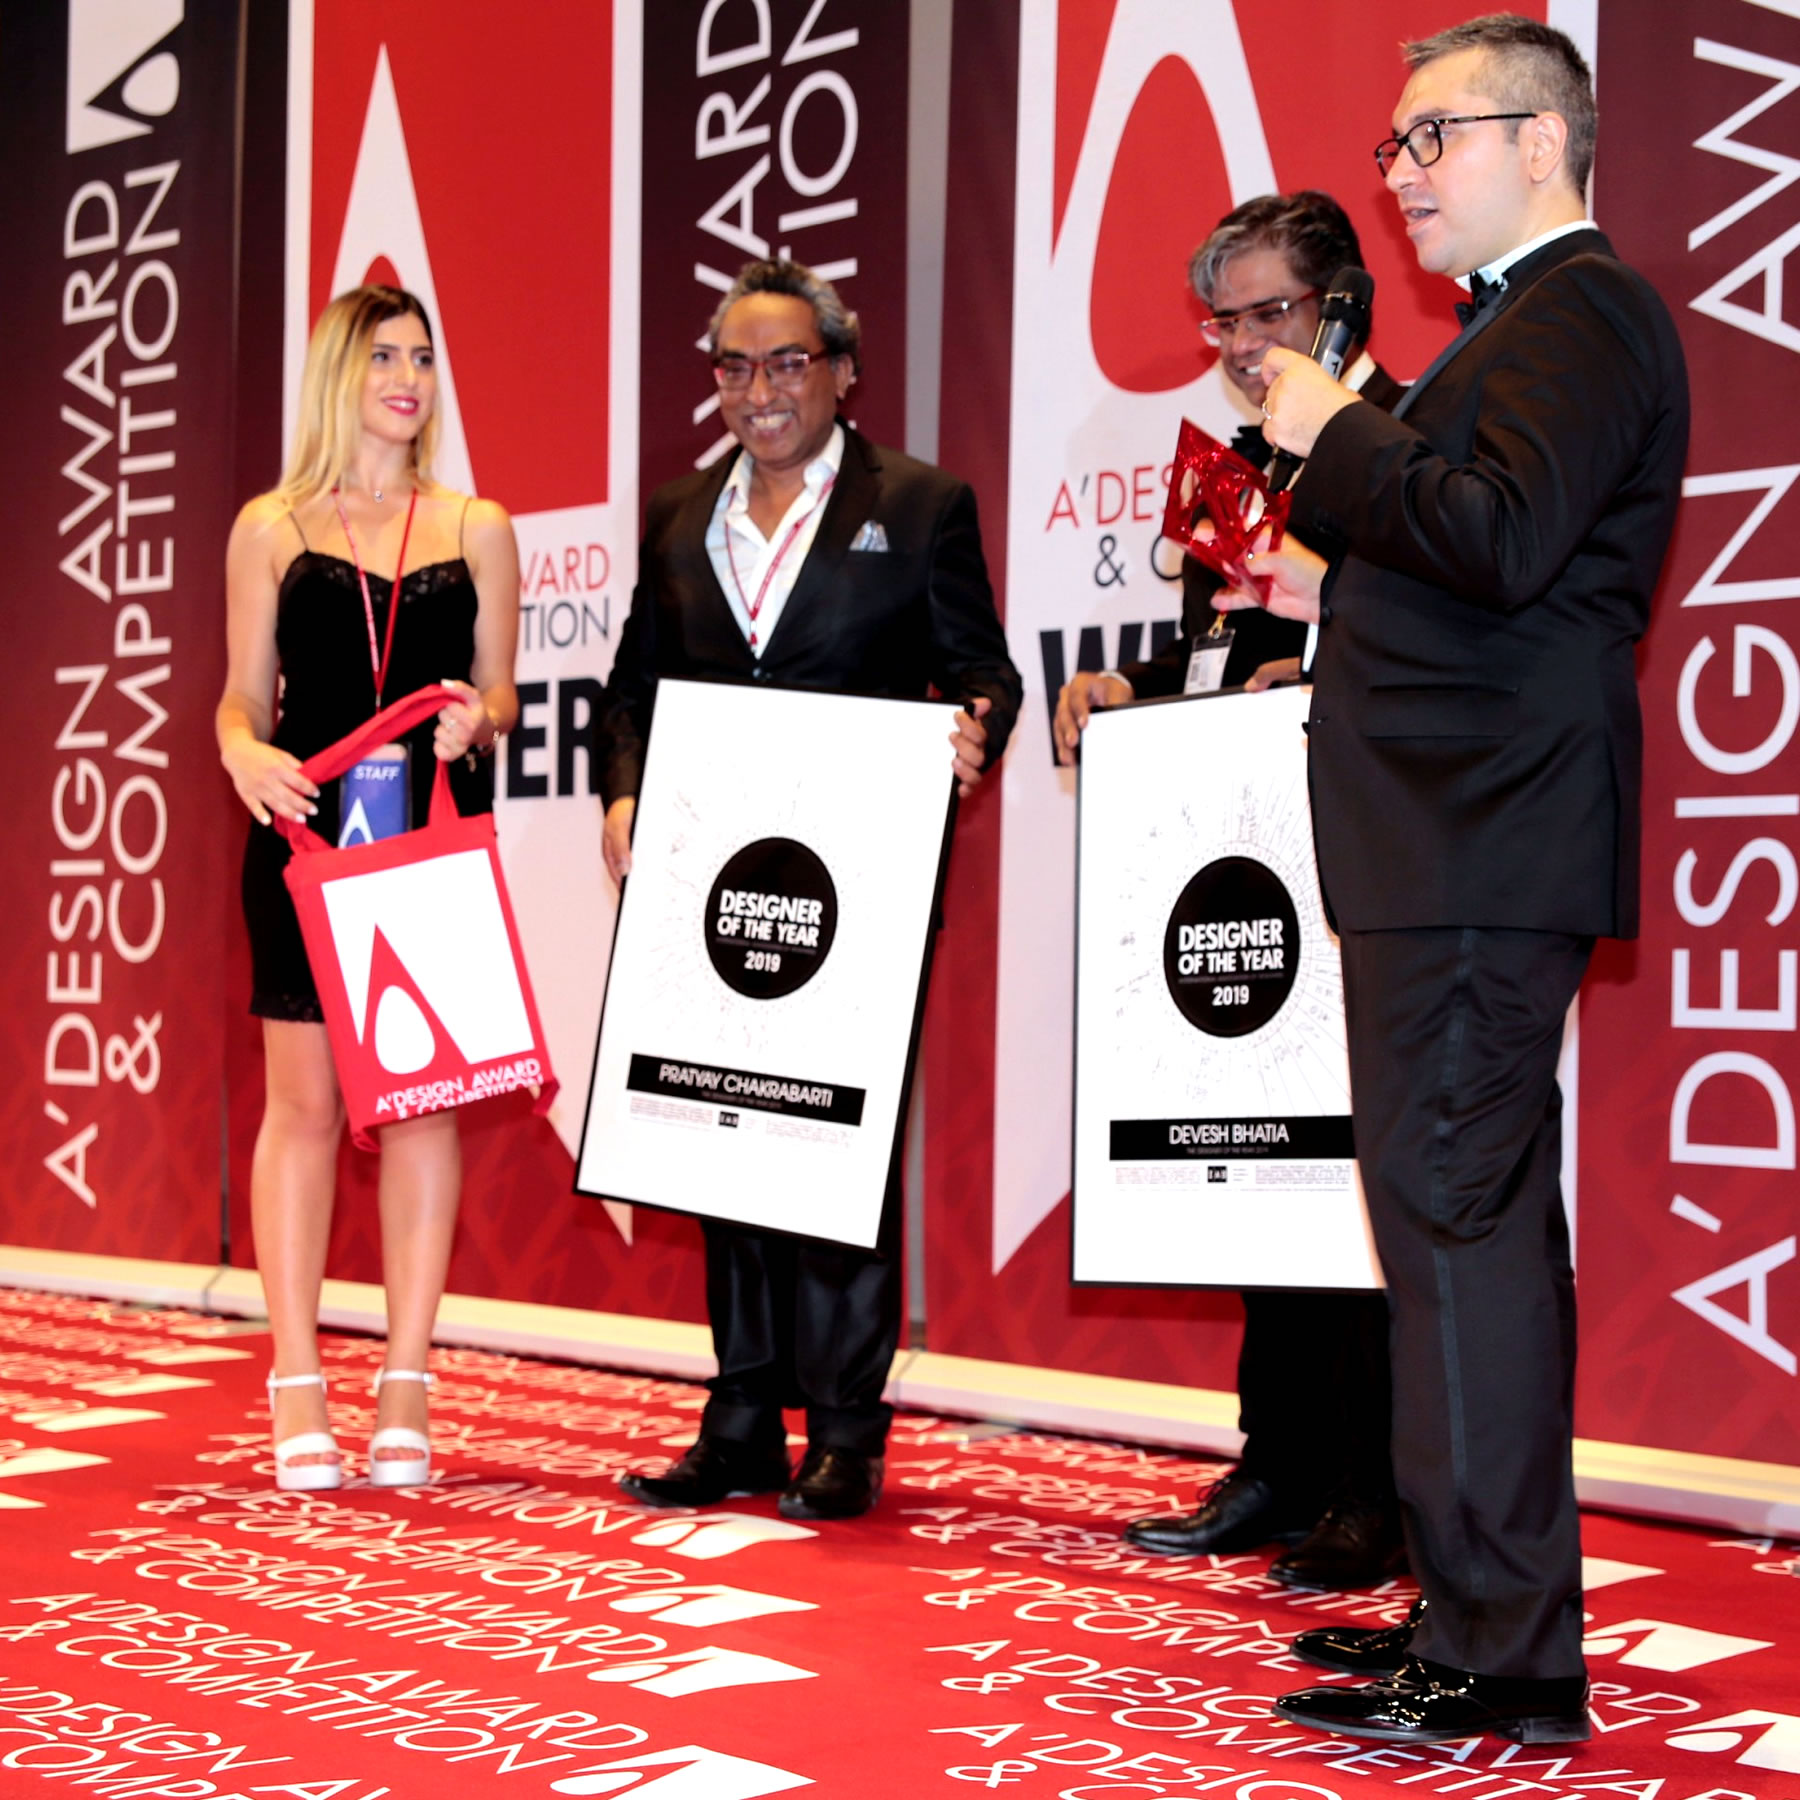
THE GALA NIGHT
A' Sculpture Design Award organizes a unique gala night and award ceremony near the beautiful Como Lake in Italy for winners to celebrate their success.

A' GRAND CELEBRATION
Press Members, Industry Leads, Prominent Designers and Companies are all invited in order to create networking opportunities for winners.

WINNERS ARE INVITED
Eligible A' Sculpture Design Award winners are able to participate the Gala-Night and Award-Ceremony free of charge. Winners have also opportunity to order additional tickets for their guests.


RED CARPET SCULPTURE DESIGN EVENT
A' Sculpture Design Award gala night and award ceremony is super exclusive, black-tie, red-carpet event for sculpture design.
BLACK TIE SCULPTURE DESIGN EVENT
Very Important People, Ambassadors, Influential Journalists and Industry Juggernauts are provided VIP invitations to attend the A' Sculpture Design Award gala night and award ceremony.
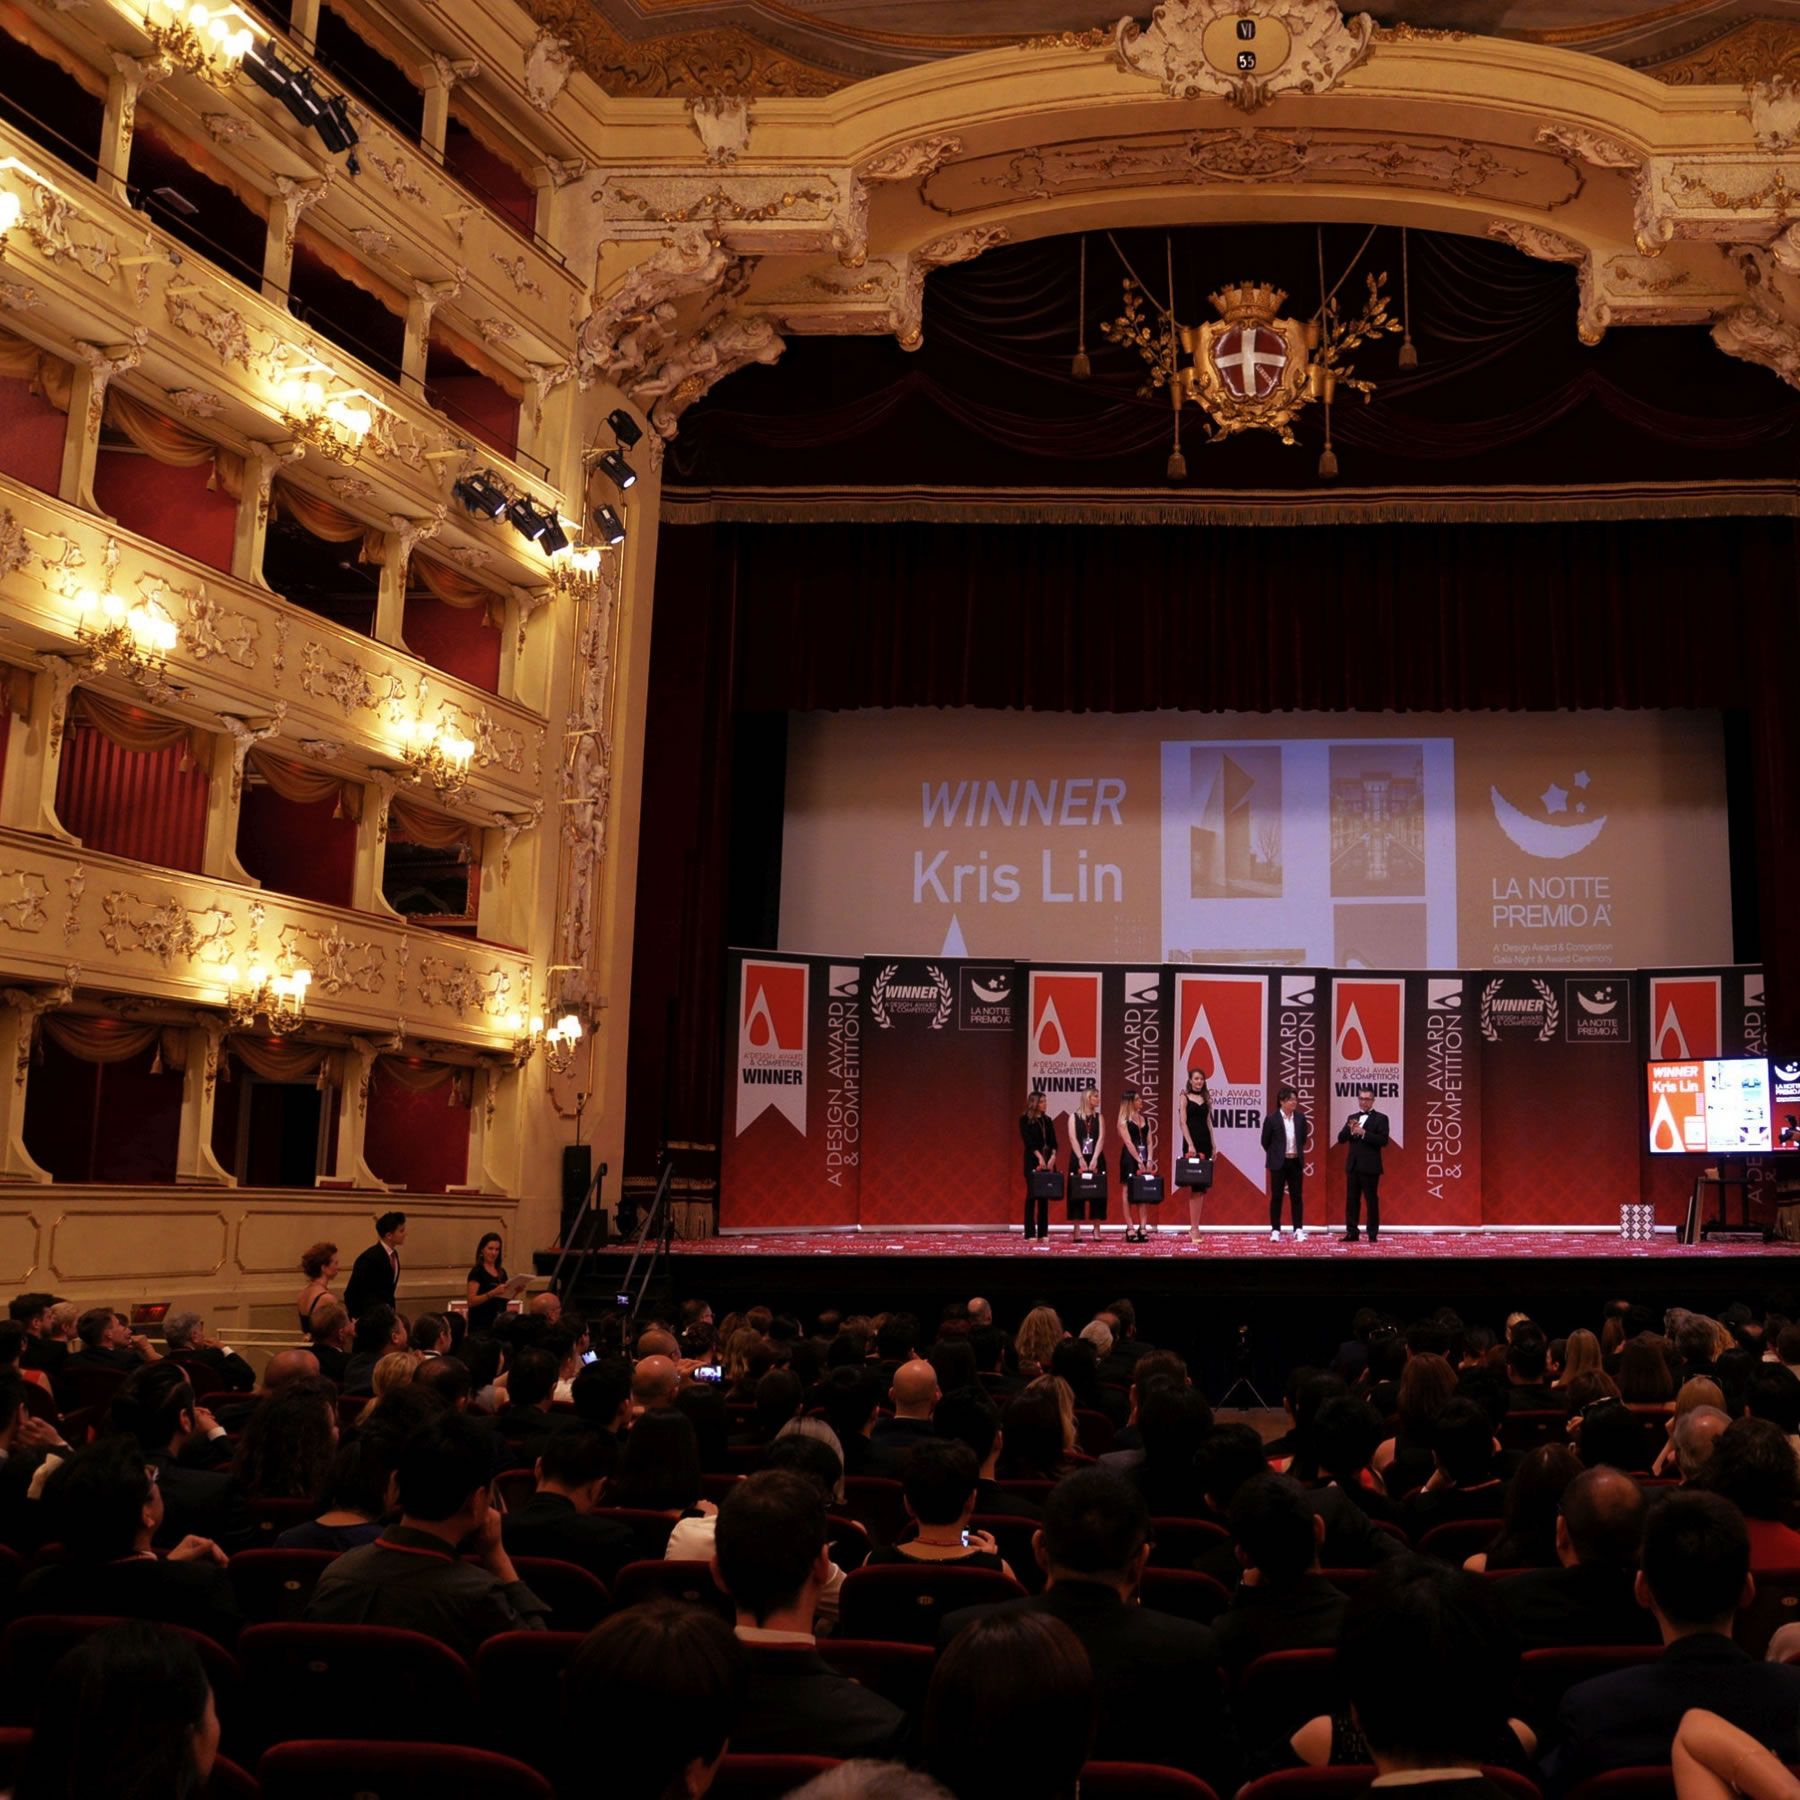
FULL GLAMOUR SCULPTURE DESIGN EVENT
Each and every eligible A' Sculpture Design Award winners are called to stage to celebrate their success and to retrieve their sculpture design prize.
LA NOTTE PREMIO A'
Celebration occasion exclusively reserved for top A' Sculpture Design Award winners. Hosted in addition to our gala night to celebrate the "Prime Designer of the Year" title.

ARS FUTURA CULTURA
Designers meet to discuss strategies and policies to advance the design discipline. A' Sculpture Design Award winners may reserve their seat to join the meetings.
ARTS FOR FUTURE
Ars Futura Cultura means arts cultivate the future, that is why A' Design Award & Competition invest heavily in promoting good design, art and architecture every year.

WORLD DESIGN CONSORTIUM
World Design Consortium is a global design, architecture, innovation and engineering agency, winner of tens of thousands of awards.
GOOD IN ALL INDUSTRIES
World Design Consortium have uniquely specialized members in each and every industry, especially sculpture design, thanks to its world-class members representing the very brightest in all fields.
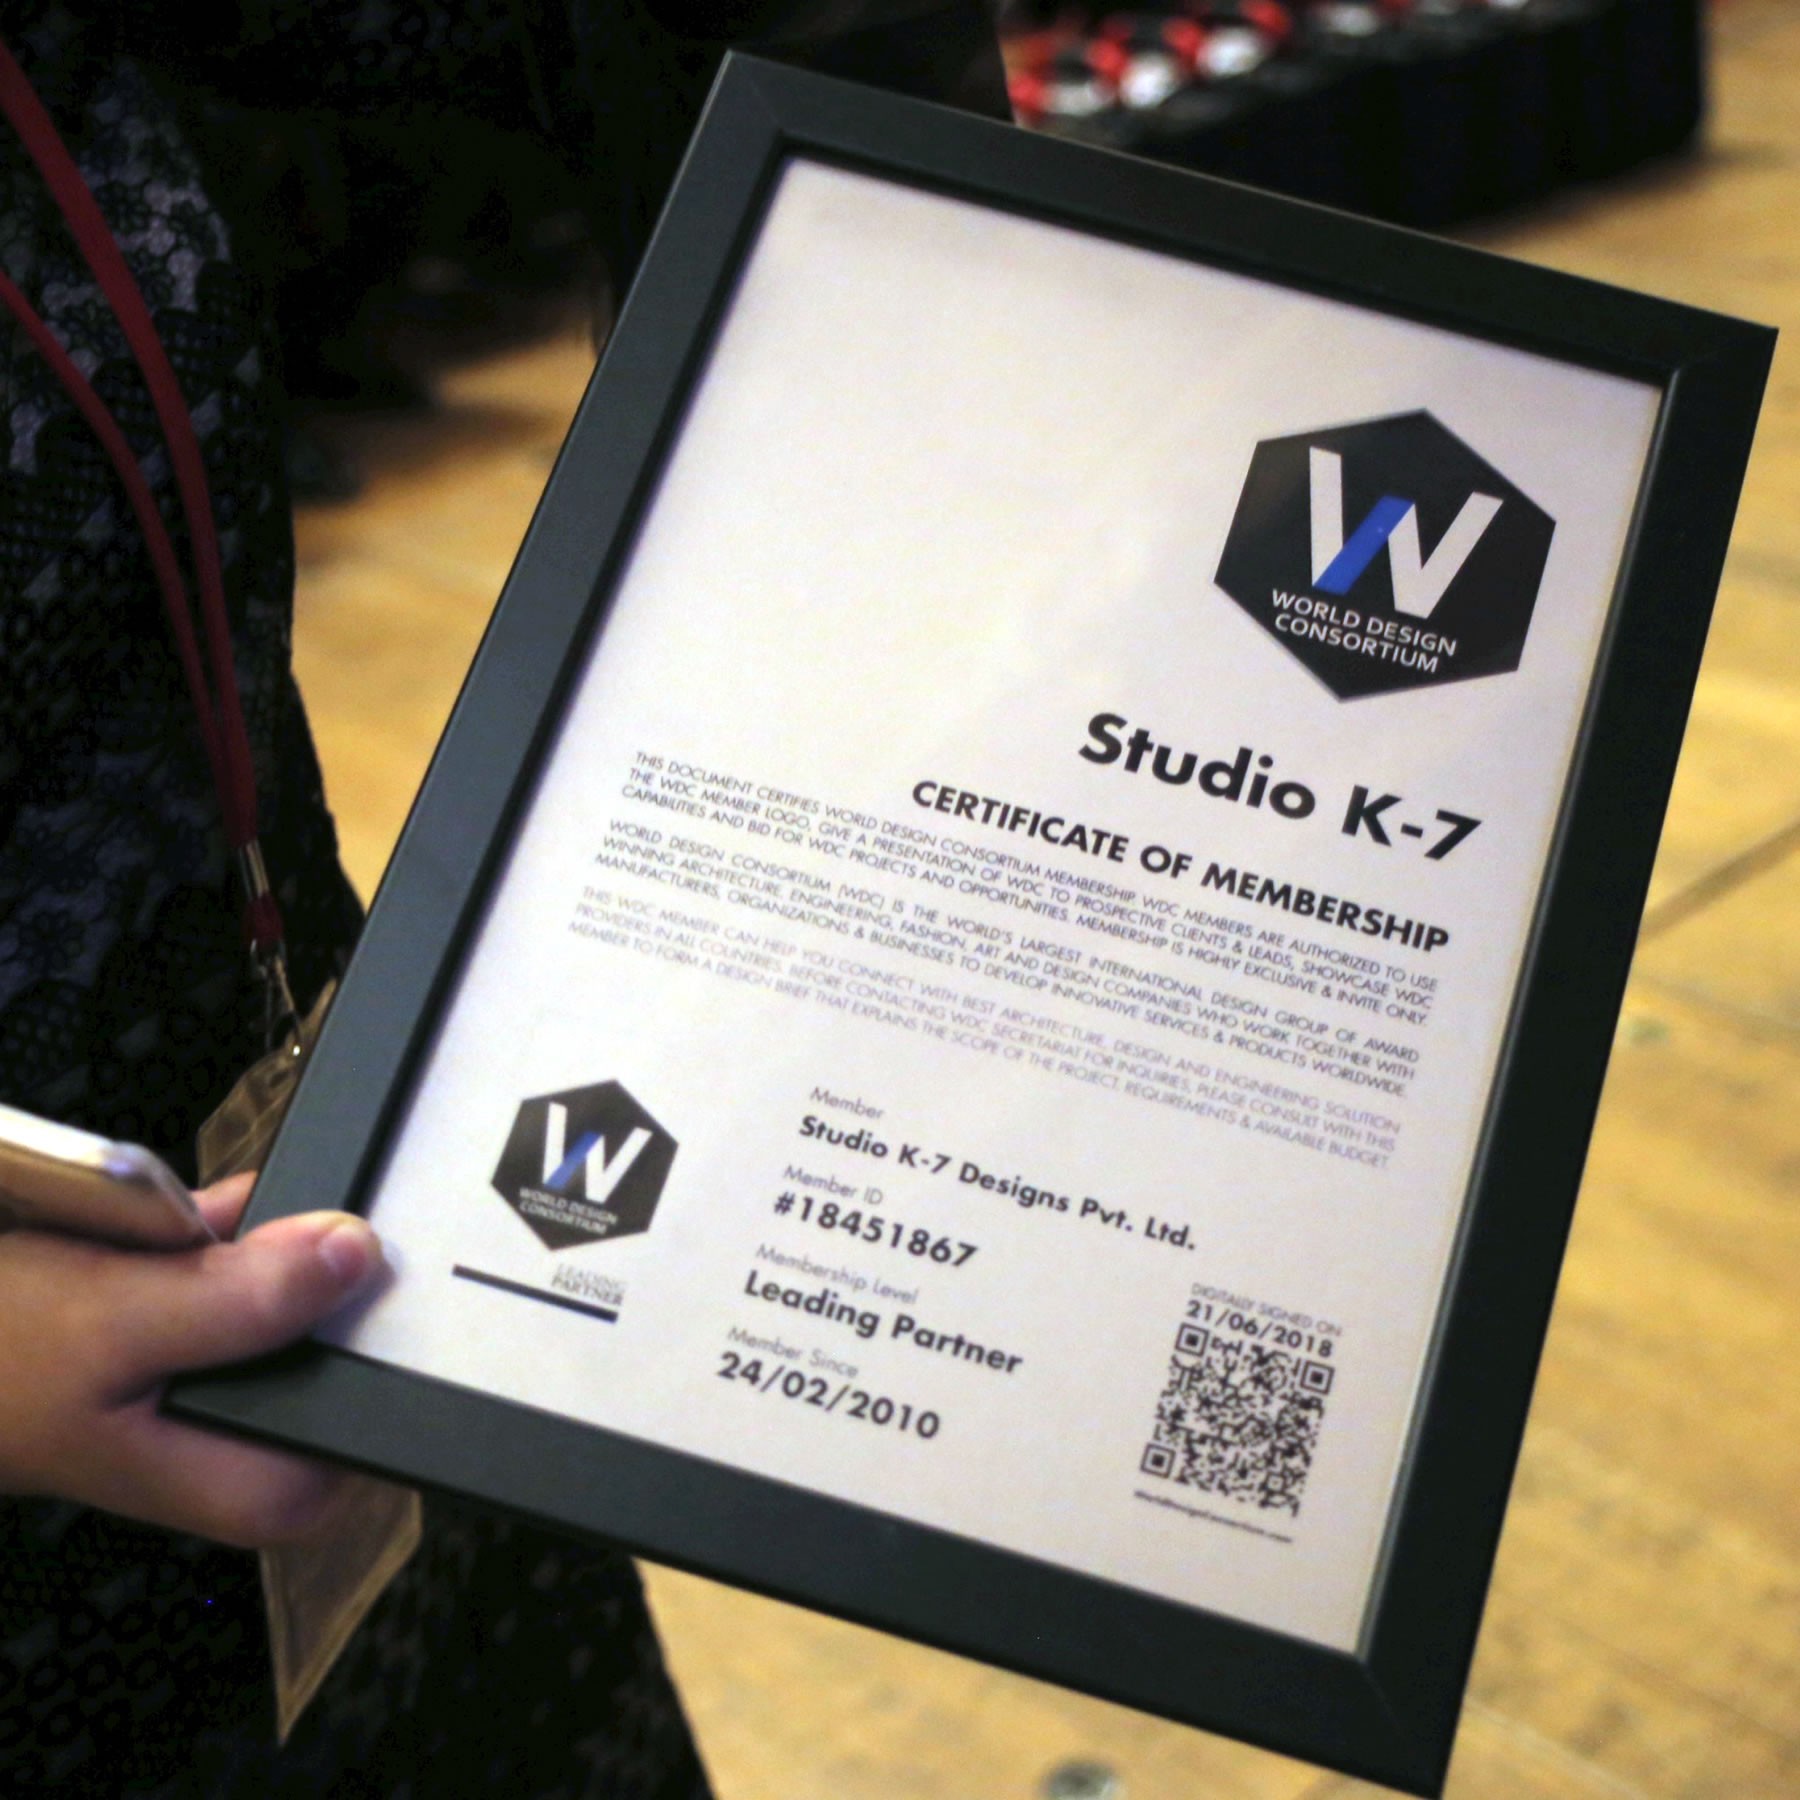
MEMBERS IN ALL COUNTRIES
Winners of the A' Sculpture Design Award are invited to join the World Design Consortium. WDC Partners rely on each other to expand the range of services and capabilities they offer professionally.
PATRONS & SPONSORS
Over the years, A' Sculpture Design Award have earned the patronage of many prestigious institutions. While the sponsors and patrons vary every year, the awards had been previously endorsed by institutions such as: BEDA, Bureau of European Design Associations, Politecnico di Milano University, Como Municipality Culture Department and Ragione Lombardia, among other respectable and reputable organizations.
MARKETING INVESTMENT
Taking part in the A' Sculpture Design Award is almost totally risk free through preliminary preliminary checking service that tells how good your work is prior to nomination. Preliminary score is provided completely free of charge to each entrant. The A' Sculpture Design Award does not ask contractually obliged further fees from its winners. The A' Sculpture Design Award spends most of its operating income for promoting its laureates, creating a significant advertisement value. Companies and designers use the A' Sculpture Design Award Winner Logo to promote themselves and attract new customers.
AWARD IN NUMBERS
The A' Sculpture Design Award is gaining significant popularity each year. Currently the A' Design Award has 300.246.546 page views, 194.954 members, 64.509 submissions, 1500 gala-night and exhibition participants, and winners from 122 countries. Updated numbers and statistics could be found at A' Design Award In-Numbers page. We believe numbers are important for designers to understand what it means to be a winner.
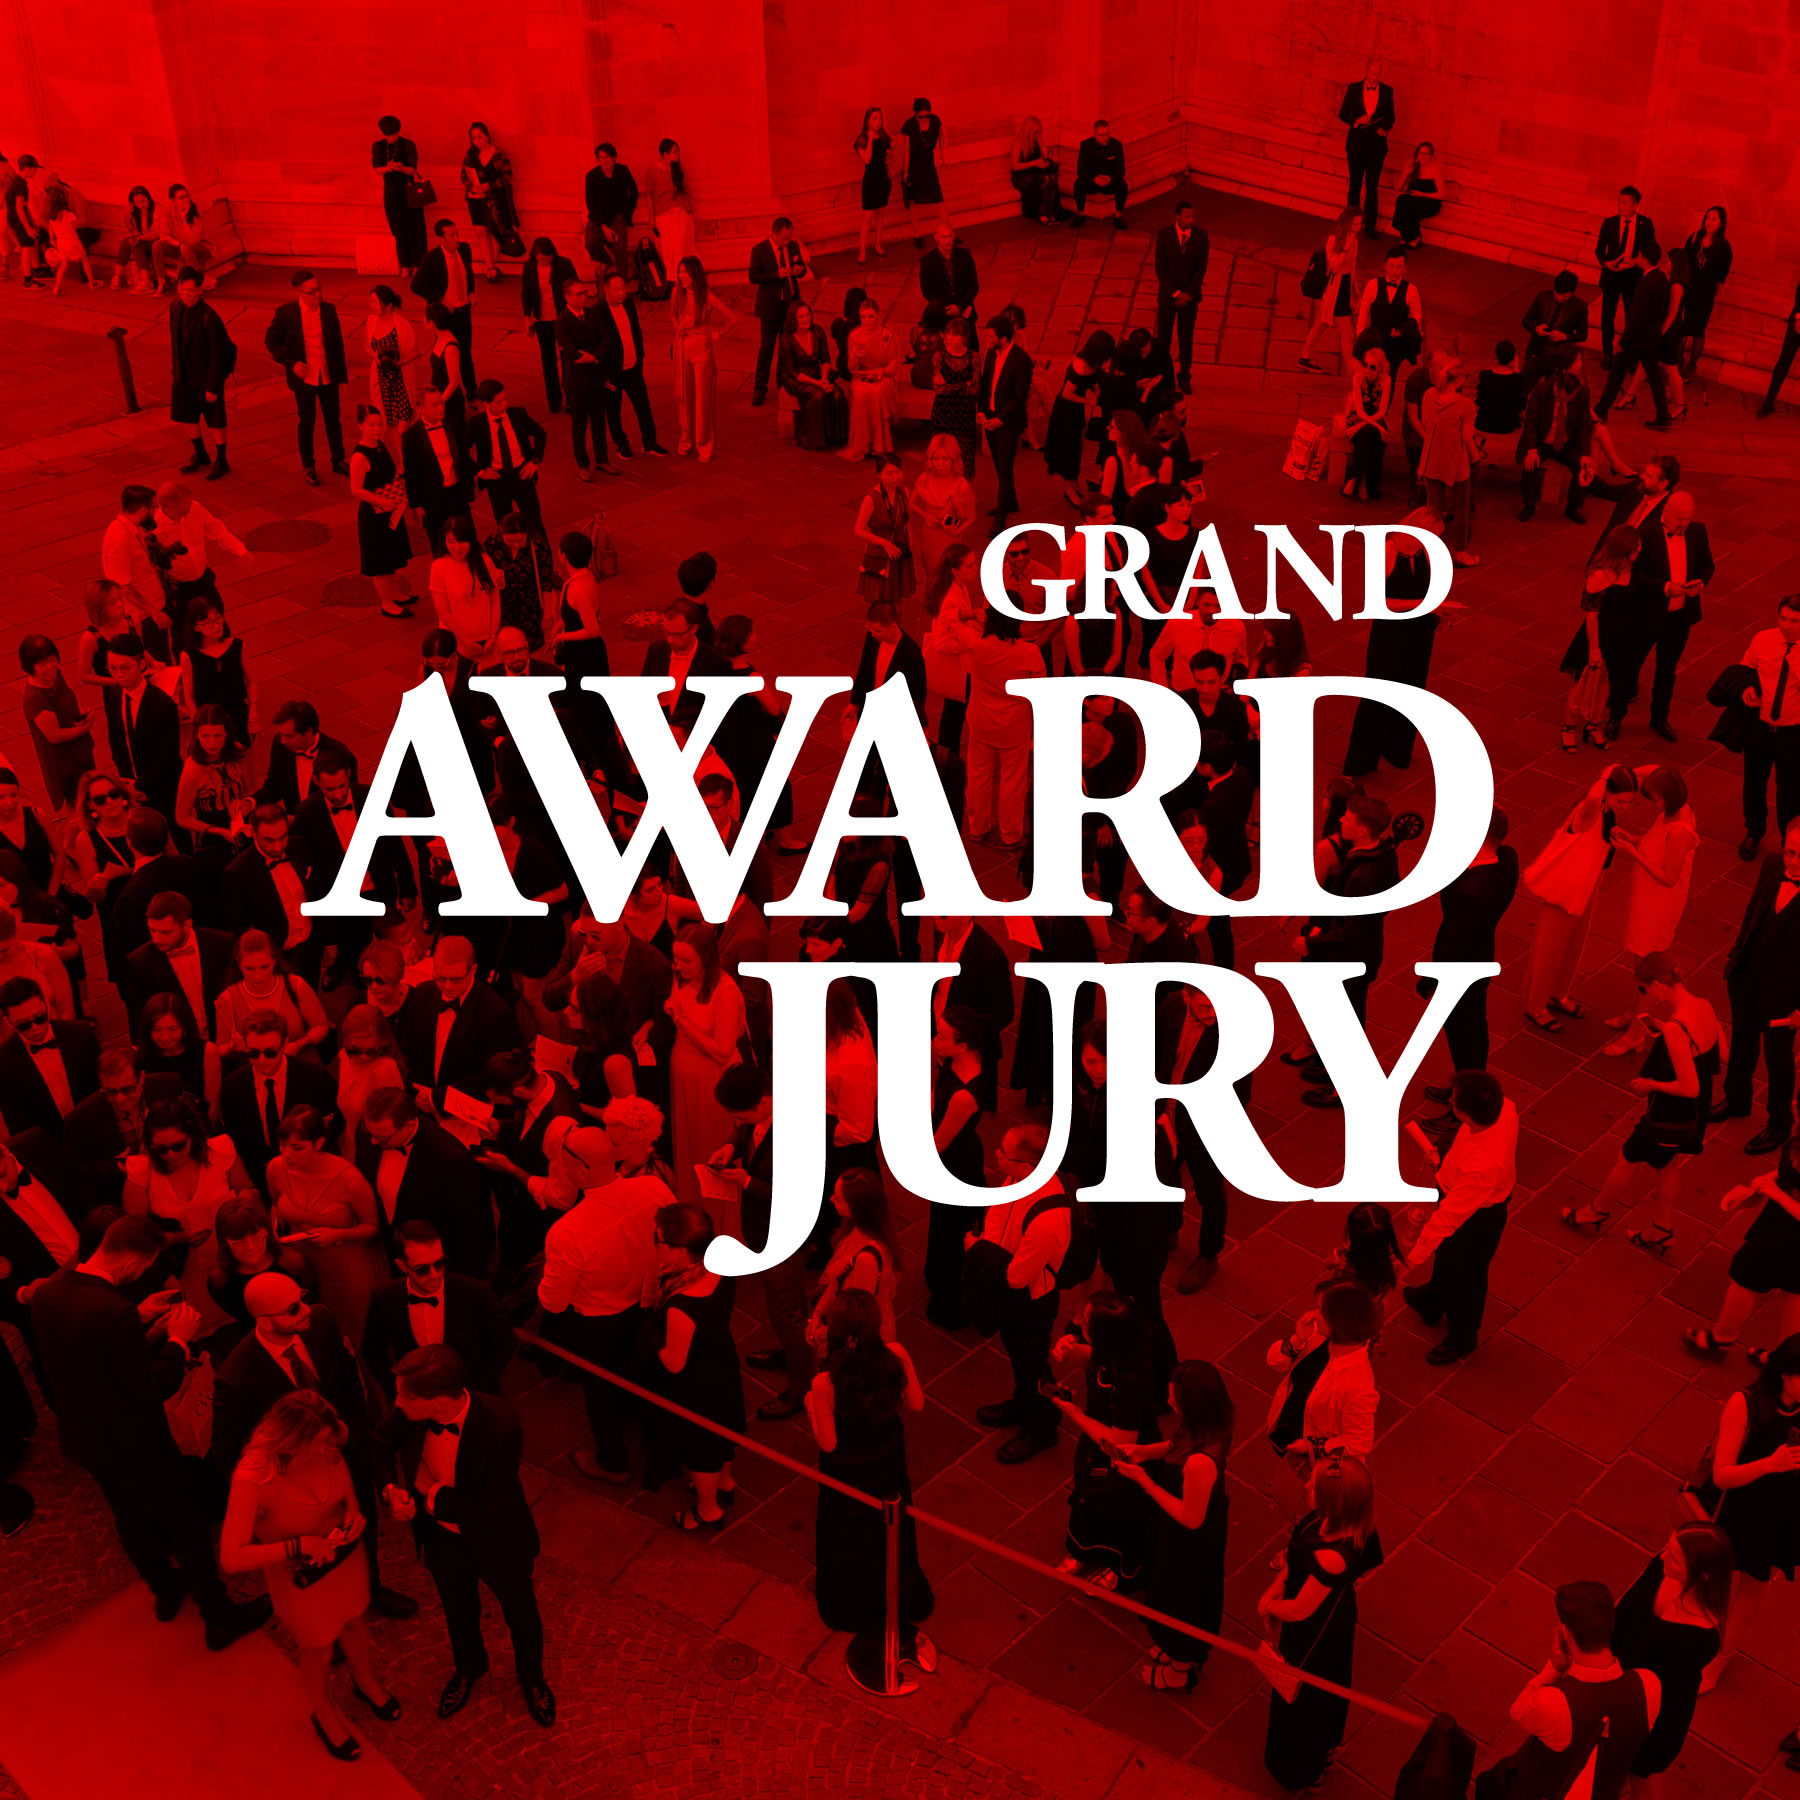
A' SCULPTURE DESIGN AWARD JURY
A' Design Award Jury is truly great and powerful, composed of 224 established professionals, influential press members and academics, each design is given importance and equal consideration during voting.
EXPERIENCED & BALANCED JURY
A' Design Award Jury although changes every year features a balanced composition of sculpture design professionals, journalists, scholars and entrepreneurs to ensure each sculpture design is voted fairly.
RESEARCH THROUGH VOTING
During the voting processes, A' Sculpture Design Award jury members fill a custom criteria survey, and indicate how the sculpture designs should be voted better in the future.
THE A' METHODOLOGY
A' Sculpture Design Award features a highly developed, ethical methodology for voting sculpture designs which makes use of standardised scoring, pre-established criteria and bias removal.
STANDARDISED SCORE
A' Sculpture Design Award Scores are standardised based on the a) The Weights of Criteria, b) Average Score of Jury Members, c) Average Scores of All Years.
INTUITIVE VOTING
A' Sculpture Design Award Jury votes online, therefore no jury member effects another jury member's votes, the voting panel is easy to use yet requires a careful analysis of the works to be voted.
RESEARCH DRIVEN
A' Design Award and Competition was developed as a part of a Ph.D. thesis at Politecnico di Milano, in Milan, Italy, after analysis of over 800 Design Competitions.
MORE RESEARCH
The A' Sculpture Design Award platform is constantly in development, and is improved thanks to survey results and through ongoing research in order to provide the most value for the competition participants.
FAIR COMPETITION
A' Sculpture Design Award is not affiliated with any subculture, politic group, interest group or institution, and the jury is equally free during voting, your sculpture design will be judged fairly.
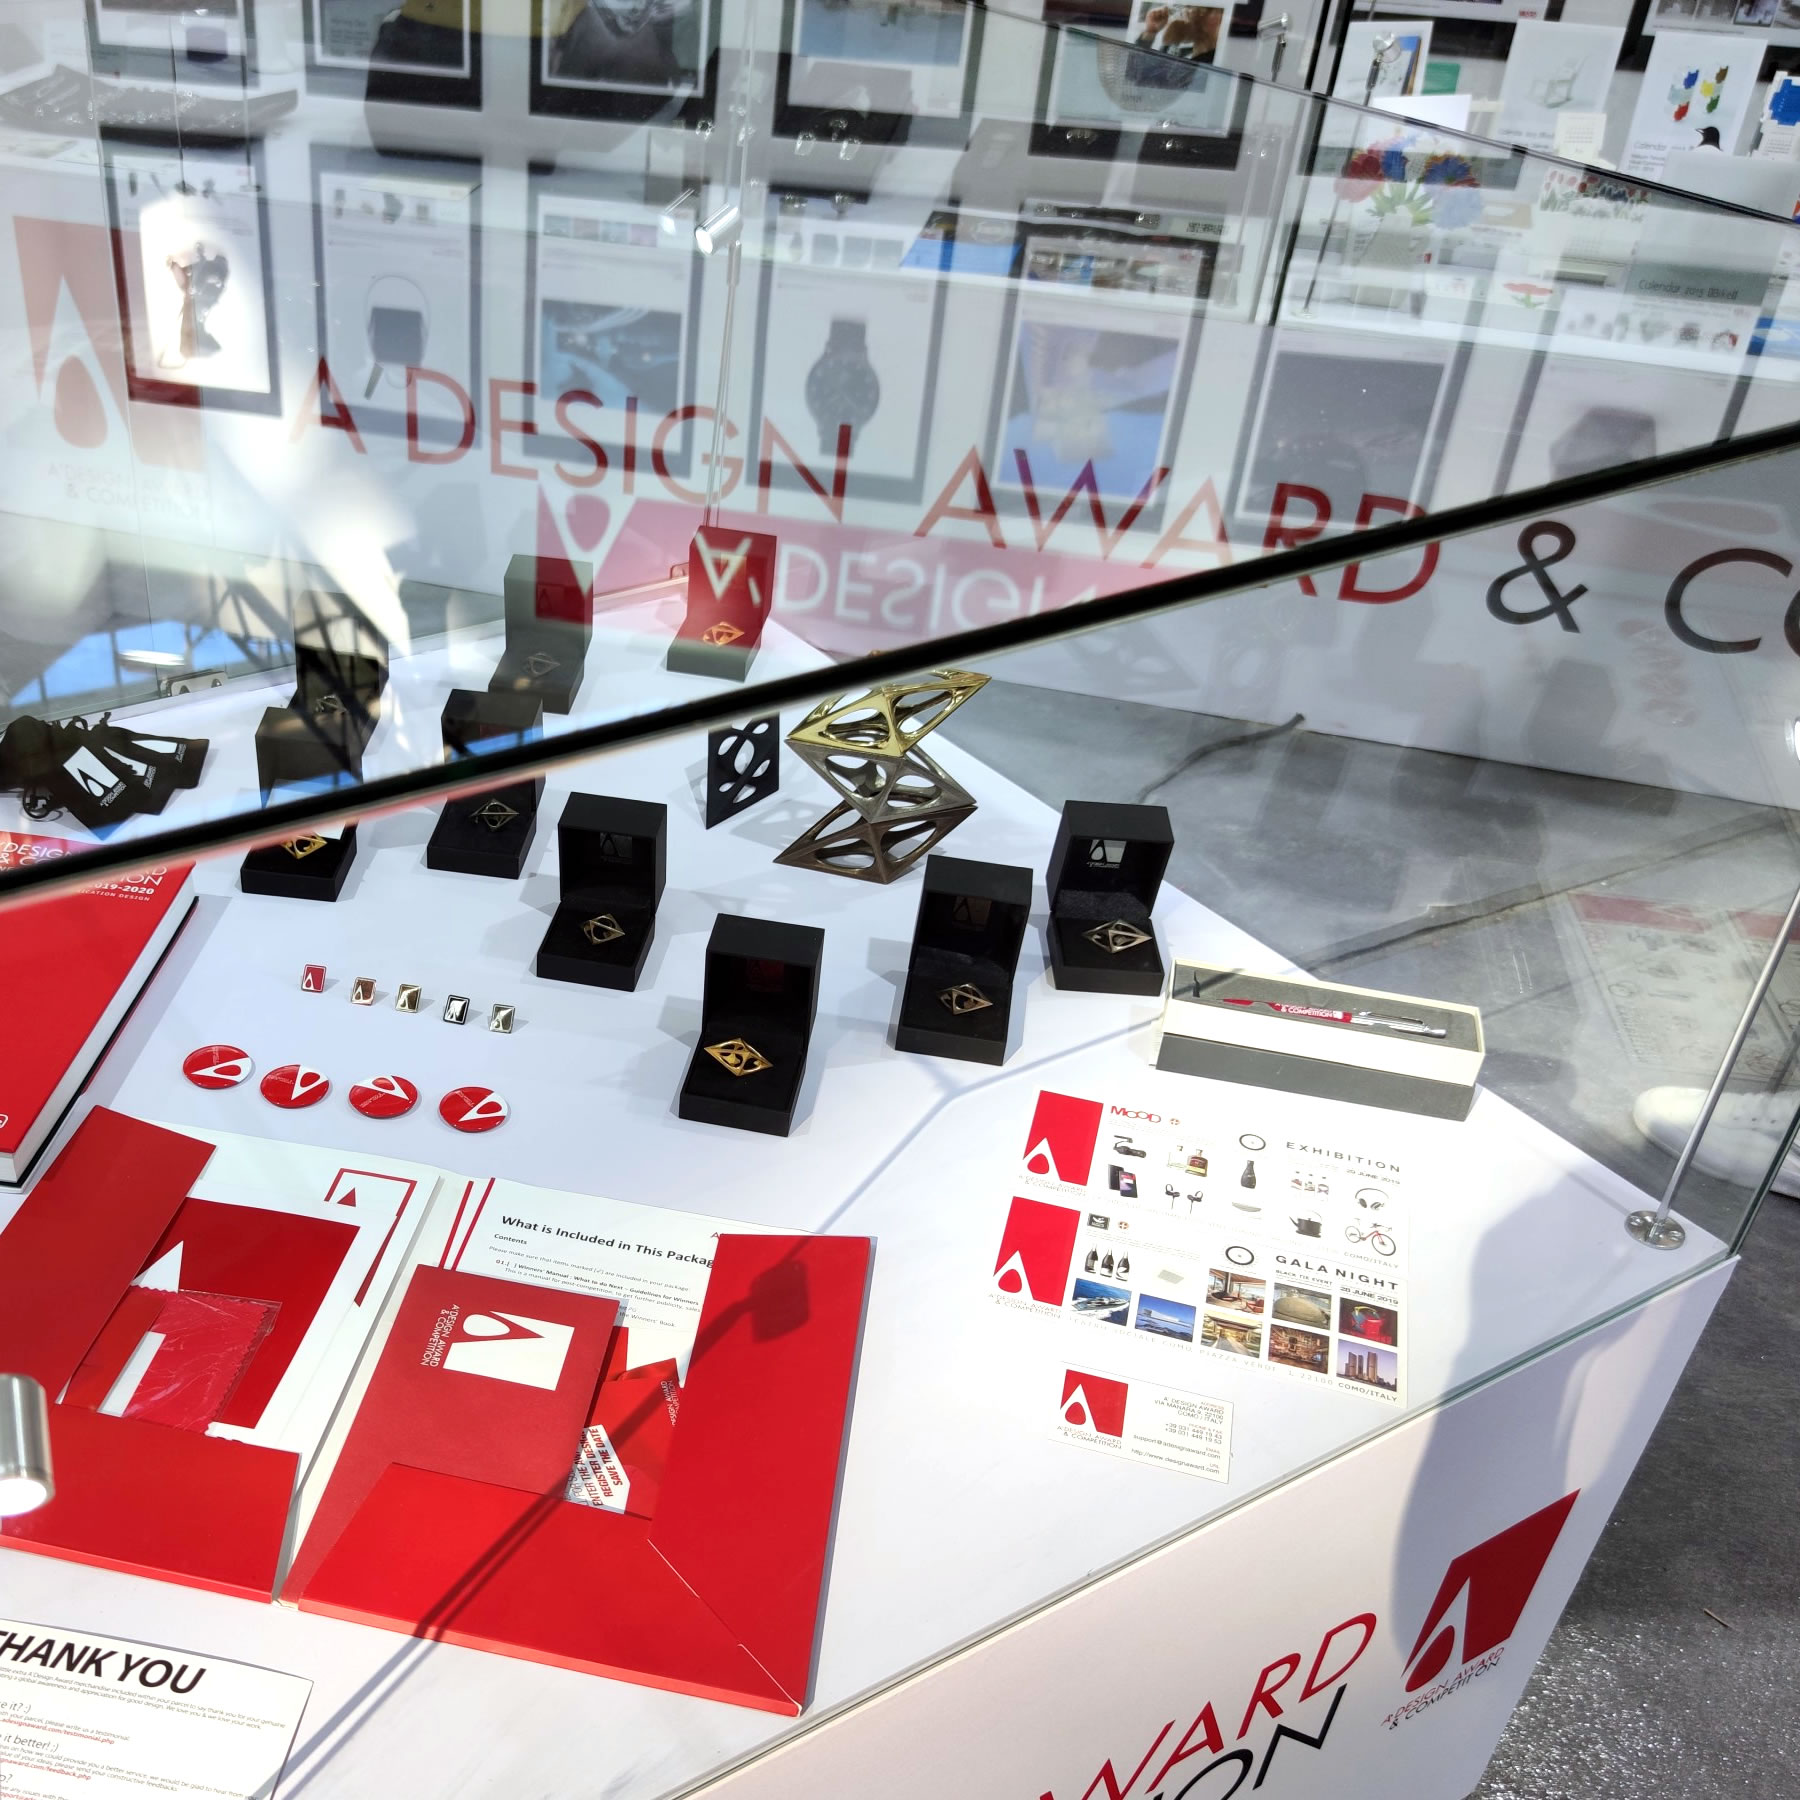
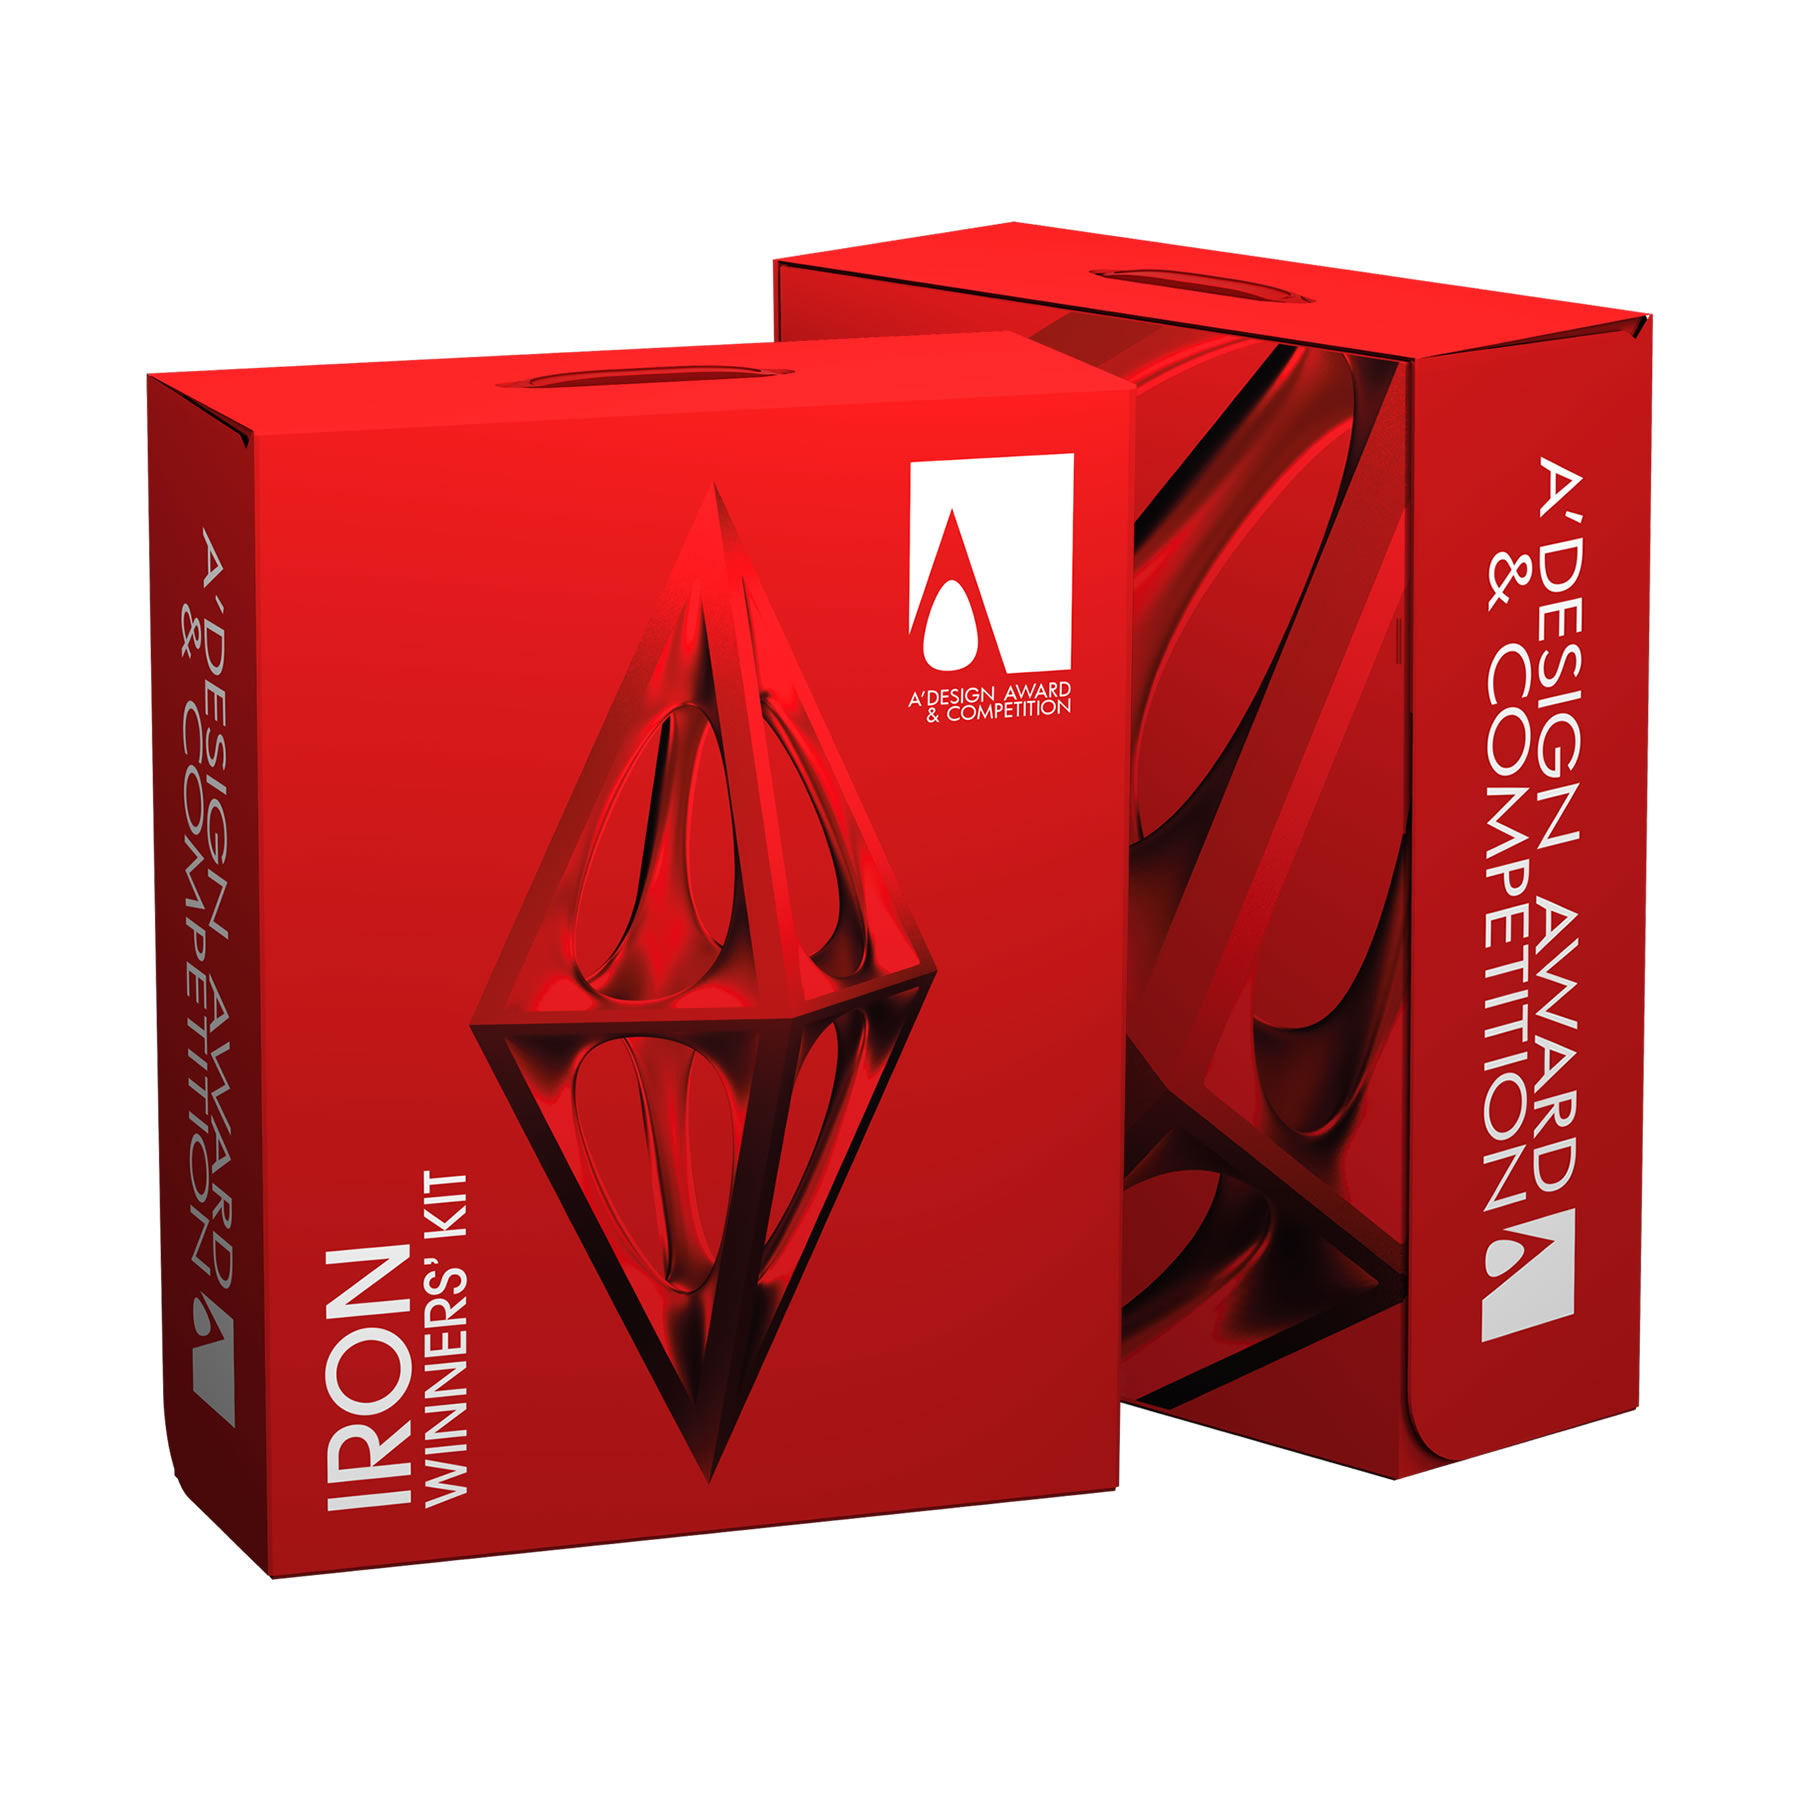
SCULPTURE DESIGN PRIZE
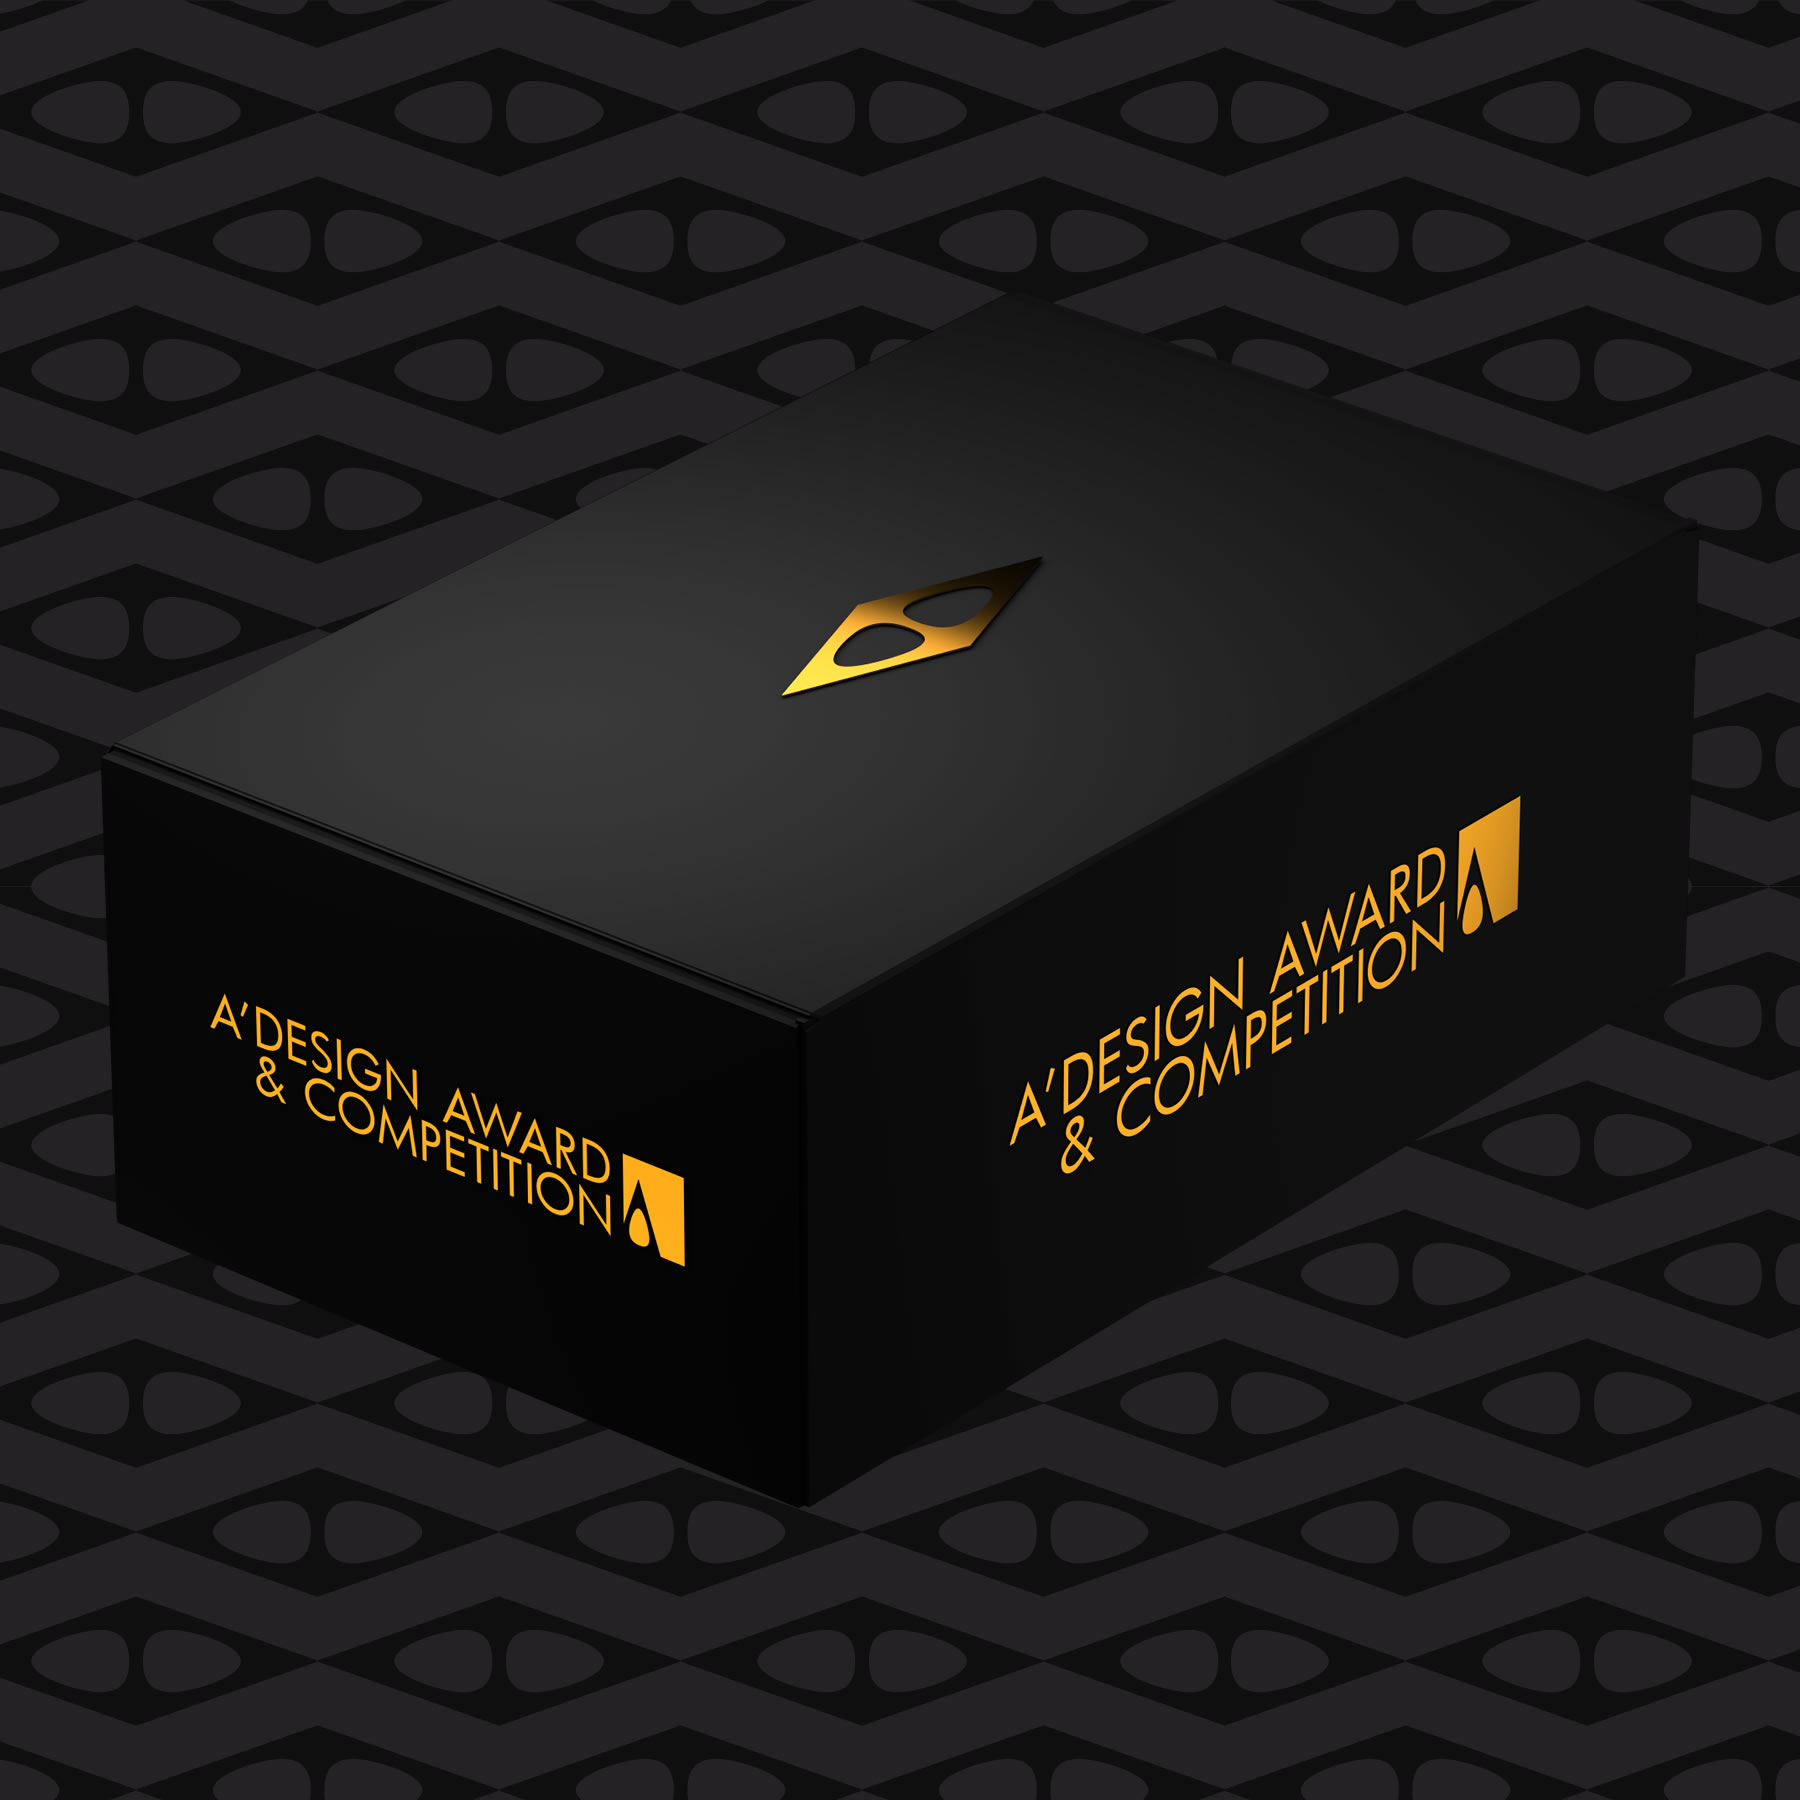
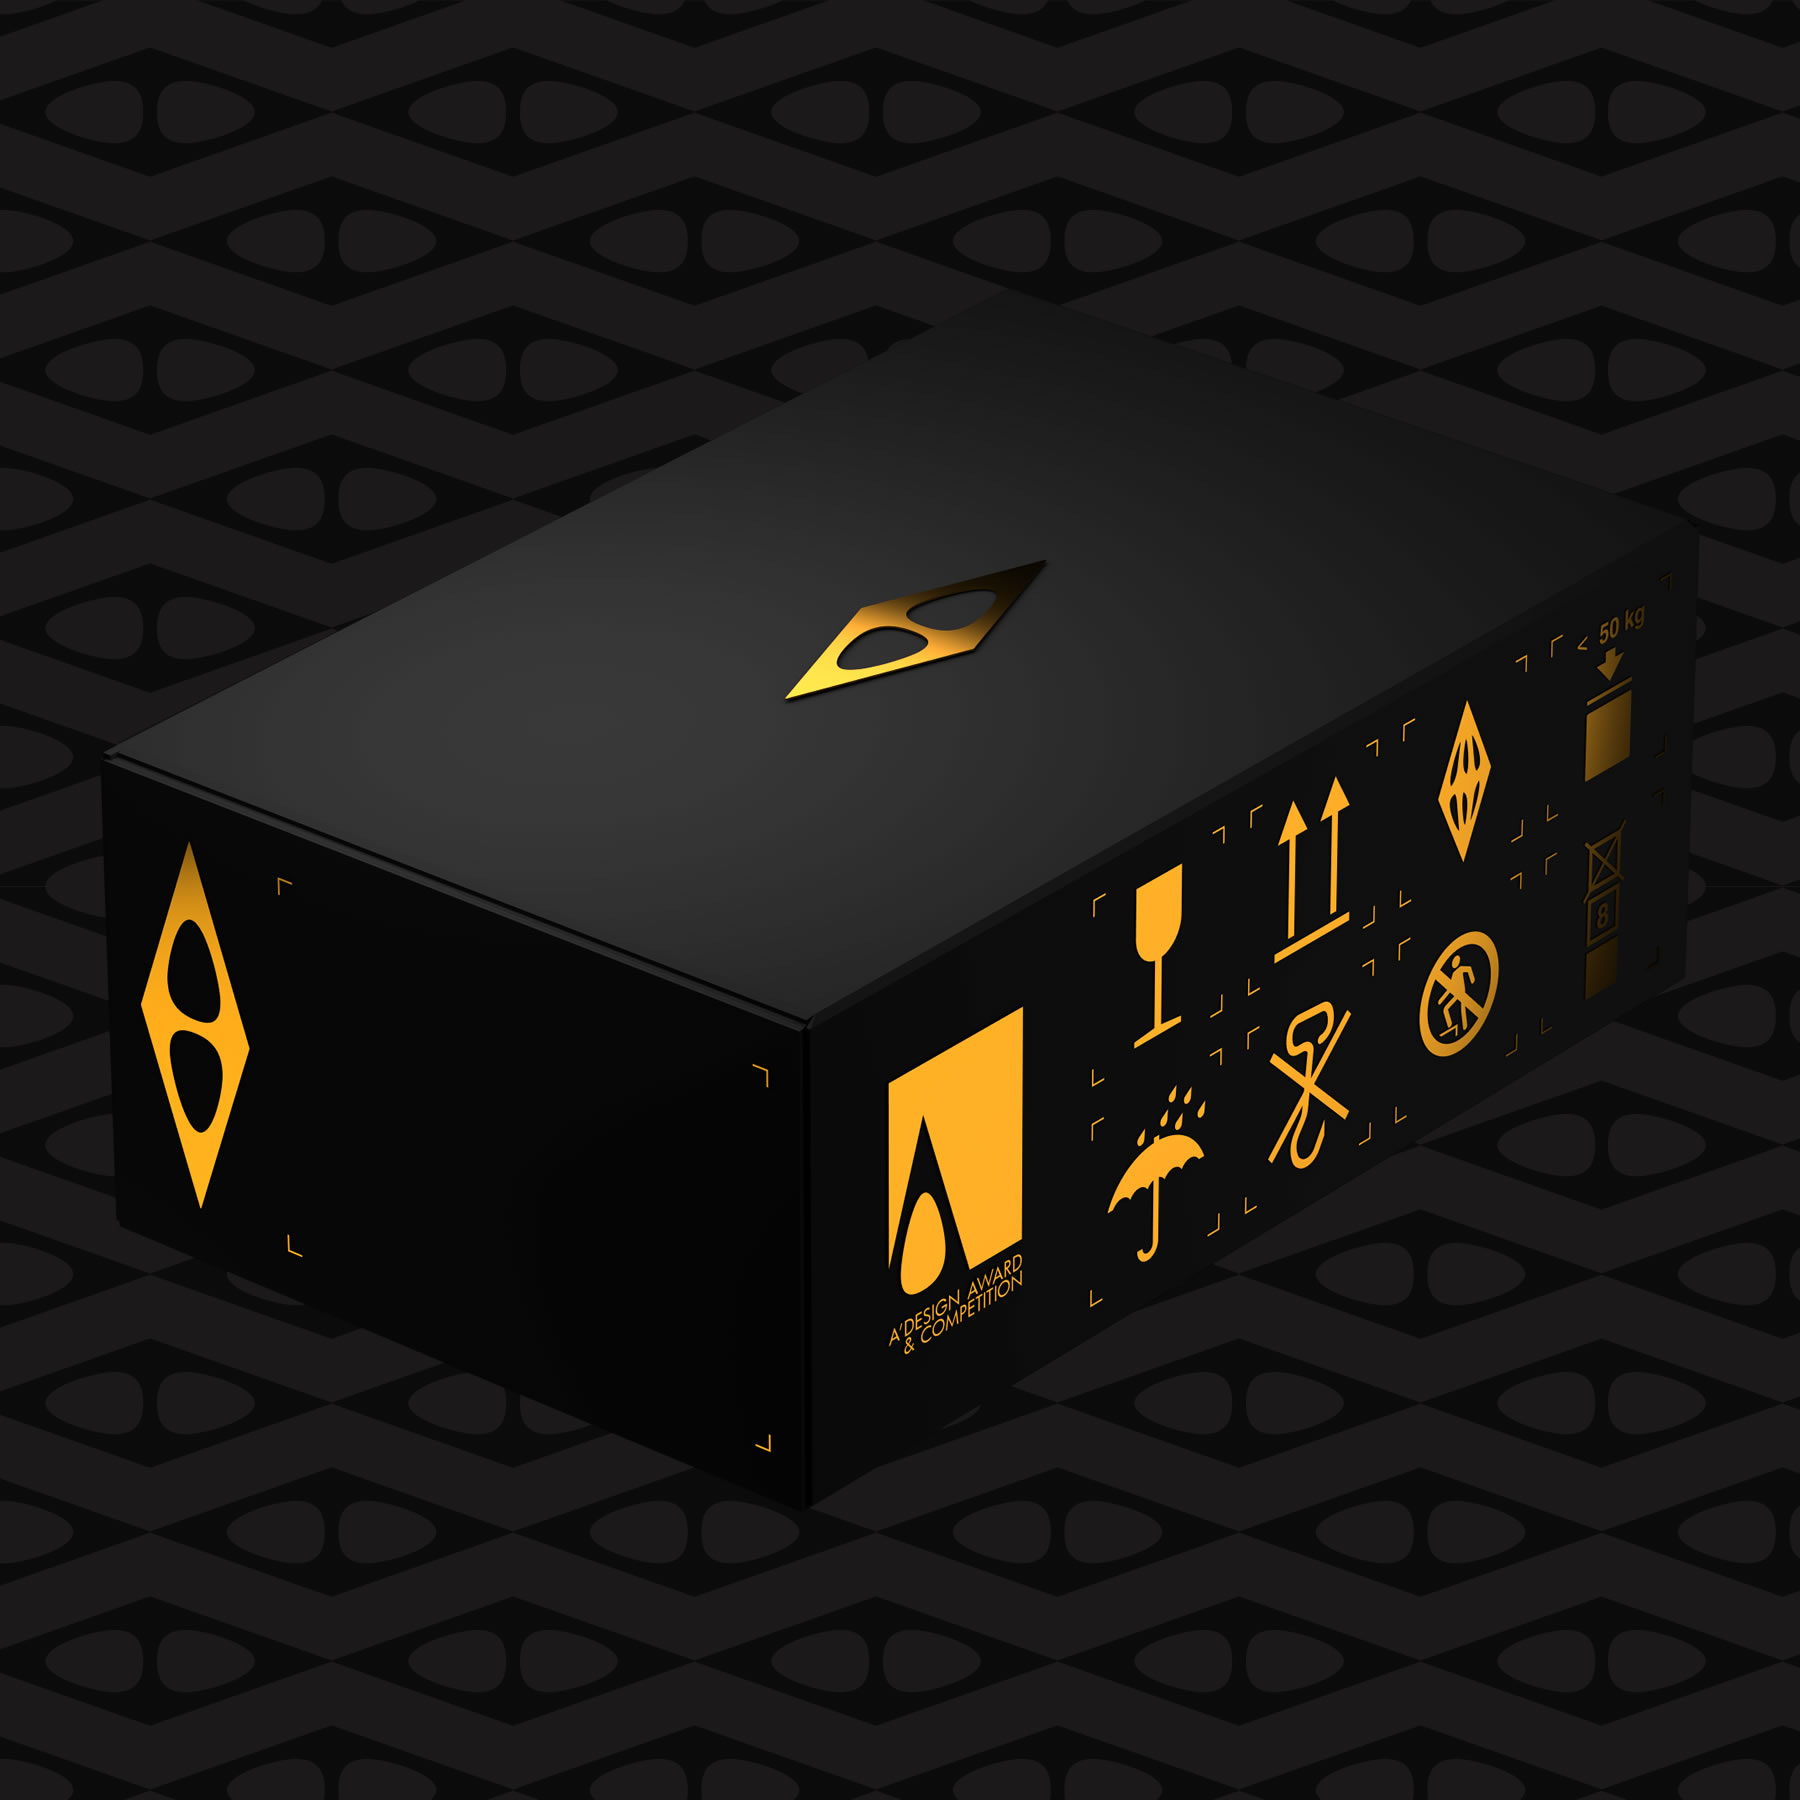
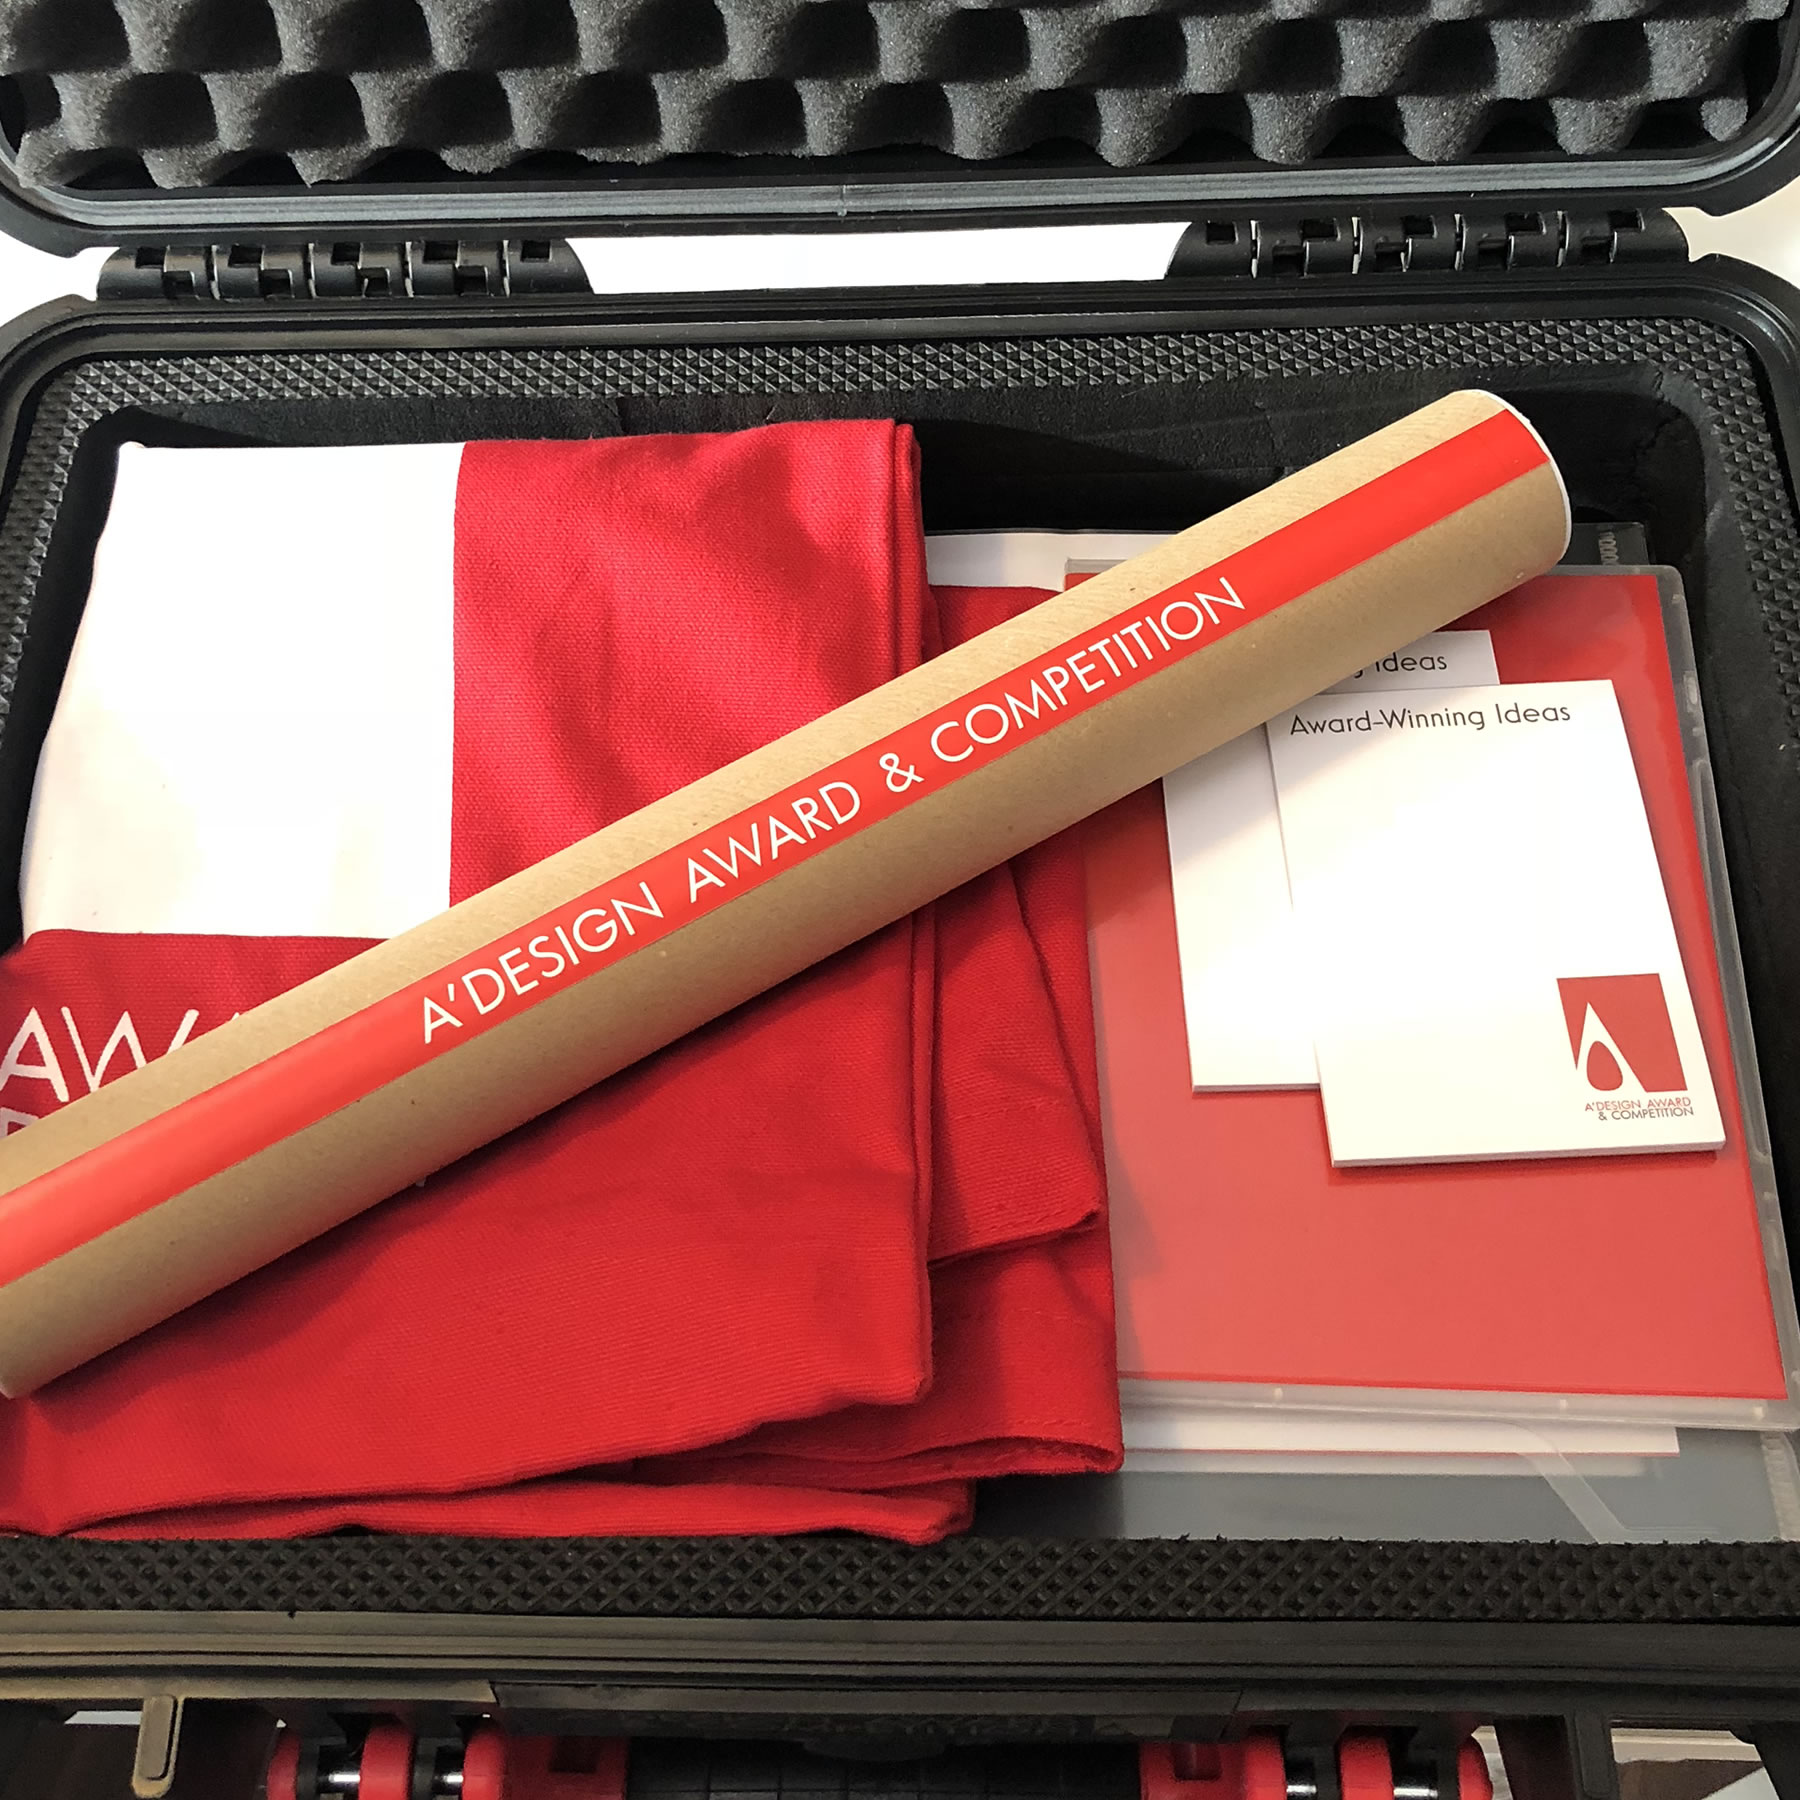
The A' Sculpture Design Award Prize is composed of logo license, public relations, publicity and reputation services, as well as the winner's kit that contains physical items, such as trophy, yearbook and certificate.
SCULPTURE DESIGN AWARD PRIZE
Eligible A' Sculpture Design Award Winners will receive their personalized Winners' Kit Package that include printed and framed award certificate, 3D printed metal award trophy, A' Design Award Winners Yearbook, Award-winner's Manual Booklet, A3 Posters and A3 Certificate, and more.
FREE AT GALA NIGHT
The A' Sculpture Design Award Winners' Kit is free and given to all pro-edition winners at the Gala-Night & Exhibition. If you are unable to join the gala-night and award celebration events, you can order your kit to be shipped to your address.
SCULPTURE DESIGN AWARD WINNER LOGO
Winners of the A' Sculpture Design Award are provided a special license to use the sculpture design award-winner logo. The A' Sculpture Design Award winner logo can be freely implemented to product packages, marketing materials, communications and public relation campaigns to help differentiate award-winning sculpture designs.
AVAILABLE IN MANY FORMATS
The A' Sculpture Design Award Winners' Logo is available in many formats and can be incorporated into all sorts of advertisements free of charge, and can be used freely by your agents and dealers with regards to your award-winning sculpture designs.

LIFETIME USAGE
The Sculpture design Award Winners' Logo is provided free of charge to all A' Sculpture Design Award winners, and A' Design Award and Competitions grants unlimited usage to winners, without yearly fees, without recurrent costs.
ADDED VALUE
A' Sculpture Design Award Winner Logo helps you communicate the excellent design values embedded in your sculpture design to your customers, consumers and clients.
IN COMMUNICATIONS
To leverage their award-winner status and get further benefits, A' Sculpture Design Award Winners use the logos in their communications prominently and visibly.
MAKES THE DIFFERENCE
The A' Design Award Winner Logo's is expected to create a positive impact during a client's decision towards you and your work, and is designed to orient consumers and customers towards purchase of your sculpture design.
SYMBOL OF EXCELLENCE
The A' Sculpture Design Award Winner Logo is an excellent symbol to communicate your design excellence, quality and capabilities.
FOR ALL INDUSTRIES
There is a distinct award-winner logo for each and every industry. The sculpture design award winner logo was designed following industry best practices, and taking into consideration historical use and heritage.
EXCLUSIVE FOR WINNERS
Many awards require annual payments for unlimited logo use license. A' Sculpture Design Award winners are able to use their award-winner logos unlimitedly and free of charge without annual licensing fees.
DESIGN MEDIATION
Being an A' Sculpture Design Award winner is just the beginning, eligible laureates are provided with complimentary mediation and brokerage services for selling their conceptual designs.

GENTLEMEN'S AGREEMENT
Designers are kind, polite individuals who might have difficulty in making contracts with businesses, but we will be there to help.
HELP WITH CONTRACTS
A' Design Award, together with Design Mediators, provides support to eligible designers to help form legal contracts with companies who are interested in buying design concepts.
SALONE DEL DESIGNER
A' Design Award has founded the Salone del Designer, with the sole purpose to provide a platform for award winners to sell their designs.
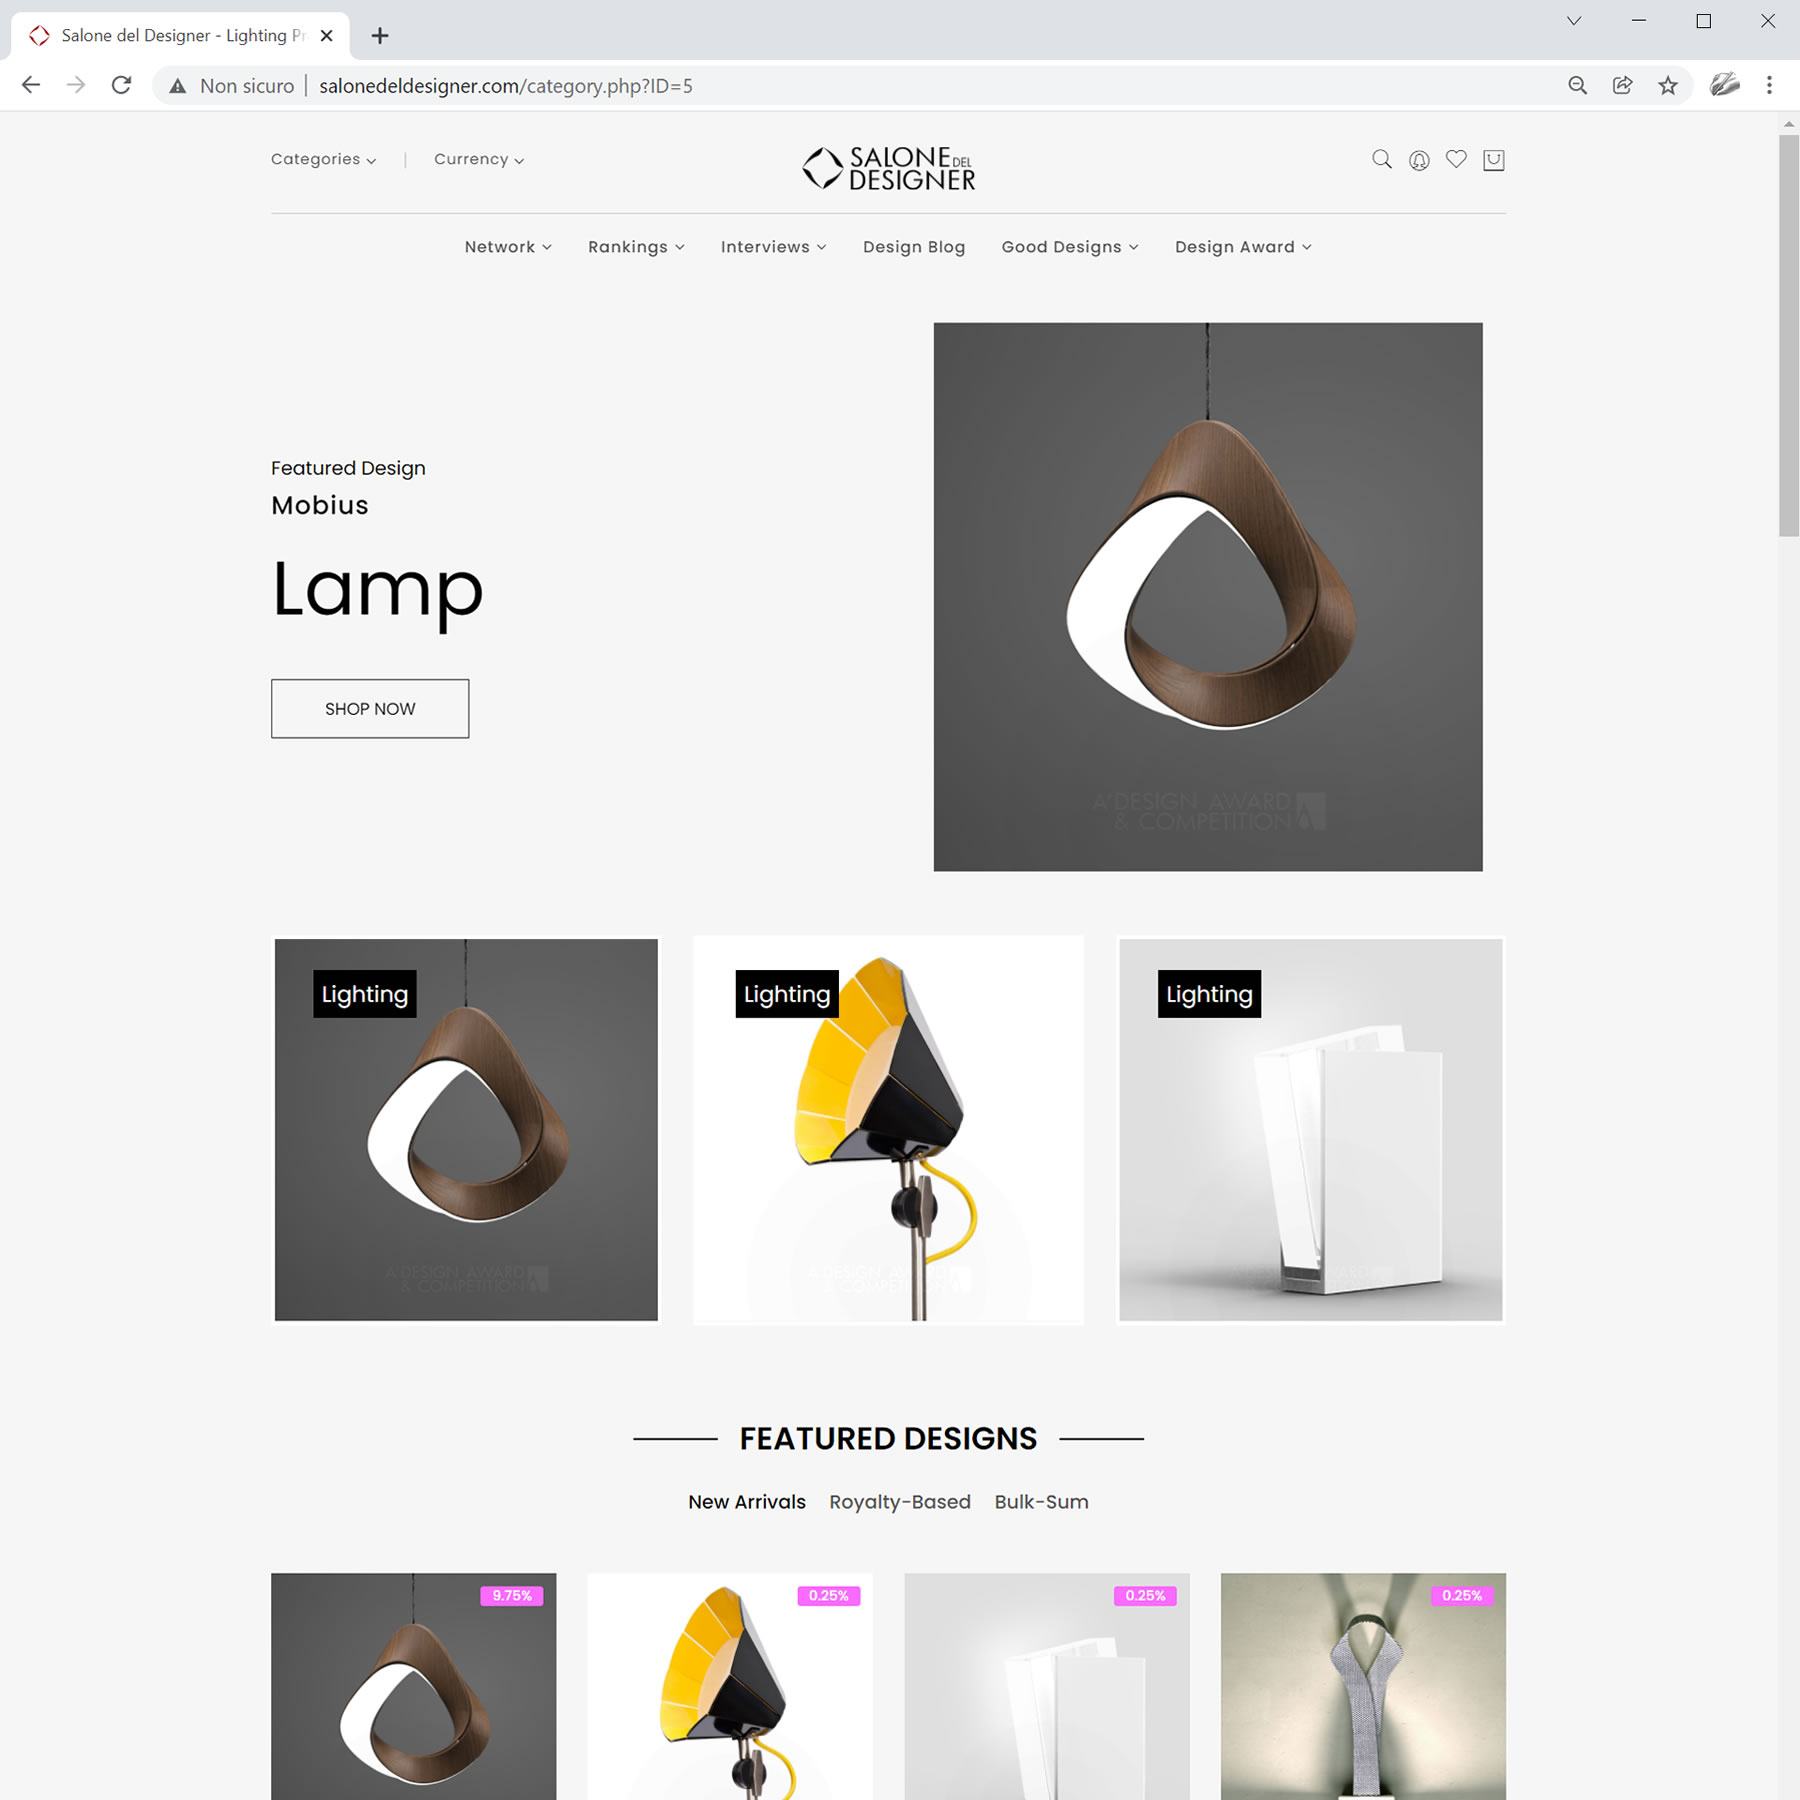
SELL SCULPTURE DESIGN CONCEPTS
A' Sculpture Design Award Winner Designers can set a sales price and also customize their contracts for selling their award-winning designs through the Salone del Designer platform.
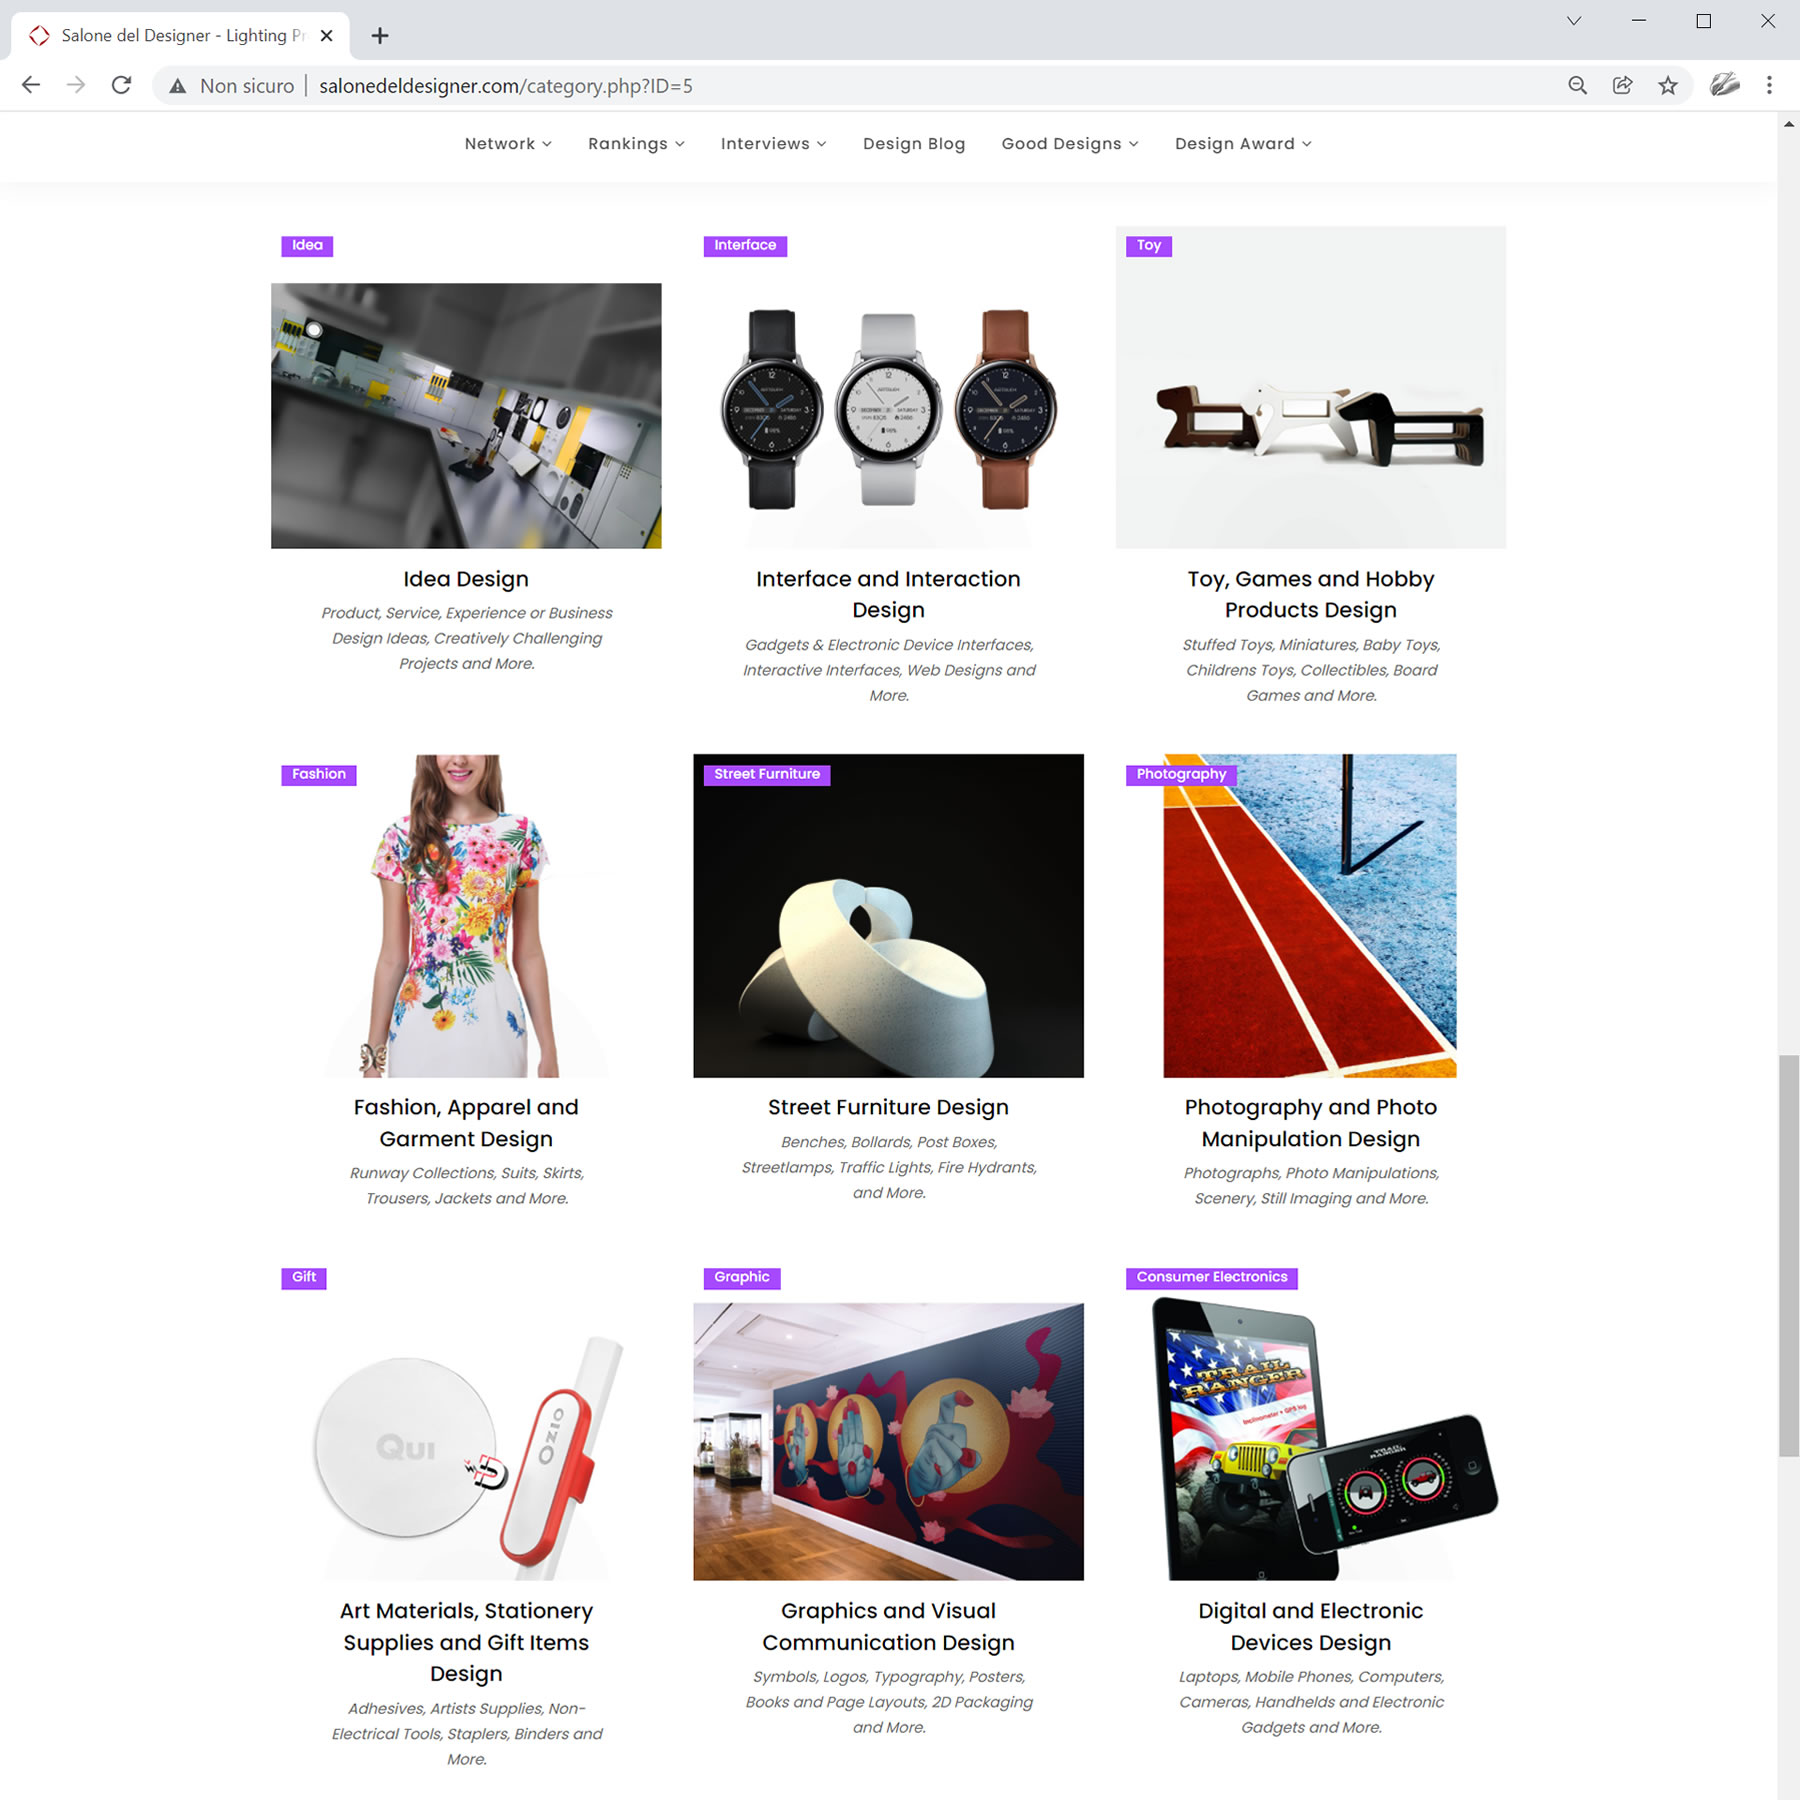
LIST YOUR DESIGNS FOR SALE
The Salone del Designer platform access and sales listing service is provided free of charge to all winners, however only award-winning designs can be listed for sale.

THE DESIGNMEGASTORE
At DesignMegaStore winner designers and companies can sell any of their designs or products, not only winning entries.
SELL GOOD SCULPTURE DESIGN
DesignerMegaStore normally requires a registration fee and annual listing fees to sell your sculpture design. Registration and listing is provided free of charge to all winners without annual fees.

%0 SALES COMMISSION
The DesignMegaStore is not just free for winners, but also does not take any commissions from the sales of designs, products or projects. You keep all the revenues.

JOIN DESIGN TENDERS
Not just sell designs; but join design tenders to give a price quote for design and production of custom sculpture design products, services and more for international buyers.

SELL HIGH-LEVEL SERVICES
Are you a manufacturer? Give price quotes to big buyers for turnkey design and manufacturing solutions. Are you a designer? Find high-profile requests.

EXCLUSIVE SERVICE
The BuySellDesign network is exclusive to A' Design Award Winners, who wish to provide sculpture design services to worldwide clients.
Benefits for Winning Designers
A special public relations campaign will be made for the Sculpture Design Design Award winners. Your design and your details will be communicated to thousands of press contacts, and also we will prepare a pr-kit for you. You can use this professionally prepared pr-kit to reach local press contacts. The winning design and the designer or the design studio will also be featured in the design annual and yearbook which is distributed by Design PR Wire to key figures in the design industry such as high-profile editors, press members and multi-national companies.
PROOF OF DESIGN CREATION
Can you prove that you are indeed the original creator of your work? The Proof of Creation certificate given by A' Design Award can be useful.
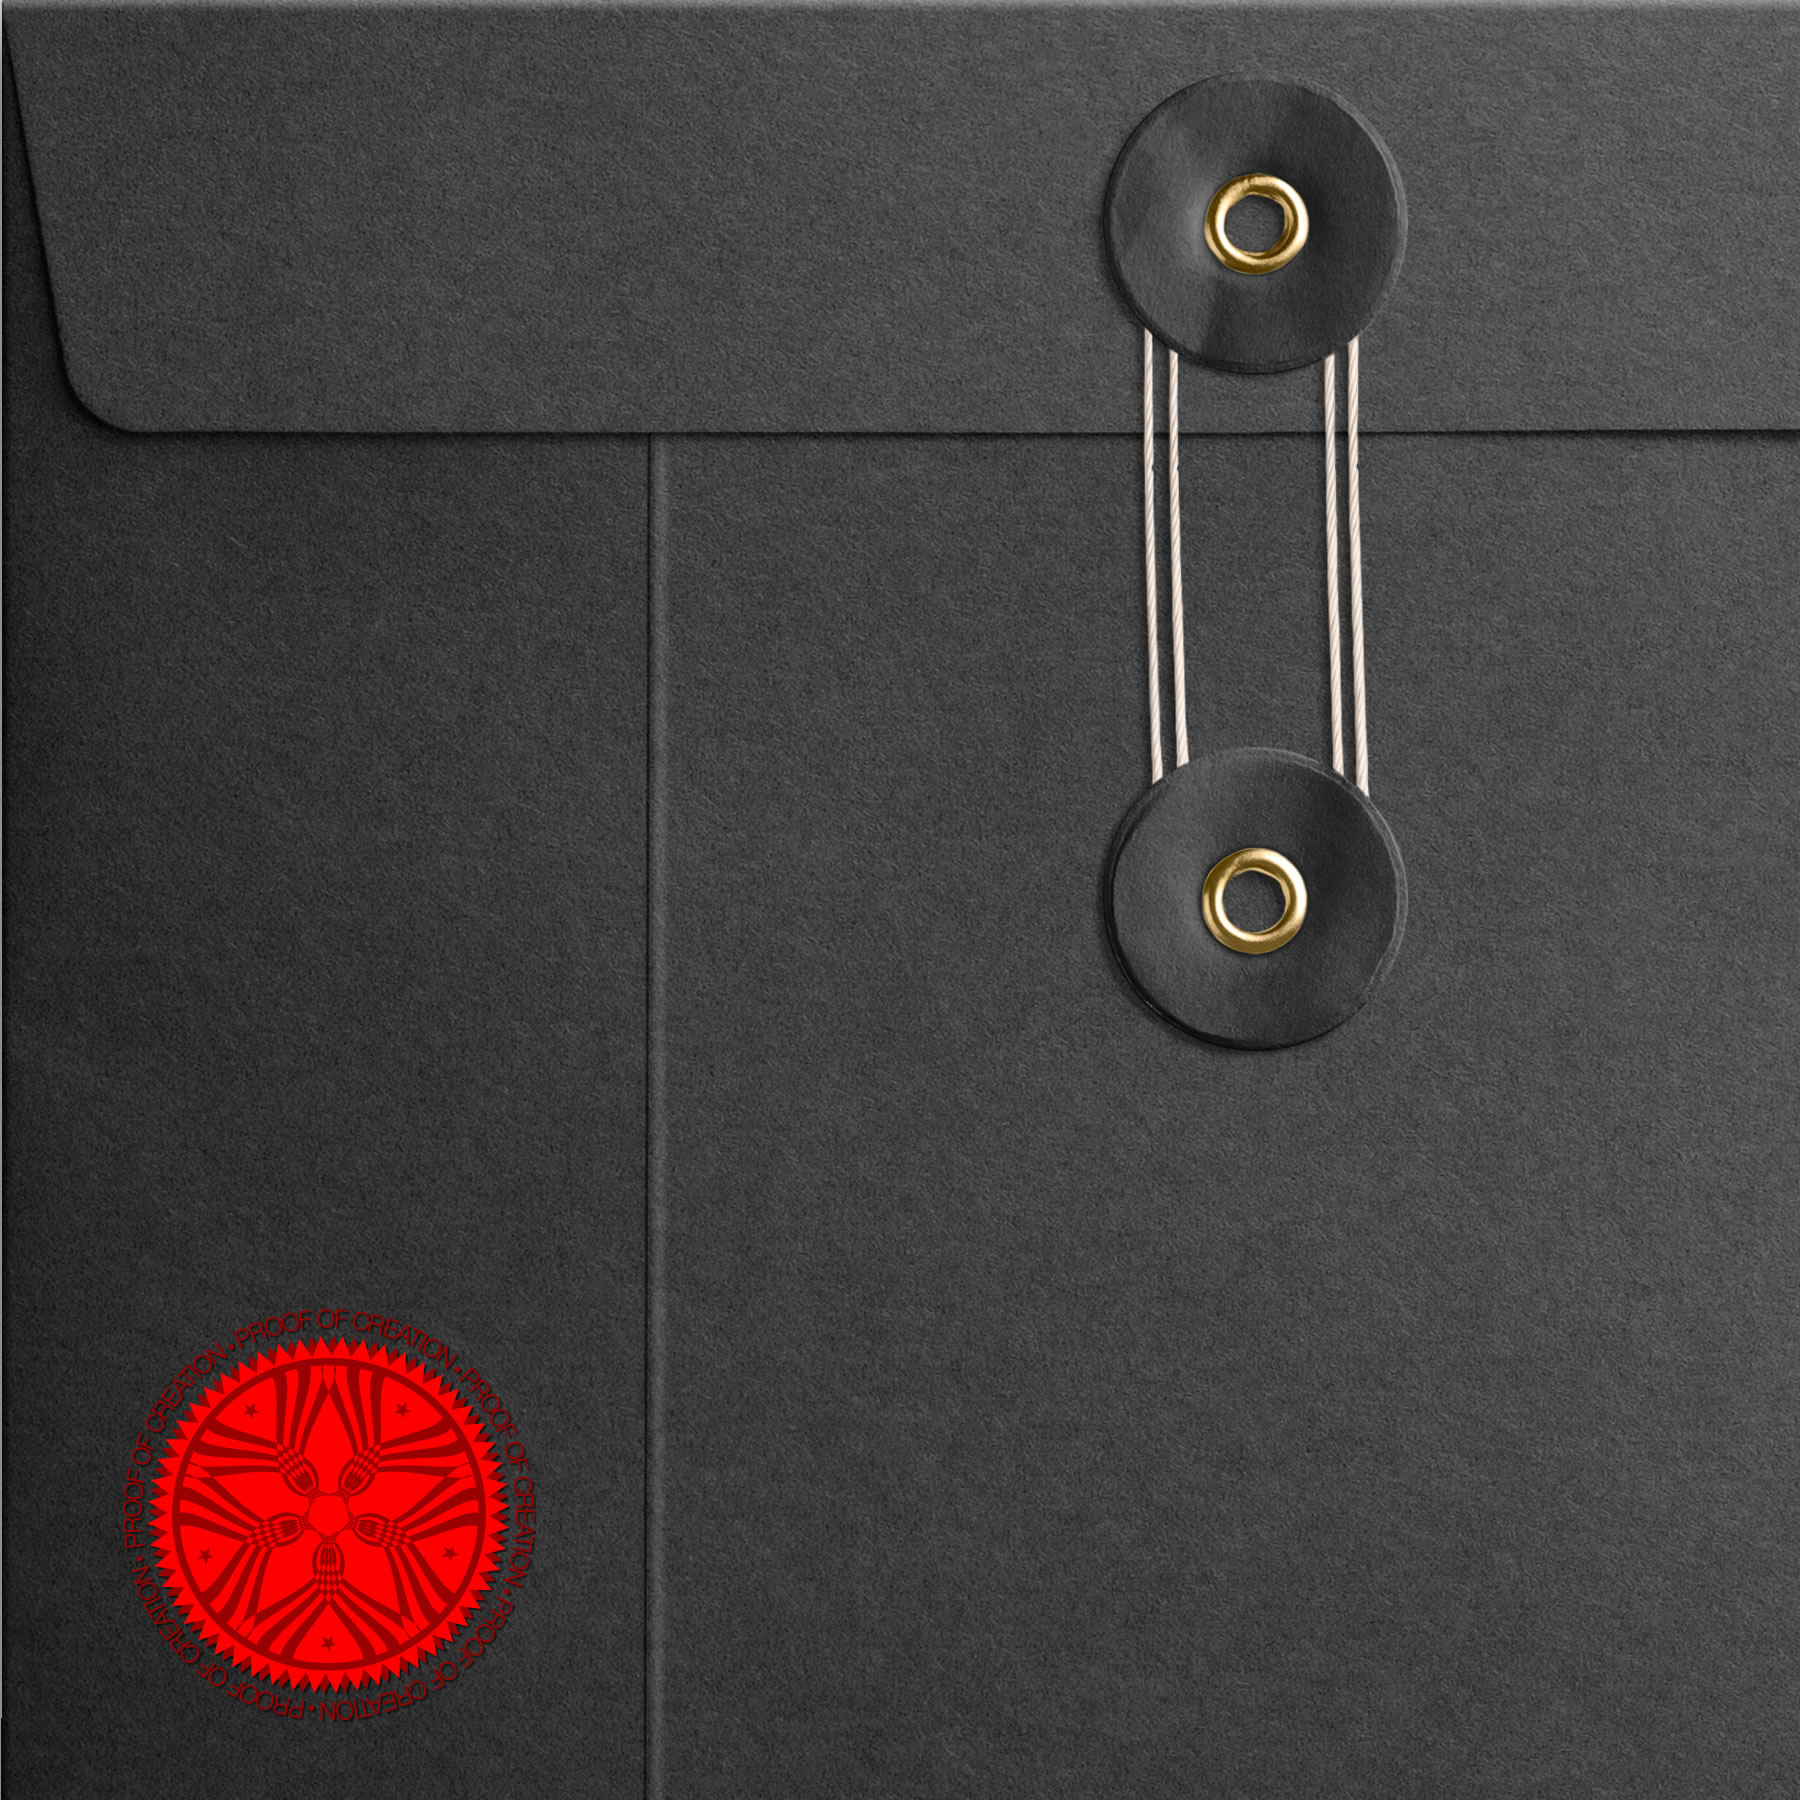
DULY SIGNED AND TIMESTAMPED
The Proof of Creation document is a signed and timestamped paper to help you prove that at a given time, you had the design concept in your hands.
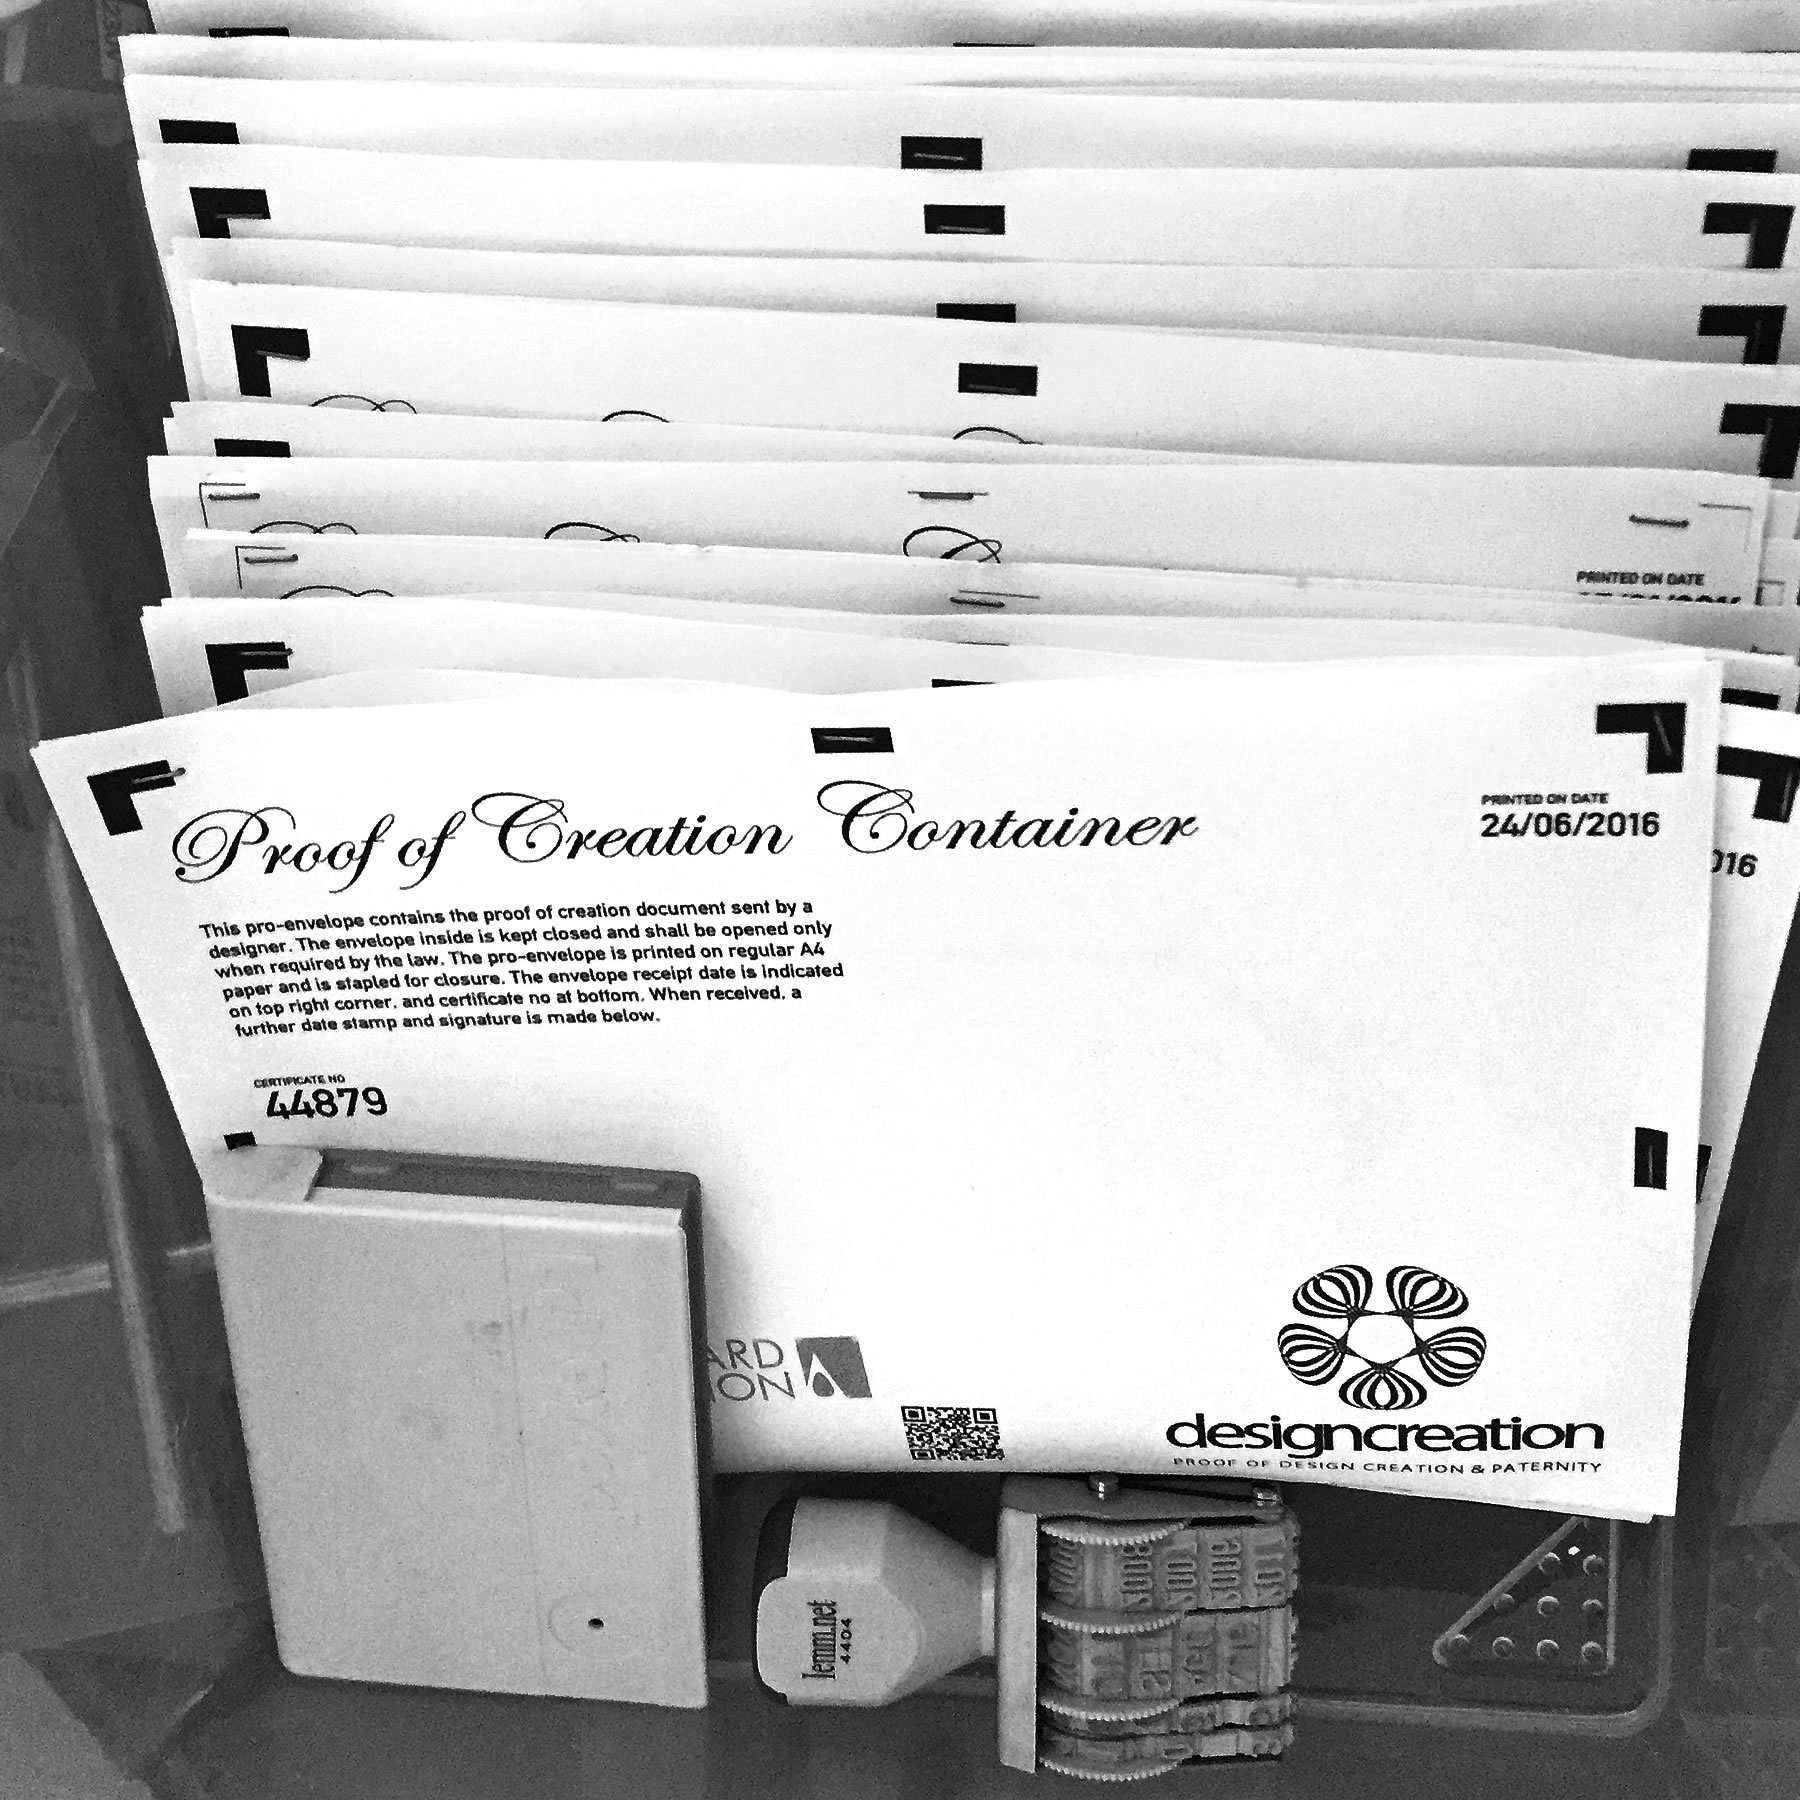
FREE & EASY TO OBTAIN
A' Design Award provides an easy way to obtain the Proof of Design Creation document, free for all participants. Please note that this is not a patent or registration.

GOOD PR SERVICES
A' Sculpture Design Award winners are provided with numerous public relations and promotion services through DesignPRWire to celebrate their success.
BEHIND THE CURTAINS
The scope of PR Services is not just digital, throughout the year, DesignPRWire visits tradefairs and introduces winner sculpture designs to design-oriented companies.
CONNECT WITH PRESS
With services such as press release preparation and distribution, all free of charge, A' Sculpture Design Award increases your connectivity with the media and provides you with exposure throughout the year.
excellence in design.
Join A' Sculpture Design Award and communicate your good sculpture design values.
PRESS RELEASE PREPARATION
A' Sculpture Design Award prepares a press release for all winner sculpture designs, in addition to allowing winners to upload their own releases to our platform for international press release distribution.

PRESS RELEASE DISTRIBUTION
Sculpture design Award Winner press releases are distributed by DesignPRWire to a wide range of press members including both the traditional and online digital media.

IT IS FREE & HIGH RES.
Electronic multi-media press release preparation and distribution services are provided to all A' Sculpture Design Award winners automatically and without any payments.
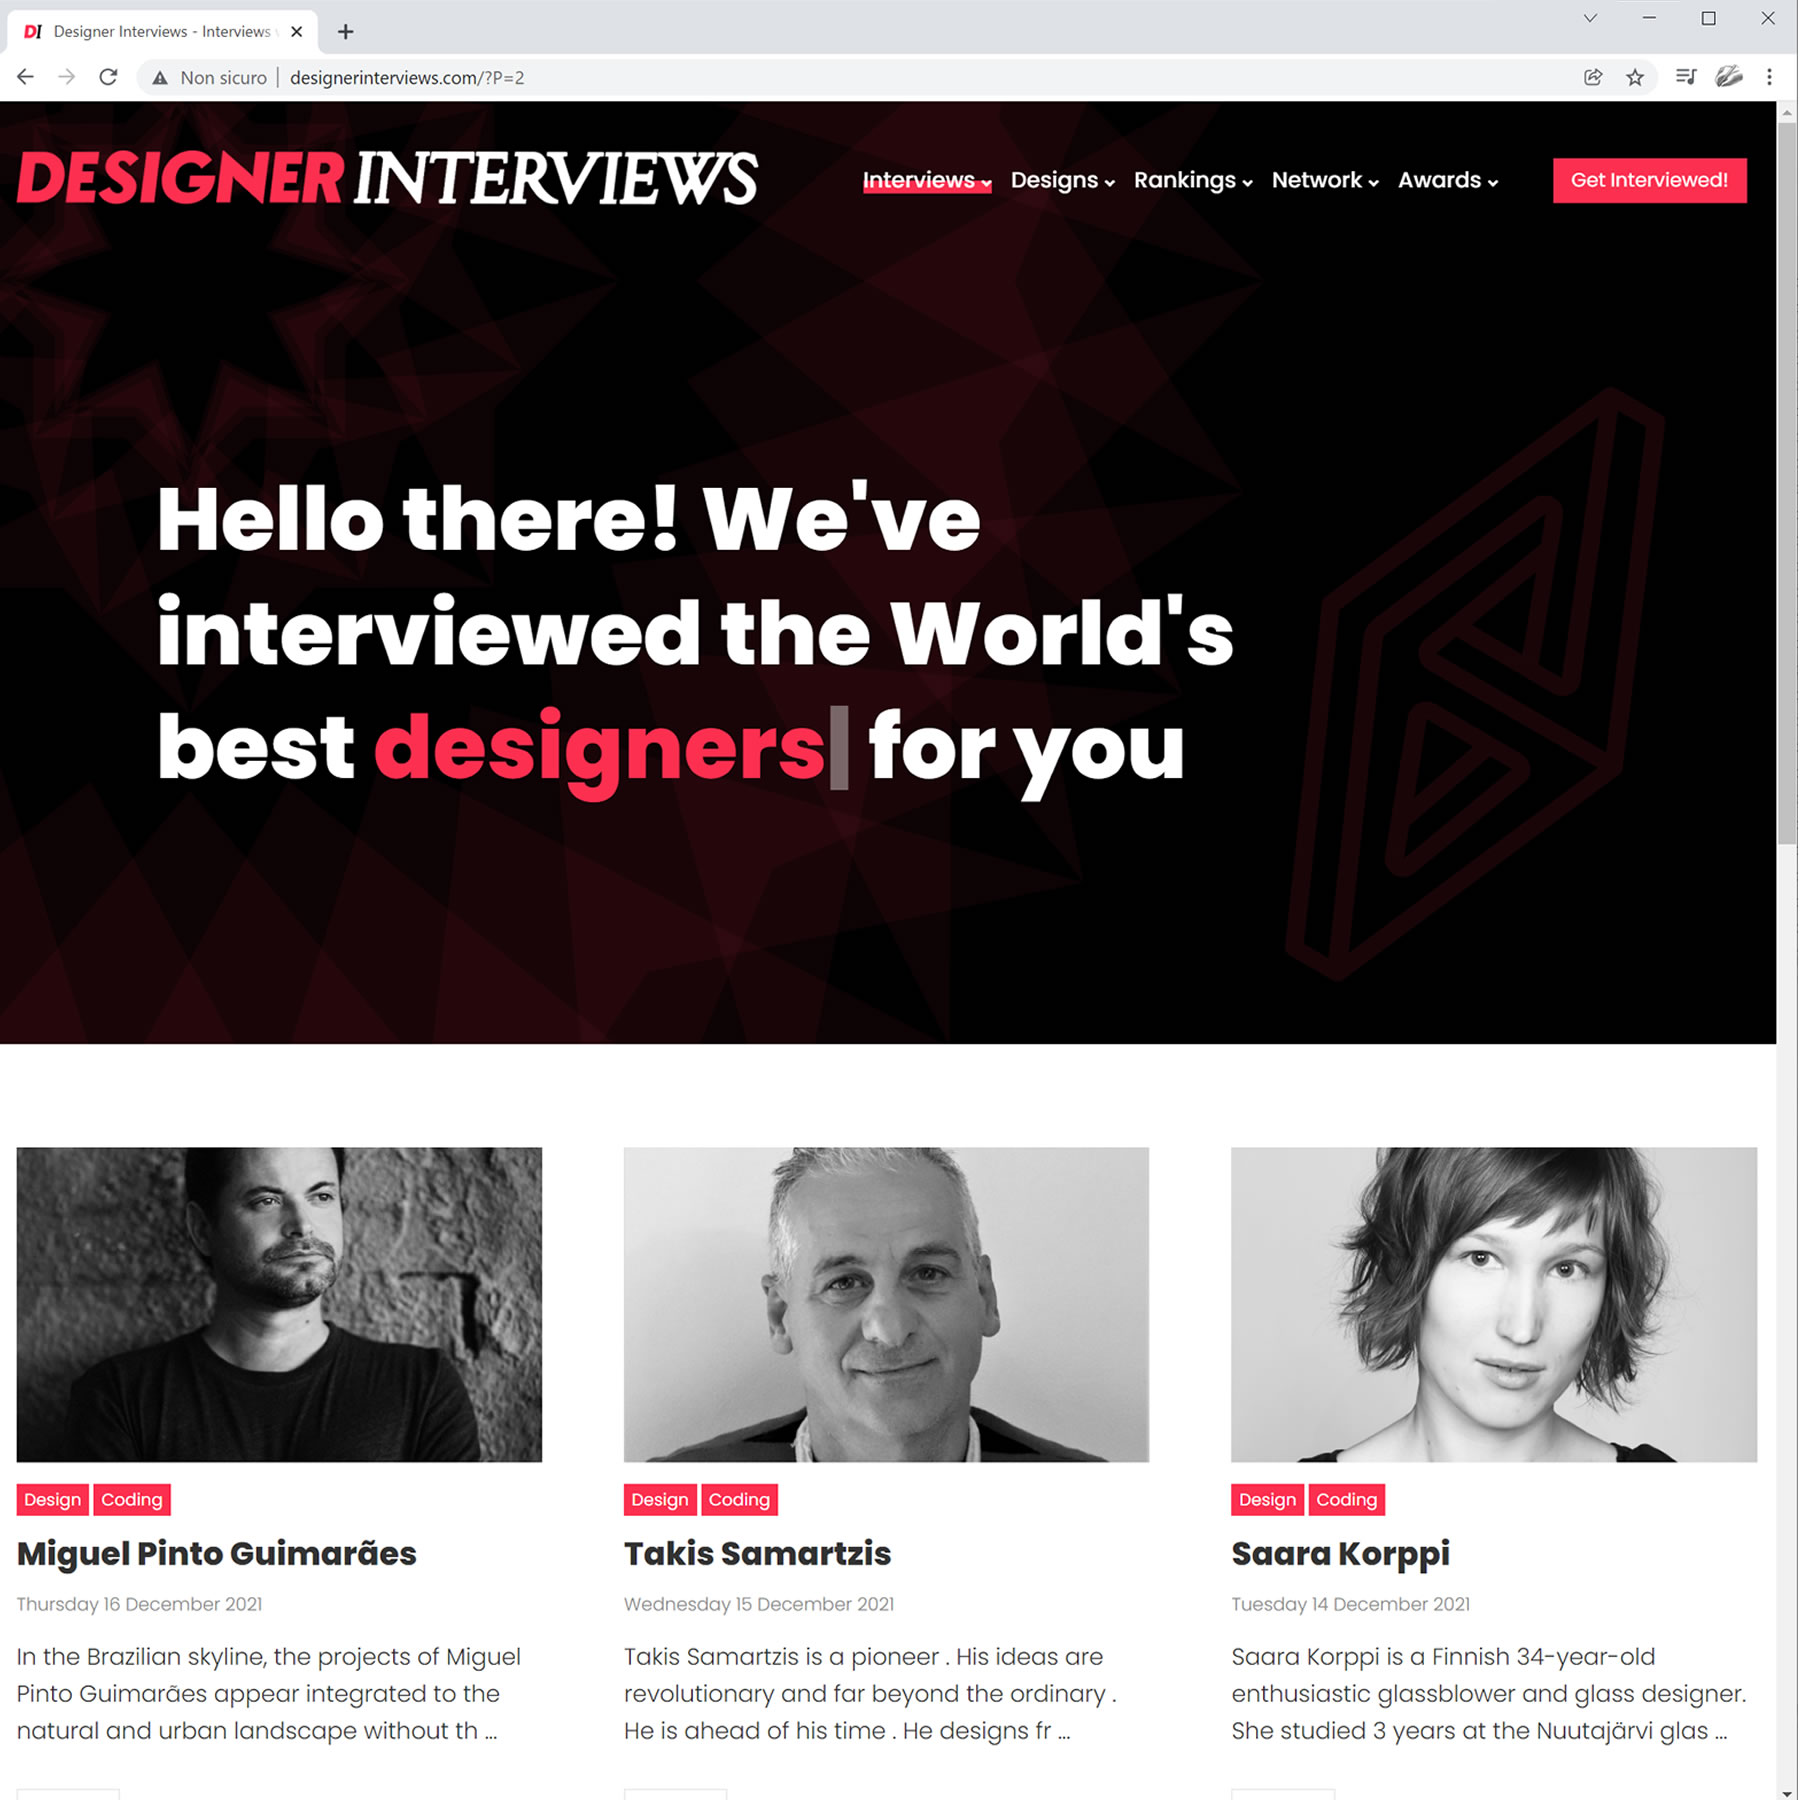
DESIGNER INTERVIEWS
A' Sculpture Design Award publishes interviews with the award winning designers at designerinterviews.com and all sculpture design award winners are eligible for complimentary interviews.
PICKED BY THE PRESS
Designer Interviews are also available at A' Design Award Website and are part of the Electronic Press Kit that are distributed to media members and journalists.
USED BY JOURNALISTS
Designer Interviews are provided in a way to encourage usage without attribution to A' Sculpture Design Award, this helps the press members to write their articles faster.
SCULPTURE DESIGN INTERVIEWS
A' Sculpture Design Award publishes interviews regarding award winning sculpture designs at design-interviews.com, and the interview service is provided free of charge for all sculpture design award winners.
DESIGNED FOR THE PRESS
Sculpture design Interviews, which are also available at A' Design Award Website, are part of the Electronic Press Kit that are distributed to journalists.
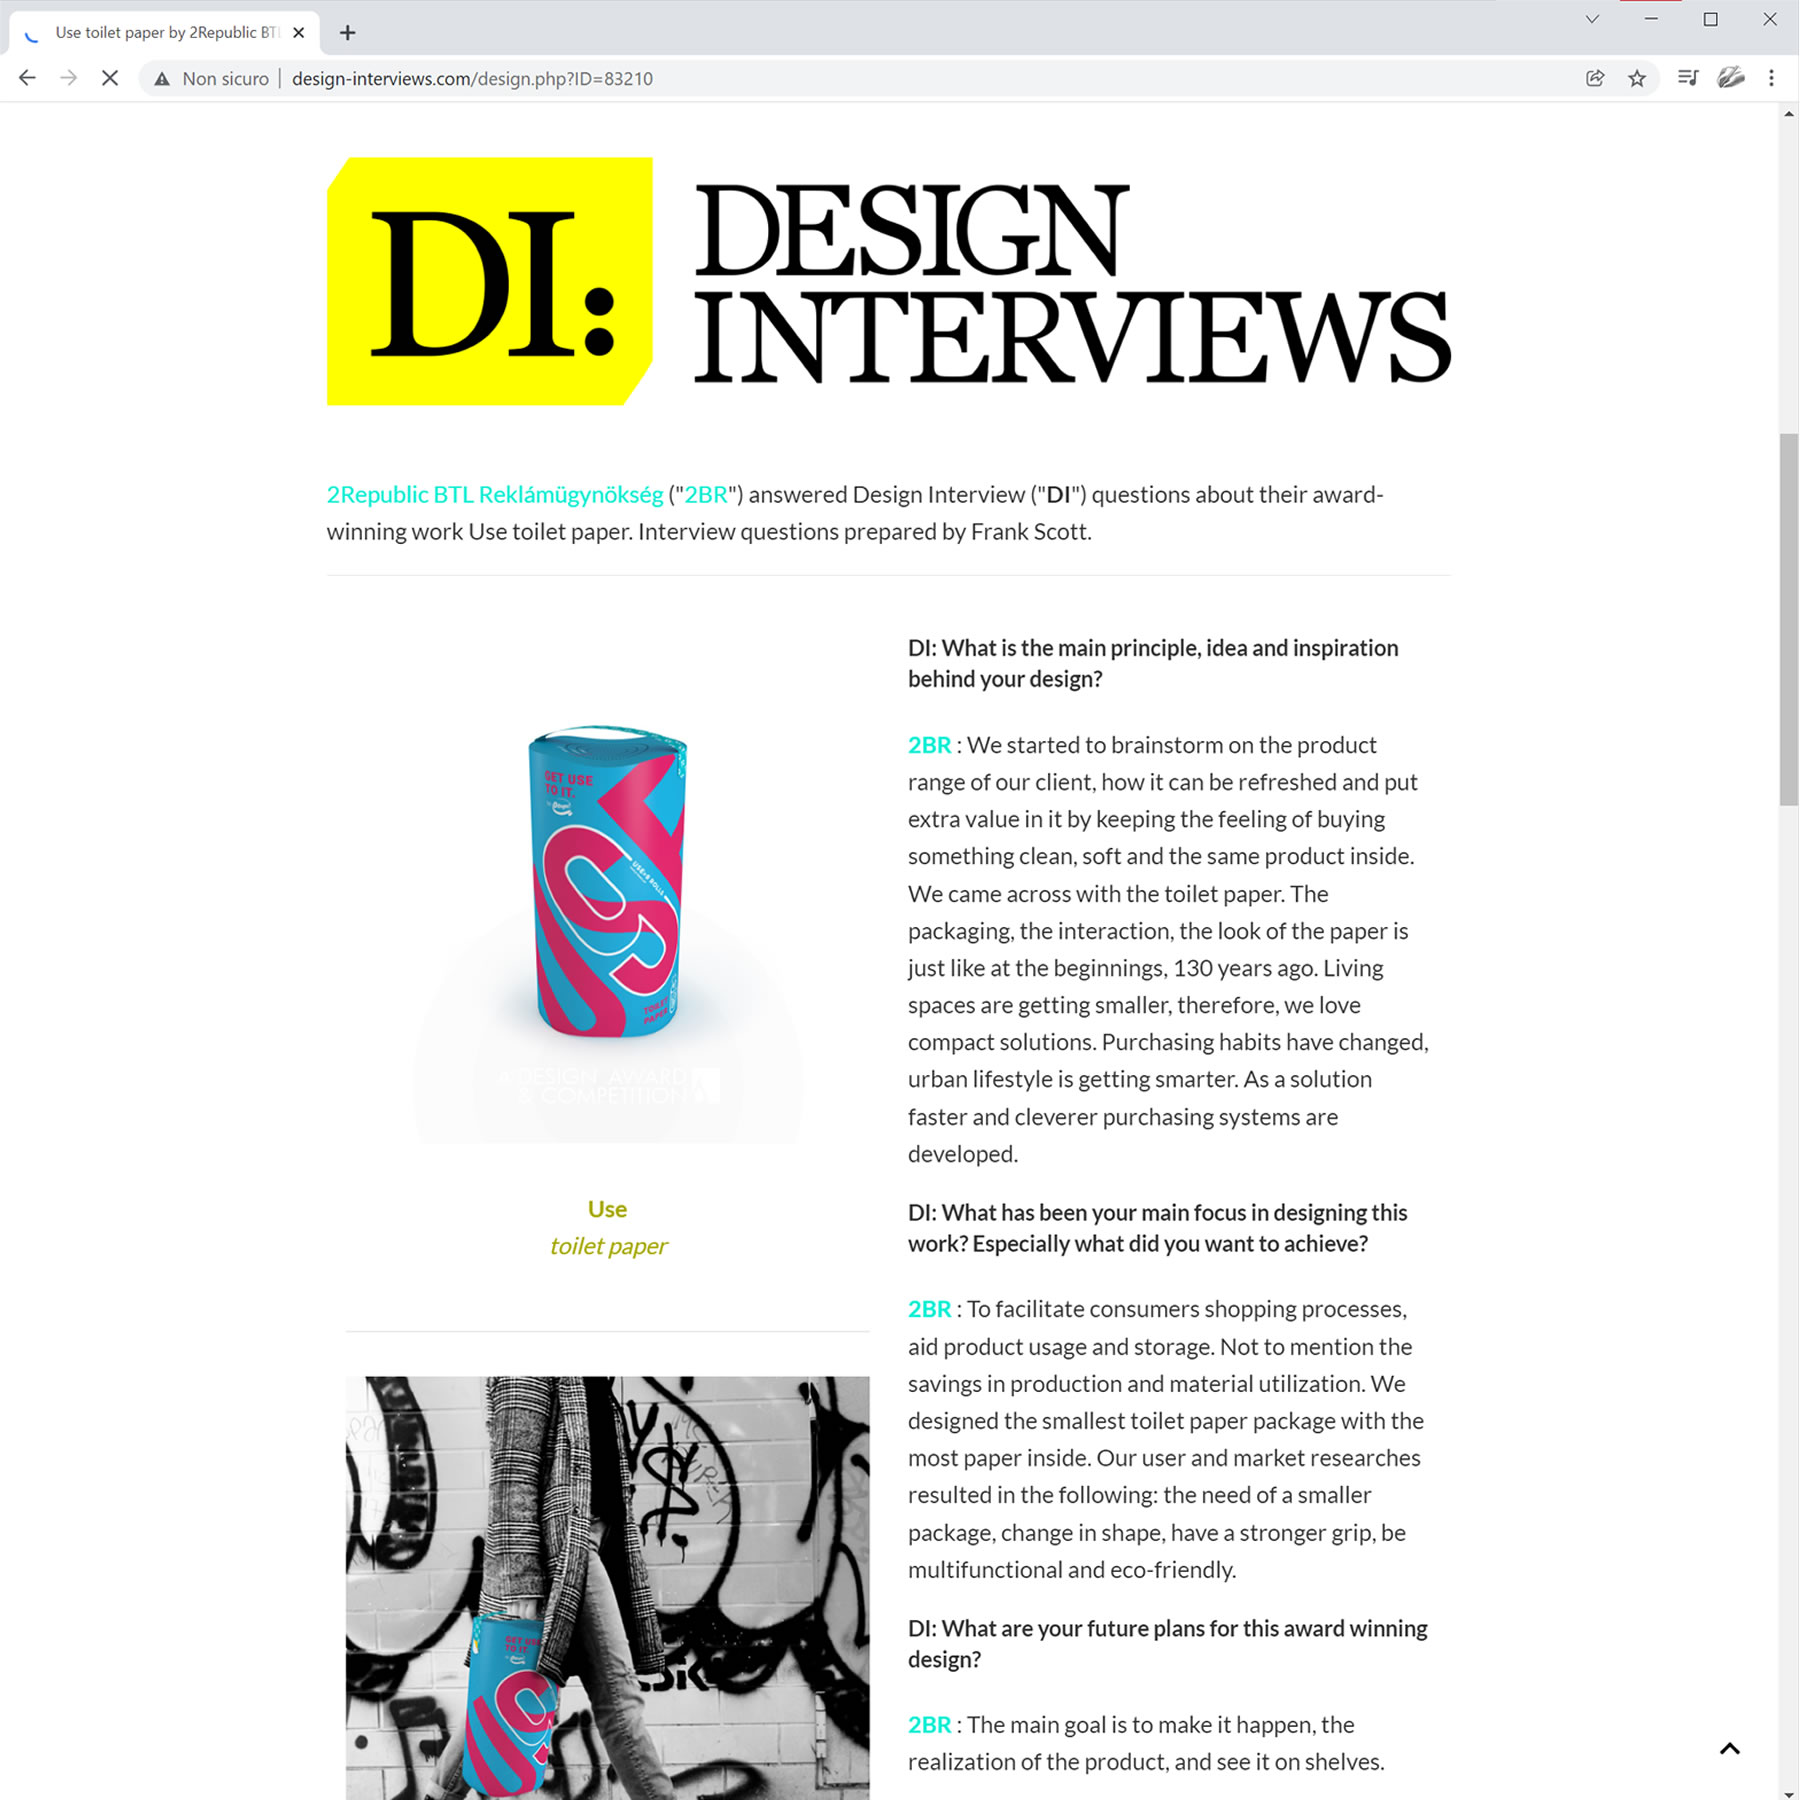
INTEGRATED BY THE PRESS
Design Interviews platform was designed in a way to incentivize coverage by the press without attribution to A' Sculpture Design Award, to help journalists write feature stories faster.

DESIGN LEGENDS
A' Sculpture Design Award publishes interviews with legendary designers at design-legends.com and as a laureate, we would be honor to feature you and your award winning sculpture design.
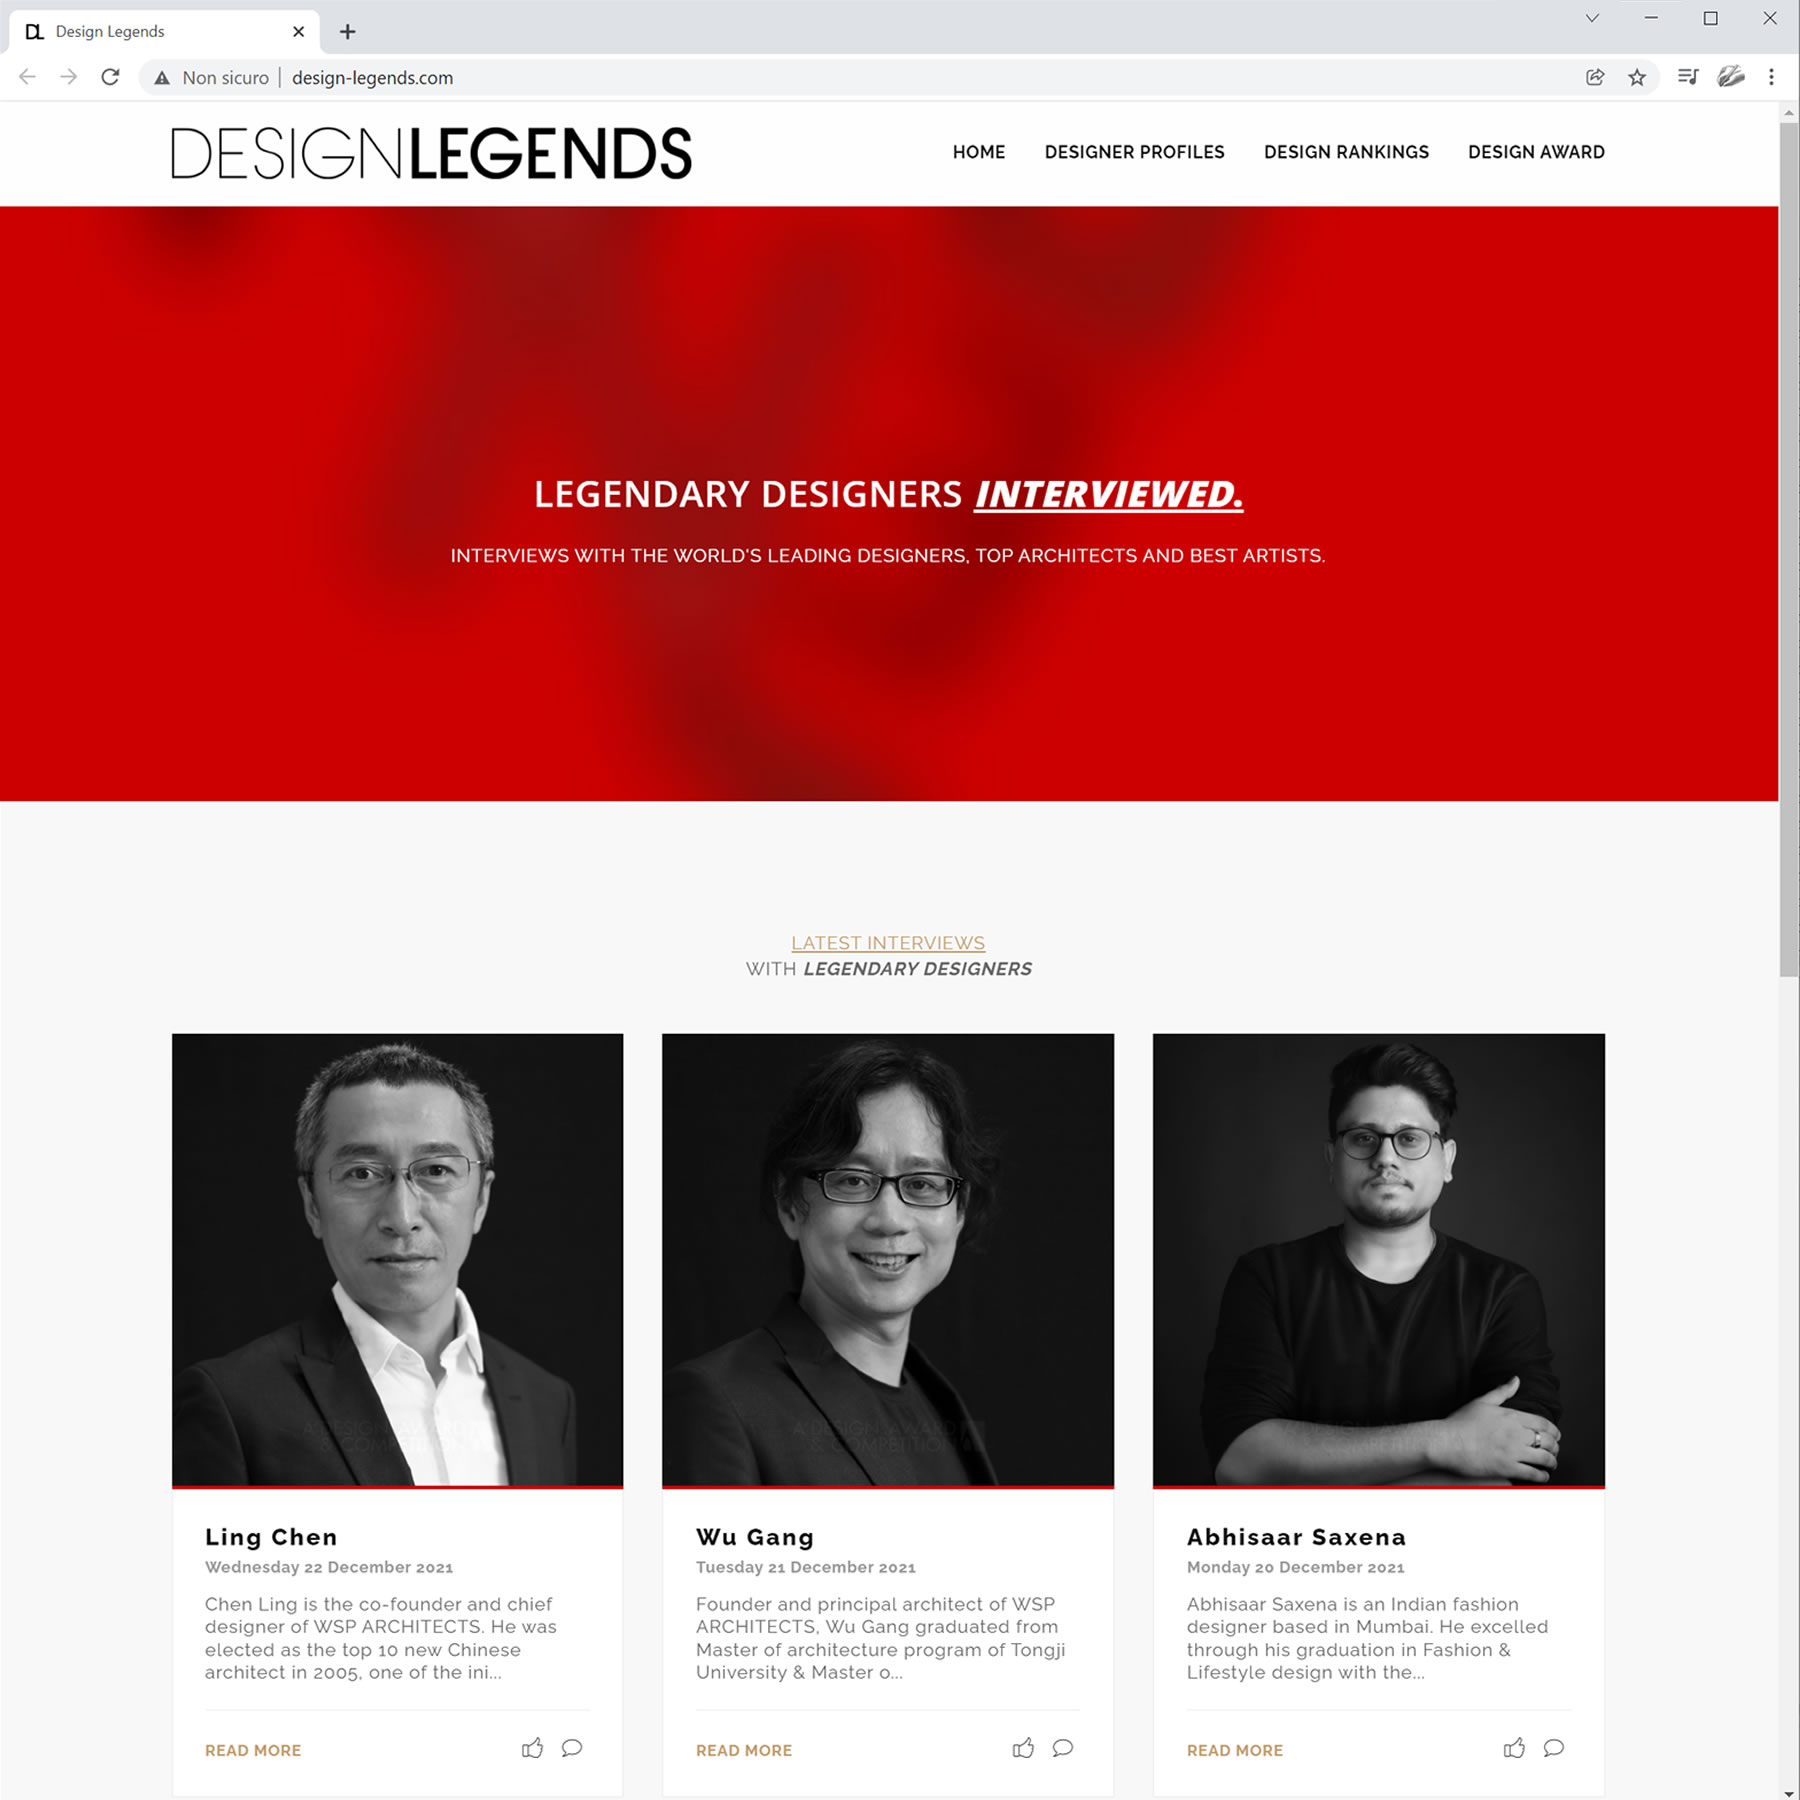
LEGENDARY INTERVIEWS
Design Legends interviews help award-winning designers express themselves and explain their sculpture designs better to worldwide audiences in long text format.
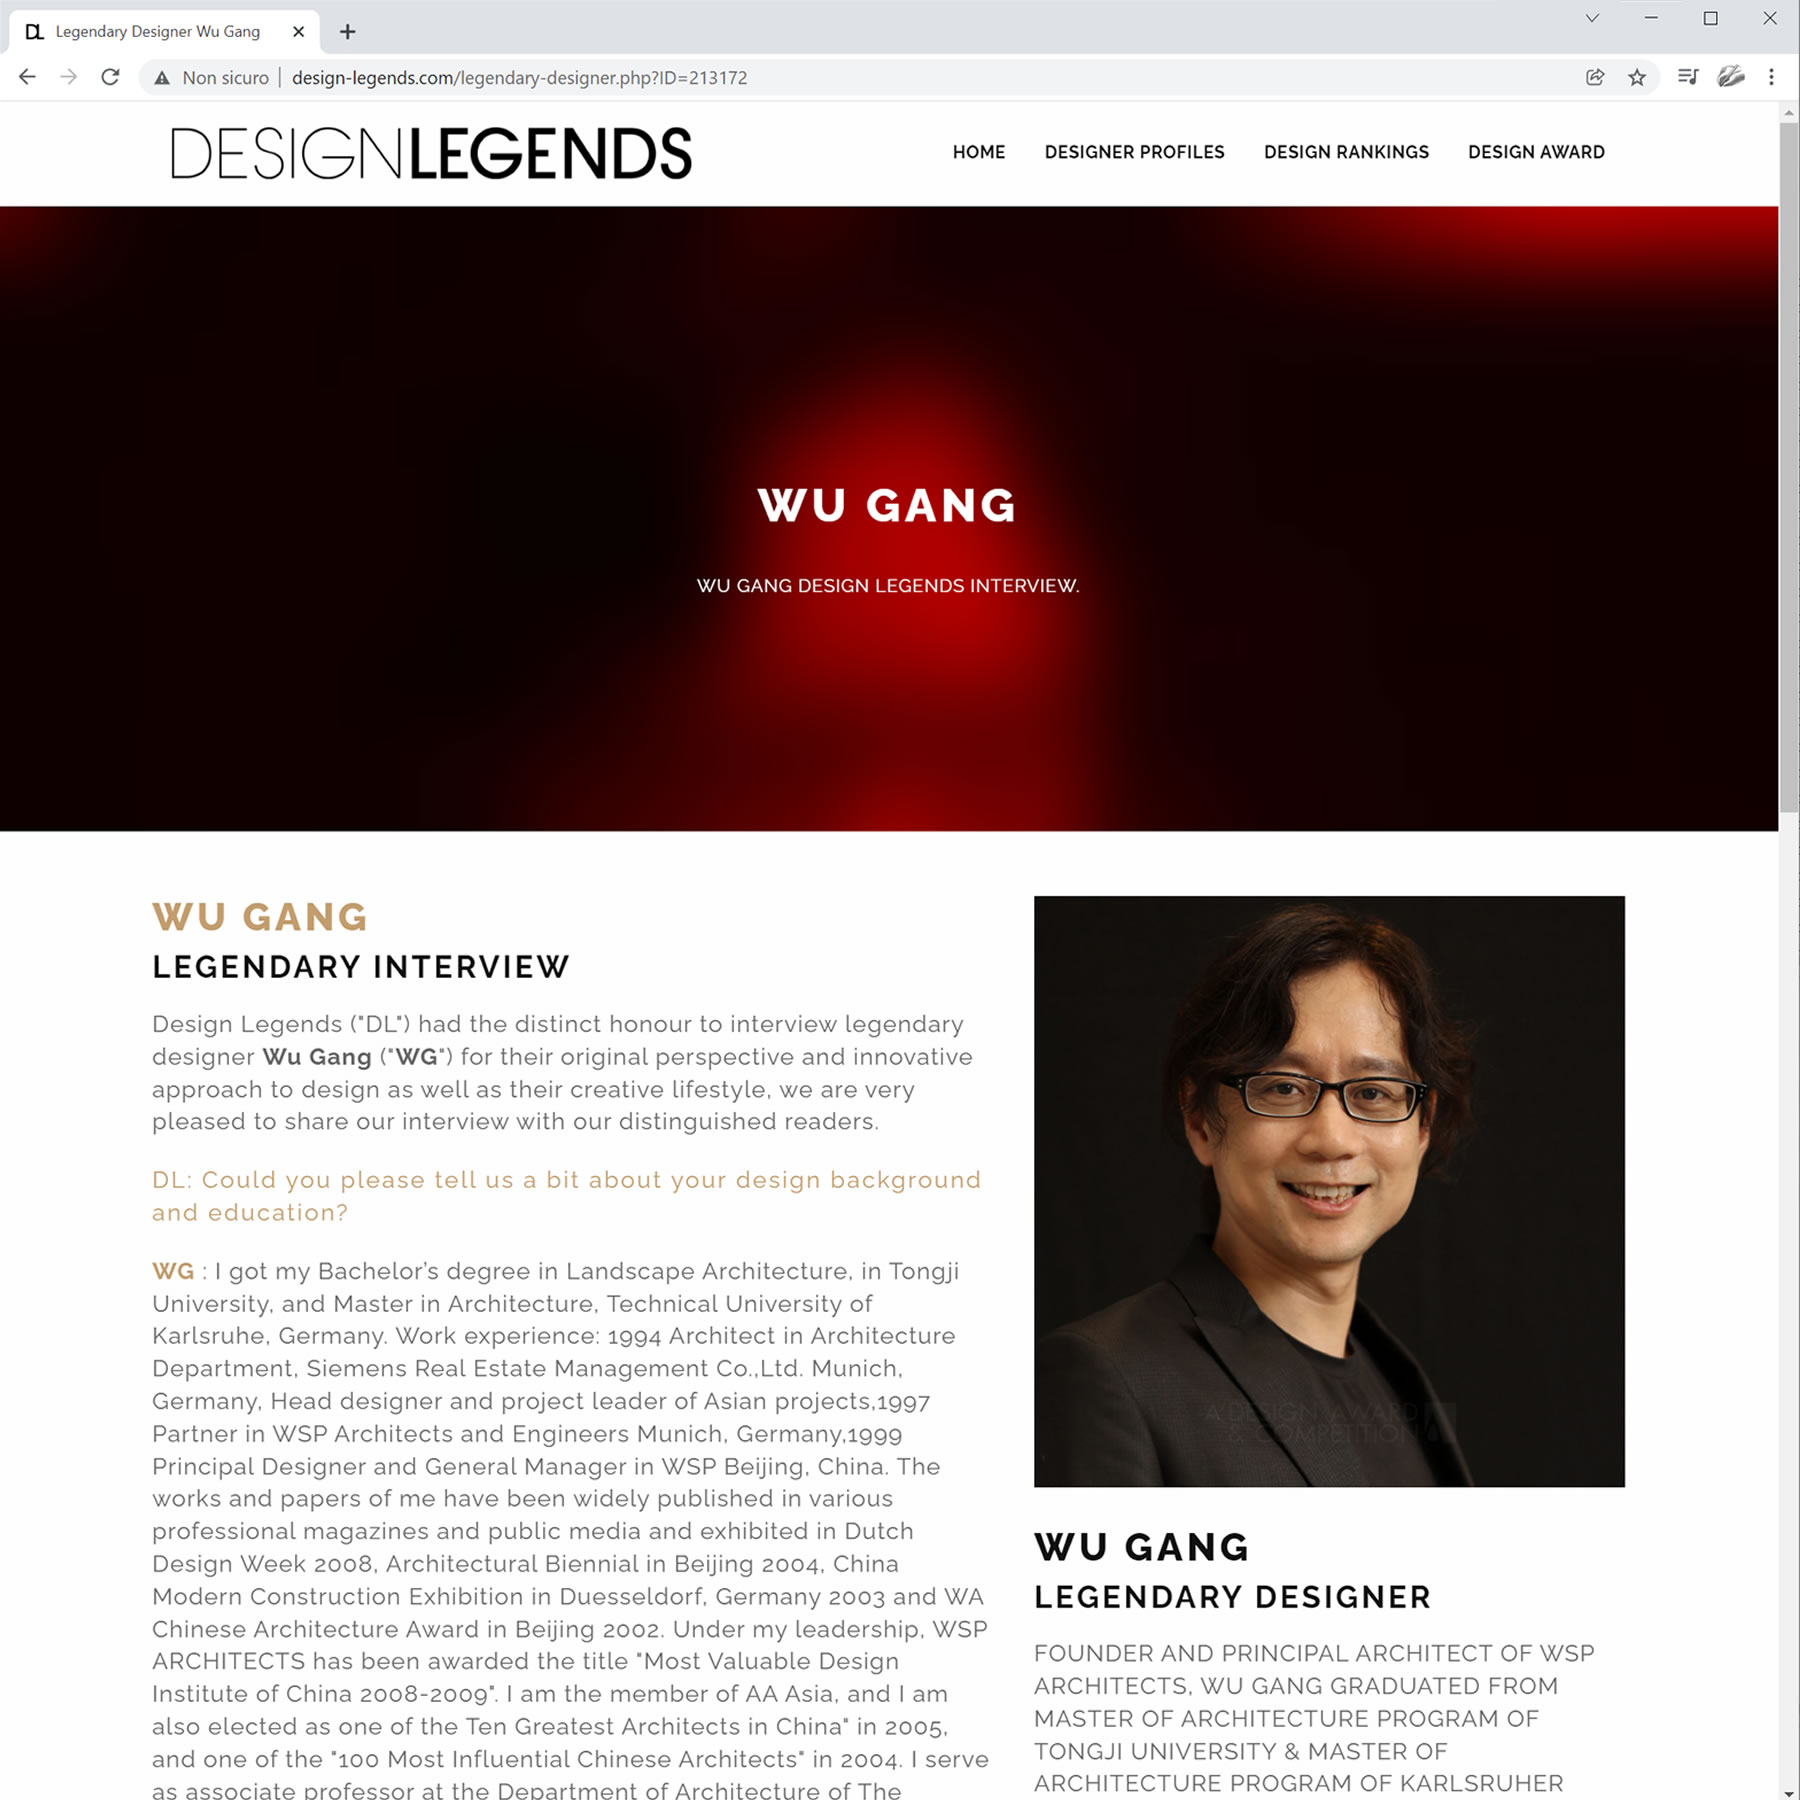
LEGENDARY COMMUNICATION.
Design Legends interviews are included in your Electronic Press Kits that are distributed to sculpture design media, and are also available to you for your own communication.
MAGNIFICENT DESIGNERS
A' Sculpture Design Award publishes interviews of Magnificent designers at magnificentdesigners.com, award-winners are all contacted to schedule for an interview and talk about their award-winning sculpture designs.
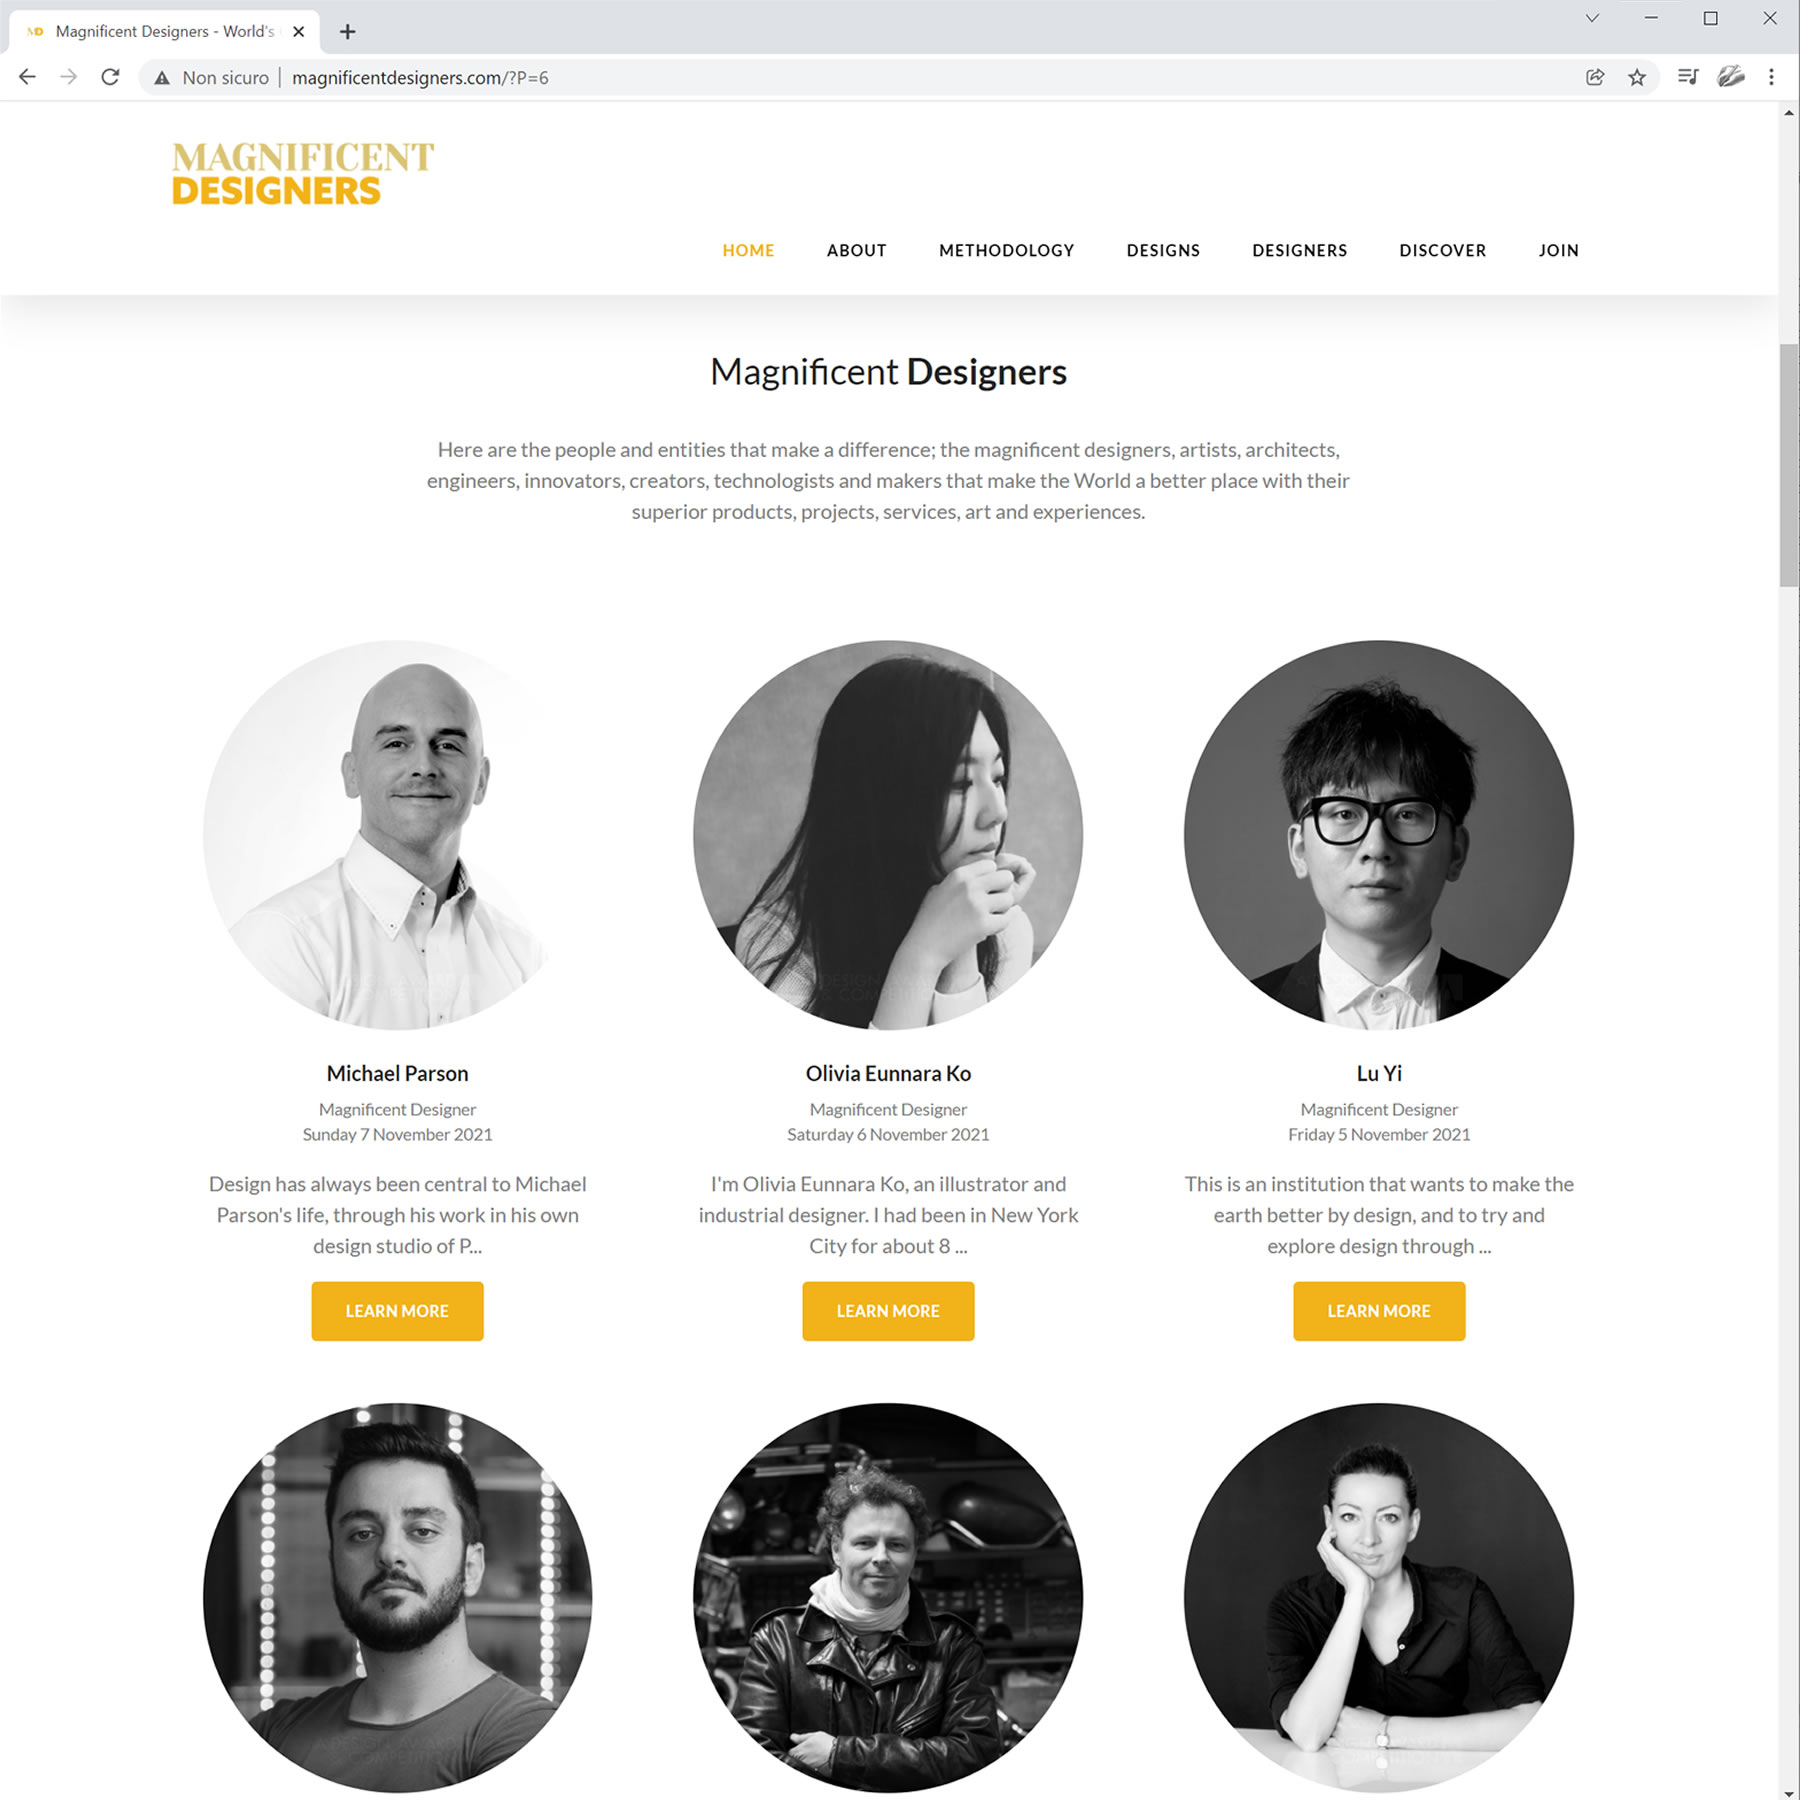
MAGNIFICENT MEDIA
Magnificent Designers platform allows laureates to communicate their perspectives on sculpture designs with easy to follow questions and answers format.
LOVED BY SCULPTURE DESIGN LOVERS
Magnificent Designers, along with other interview platforms provide design-oriented audiences rich and high quality knowledge and wisdom into philosophy of designers behind original and creative sculpture designs.
Discover Thought-provoking Design Interviews
Discover thought-provoking design interviews published by The Sculpture Design Design Award at these fine design interview websites : — Magnificent Designers #1 Magnificent Designers — Design Interviews #2 Design Interviews — Design Legends #3 Design Legends — Designer Interviews #4 Designer Interviews

IDNN NETWORK
International Design News Network helps your sculpture designs get international coverage through publications in all major languages.
REACH THE WORLD
IDNN publications reaches almost all of the world population in their native language, and helps you communicate your sculpture designs to audiences far and beyond.
IN 108 LANGUAGES
IDNN Network publishes award-winning sculpture design news in 108 languages, in 108 publications, for true global outreach.

BDCN NETWORK
Best Design Creative Network is all about communicating your excellence in sculpture design to your locality. BDCN helps you get discovered when best sculpture design in your region is searched for.
122 SHOWCASES
There are 122 BDCN websites, each specialized in a distinct geographic area. Each BDCN Network website showcase the best of the best sculpture design from a specific region.
PROMOTE YOUR SCULPTURE DESIGN
When you win the A' Sculpture Design Award you will be listed in your local BDCN publication aimed to attract local clients, consumers, customers and buyers to your sculpture design.

BEST DESIGNERS NETWORK
Best Designers Platform is all about delivering due respects, recognition and good reputation rightfully deserved by A' Sculpture Design Award laureates. Winners of the A' Sculpture Design Award are listed in the Best Designers Network.
ACCLAIMED AND BRILLIANT
Get recognized, respected and published among other acclaimed and brilliant sculpture design masters, and get found when good sculpture design is searched for.
FAMOUS AND INFLUENTIAL
A' Sculpture Design Award winners, with their outstanding and excellent designs deserve all the fame and influence. Getting listed at Best Designers Platform, is only one of the many perks of winning the A' Sculpture Design Award.
DXGN NETWORK
Design News Exchange Network spotlights, publishes and features good sculpture designs worldwide. DXGN features and publishes articles on award-winning good sculpture design.
PROMOTE YOUR GOOD DESIGN
DXGN is composed of 127 amazing magazines that feature award-winning designers and their work. A' Sculpture Design Award winners are published.
REACH GREAT AUDIENCES
A' Sculpture Design Award winners are provided free editorial coverage and free news articles featuring their sculpture designs at the DXGN Design News Network.

GOOD NETWORK
Good Design News Network is composed of 50 publications that feature good design in different industries. GOOD Network is composed of many publications, each specialized in a given industry.
SCULPTURE DESIGN PUBLICATION
For each and every industry, there is a distinct GOOD Network publication that will feature, spotlight and highlight your award-winning works. Get your sculpture design published in the GOOD Network.
GOOD DESIGN SHOWCASE
Good design deserves great recognition. Winners of A' Sculpture Design Award will be prominently featured and published in the GOOD Design News Network.

NEWSROOM
A' Sculpture Design Award provides many tools for press members to reach good sculpture design content. Accredited journalists are given access to exclusive interviews, sculpture design images and press releases.

REACH SCULPTURE DESIGN JOURNALISTS
A' Sculpture Design Award Newsroom empowers journalists to interview award winners. Journalists can download press releases and high-resolution images of awarded sculpture designs.

DESIGNED FOR MEDIA COVERAGE
A' Sculpture Design Award Newsroom provides sculpture design journalists with ready to use images, interviews and content. A' Sculpture Design Award Newsroom allows journalists to easily feature your award-winning sculpture design and provide you with fast media coverage.
DESIGNERS.ORG
Designers.org premium portfolio service is provided to all A' Sculpture Design Award winners, free of charge. Award winners use their Designers.org premium portfolio to showcase their award-winning sculpture designs to design-oriented audiences worldwide.
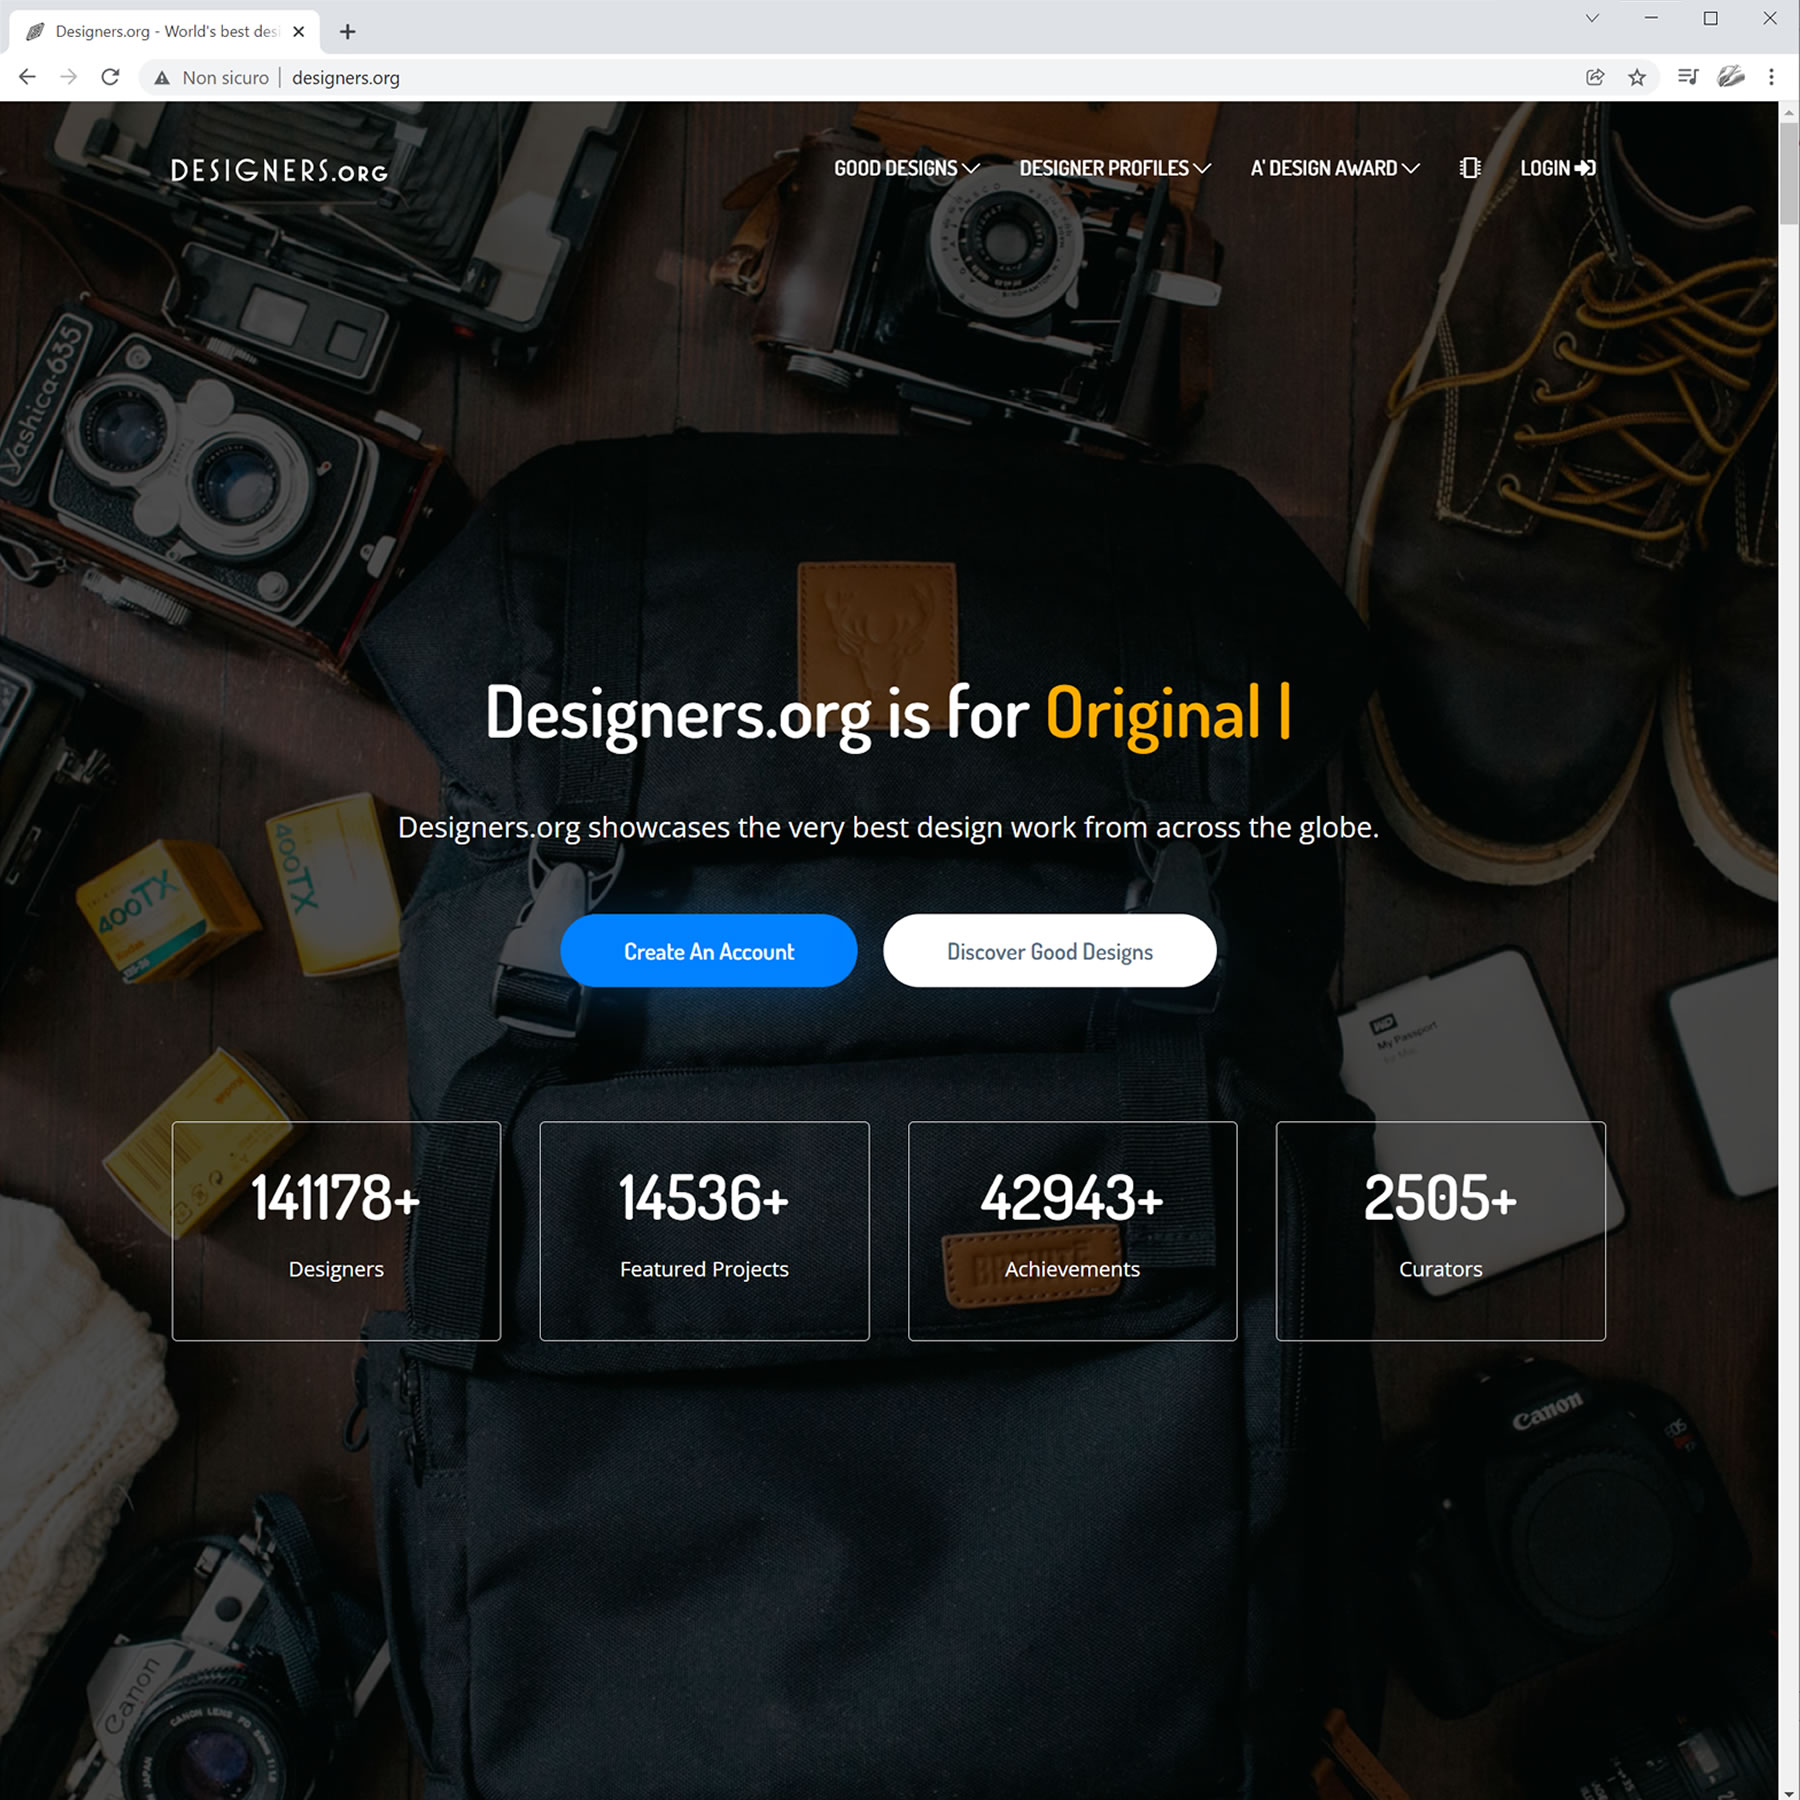
PREMIUM PORTFOLIO
Designers.org is highly selective for the quality of sculpture designs that are accepted, showcased and exhibited in their platform; only award-winning sculpture designs are accepted for showcase promotion.
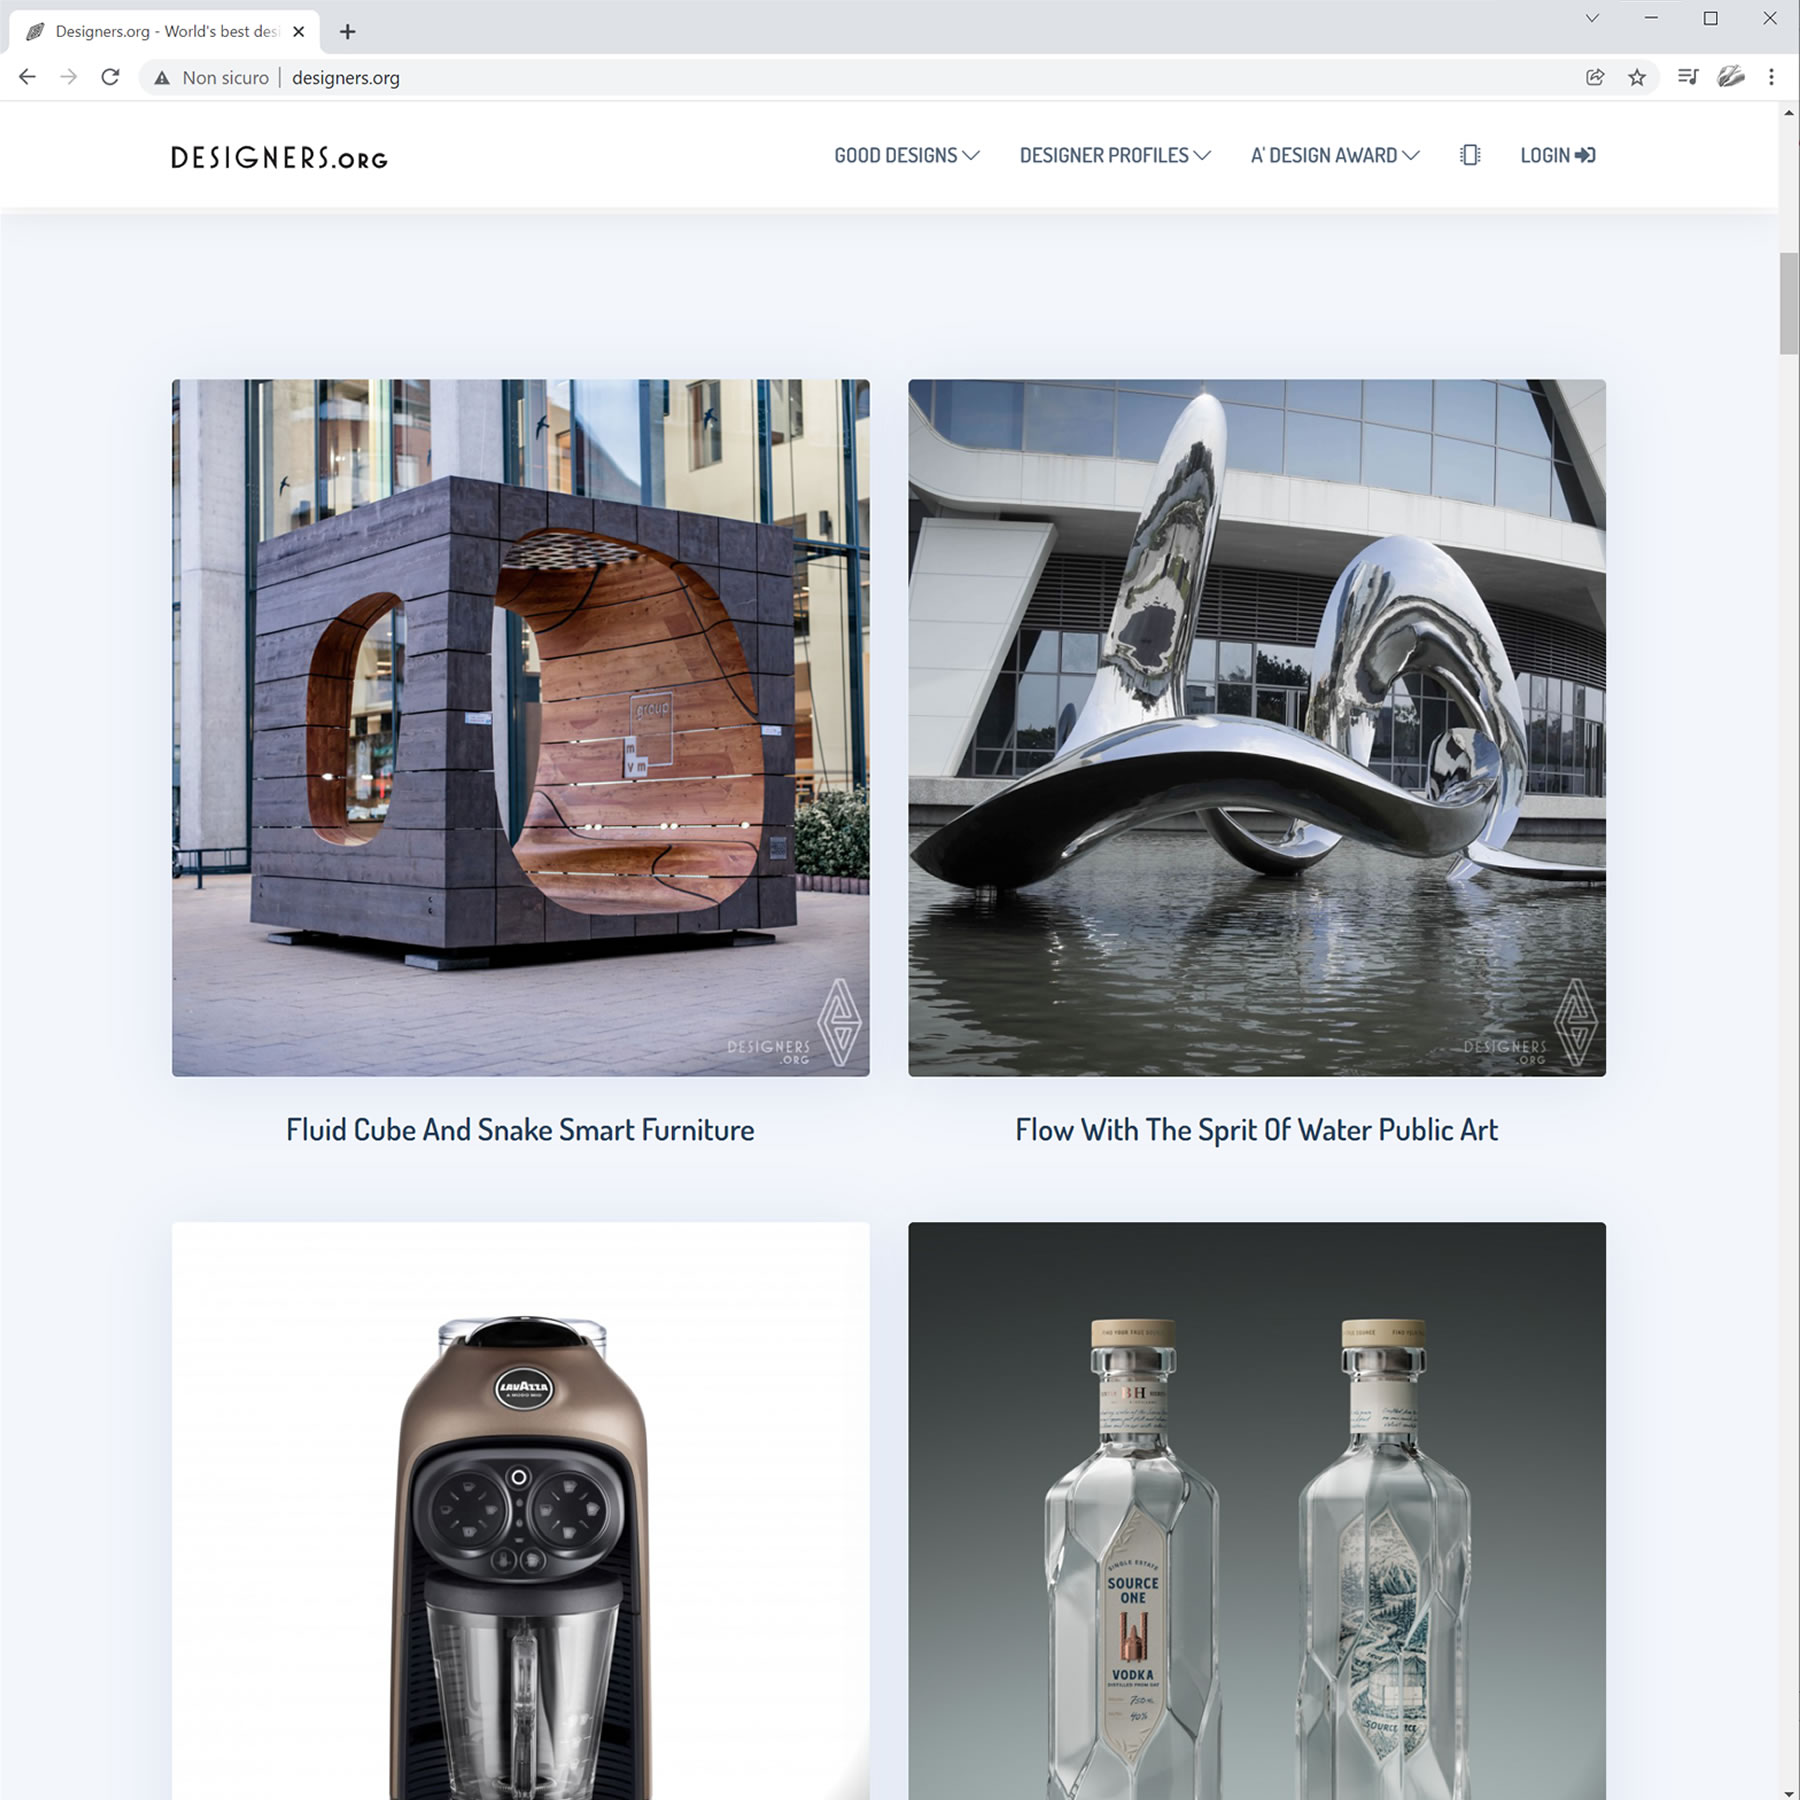
SHOWCASE AND EXHIBIT
Get your work exhibited and showcased beautifully. By winning the A' Sculpture Design Award you will get a premium portfolio created for you, without you doing anything, we will list all your award-winning sculpture designs on your behalf at designers.org platform.

SECURITY COMES FIRST
The Security of your submissions, your personal data and sculpture designs is of uttermost importance to A' Sculpture Design Award. Your password is secured with the SHA algorithm and even we do not know your password. Furthermore, your connections are secured and encrypted with SSL.

CONCEALED CATEGORIES
Normally all A' Sculpture Design Award results are public and heavily promoted, however A' Sculpture Design Award allows you to make a concealed nomination. If you make a concealed nomination, your work is not published if it is awarded but you can still use the winner logo. The concealed nomination method is relevant for patent-pending designs and trade-secrets.

CONTINUOUS DEVELOPMENT
A' Sculpture Design Award is continuously improved to provide your award-winning sculpture designs with new and exciting promotion and publicity opportunities. Every year, we do our best to refine and improve the A' Sculpture Design Award Prize to serve you better.
How to Take Part in Sculpture Design Award 2023 - 2024
Participating in the Sculpture Design Design Award is easy; first create an account at the A' Design Award and Competition, login to your account and third submit your design. When you upload your design, your design will be checked by the preliminary jury for its presentation. Later, your design will be assigned a preliminary score from ten (10 - best) to zero (0 - worst), your work may also be marked approved or rejected to take part in the competition. If your entry is approved you can continue nominating your work for Sculpture Design Awards consideration. If your entry is rejected, you are suggested to update your presentation before nominating your work to Sculpture Design Award.

DESIGNER RANKINGS
A' Design Award and Competition publishes Designer Rankings that is easily accessible by public and media. The Rankings feature the number of awards won by each designer and total rankings. Top 10, Top 100 and Top 1000 Designers can be accessed.
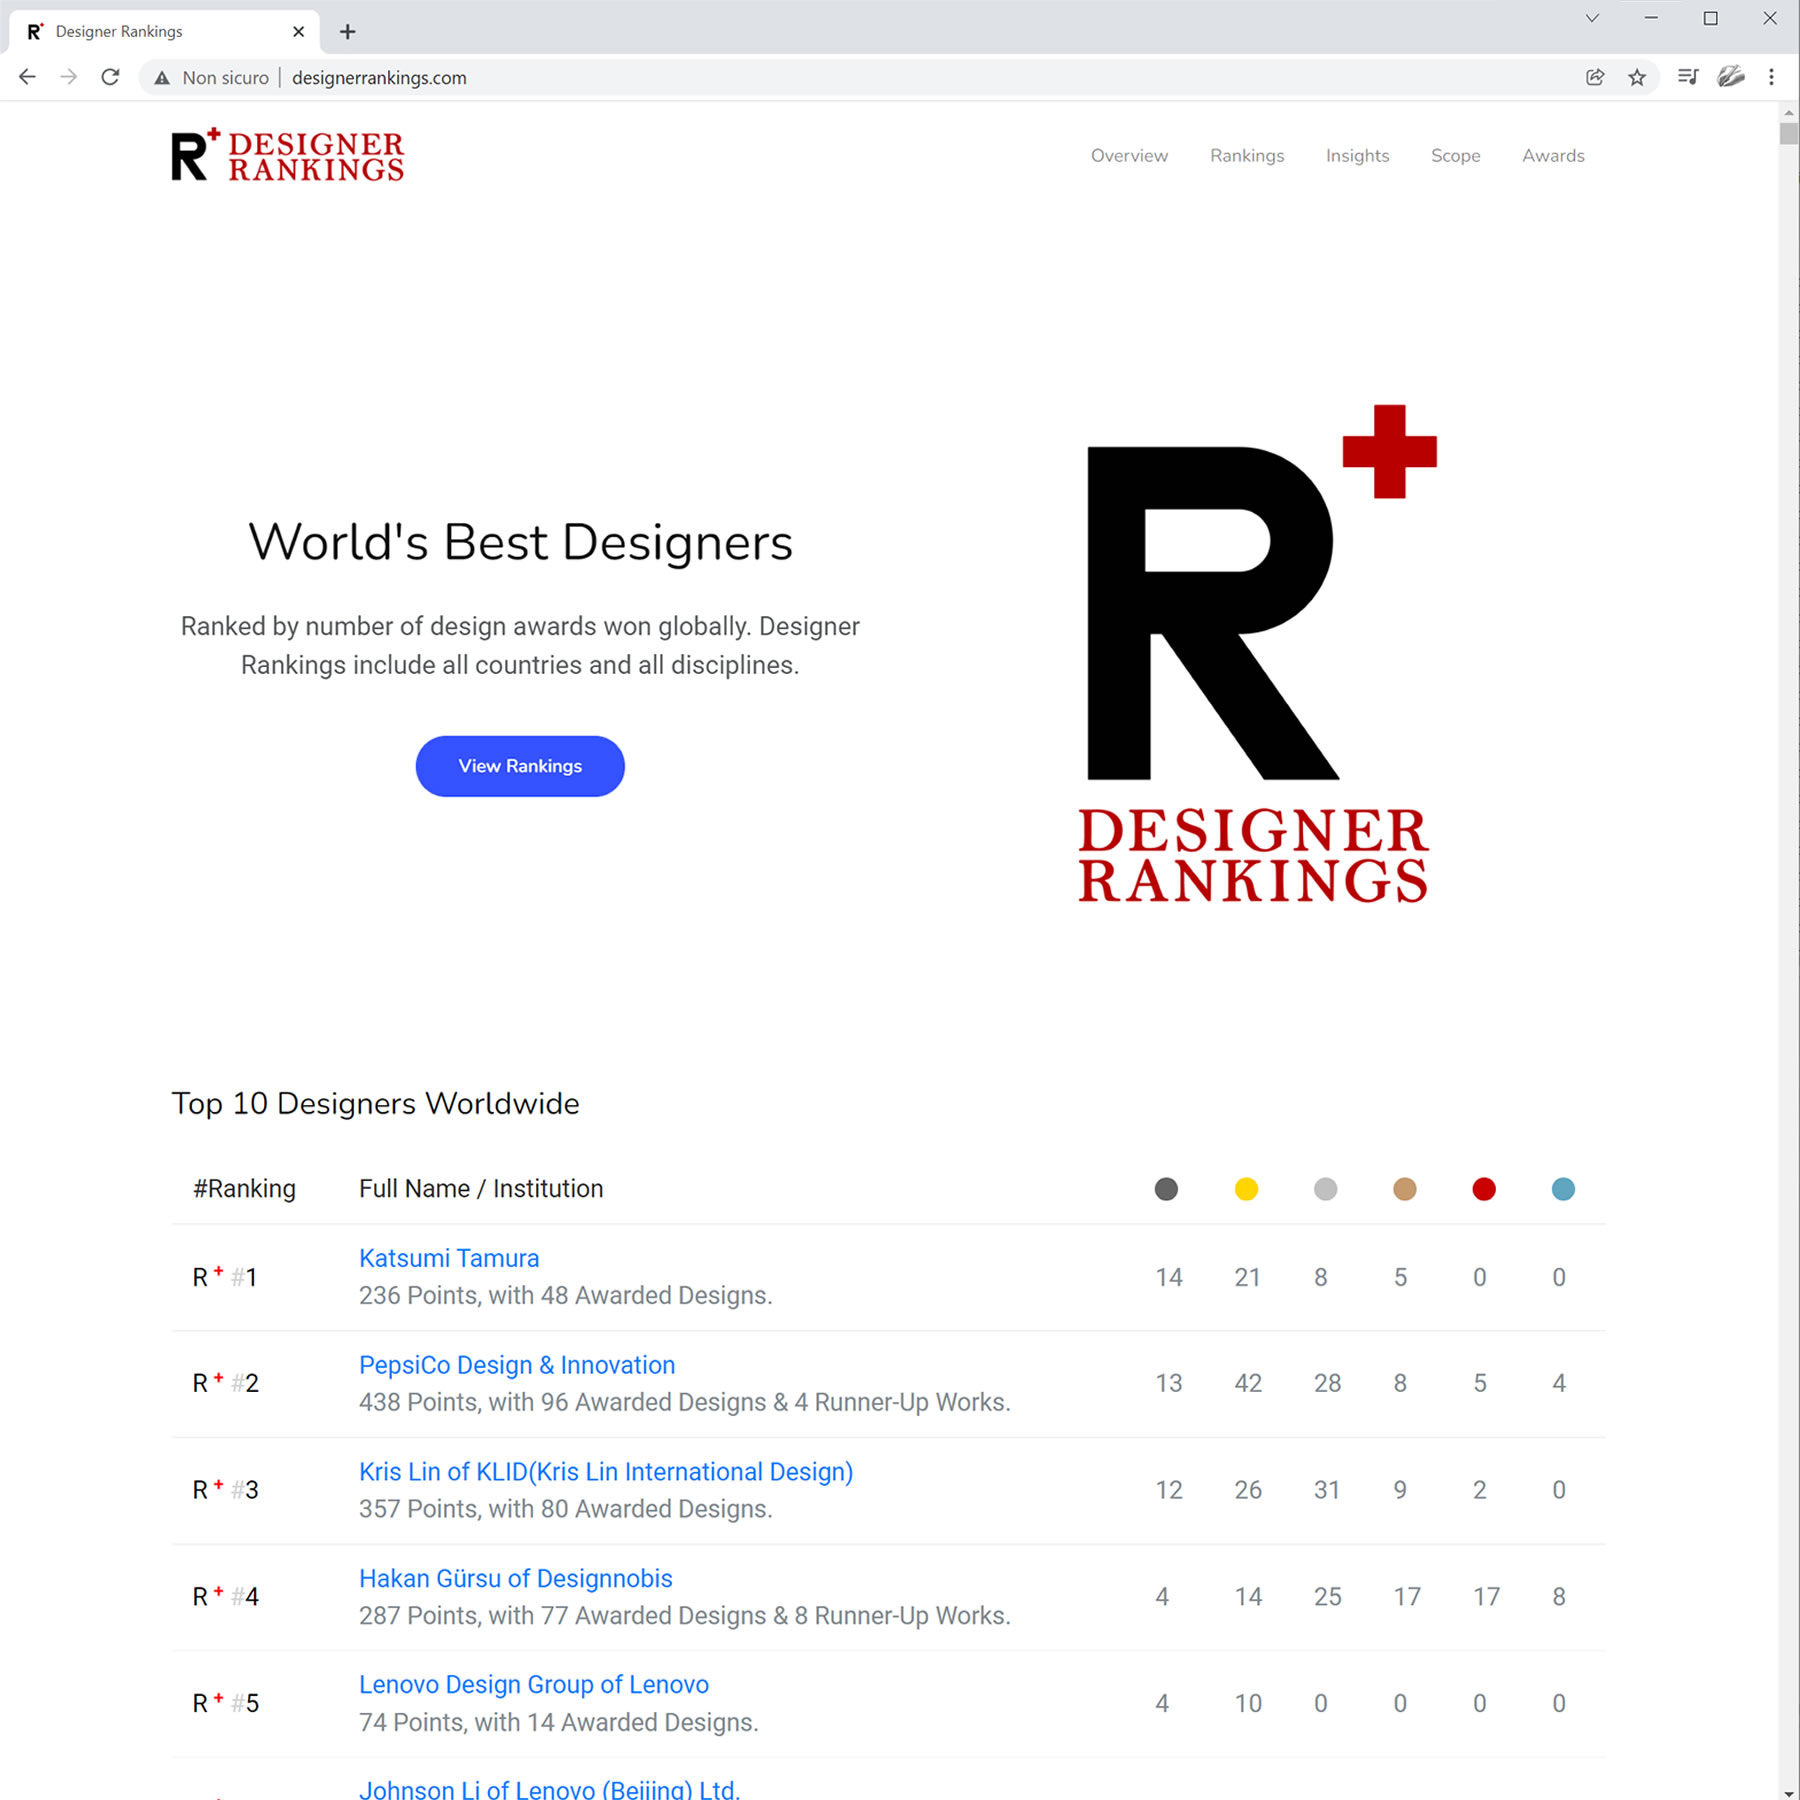
HIGH-RANKING DESIGNERS
Designer Rankings allow potential customers to find high-ranking designers. High-ranking design teams allow their designer ranking status to impress clients and customers. Journalists check Designer Rankings and discover good designers.
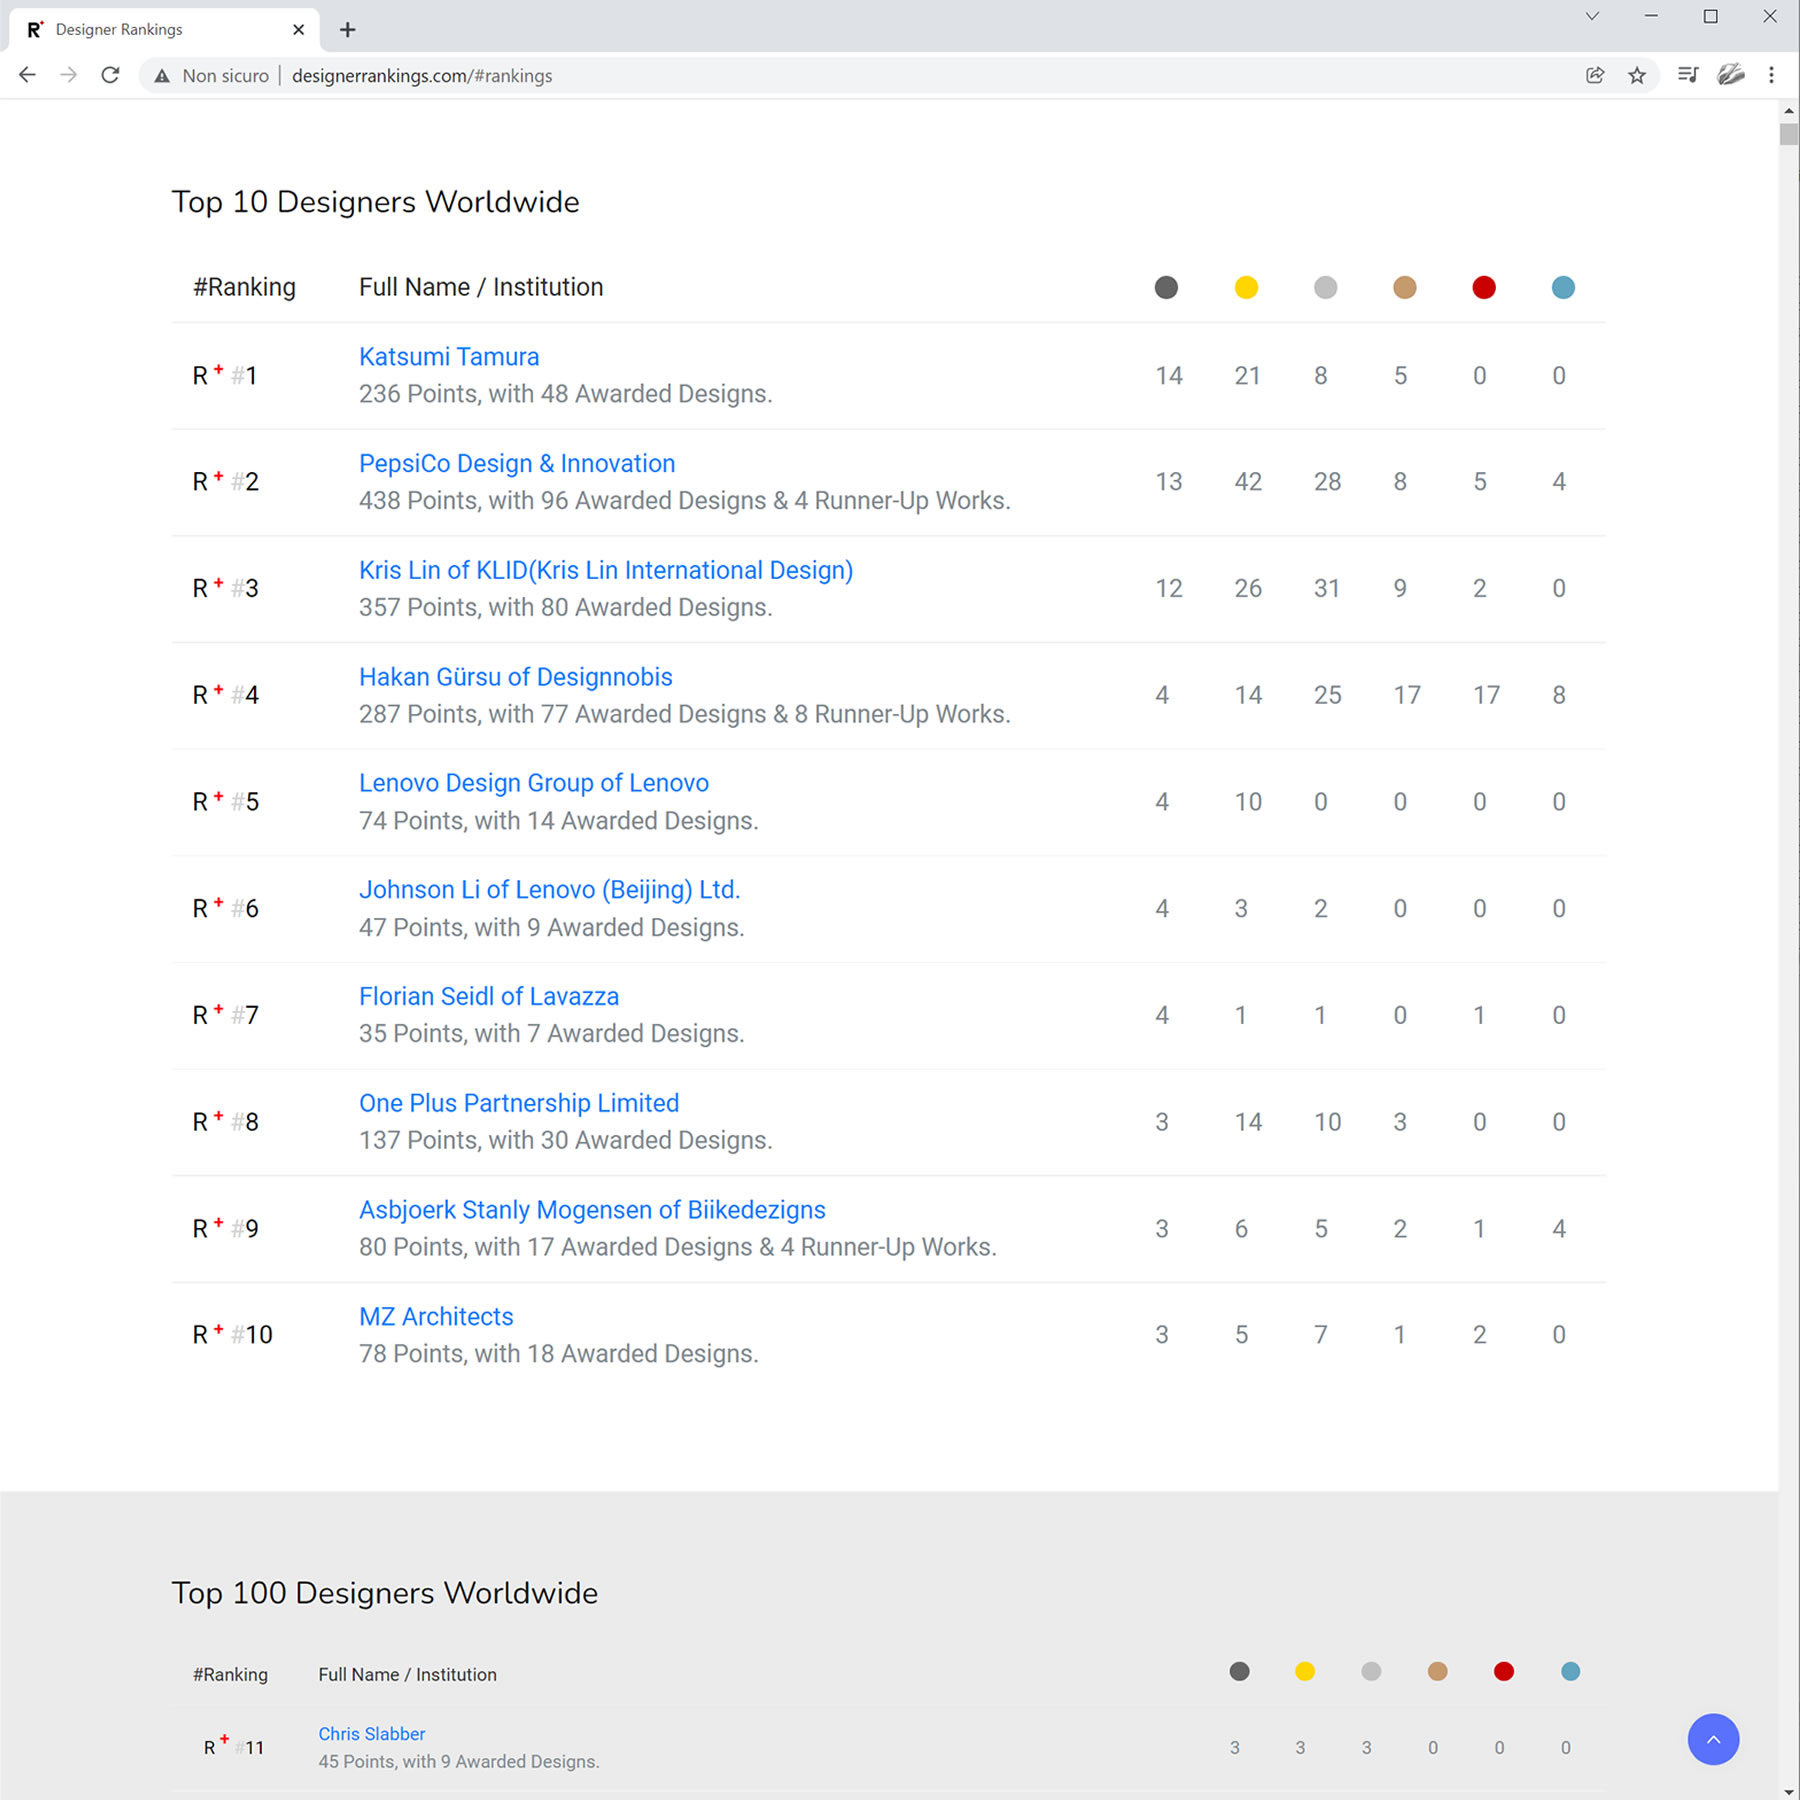
RISE IN RANKINGS
A' Sculpture Design Award Winners are included in the Designer Rankings, each award-winning sculpture design contributes a point towards better and higher ranking. Designer Rankings help award-winning designers and their awarded designs gain exposure.

WORLD DESIGN RANKINGS
A' Design Award and Competition publishes the World Design Rankings that ranks countries and regions based on the number of award-winning designers from each territory. Journalists use World Design Rankings to find best sculpture design talent from your region.
PRESTIGE AND HONOUR
Each country and region further lists the best brands, designers, artists and architects within the territory. For each A' Sculpture Design Award you win, you will be increasing your regional score in the global World Design Rankings, bringing honor and prestige to your region.
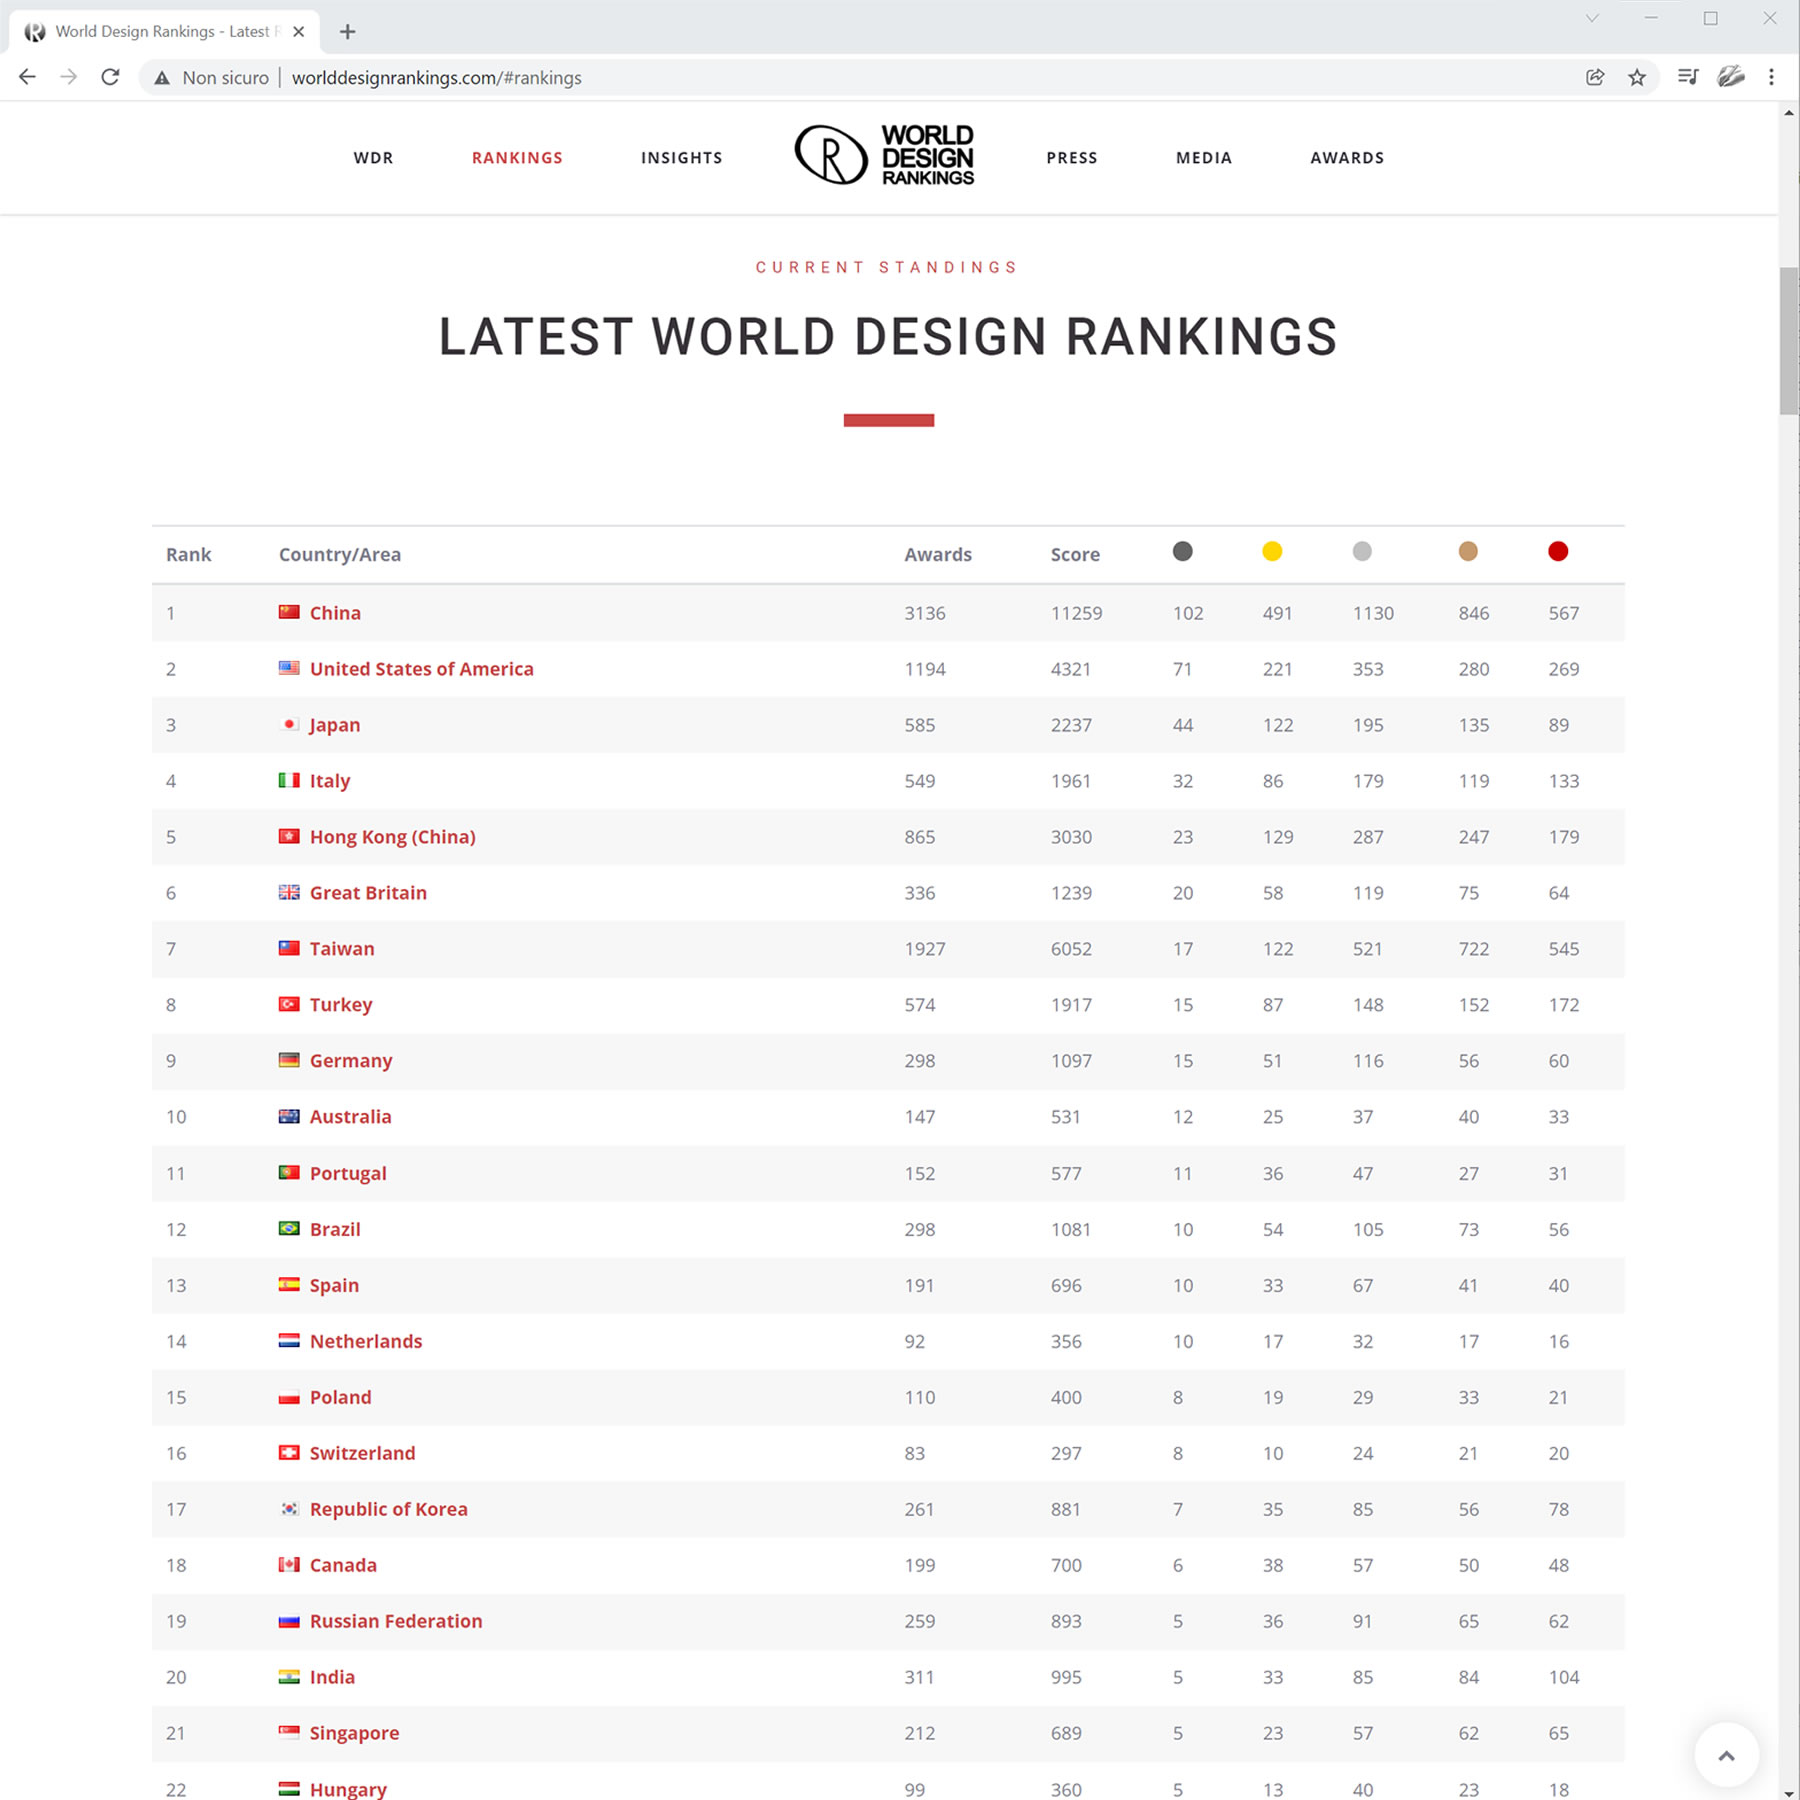
THE FIRST AND ONLY
World Design Rankings is a very inclusive ranking system for design, with representation from all major industries and territories. Obtaining a high rank in the World Design Rankings will help you communicate your sculpture design excellence to journalists and buyers from a unique perspective.
AIBA
Alliance of International Business Associations. Free membership for award winning associations, organizations, institutions and clubs.

ISPM
International Society of Product Manufacturers. Free membership for award winning product manufacturers and companies.

IBSP
International Bureau of Service Providers. Free membership for award winning businesses and institutions in tertiary sector of the economy.

IAD
International Association of Designers. Free membership opportunity for A' Sculpture Design Award laureates.
ICCI
International Council of Creative Industries. Free membership for award winning businesses and institutions related to creativity.
IDC
International Design Club. Free membership for award winning creative agencies, architecture offices, artists workshops and designer studios.

FREE PRELIMINARY SCORE
A' Sculpture Design Award will review your submission and inform you how good your sculpture design is prior to nomination. You will get a score from zero (0) to ten (10). Ten (10) is the highest preliminary score. Preliminary score service is provided completely free of charge to you and is confidential.
FREE PRELIMINARY REVIEW
Preliminary score service is provided to you free of charge. Preliminary score is confidential. When you submit your work to A' Sculpture Design Award, your submission will be reviewed, and you will be provided a numerical preliminary score together with suggestions on how to improve your design presentation.

FREE SCULPTURE DESIGN REVIEW
You will get your sculpture design reviewed for free and you will learn how good your sculpture design actually is. If you get a high preliminary score for your sculpture design you may want to nominate your sculpture design for A' Sculpture Design Award consideration.

SOCIAL MEDIA PROMOTION
A' Sculpture Design Award winners are featured in social media platforms. A' Sculpture Design Award have created many tools to help you advertise and promote your sculpture design in social media.

SCULPTURE DESIGN PUBLICITY
Reach out to your prospective customers and connect with your existing clients in social media. A' Sculpture Design Award winners benefit from exclusive social media promotions created to promote award-winning sculpture designs.

PR AGENCY FOR SCULPTURE DESIGN
If you need a public relations agency for sculpture design, you will be happy to learn that A' Sculpture Design Award Prize includes many public relations and promotions services. Public relations services are provided free of charge to all A' Sculpture Design Award winners.
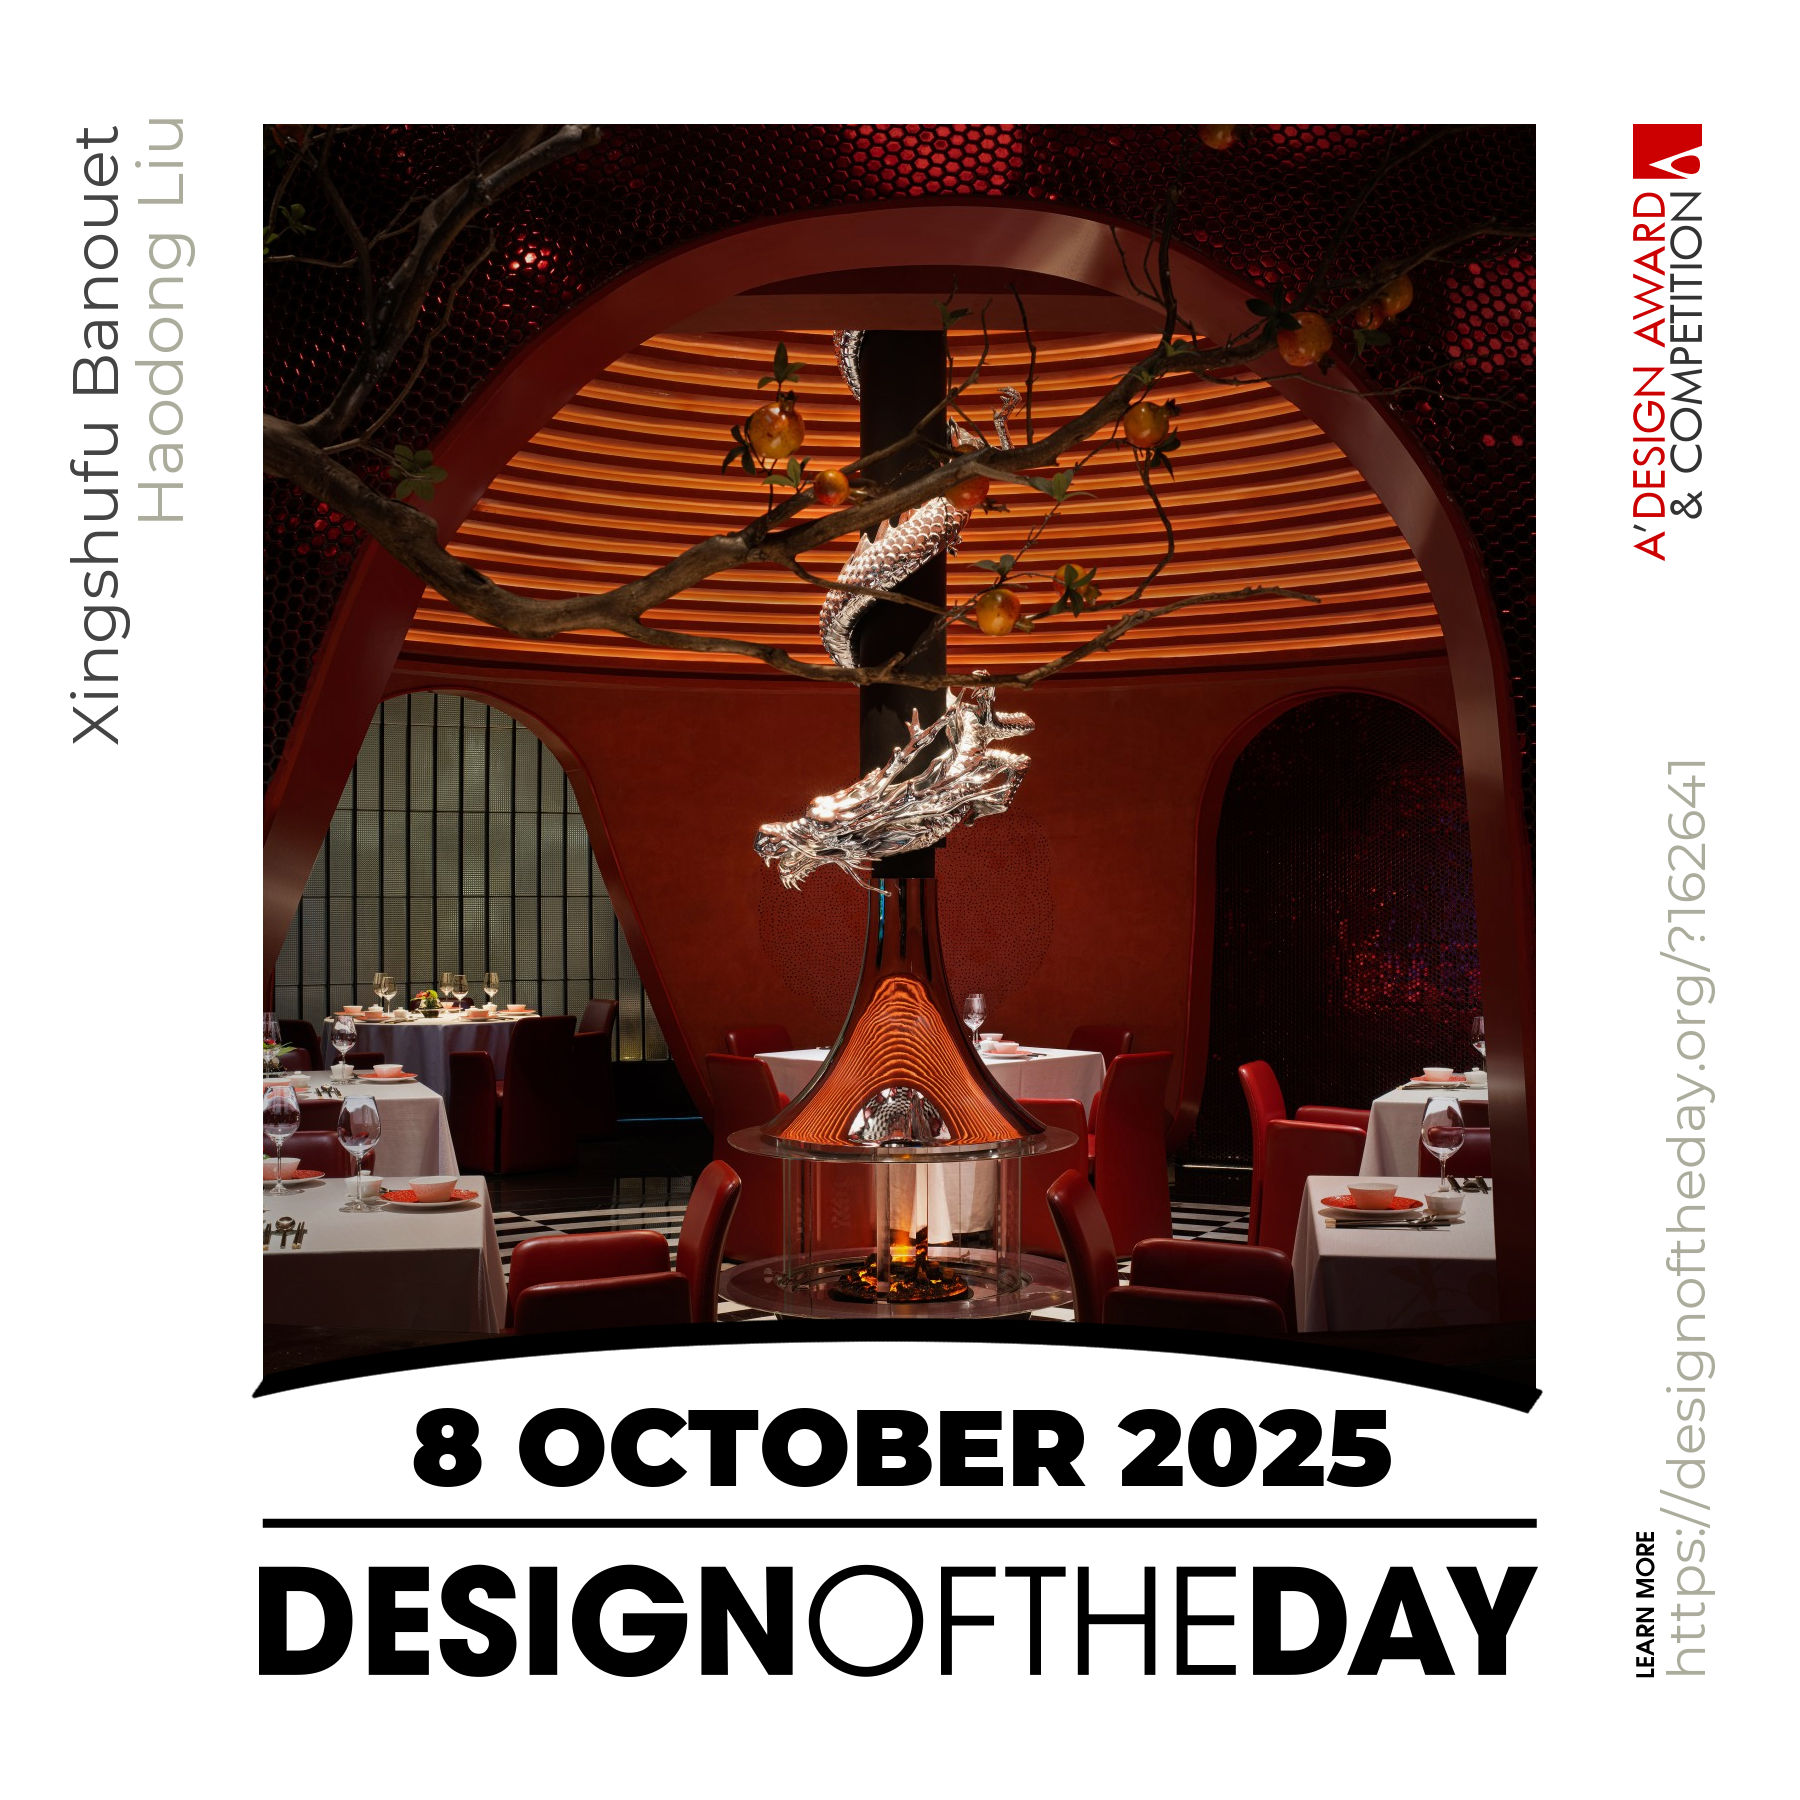
DESIGN OF THE DAY
Design of the Day initiative aims to create social awareness for a distinct award-winning sculpture design each day. Design of the Day is promoted in hundreds of publications as well as social media.
DESIGNER OF THE DAY
Designer of the Day initiative aims to create social awareness for a distinct sculpture design award winner each day. Designer of the Day is promoted in hundreds of publications as well as social media.
INTERVIEW OF THE DAY
Design Interview of the Day initiative aims to create social awareness for a distinct award-winning sculpture design interview each day. Design Interview of the Day is promoted in hundreds of publications as well as social media.
DESIGN LEGEND OF THE DAY
Legend of the Day initiative aims to boost and promote a distinct sculpture design award-winner in social media as well as at hundreds of magazines and publications.
DESIGN TEAM OF THE DAY
Design Team of the Day initiative aims to boost and promote an award-winning sculpture design team in new media as well as at hundreds of magazines and publications.

HIGHLIGHT OF THE DAY
Highlight of the Day initiative helps us promote your sculpture design and your image as an award-winner in social media, as well as hundreds of magazines and publications.
CASE STUDY
As a business, you might already be spending tons of money on the advertisements, you already know the costs & prize for publications, advertorial and editorial placements but most importantly you know it is best when customers find you, when you are the spotlight.

GET PUBLICITY
Winning the A' Sculpture Design Award could help you secure some editorial space at both the traditional, new and social media and could create free publicity that your sculpture designs very much deserves. Winning the A' Sculpture Design Award could help you attract prospective clients and customers to your business.
ADVERTISE SCULPTURE DESIGN
A' Sculpture Design Award provide its winners with really good PR services, electronic and traditional press release preparation and distribution, mass media syndication and access to an exclusive advertisement network. Winning the A' Sculpture Design Award will help you advertise your sculpture designs easily.

AWARD SPONSORSHIP
The A' Sculpture Design Award offers many scholarship programs to provide opportunity for start-ups and young designers to take part in the competition free of charge with their designs. The purpose of these sponsorship programs is to make the sculpture design competition more fair, ethical and accessible.

UNIVERSAL ACCESS
By taking part in our award sponsorship programs, you can earn free entry tickets to nominate your sculpture designs for A' Sculpture Design Award consideration. There are many sponsorship programs available, some of them are very simple to take part.

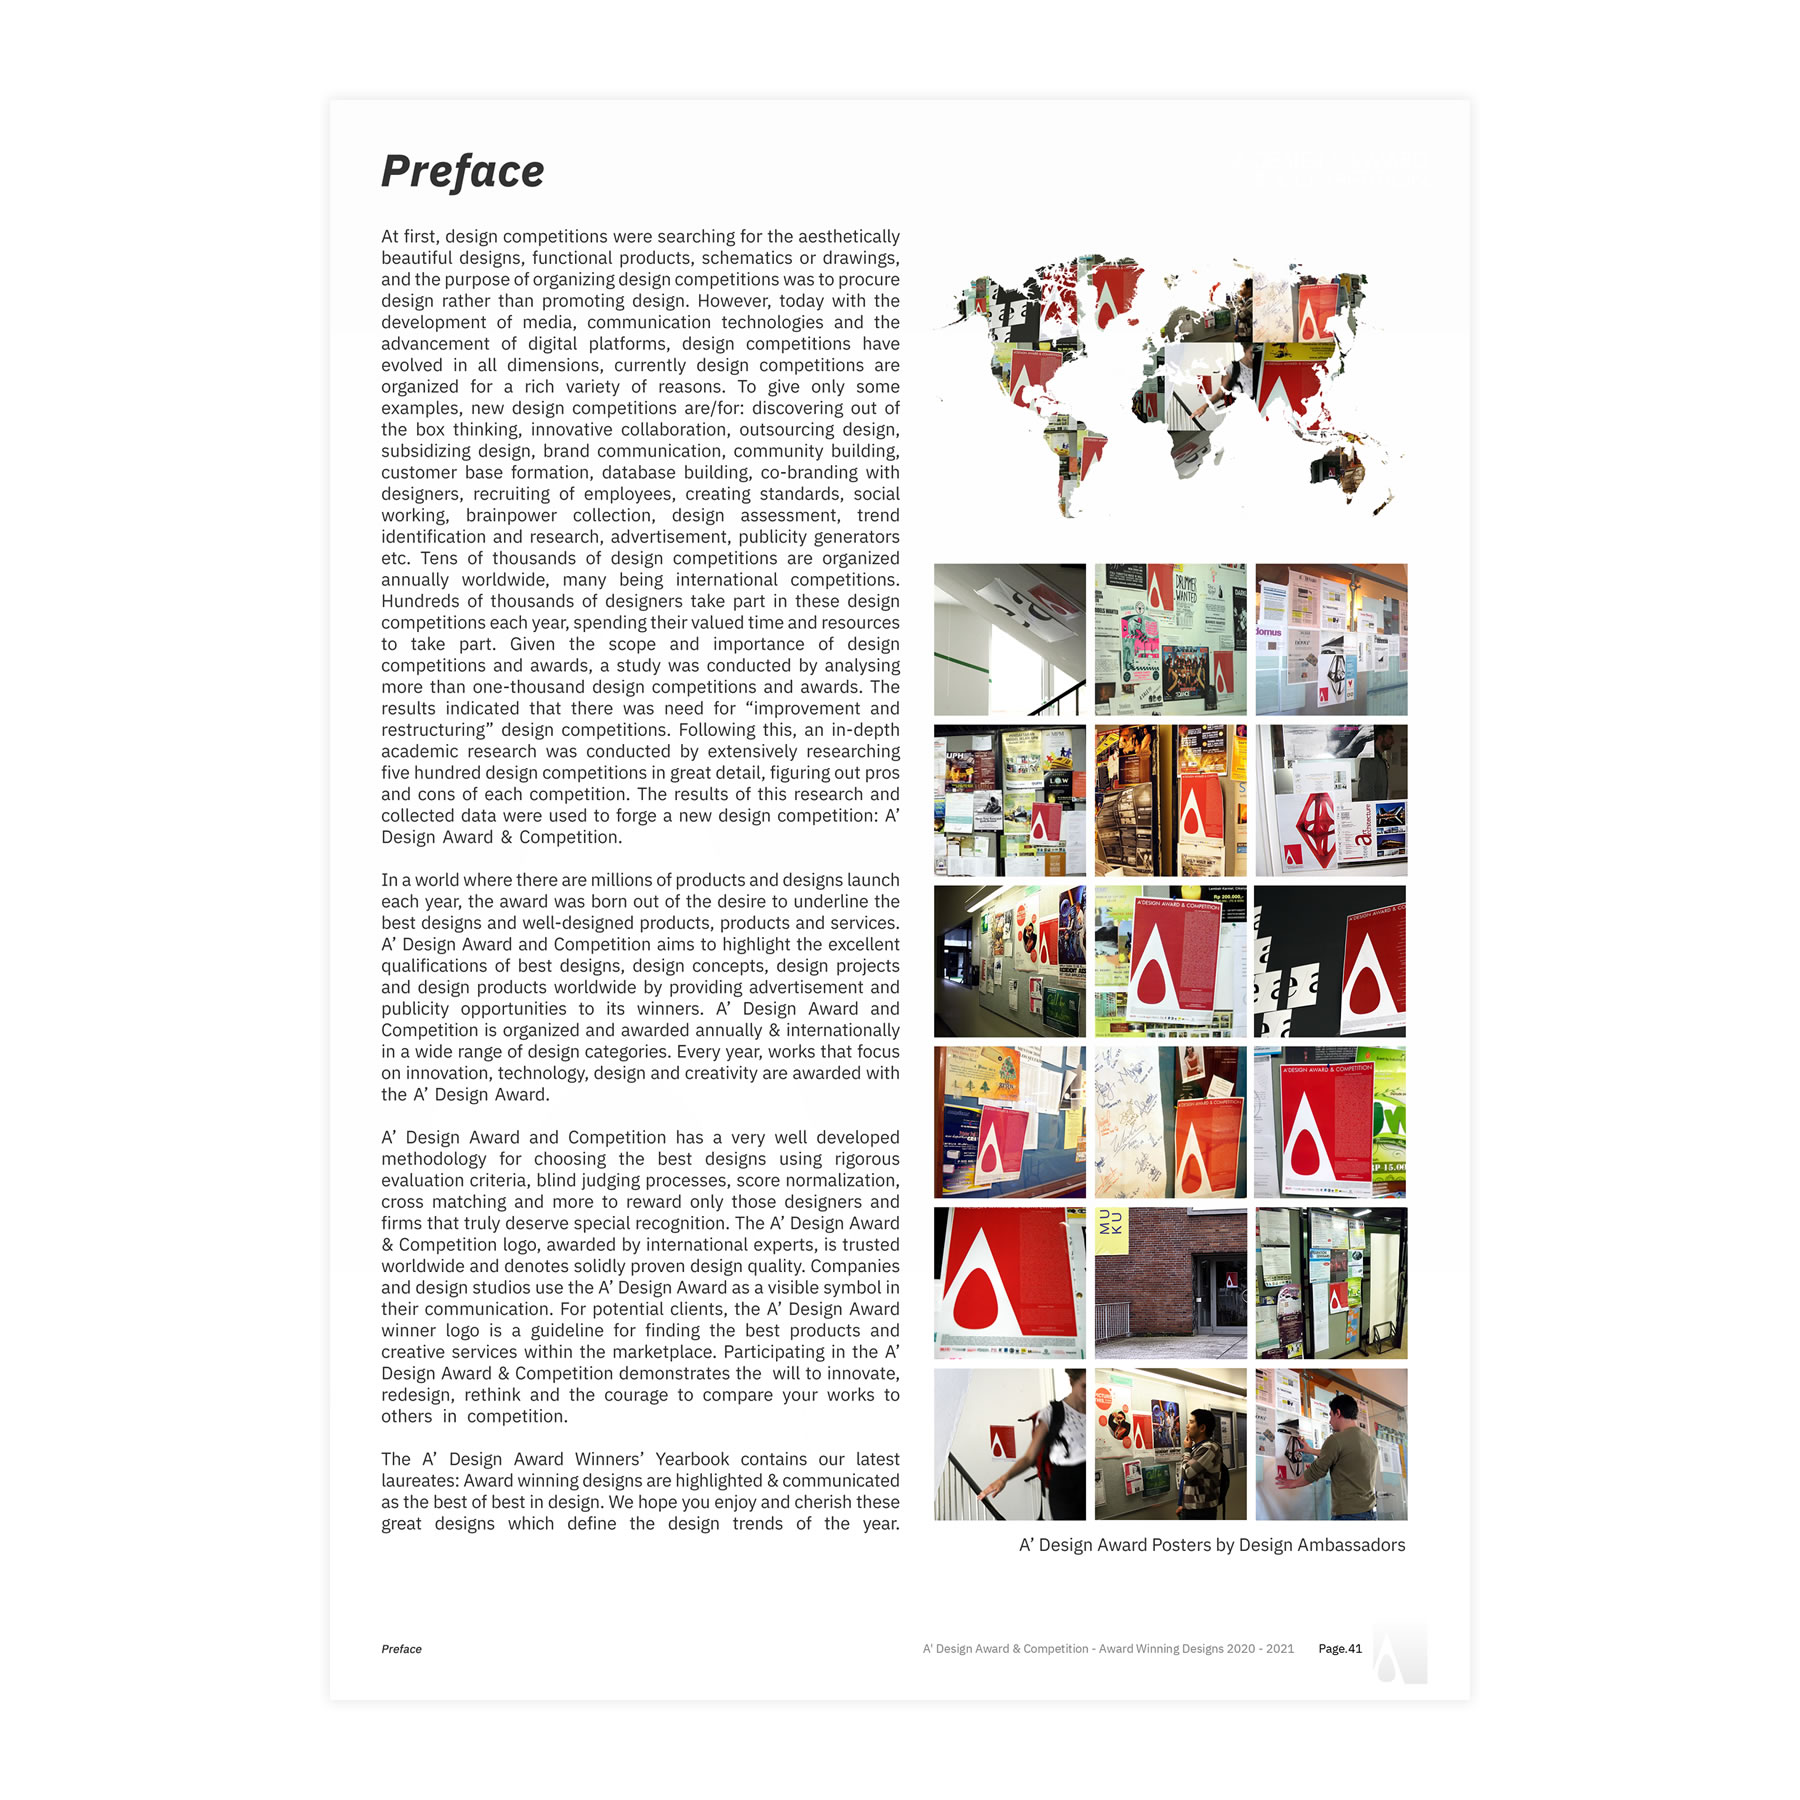
DESIGN AMBASSADOR PROGRAM
Design Ambassador program is one of the many sculpture design award scholarship programs we offer. If you perform a few simple tasks to help us create an awareness for good design, you may be granted free entry tickets to nominate your sculpture designs for awards consideration.
DESIGN TRANSLATIONS
A' Sculpture Design Award winner designs are translated to almost all major languages free of charge. A' Sculpture Design Award award-winning sculpture designs are published and promoted in all major languages.
TRANSLATION PLATFORM
In addition to the free of charge translation services provided by the A' Sculpture Design Award, award winners could further provide translations of their work in their native languages.
UNIVERSAL REACH
Reach majority of the world population in their native language. Get your sculpture design promoted to buyers, journalists, businesses and design enthusiasts that speak foreign languages. Help the world discover your sculpture design.

COMPETITION CATEGORIES
A' Design Award & Competition features many competition categories in order to reach the widest audience possible. Large number of categories allow designers and brands from different industries to compete in a truly international multi-disciplinary competition.
WIDE REACH
Research indicates that the worth and value of an award increases proportionally to its reach. Having a large number of competition categories allows the A' Design Award to reach a large number of people from diverse backgrounds.

OPEN TO ALL SCULPTURE DESIGNS
A' Sculpture Design Award is open to nomination of all types of sculpture designs. You can nominate sculpture designs already realized and released to the market. You can also nominate sculpture design concepts and prototypes that are not yet released to the market.
Organized by A' Design Awards.
A' Design Award has over 100+ competition categories. — Fashion #4 Fashion Award — Care #78 Assistance Awards — Office Appliance #45 Work Appliance Competition — Advertising #85 Sponsorship Design Awards — Luxury #83 Luxury Product Awards — Limited Edition #93 Specialized Product Design Awards — Graphic #12 Letterhead Design Awards — Vehicle #9 Bike Design Competition — Industrial #104 Industrial Design Award — Cybernetics #87 Disposable Product Awards — Office Furniture #24 Business Furniture Awards — Furniture #1 Design Leaderboards Awards are some of the accolades organized by the A' Design Awards.
RESPECT SCULPTURE DESIGN
The A' Sculpture Design Award respects designers and companies who take part in the accolades. The sculpture design awards logo and publicity services are provided free of charge to all eligible winners. Sculpture design award trophies, yearbooks and certificates are distributed free of charge during the gala night to eligible winners.
WINNERS' PACK
A' Sculpture Design Award winners are eligible to obtain the A' Sculpture design Prize which includes public relations, advertising and promotion services. A' Sculpture Design Award winners are given a broad logo license to promote their sculpture designs worldwide as award-winning sculpture designs.

WINNERS ARE WINNERS
If you win the the A' Sculpture Design Award, you do not have to pay any contractually obliged further fees. A' Sculpture Design Award does not force its laureates to pay so called winner fees.

PRESTIGE SYSTEM
The A' Sculpture Design Award grants you access to its unique A' Prestige System that provides you with a special opportunity to benefit from very exclusive intangible and tangible benefits.

PRESTIGE TOKENS
Winners of the A' Sculpture Design Award are able to accumulate A' Prestige Tokens that could be exchanged for a plethora of privileged benefits and highly exclusive services.

GOLDEN TICKETS
Having your name written and showcased on the walls of a contemporary design museum in large gold letters, and to have your sculpture design accepted to a permanent collection of a design museum are only some of the perks that may be obtained by using your A' Prestige Tokens.
A' DESIGN STAR
The A' Design Star is a special design recognition programme that is aimed to recognize and reward time-proven sculpture design excellence.
A' STAR EMBLEM
A' Design Star Emblem is a very special symbol awarded to multiple award-winning designers, brands, innovators, companies and agencies that are able to repeatedly and consistently create good sculpture designs.
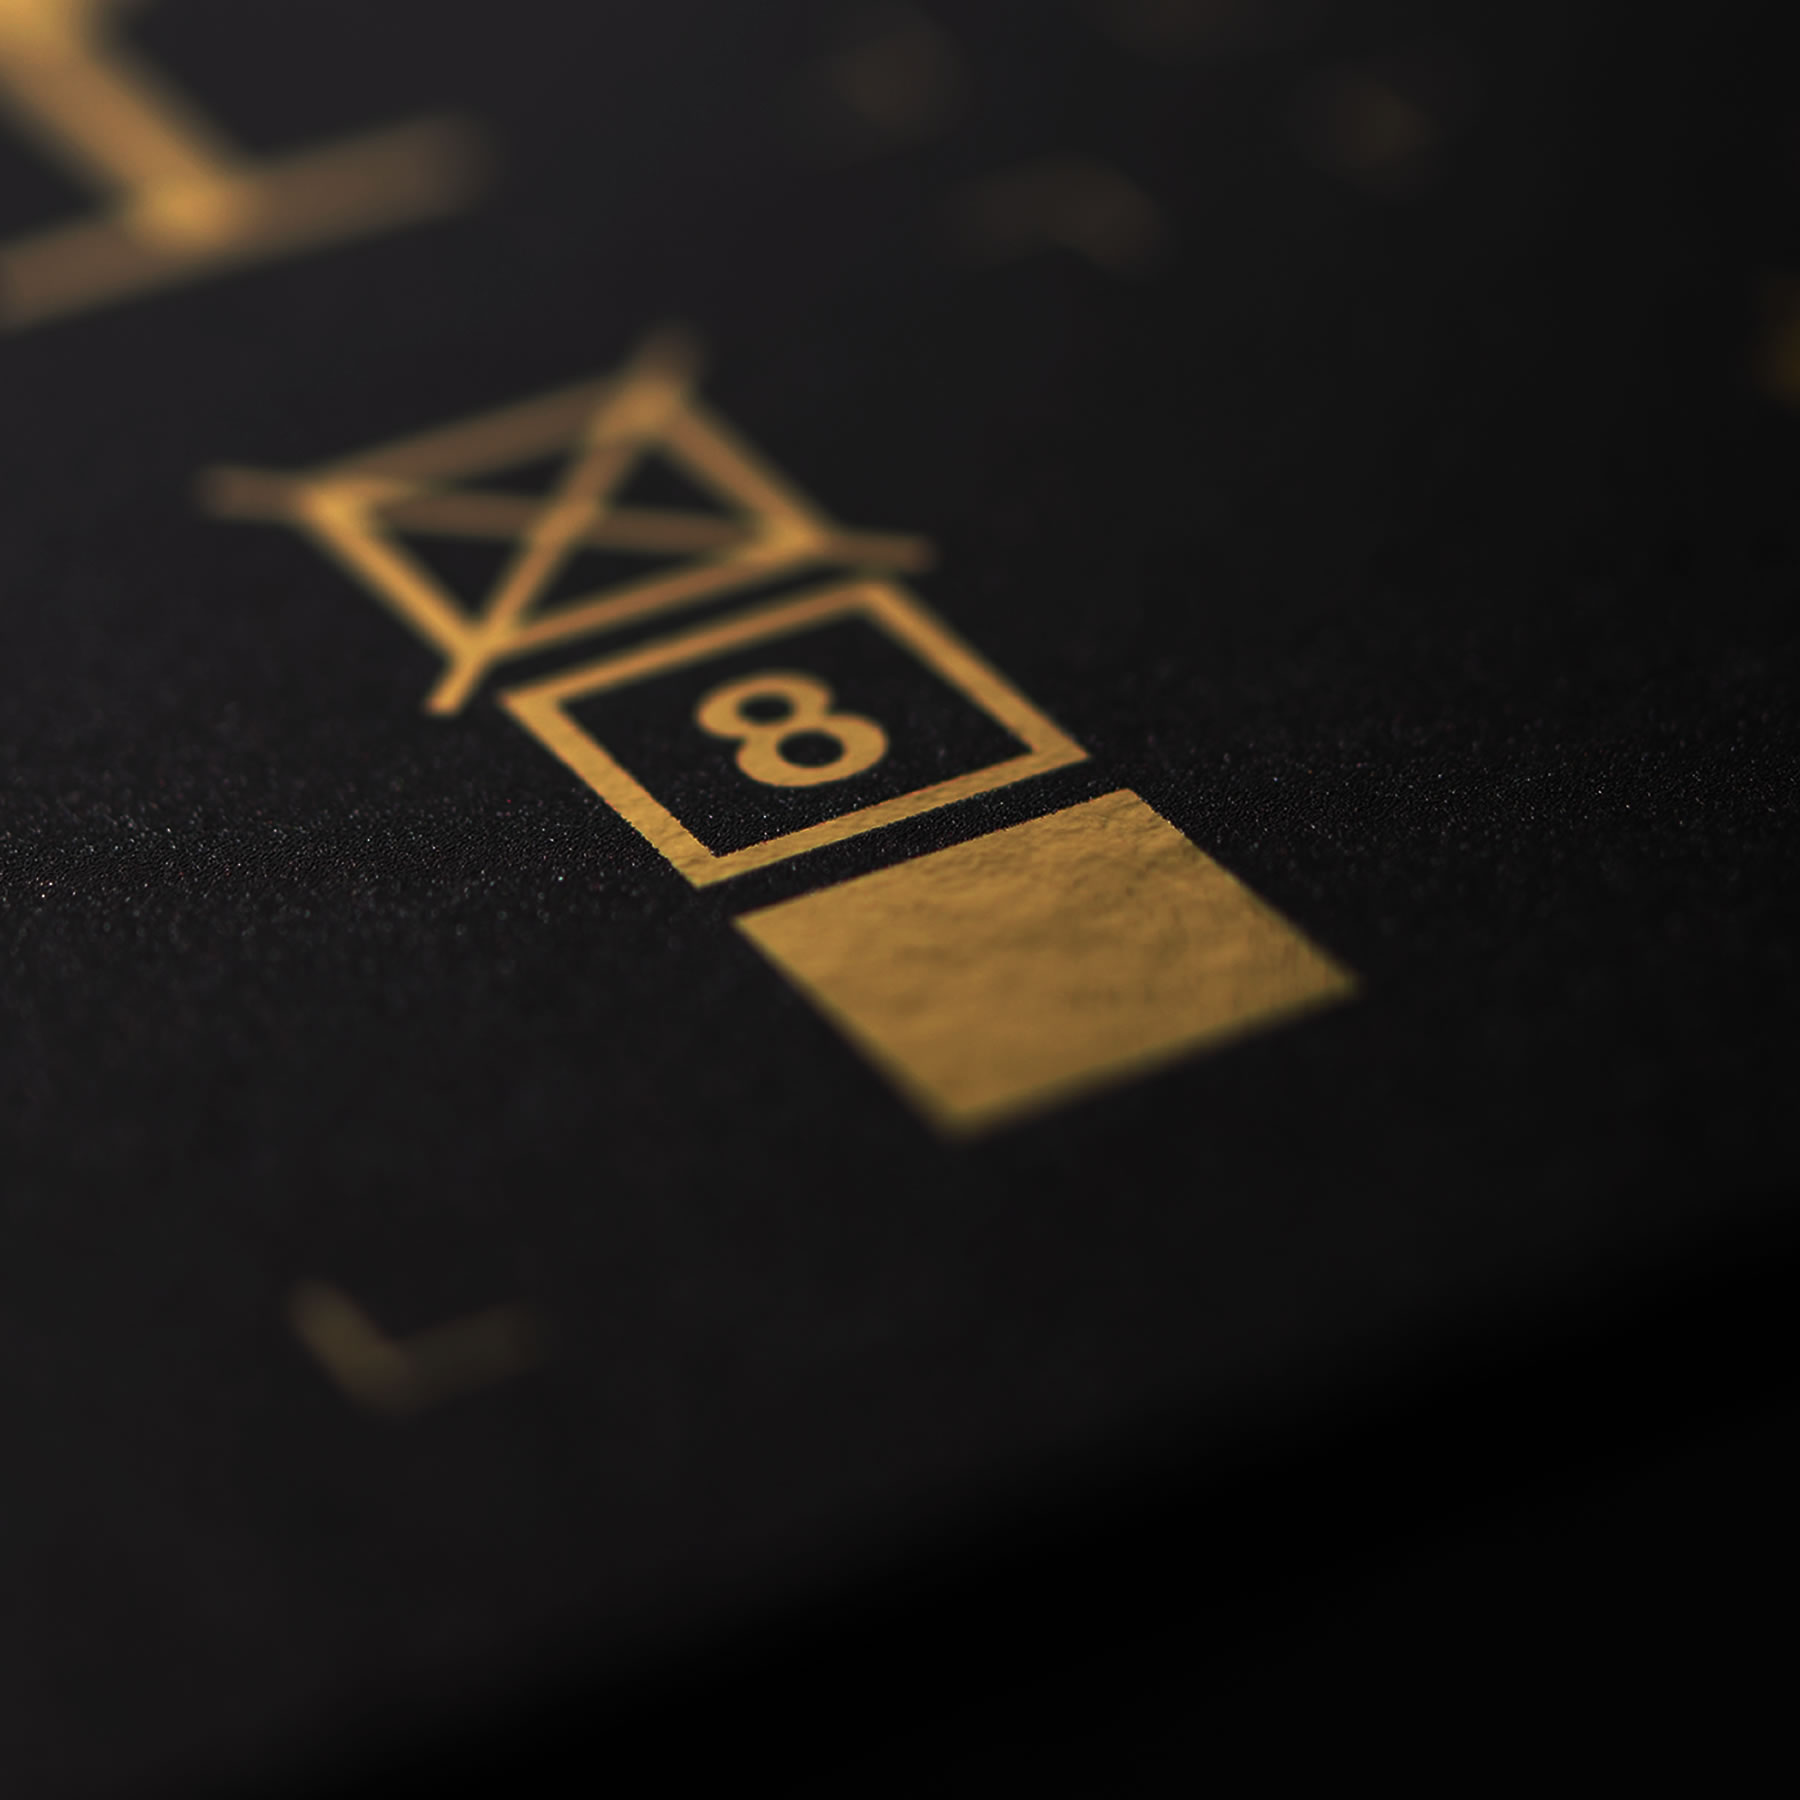
A' STAR GUIDE
The A' Design Star guide lists the A' Design Star recognized 8-Star, 7-Star and 6-Star designers. A' Design Star is aimed to help large enterprises and brands to find reliable sculpture design providers.

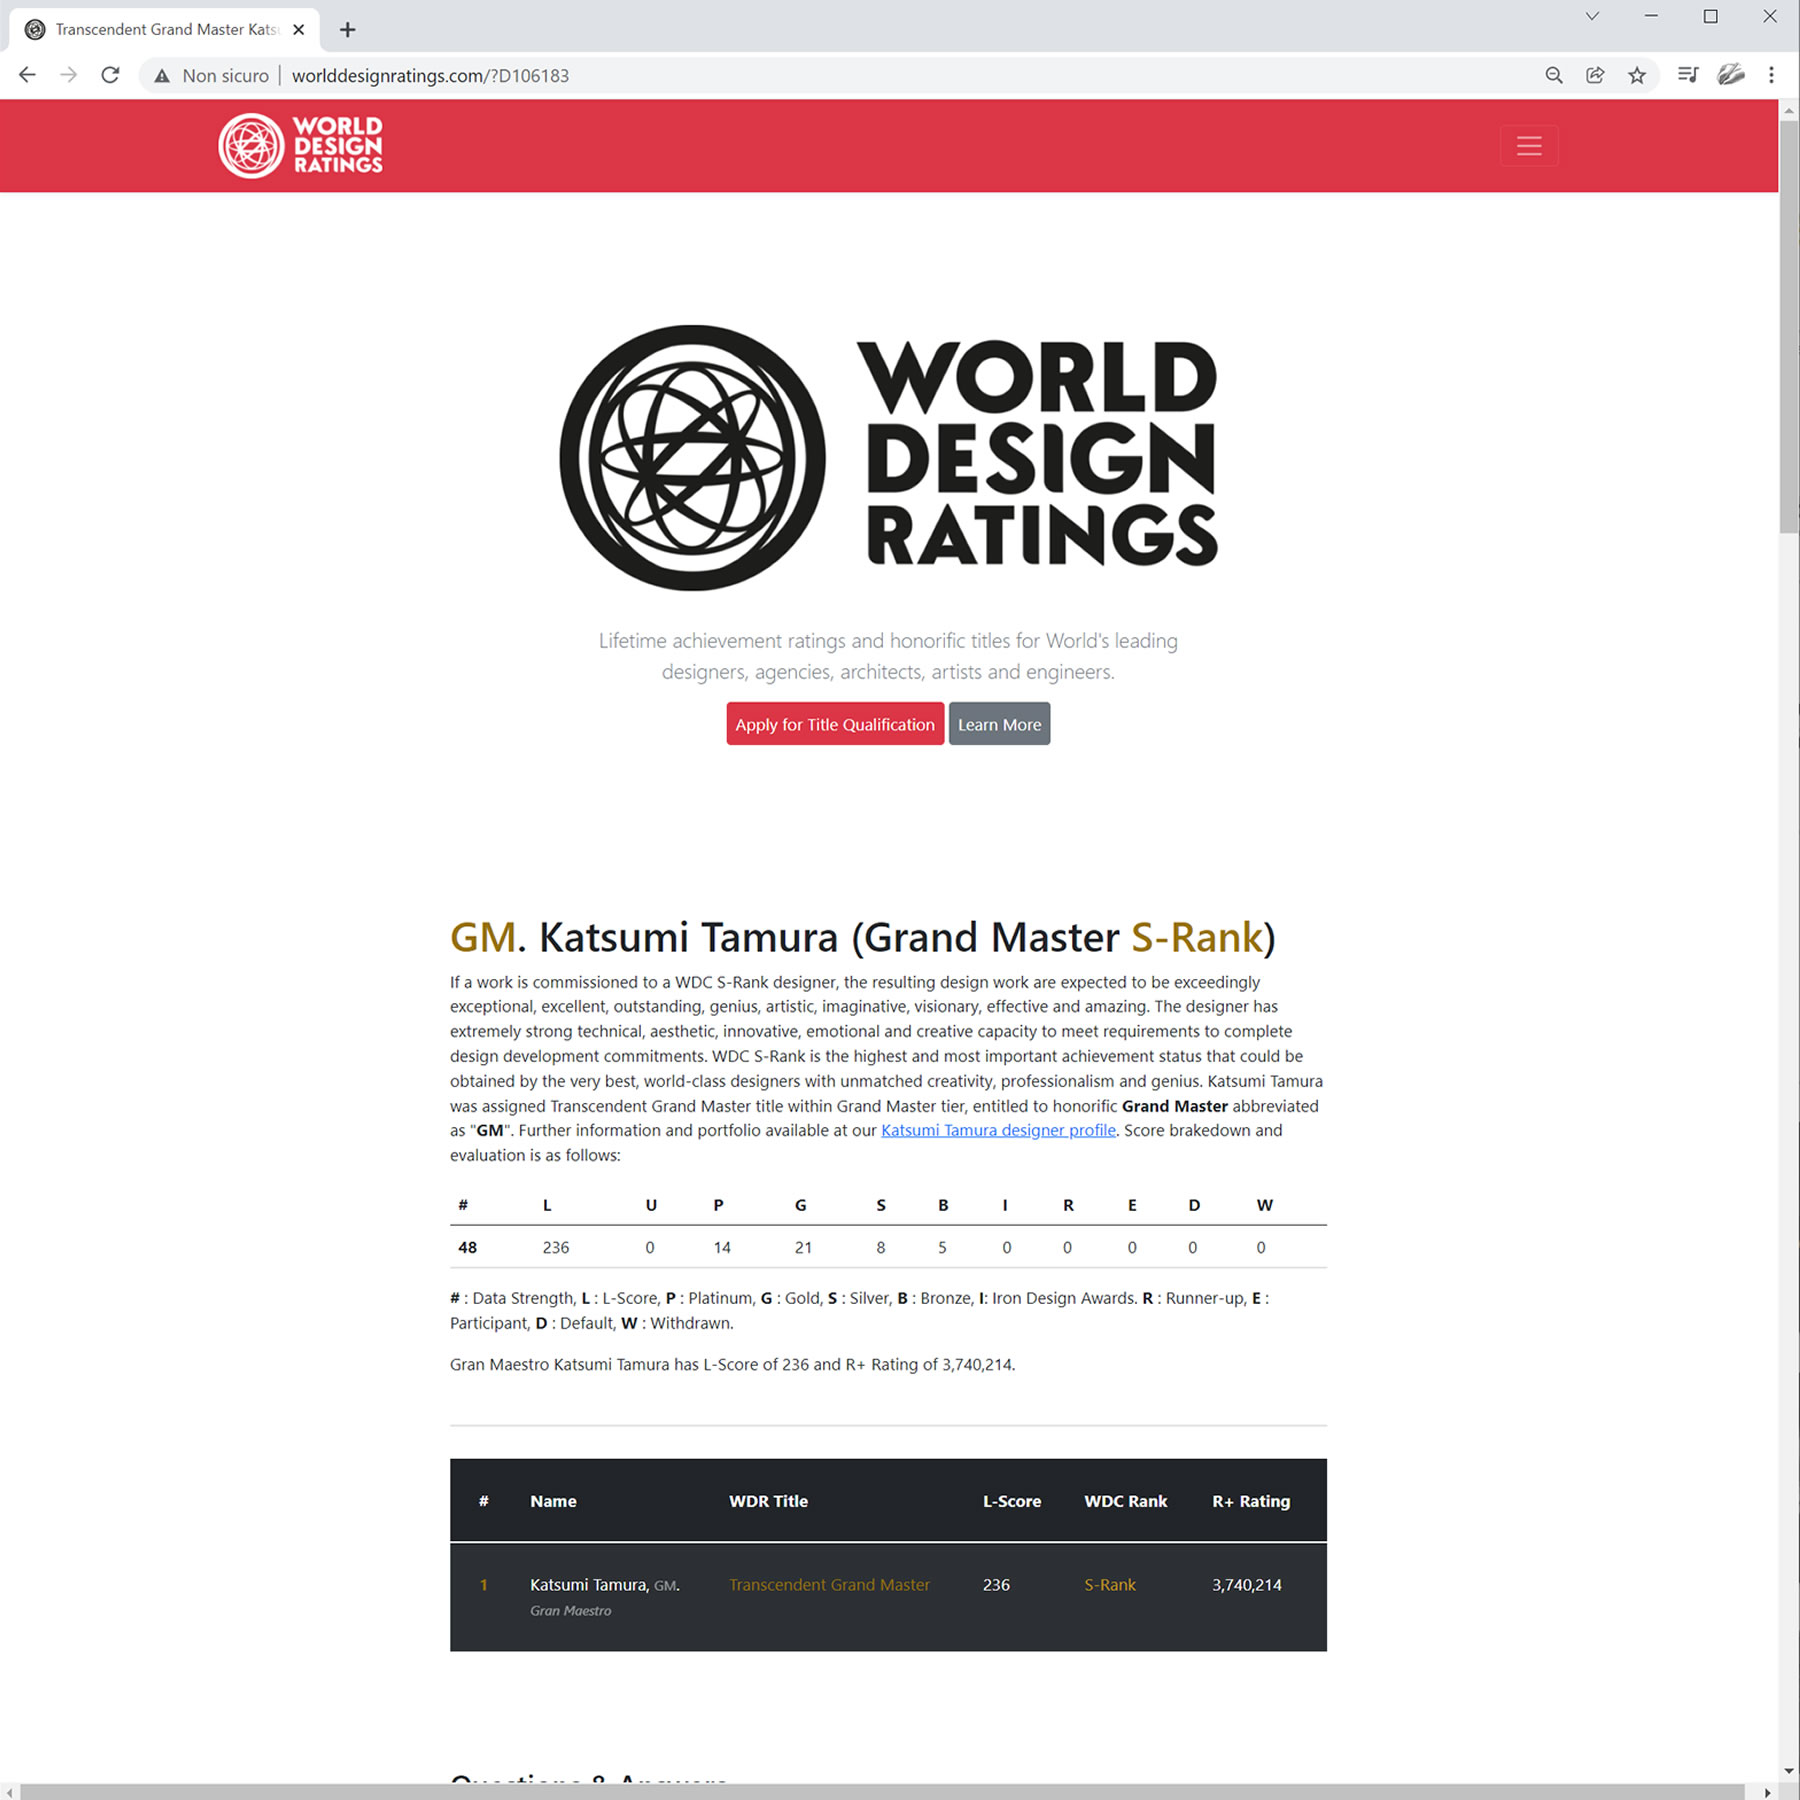
WORLD DESIGN RATINGS
A' Sculpture Design Award winners will be listed at World Design Ratings, together with their WDC-Rank, Designer Title and Designer Honorifics.
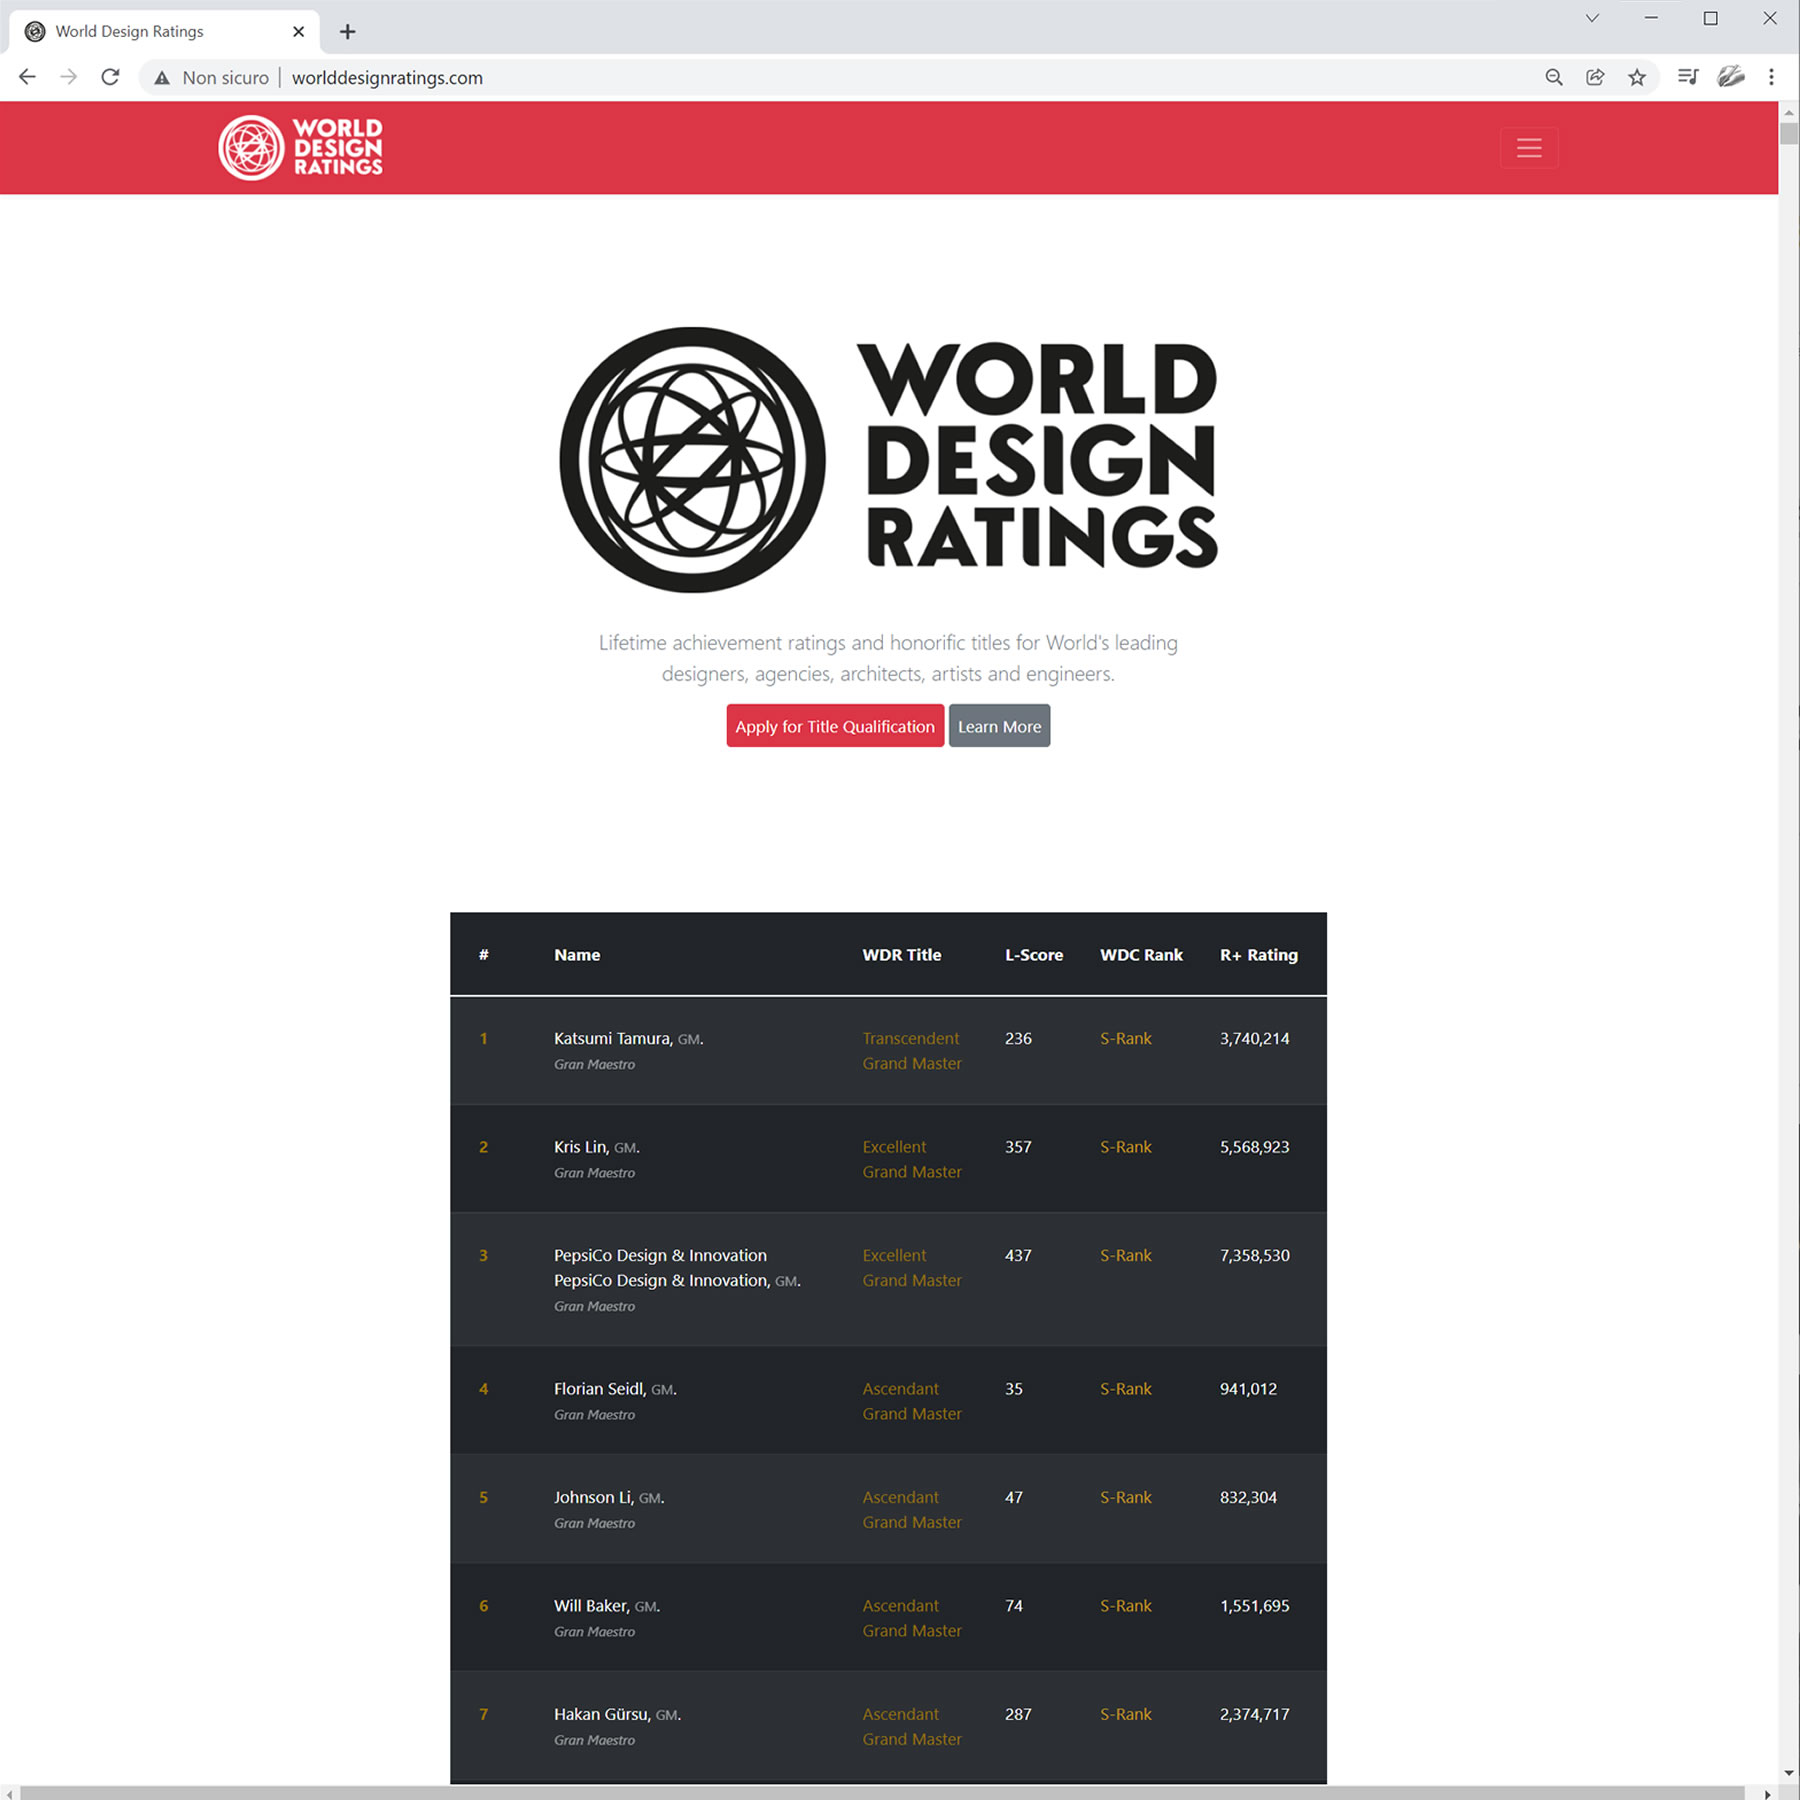
DESIGNER HONORIFICS
A' Sculpture Design Award winners will be able to obtain respectable honorific titles based on their creative merits and tenets, including but not limited to Master and Grand-Master designations.
HONOURING DESIGNERS
Your designer honorific title serves more than just to praise your excellent skills, they serve to signal your audiences to treat you with the uttermost respect you deserve as an outstanding designer.
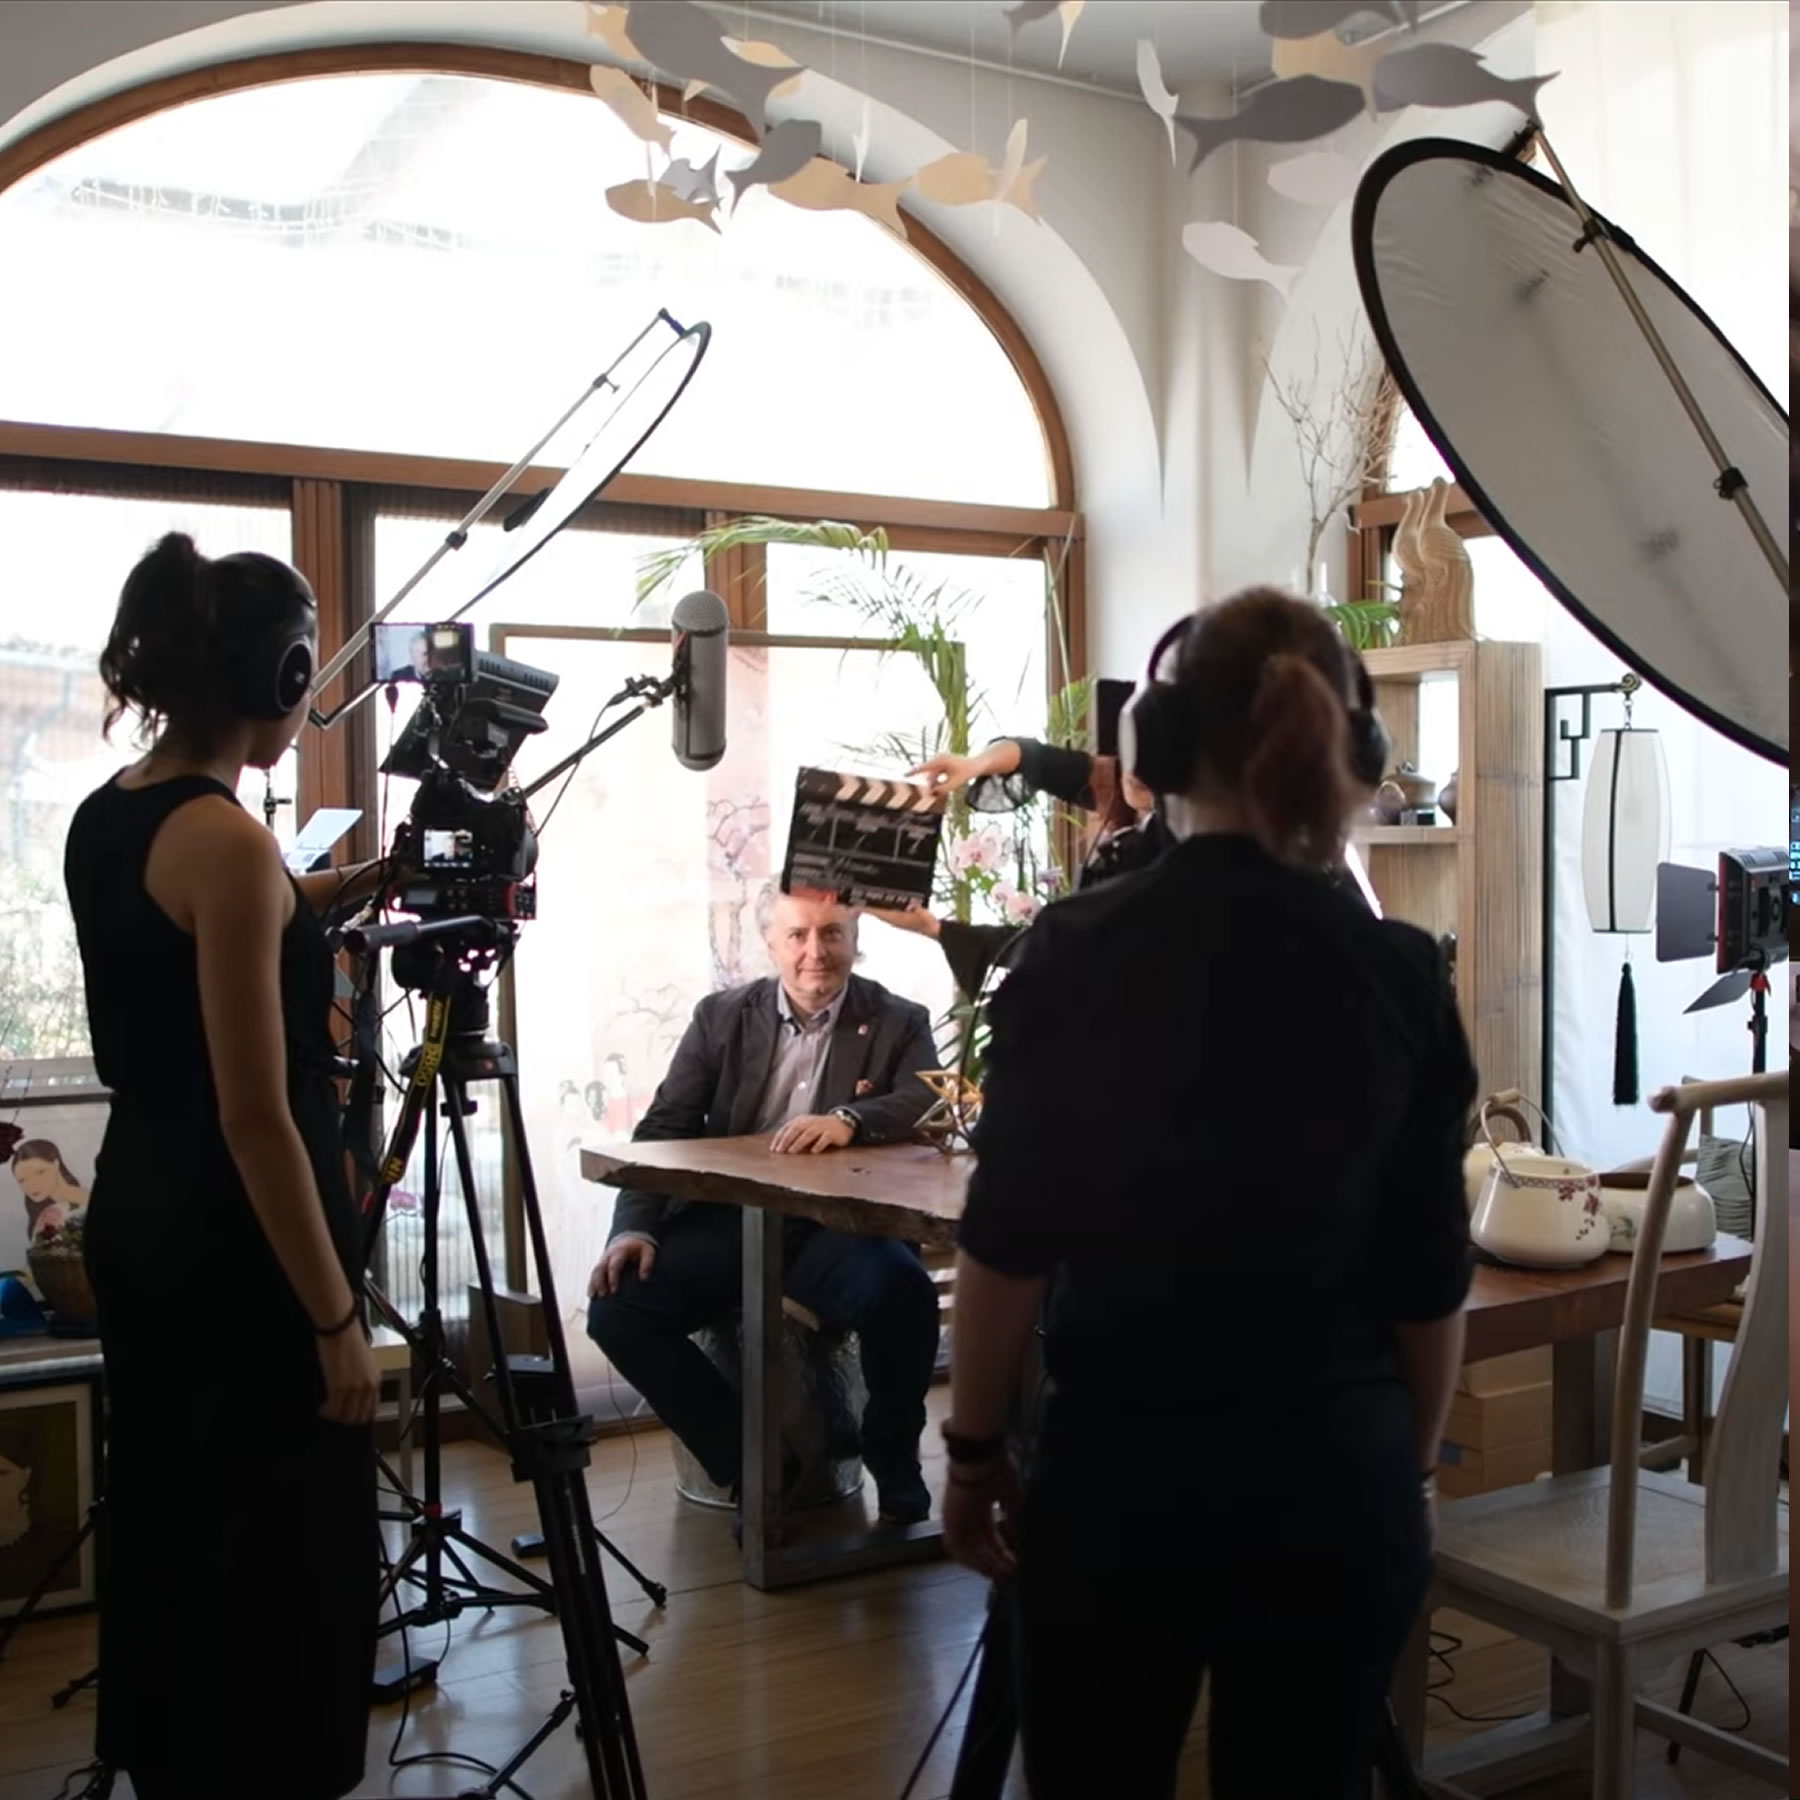
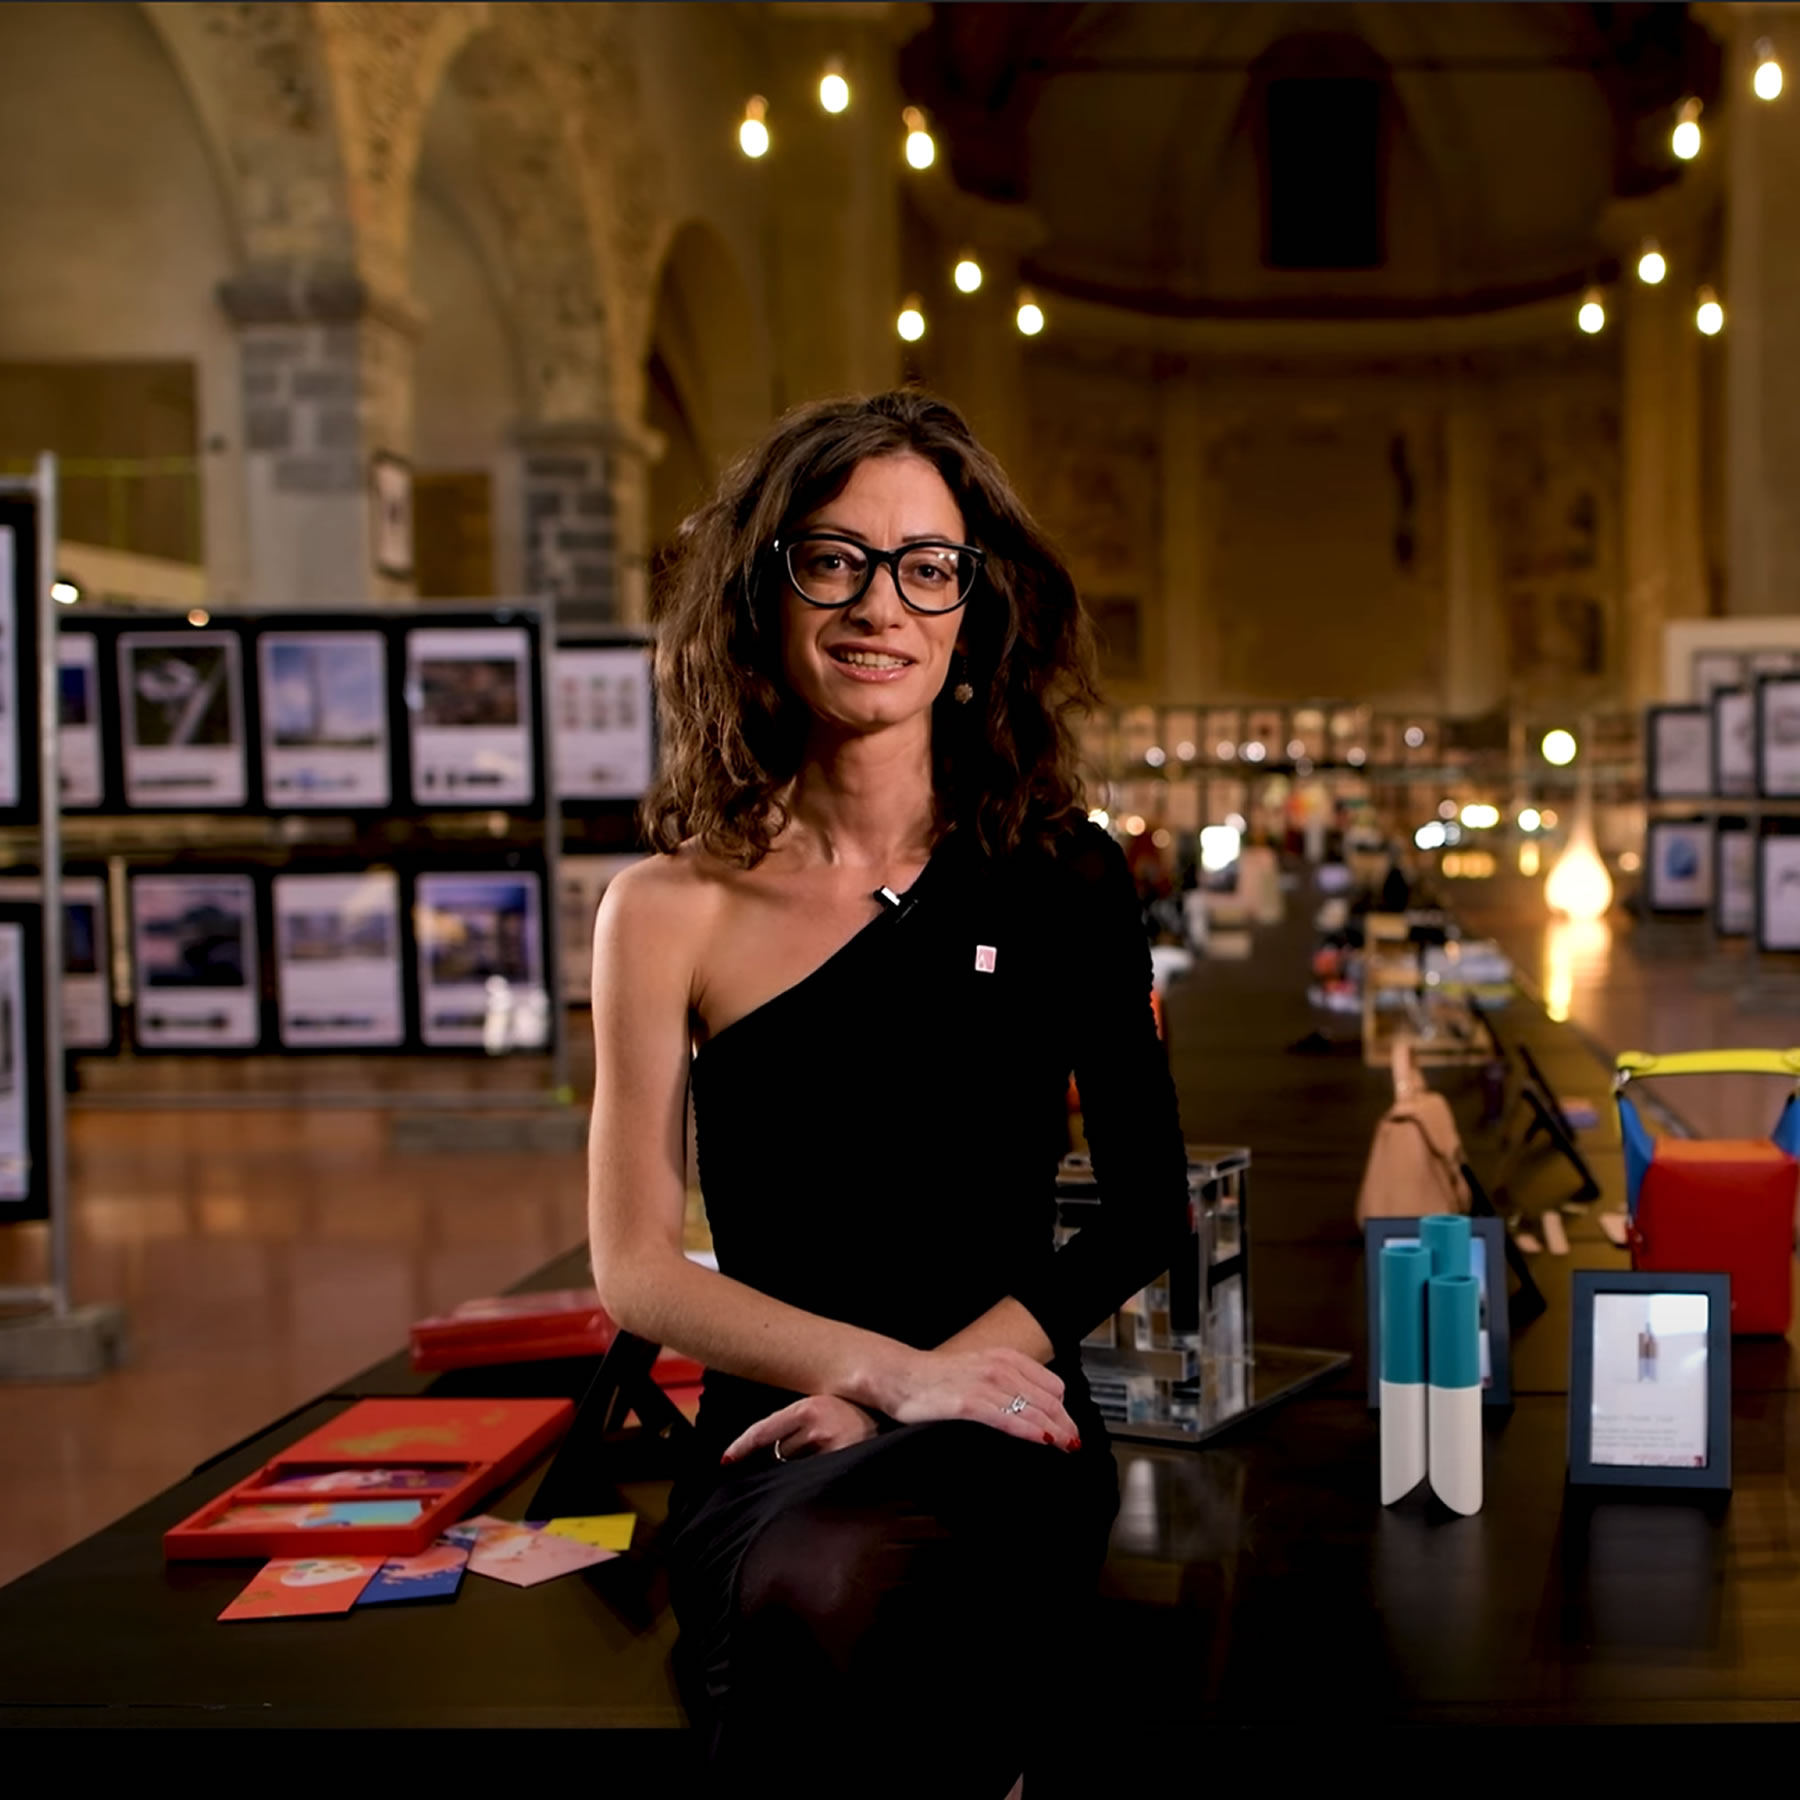
VIDEO INTERVIEWS
Select A' Sculpture Design Award winners will be eligible to have a video interview published about their profile and award-winning sculpture designs.
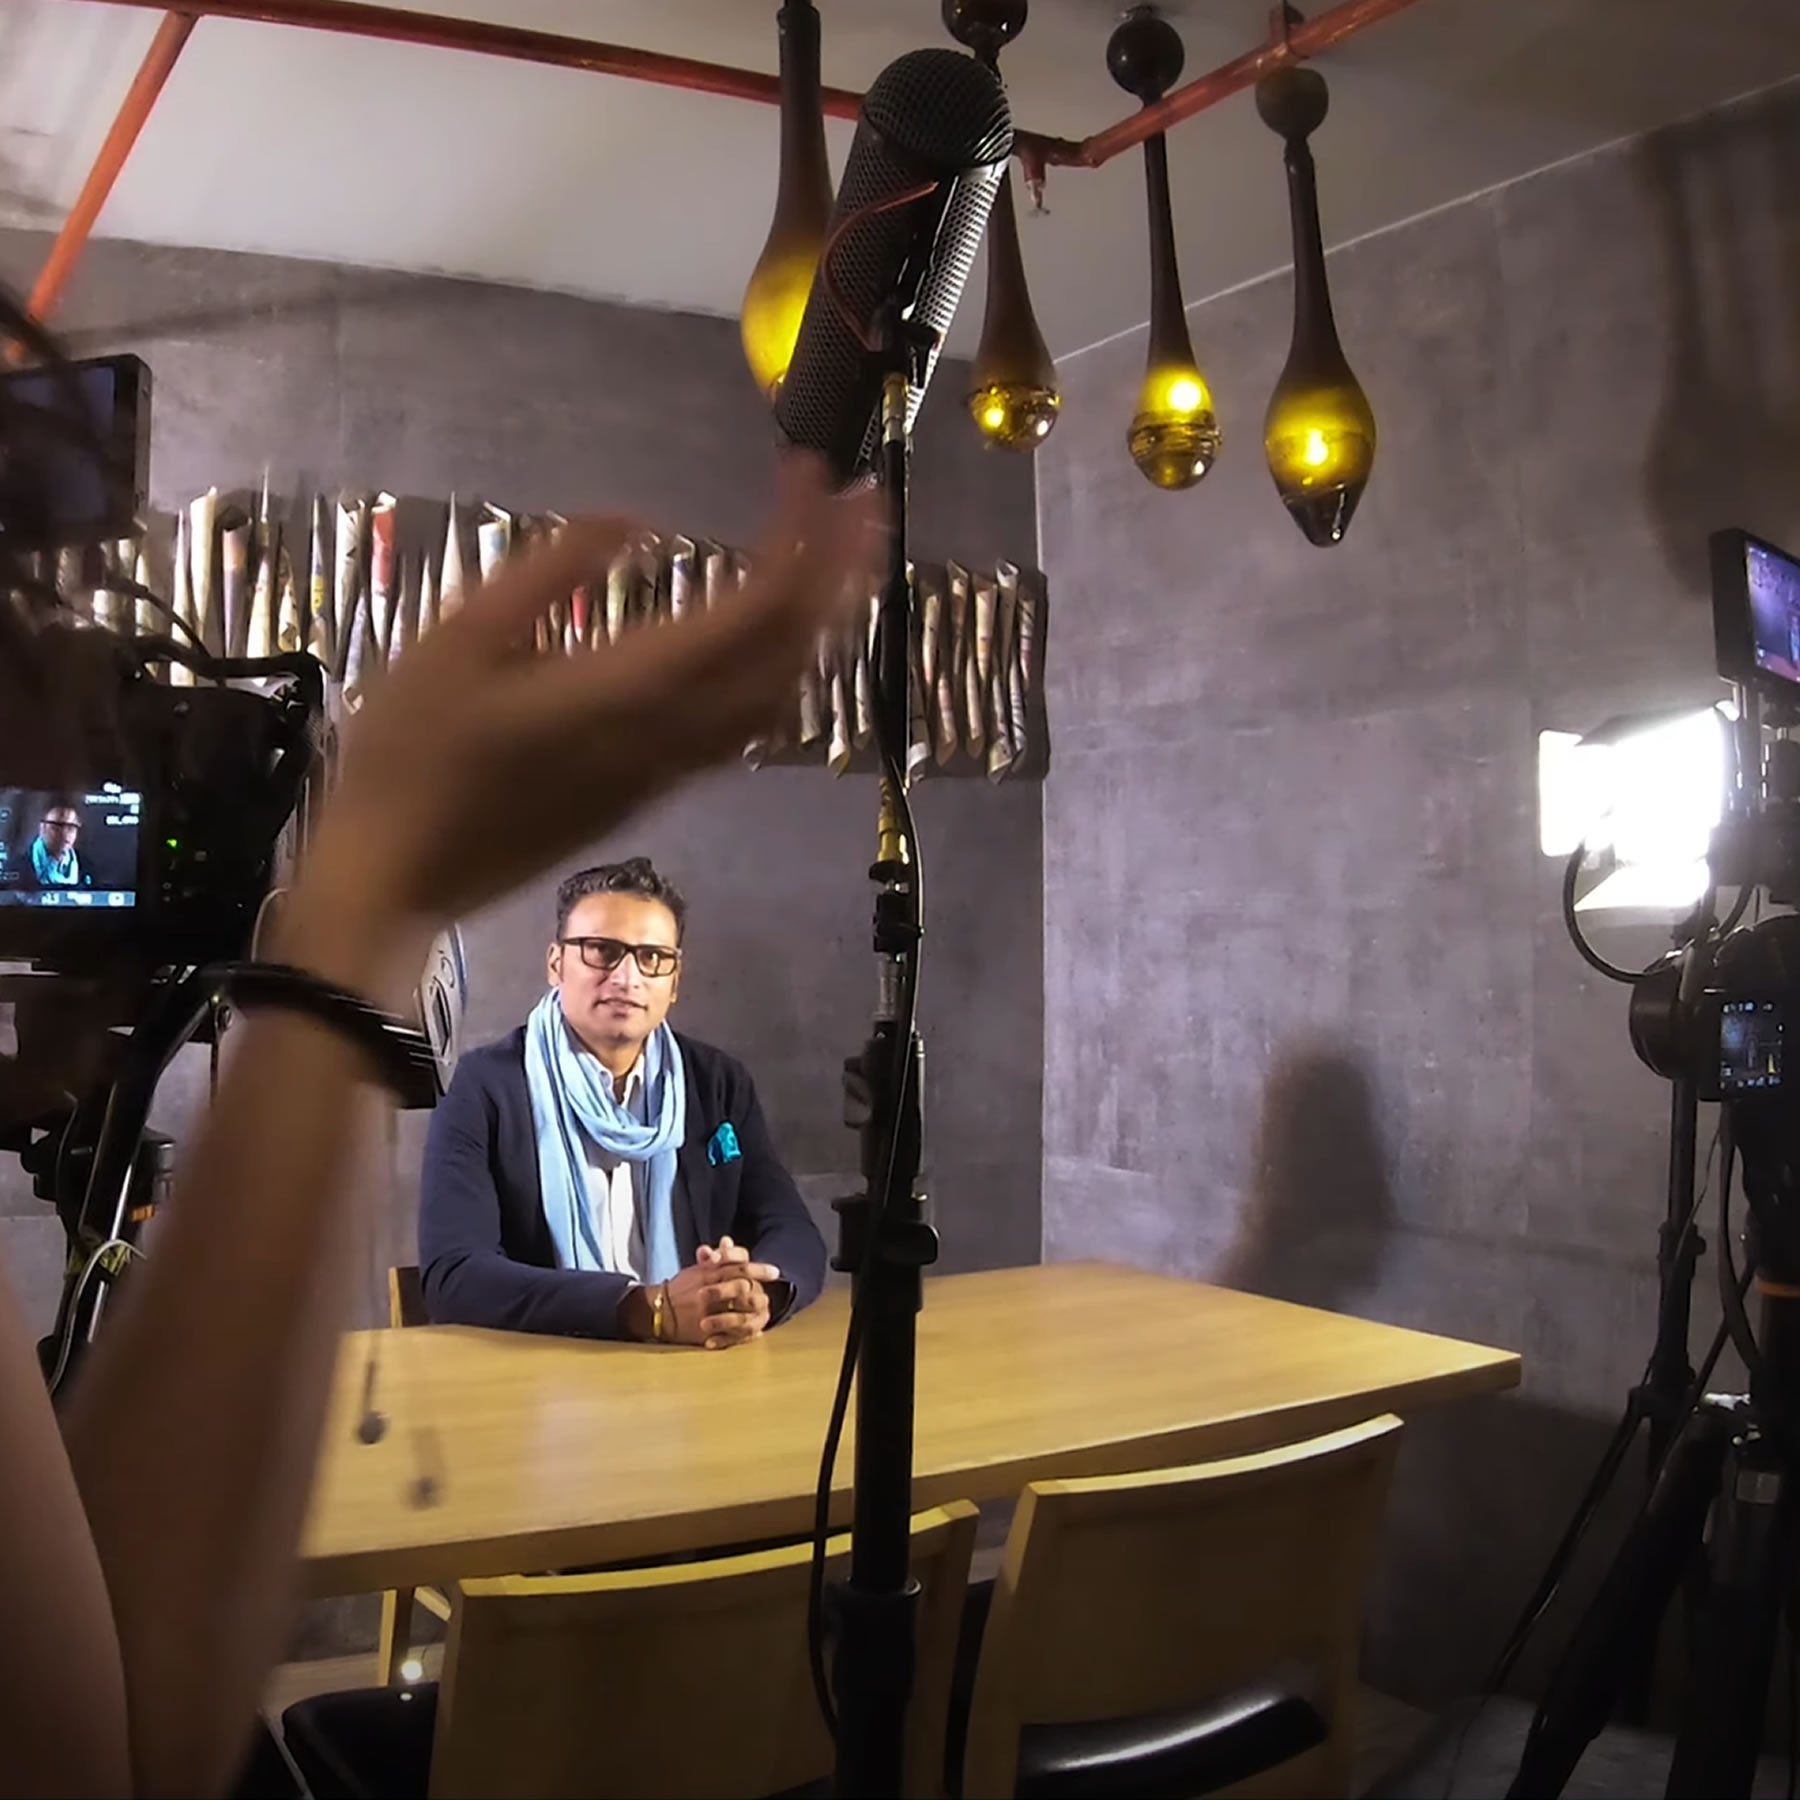
SPOTLIGHT VIDEOS
Eligible laureates will have the opportunity to get their award-winning sculpture designs professionally spotlighted and video-captured.
VIDEO CHANNELS
Your Video Interviews and Spotlight Videos, will be published and actively promoted at our online video channels to help you reach new audiences.

RESOLUTE MOTTO
The motto of the A' Sculpture Design Award is "Ars Futura Cultura" i.e. Arts Cultivate the Future, Arts for the Culture of Future. We believe that the future is shaped by arts, design and technology, thus there is need of good sculpture design for a better future.
DESIGNED FOR DESIGNERS
The A' Sculpture Design Award is created to bring together designers, companies, audiences interested in sculpture design and sculpture design journalists. A' Sculpture Design Award aims to highlight good sculpture design products and services to design-oriented audiences.

THE MYTH, THE LEGEND
Winning the A' Sculpture Design Award is a certificate of excellence for designers, a proof of quality for companies. Having the A' Sculpture Design Award attracts the eyes of design-oriented audiences worldwide.
International Sculpture Design Award
In a world where millions of designs communicated every year, The Sculpture Design Design Award aims to draw out the excellent qualifications of leading Sculpture Design designs and Sculpture Design design concepts by providing them with PR and visibility. The A' Sculpture Design Award is an annual international sculpture design competition with an aim to recognize, spotlight and advertise good sculpture designs worldwide. The A' Sculpture Design Prize includes Sculpture Design Award Winner Logo, Sculpture Design Trophy, Sculpture Design Excellence Certificate as well as public relations and marketing for promoting awarded sculpture designs.


5 TIERS OF HEAVEN
A' Sculpture Design Award is always awarded in five tiers: Platinum A' Sculpture Design Award, Gold A' Sculpture Design Award, Silver A' Sculpture Design Award, Bronze A' Sculpture Design Award and Iron A' Sculpture Design Award. These award tiers are reserved for winner sculpture designs.
5 LEVELS OF RECOGNITION
In addition to award levels, there is also honorable A' Sculpture Design Award Runner-up and A' Sculpture Design Award Participant status, the A' Sculpture Design Award Nominee tag, together with A' Sculpture Design Award Withdrawn and the A' Sculpture Design Award Disqualified status.
FORESIGHT TO YOU
When you sign-up and upload your sculpture design to the A' Sculpture Design Award you gain professional insight; preliminary jurors will score your work from zero (0) to ten (10), free of charge, and completely confidential, you will know well in advance what to expect if you nominate your work.
GOOD AWARD
A' Sculpture Design Award gives a lot of importance to promote and advertise award winning sculpture designs adequately. We believe that a good sculpture design award should offer more than a logo, a good sculpture design competition should provide more than a certificate, a good sculpture design prize is more than a trophy.
ENGINEERED
Every single element that makes the A' Sculpture Design Award for good sculpture design was synthetically designed and engineered to help your award-winning sculpture design reach its true potential, to help you find new markets and audiences.
COVETED PRIZE
Sculpture design award winner logo, sculpture design award trophy, sculpture design award winners book, sculpture design award winners certificate, sculpture design award gala-night, sculpture design award exhibition, and marketing services for good sculpture design. awaits eligible winners.
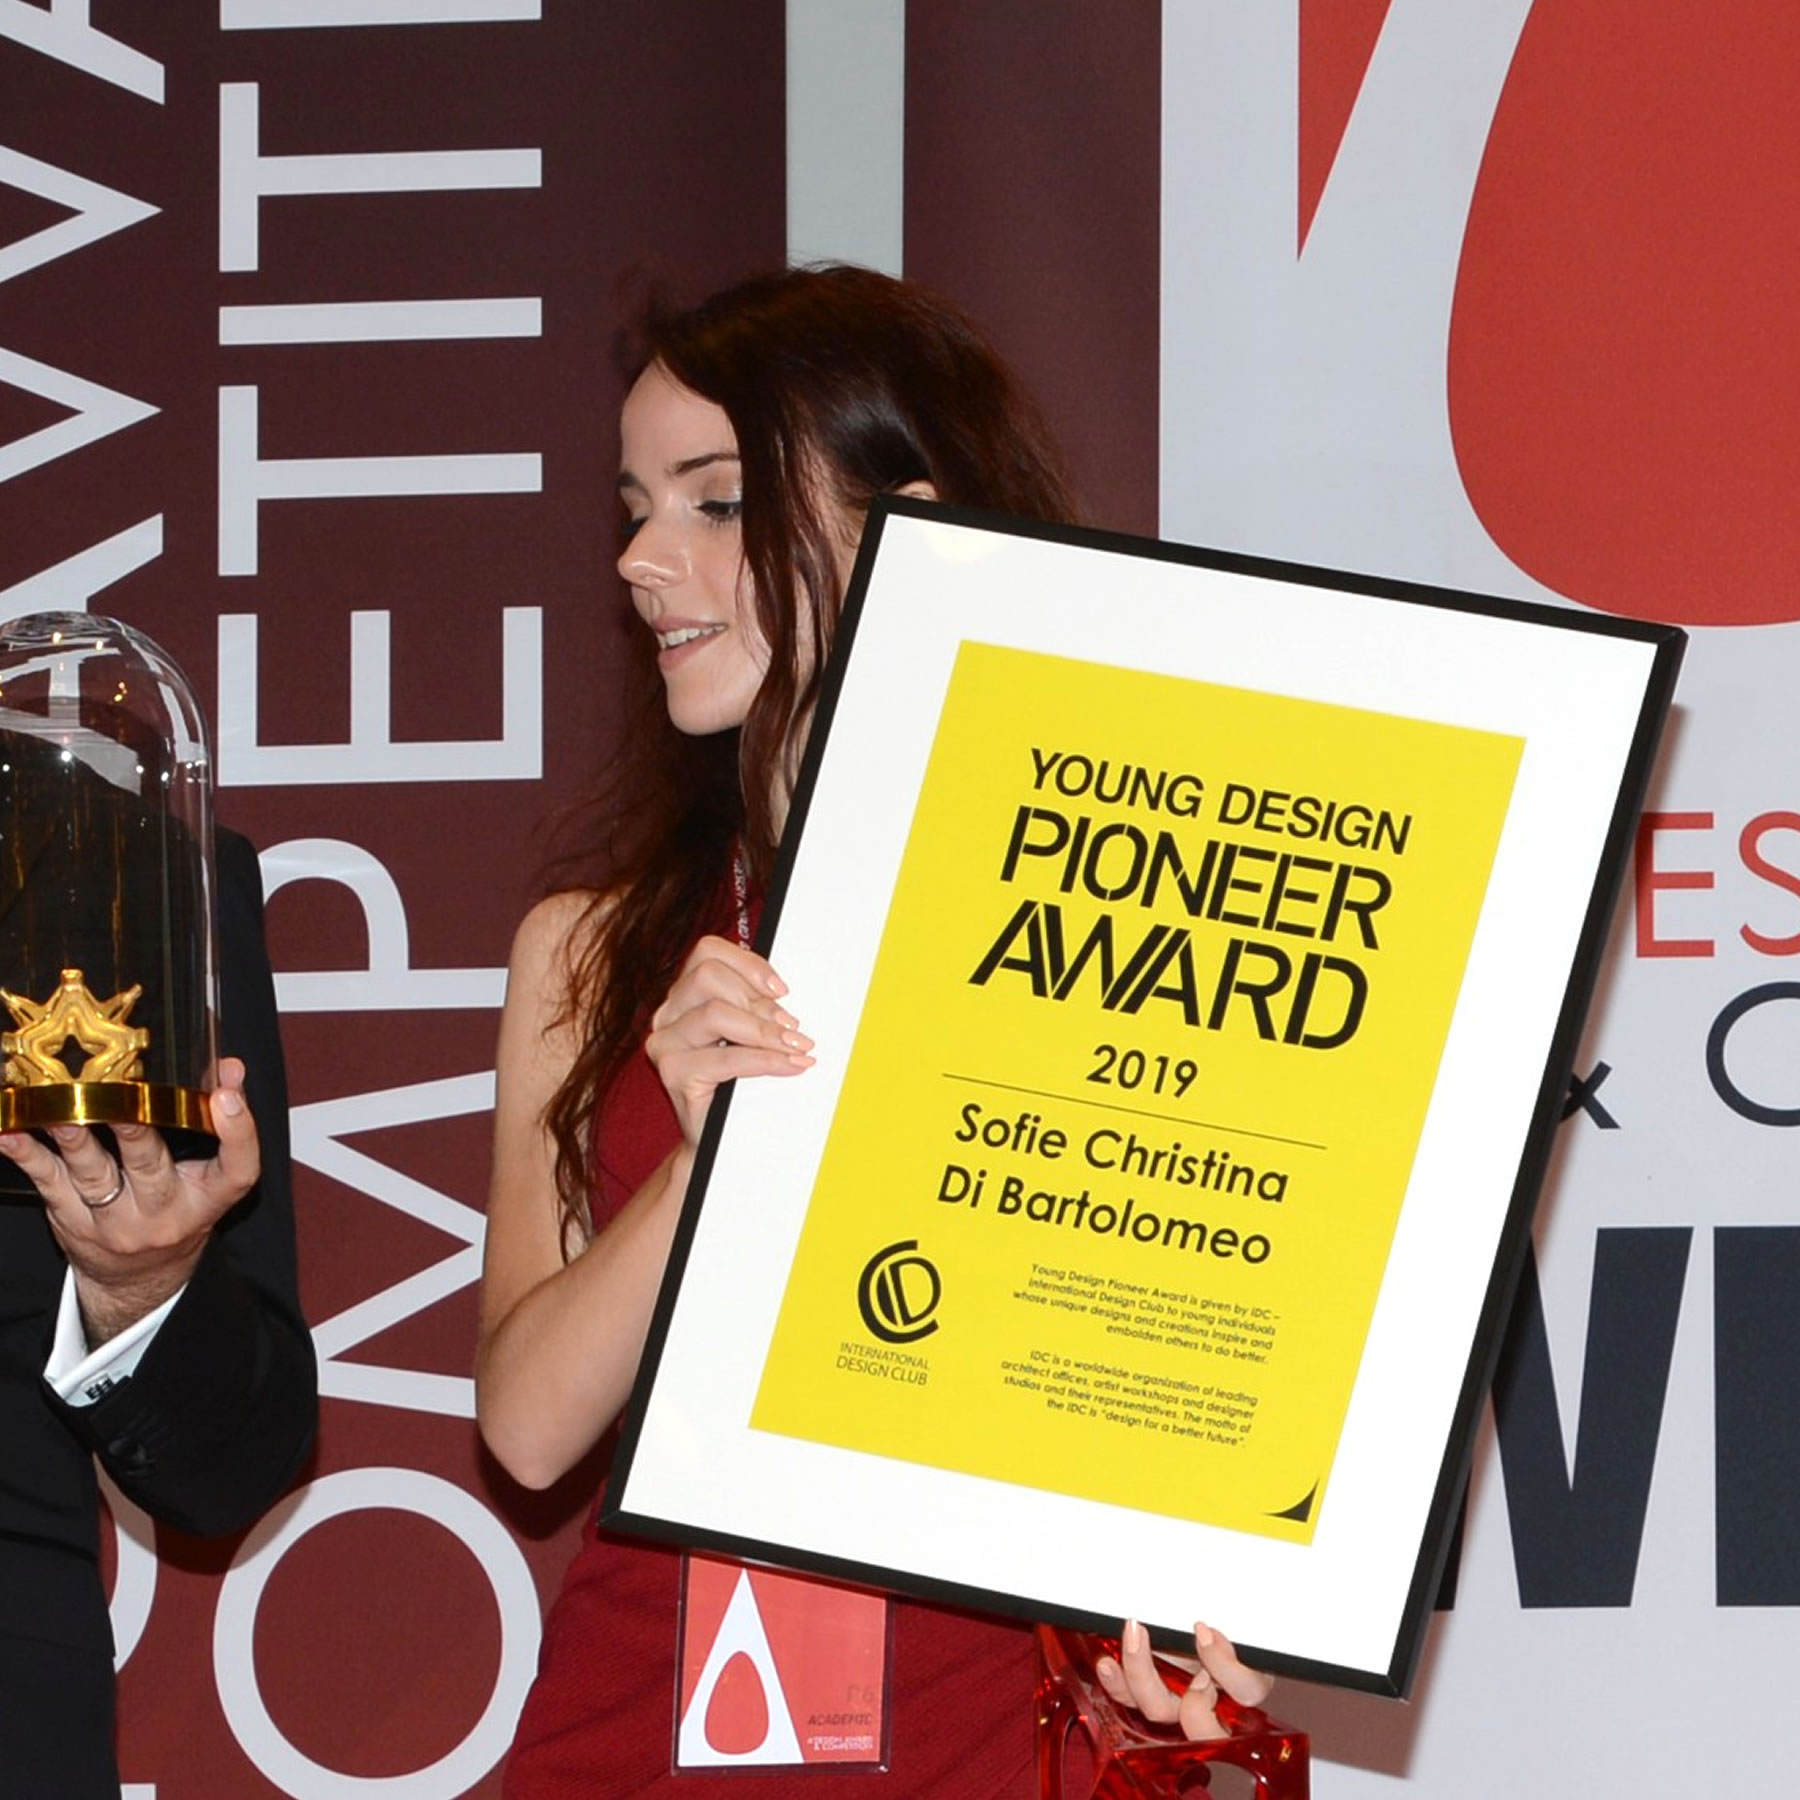
YOUNG DESIGN PIONEER
Young Design Pioneer is a special recognition granted by International Design Club to a young yet highly professional and creative designer under the age of 40.
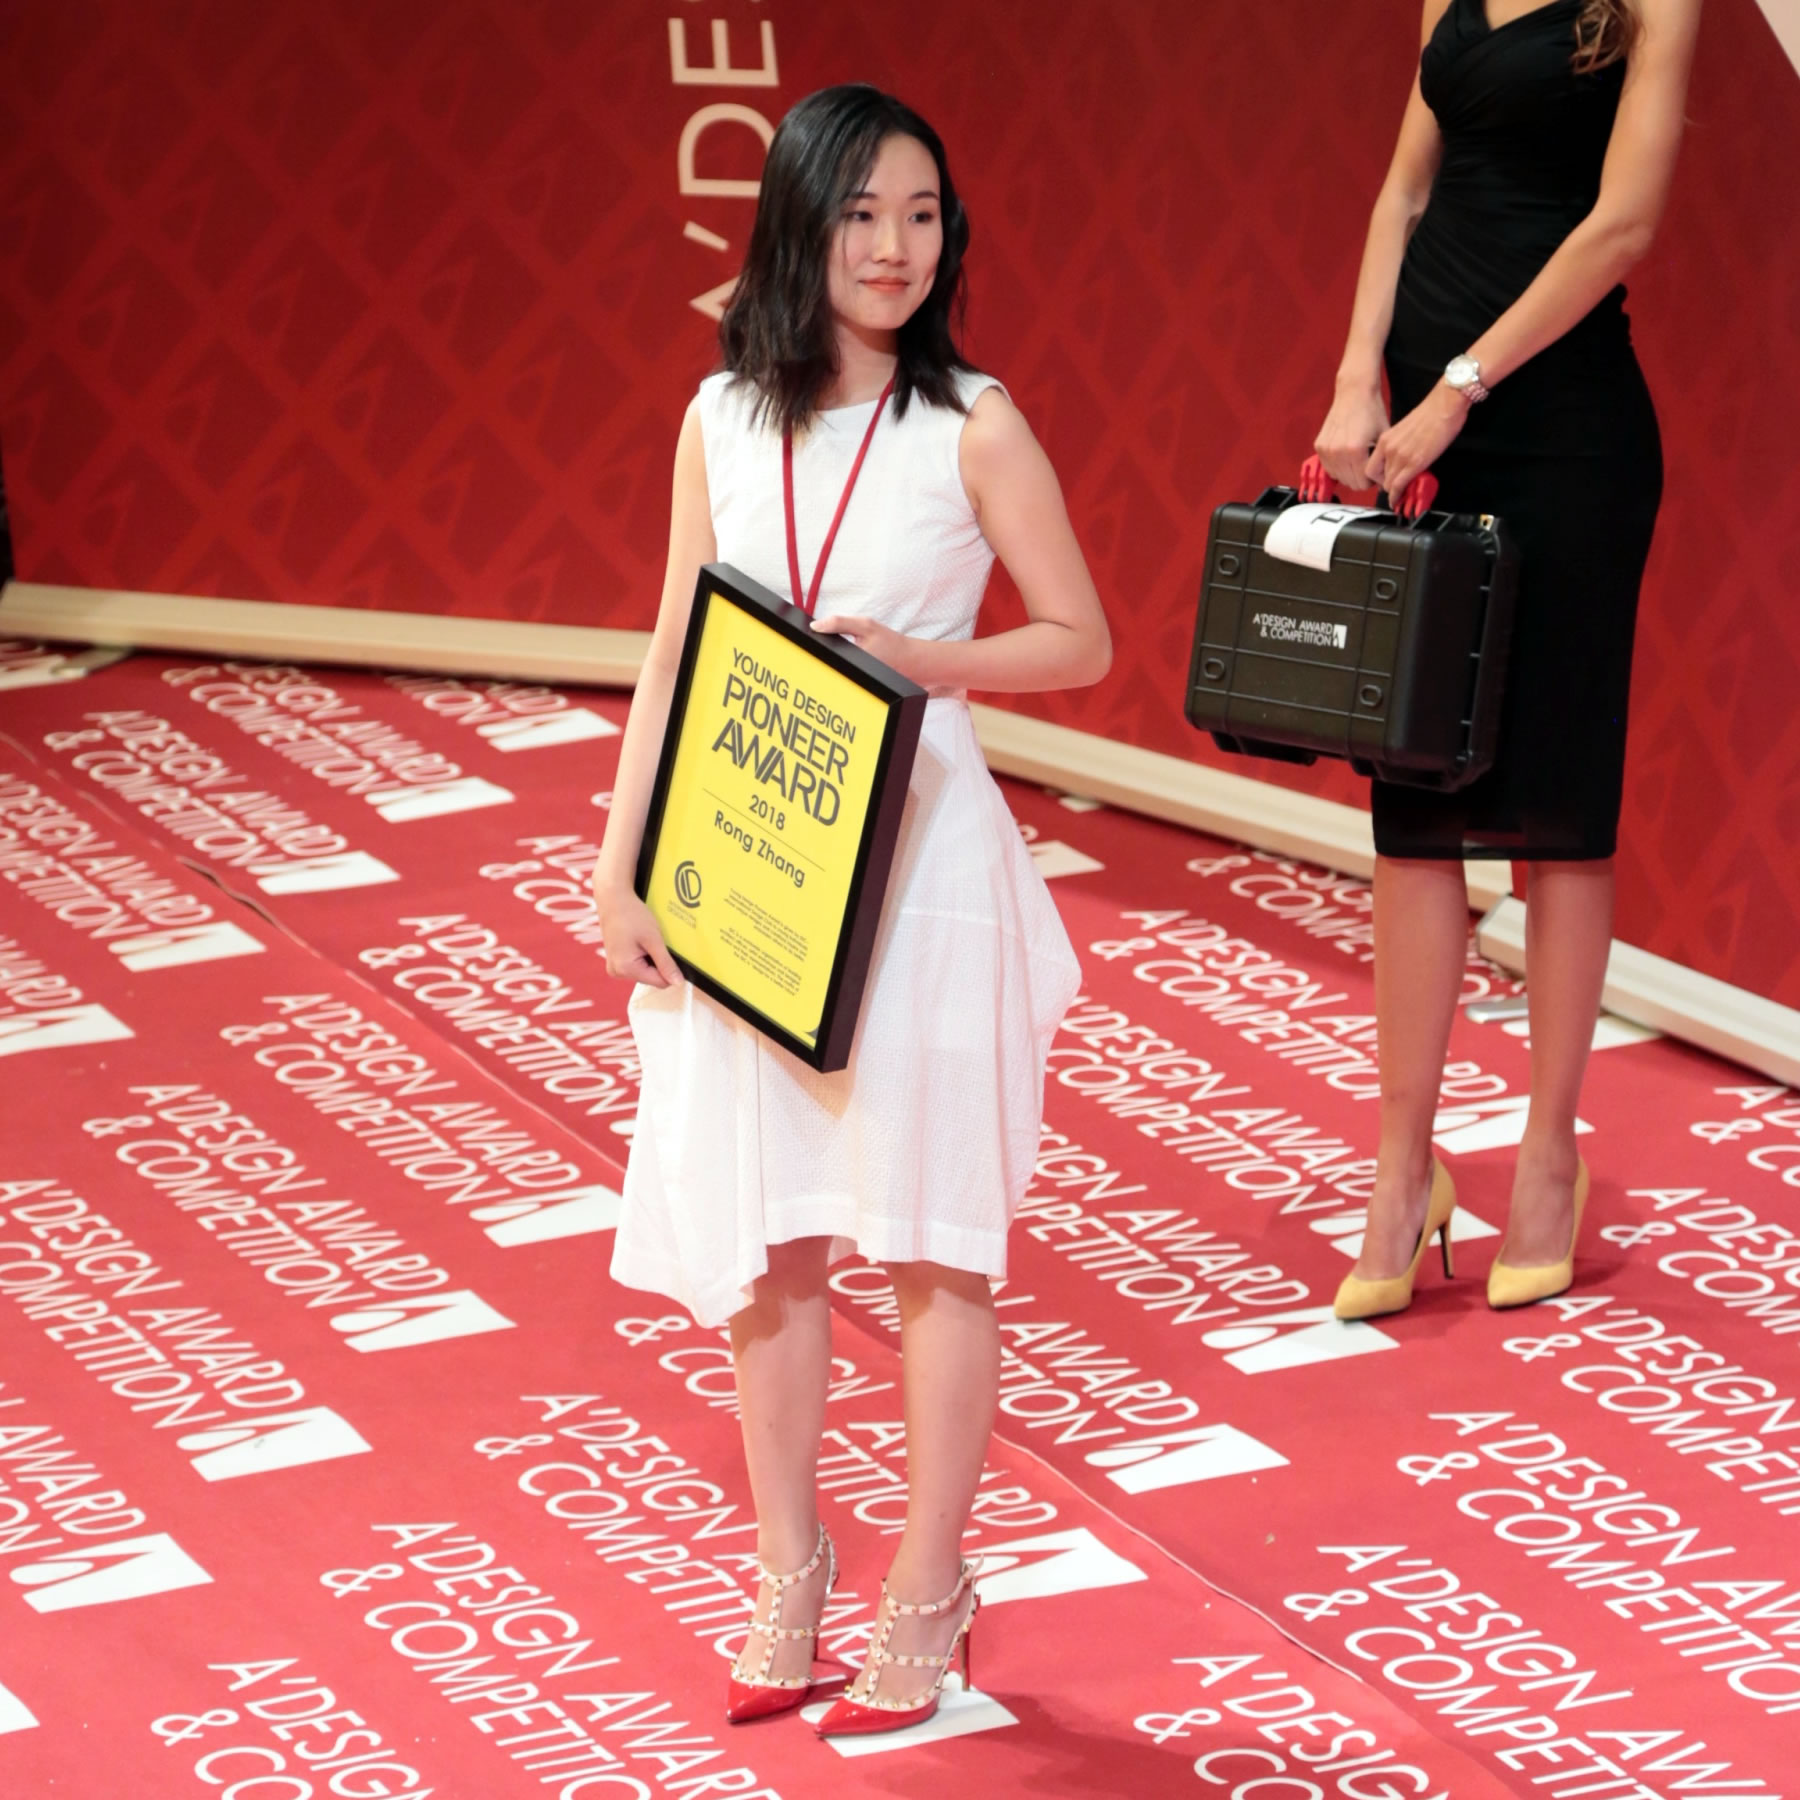
SPECIAL RECOGNITION
Young A' Sculpture Design Award laureates are eligible to be nominated for the Young Design Pioneer title and obtain their special certificate and trophy to celebrate the occasion.
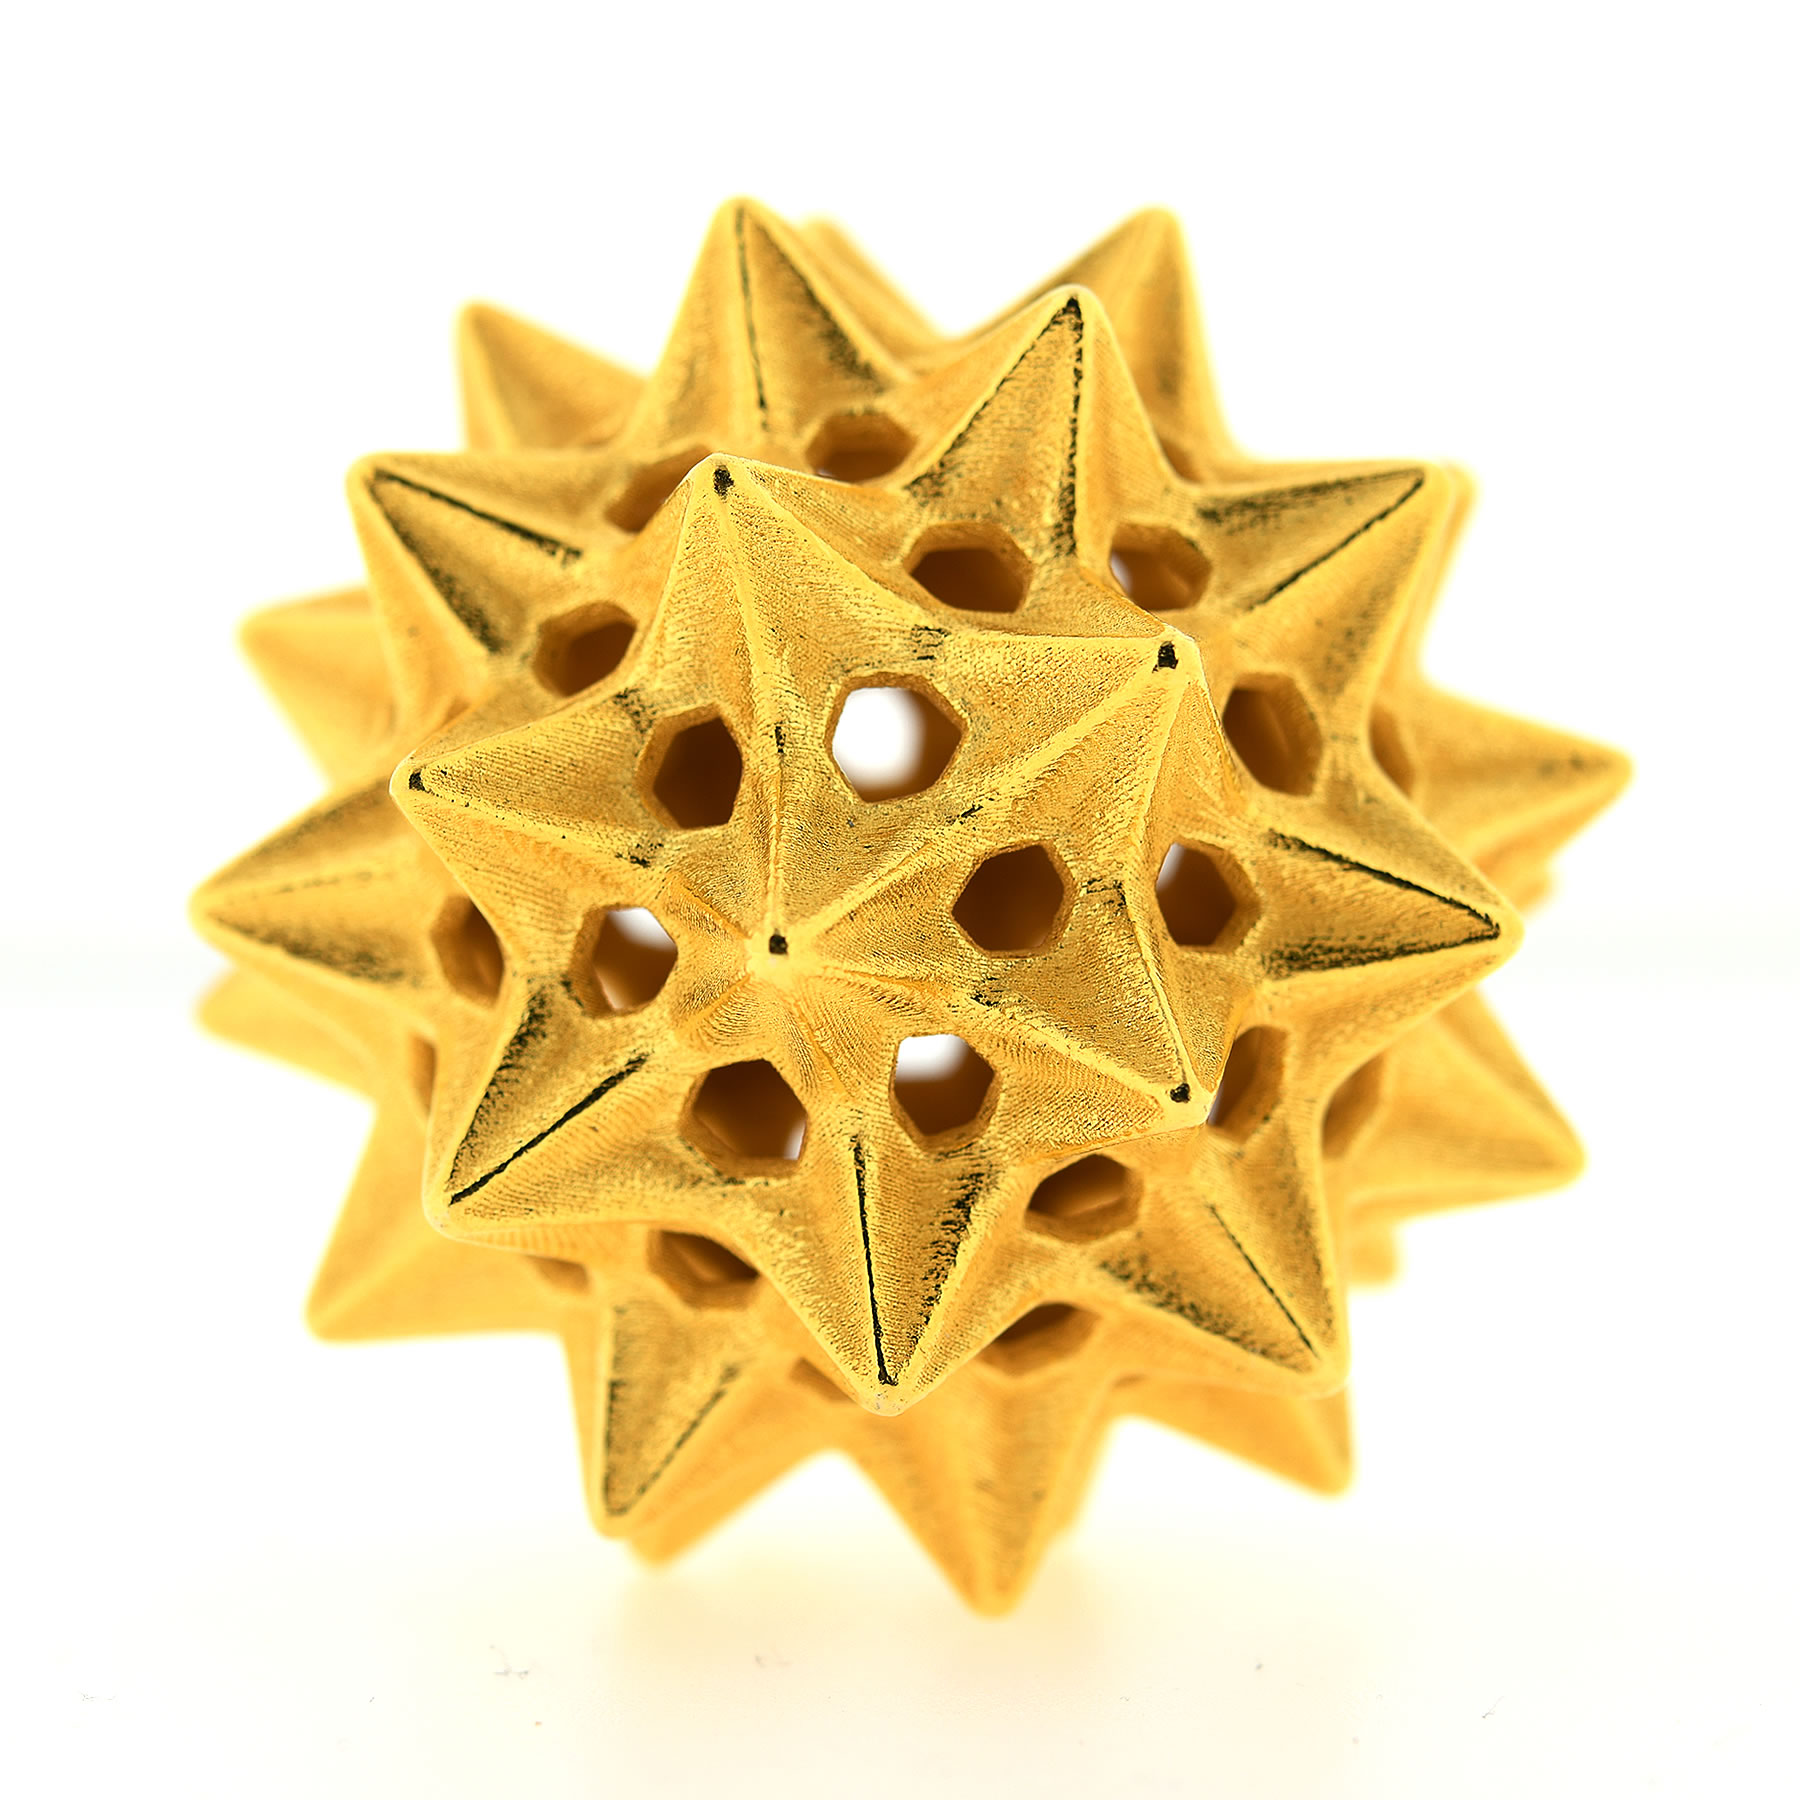
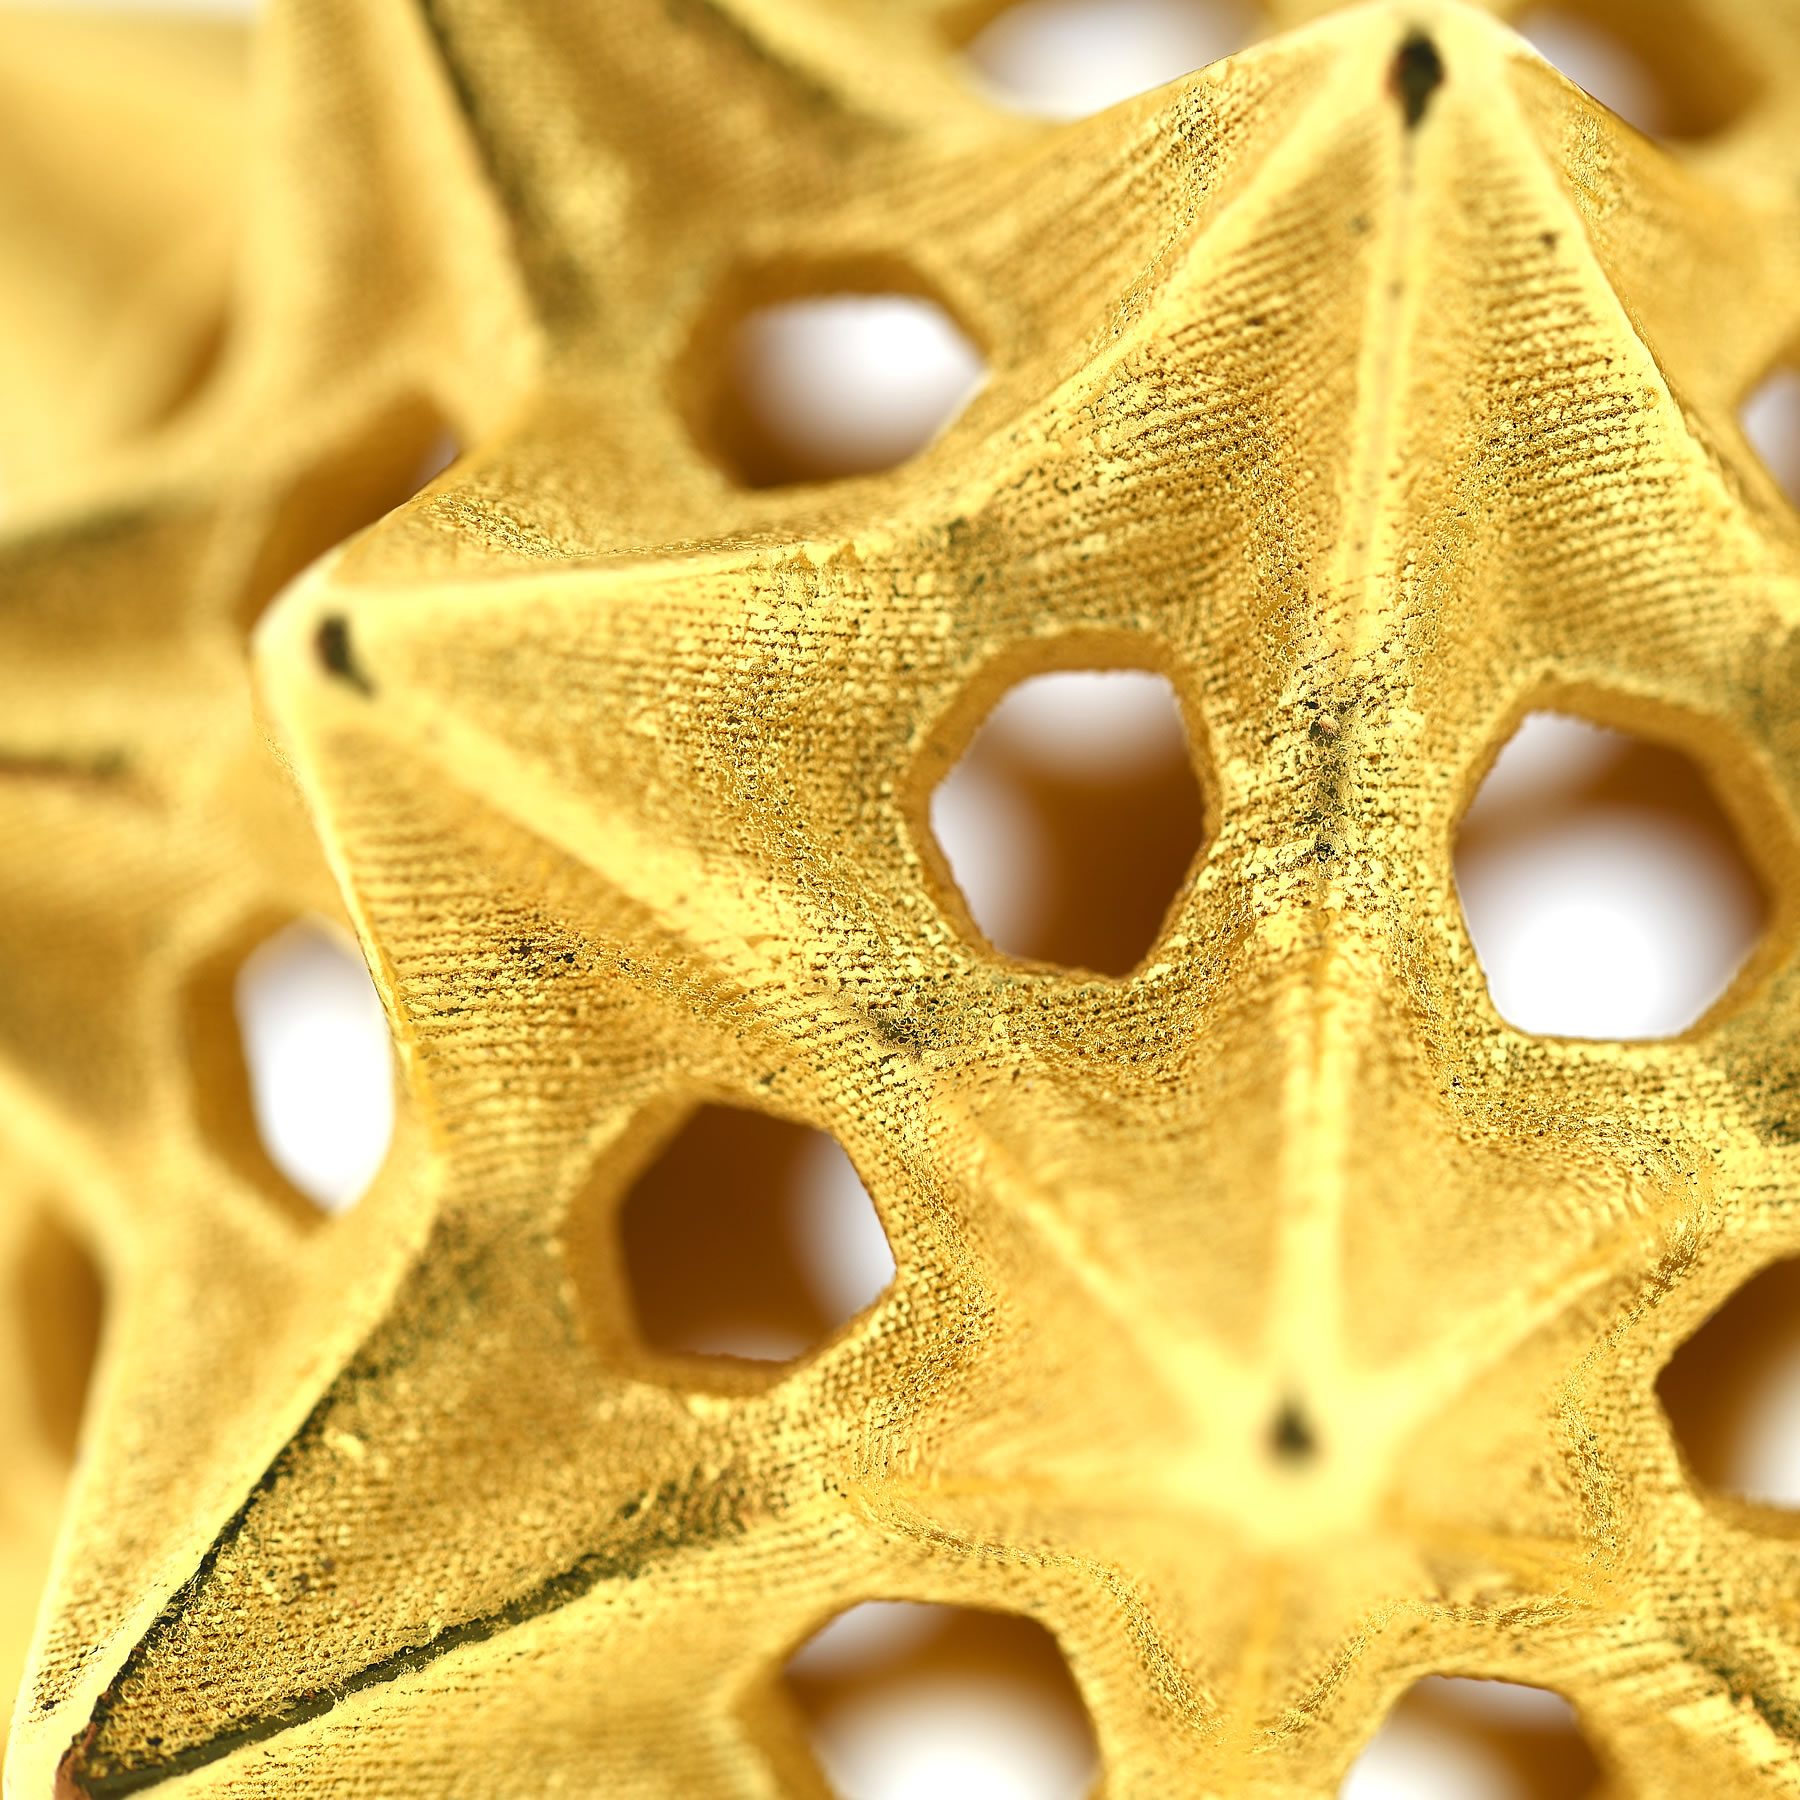
HIGHLIGHTING POTENTIAL
Young Design Pioneer recipients are also given the All-Plus Trophy, featuring a plus sign in all six perspectives, highlighting the immense, multi-dimensional creative and professional growth capacity.

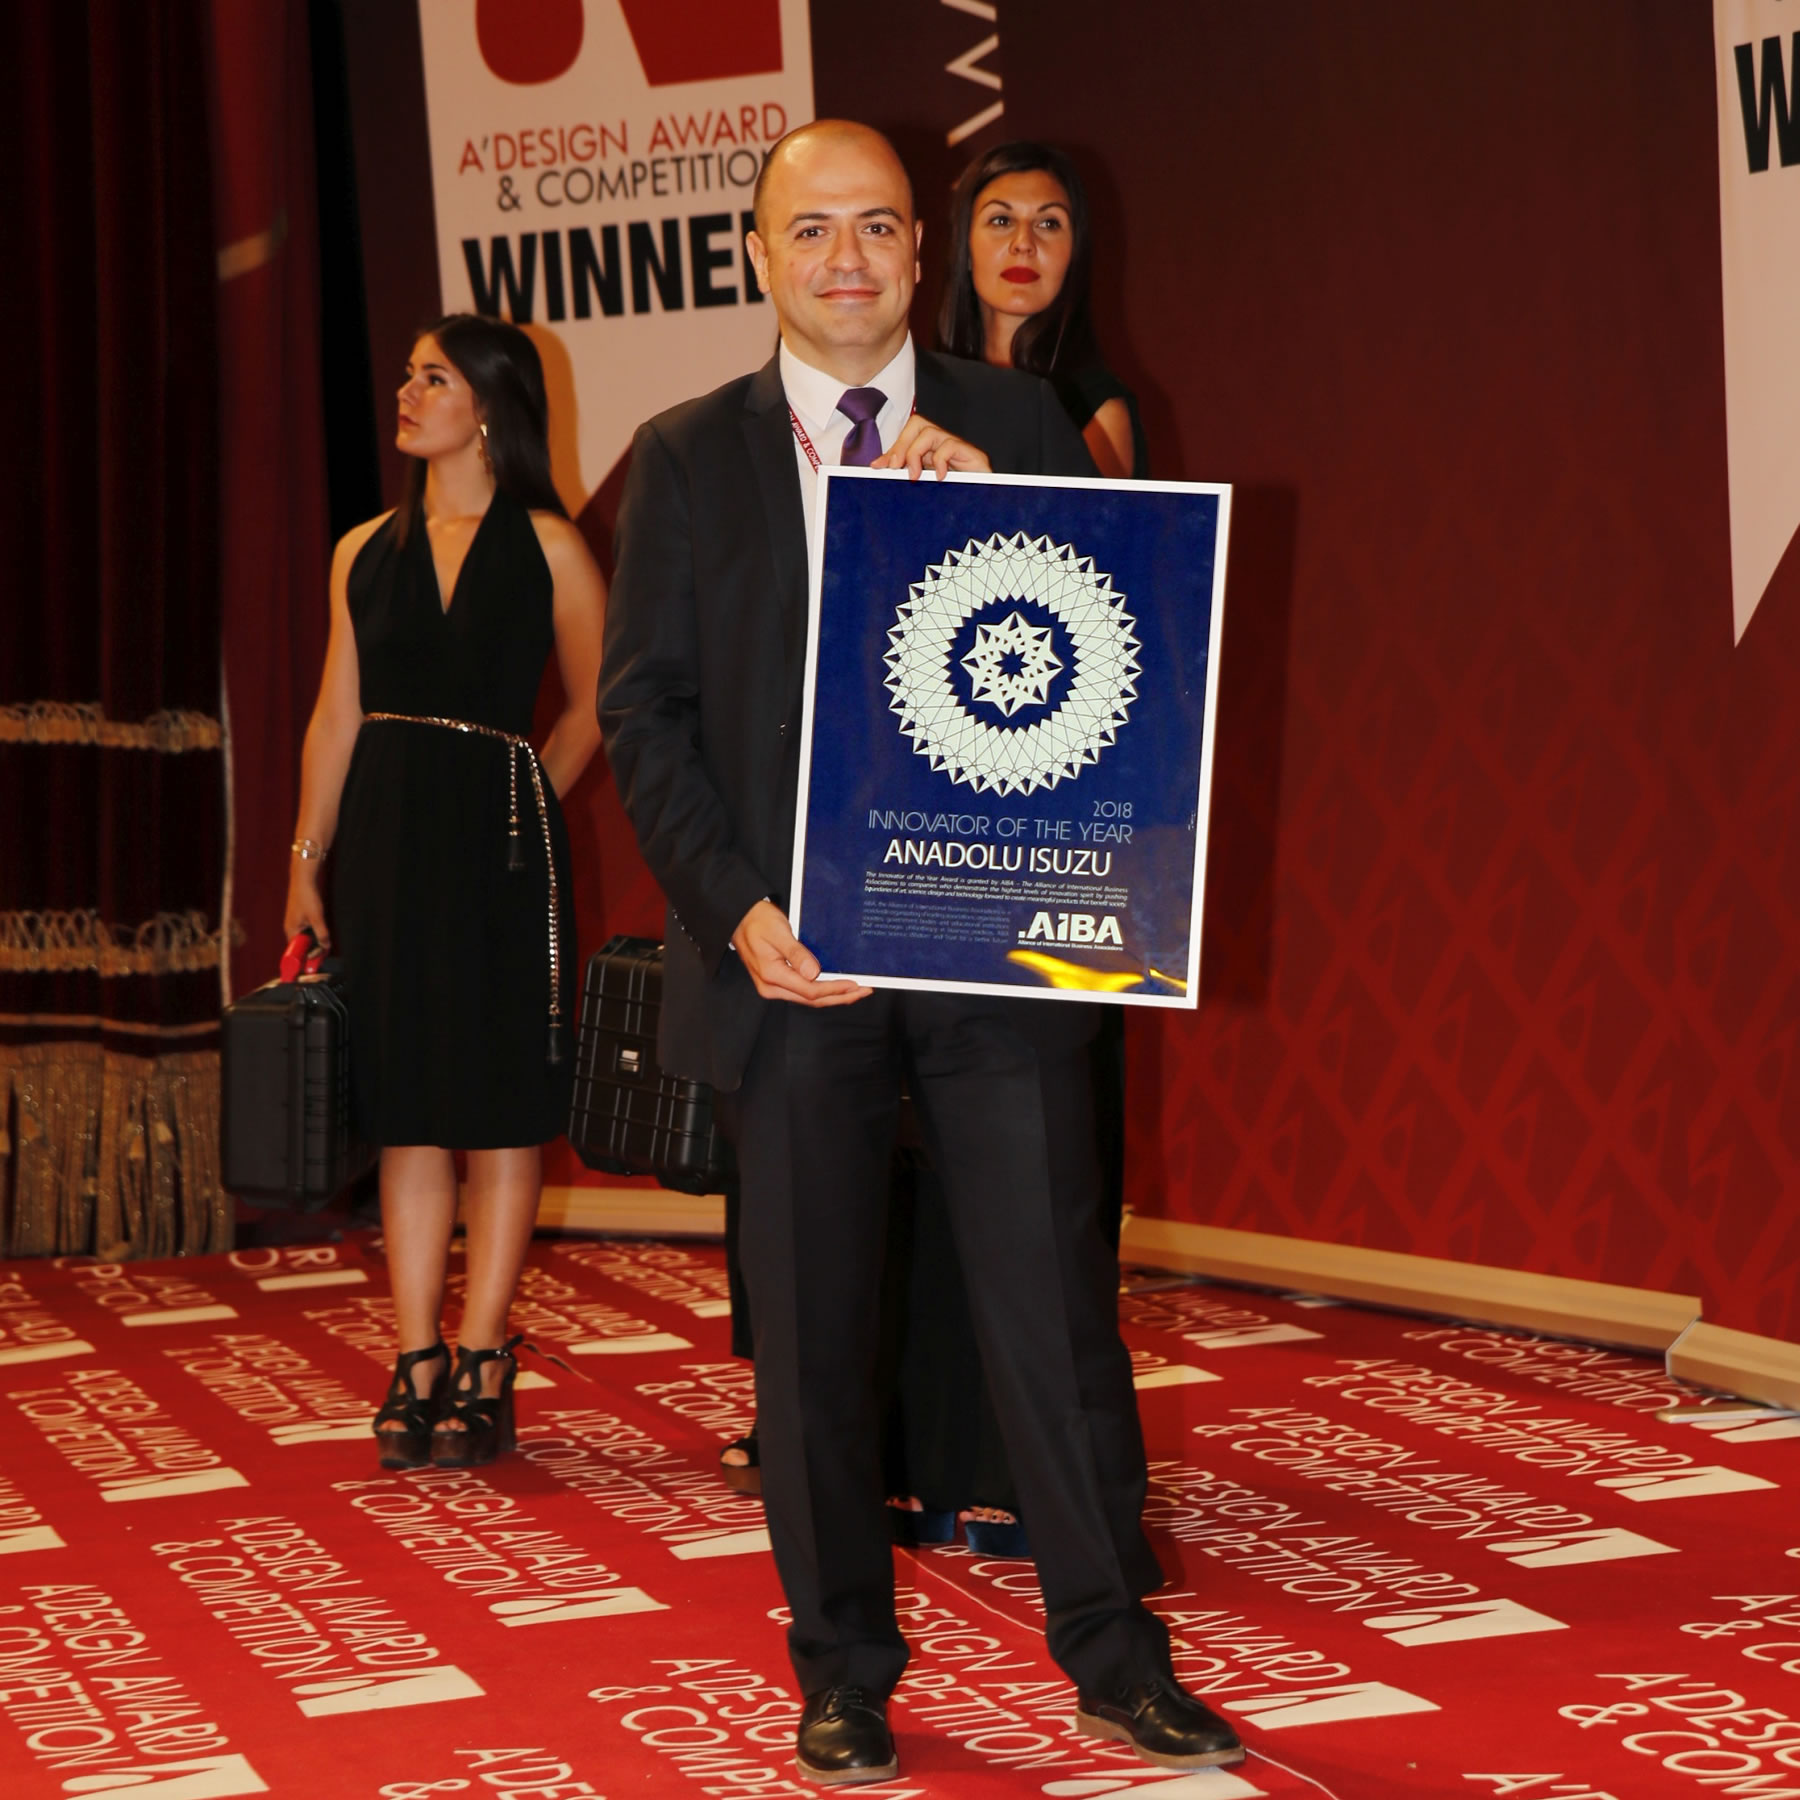
INNOVATOR OF THE YEAR
Innovator of the Year title is a special recognition granted by Alliance of International Business Associations to a select A' Sculpture Design Award winner enterprise that implements good design as a core value in their business.
RECOGNIZING GOOD DESIGN
Innovator of the Year title recognizes the use of good design in business to create superior products and projects that benefit the society, customers, clients as well as employees.
INNOVATION TROPHY
Innovator of the Year recipients are given the Innovation Trophy, to highlight, recognize and celebrate their stellar innovation, creativity and expansional growth, as well as to thank them for making the world a better place with their good design.
DESIGNER OF THE YEAR
Designer of the Year is title the highest achievement granted by International Association of Designers, to award-winning designers to celebrate their success. Every year, only one Prime Designer of the Year title is granted.
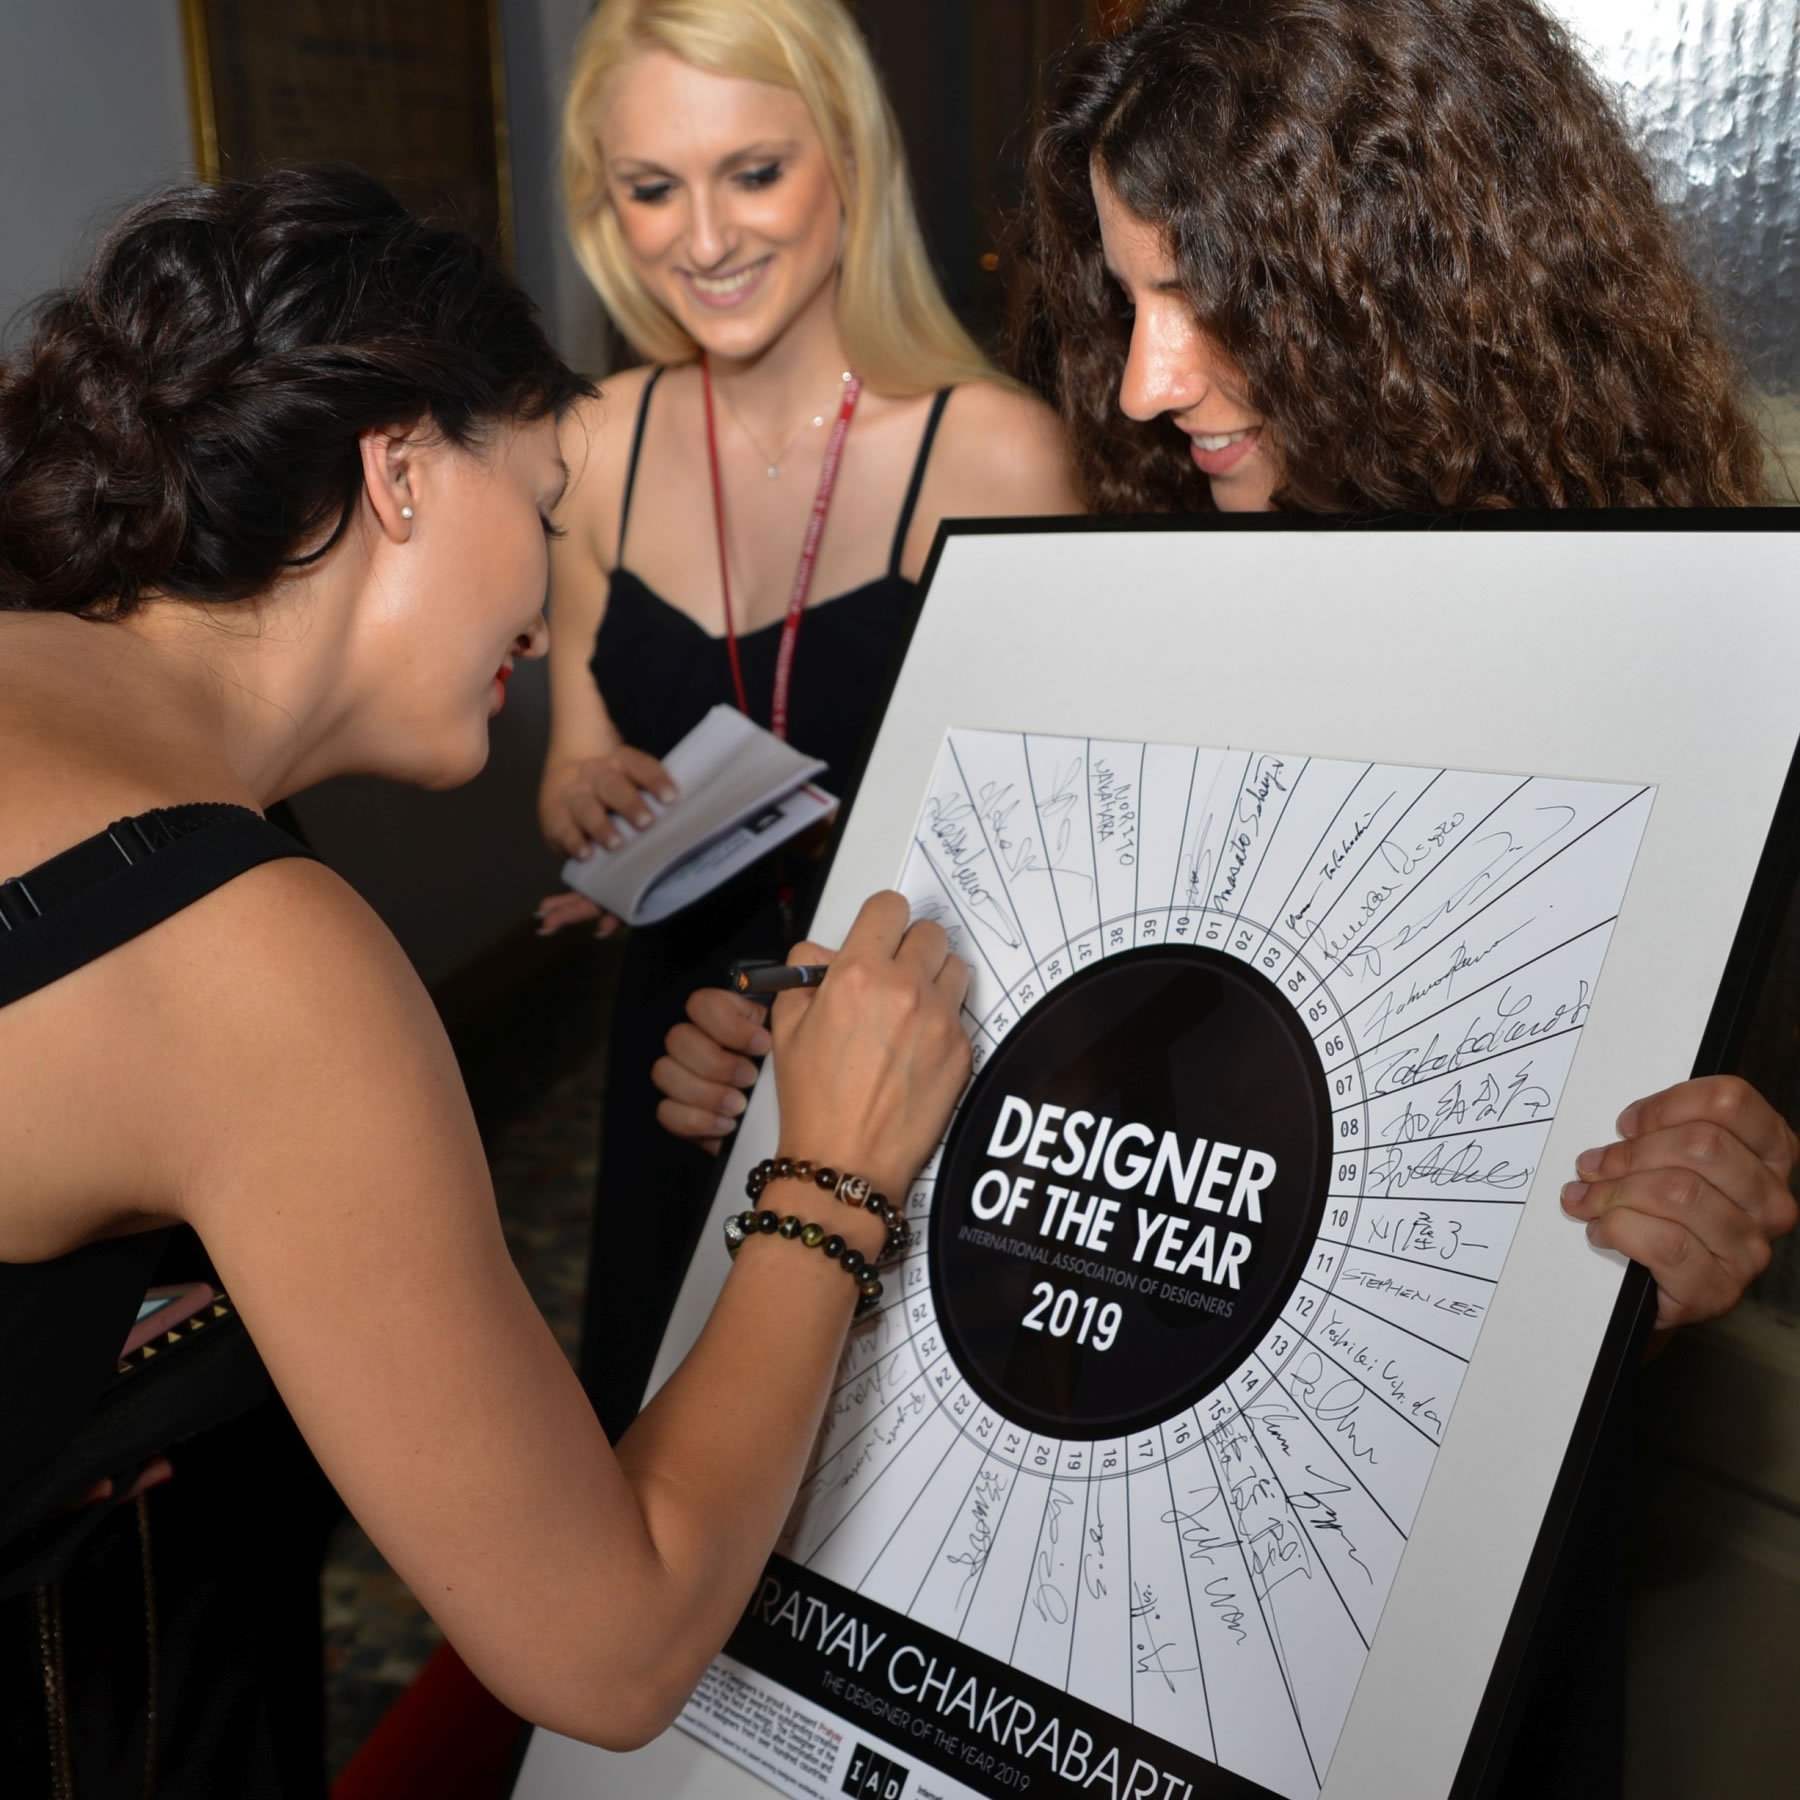
SIGNED BY MASTERS
Designer of the Year Certificate is signed by 40 world-class master designers. Obtaining the Prime Designer of the Year title is a great honour.
SPECIAL METAL TROPHY
Prime Designer of the Year award recipients are also given a special metal trophy to celebrate their success. A' Sculpture Design Award winners have a chance to get elected as the Prime Designer of the Year.
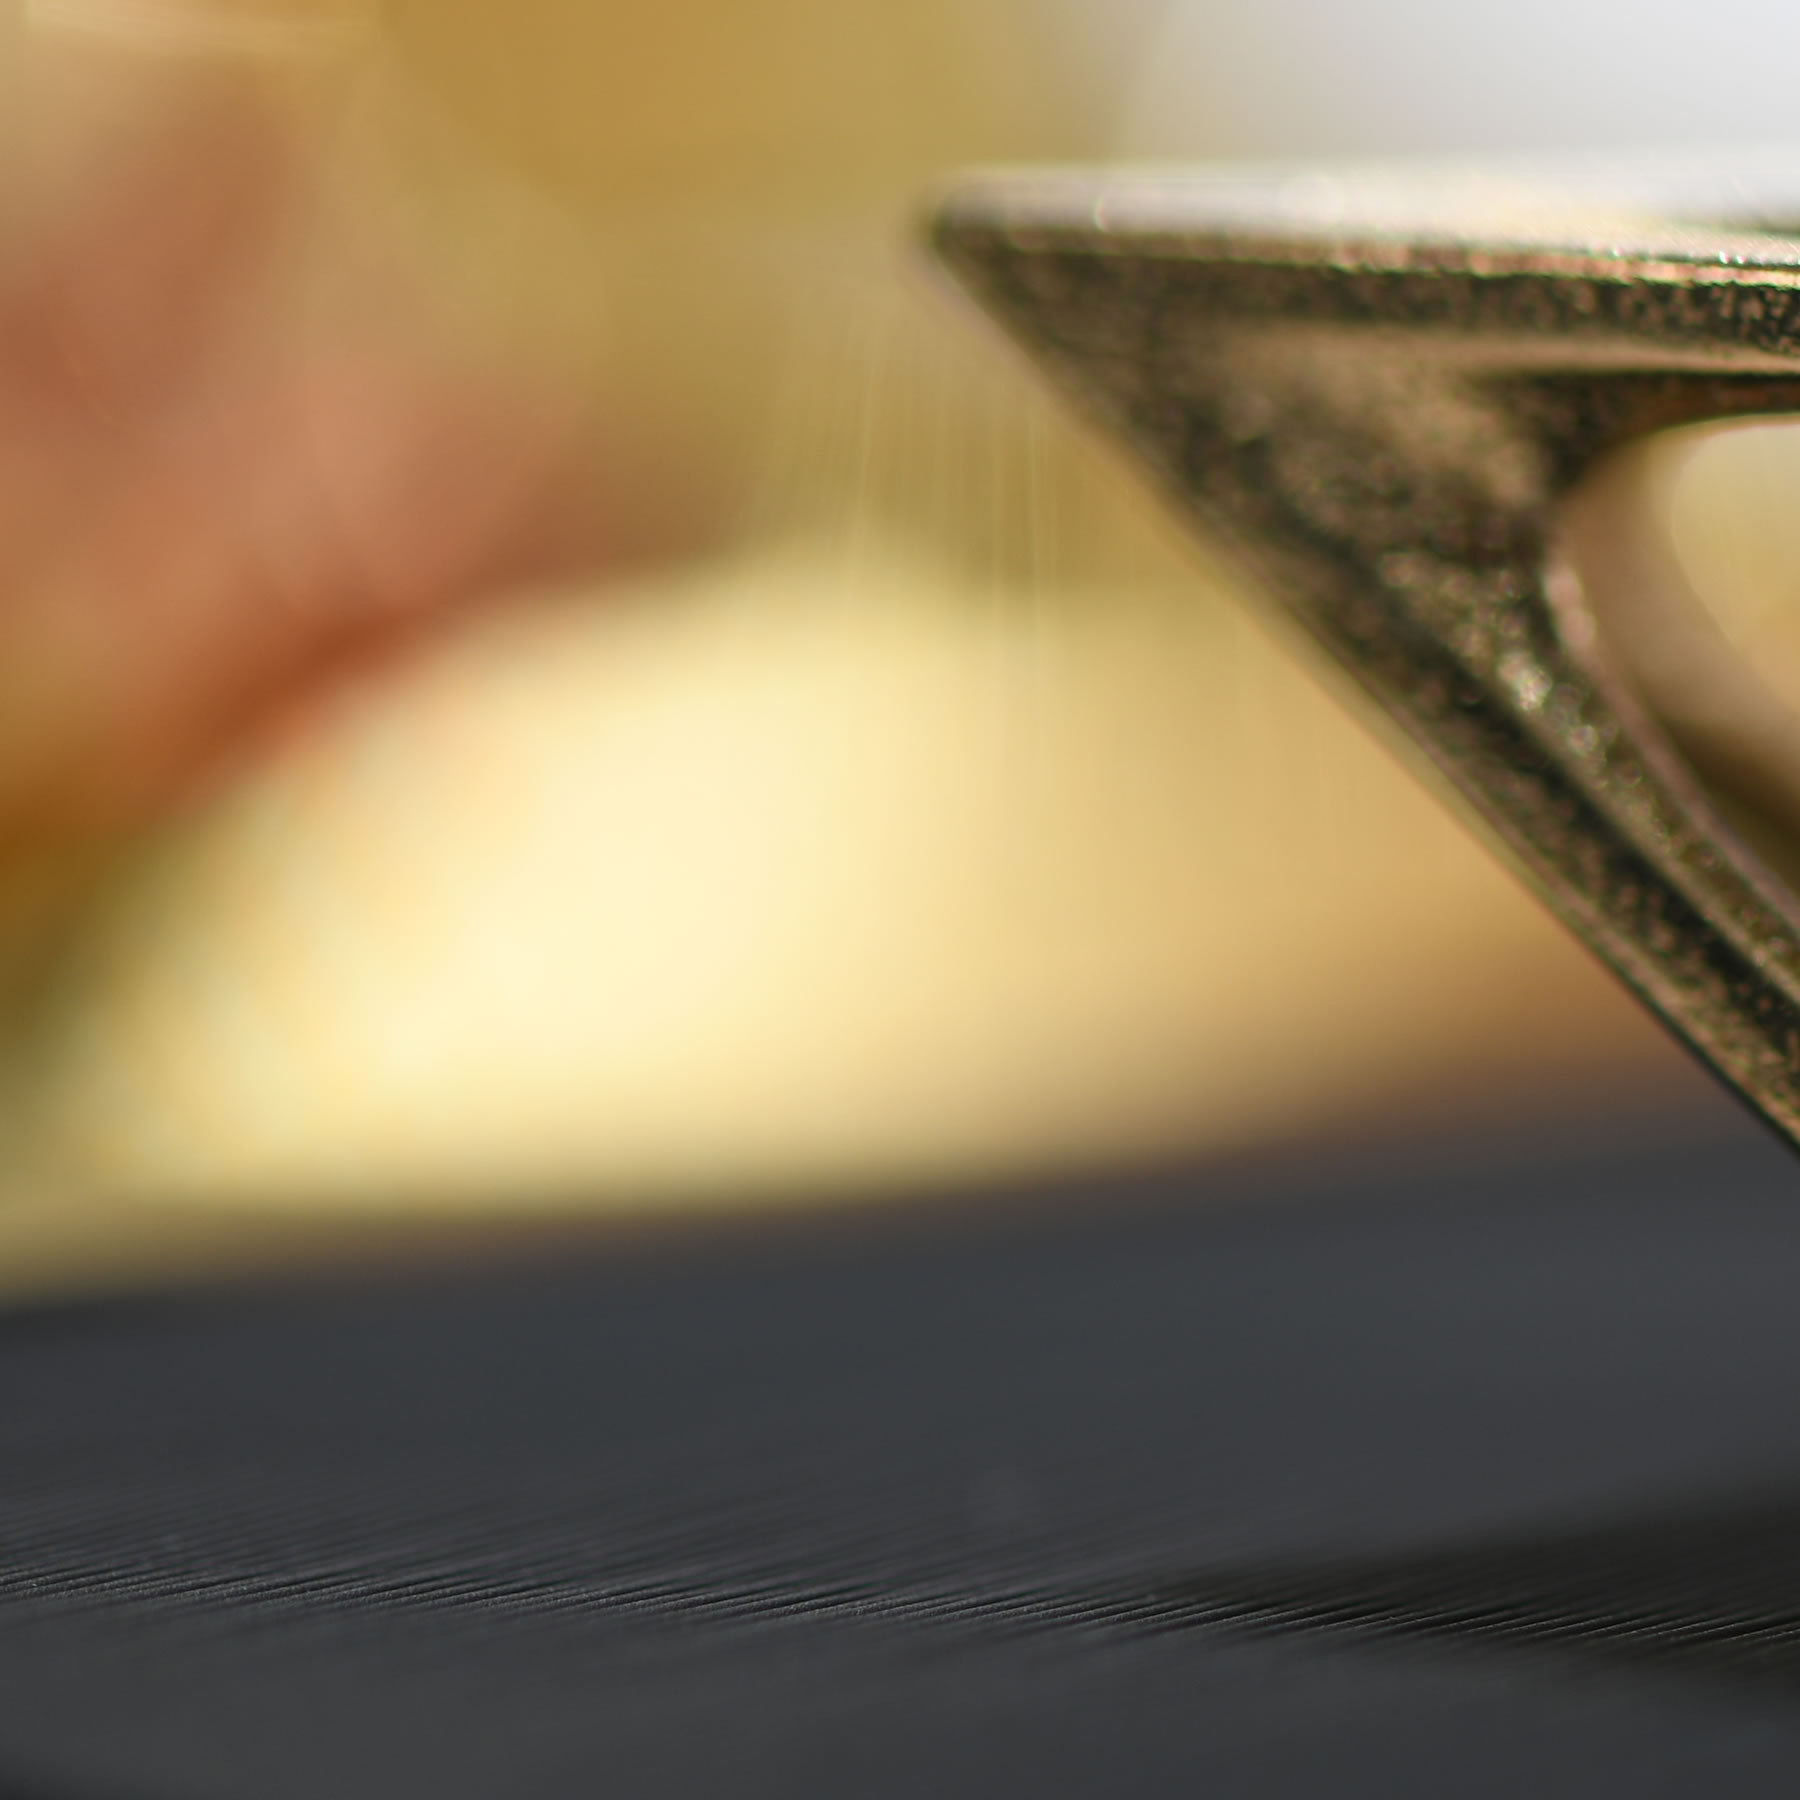
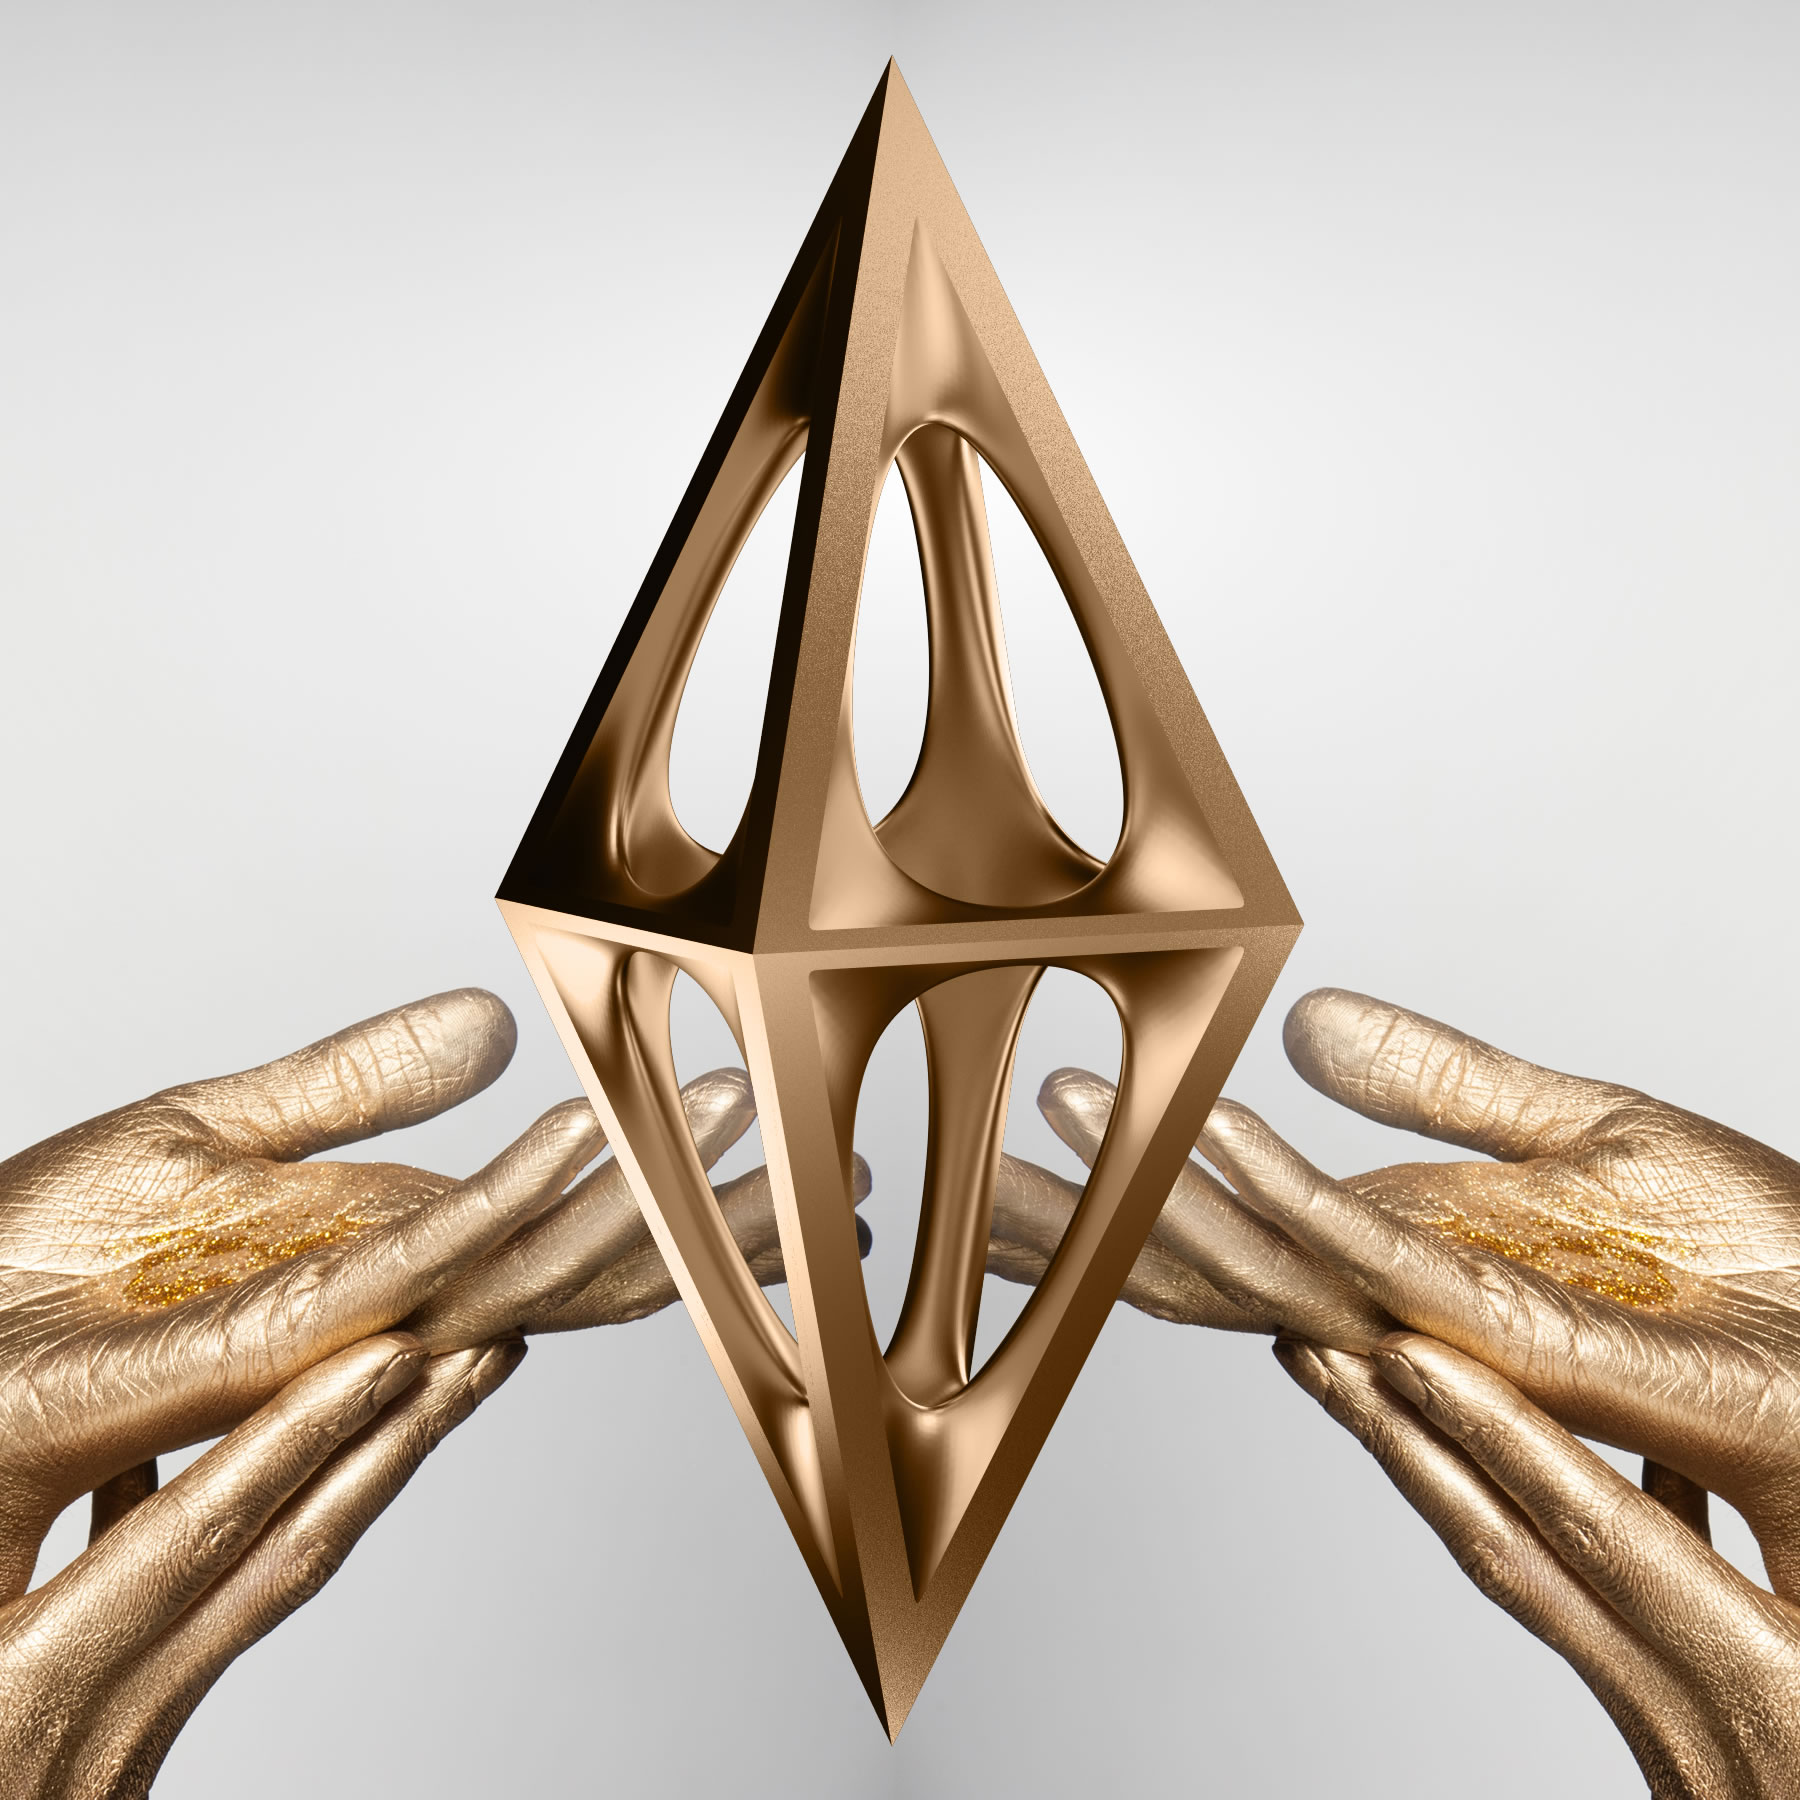
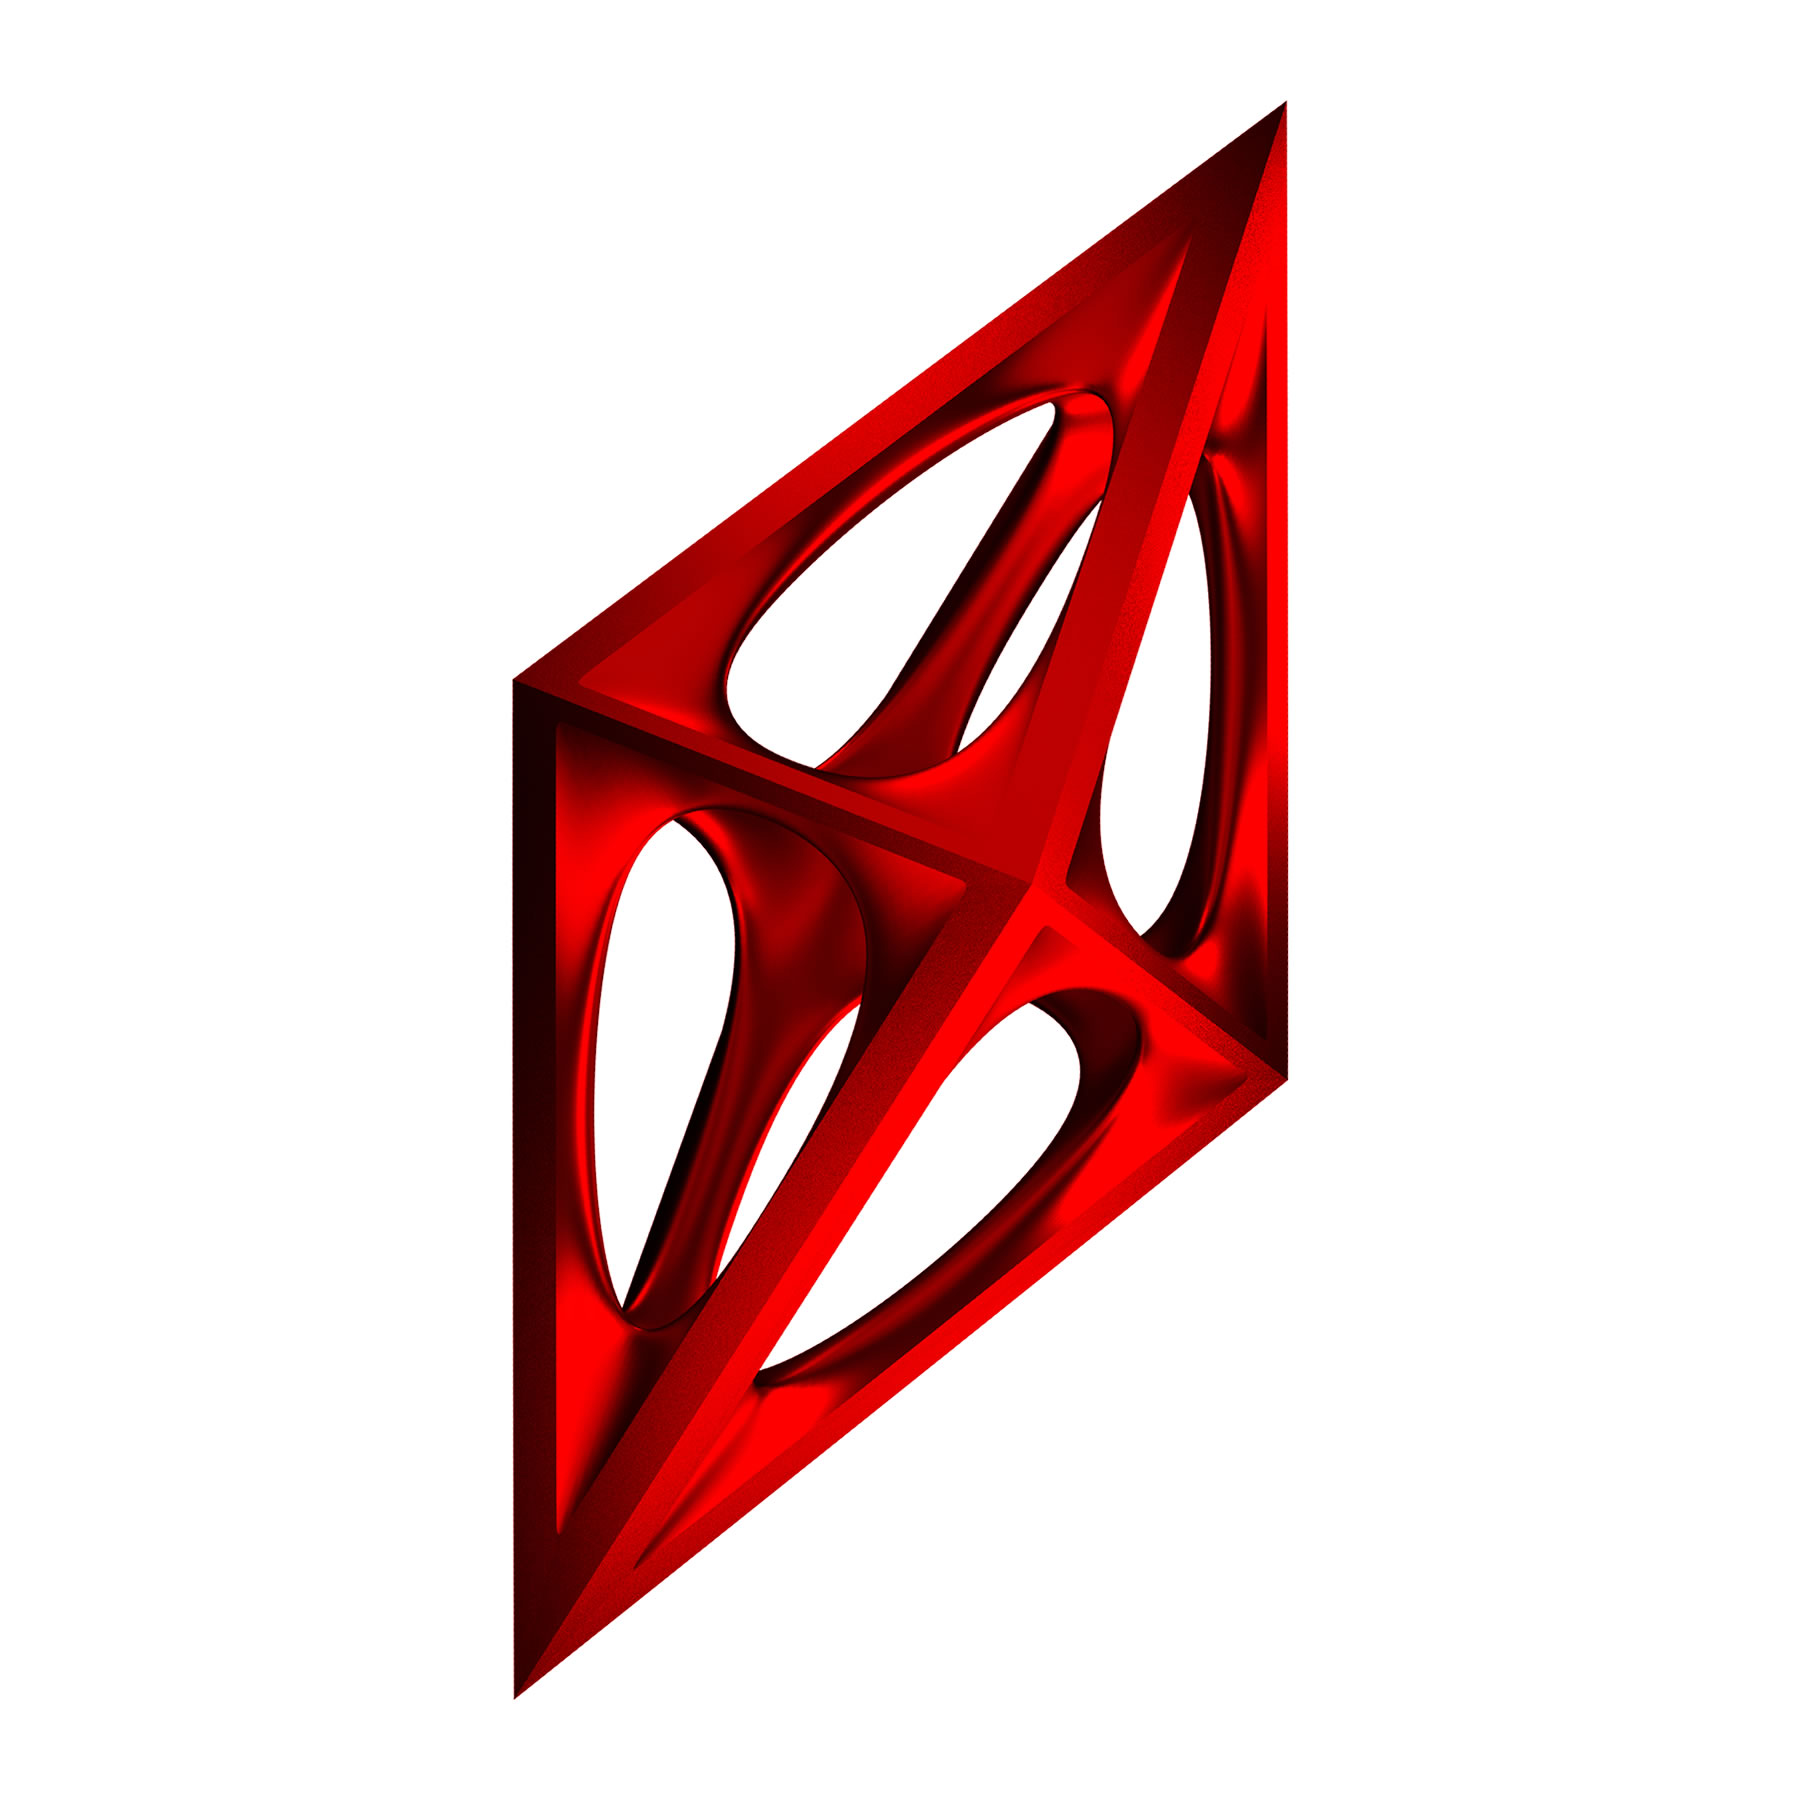
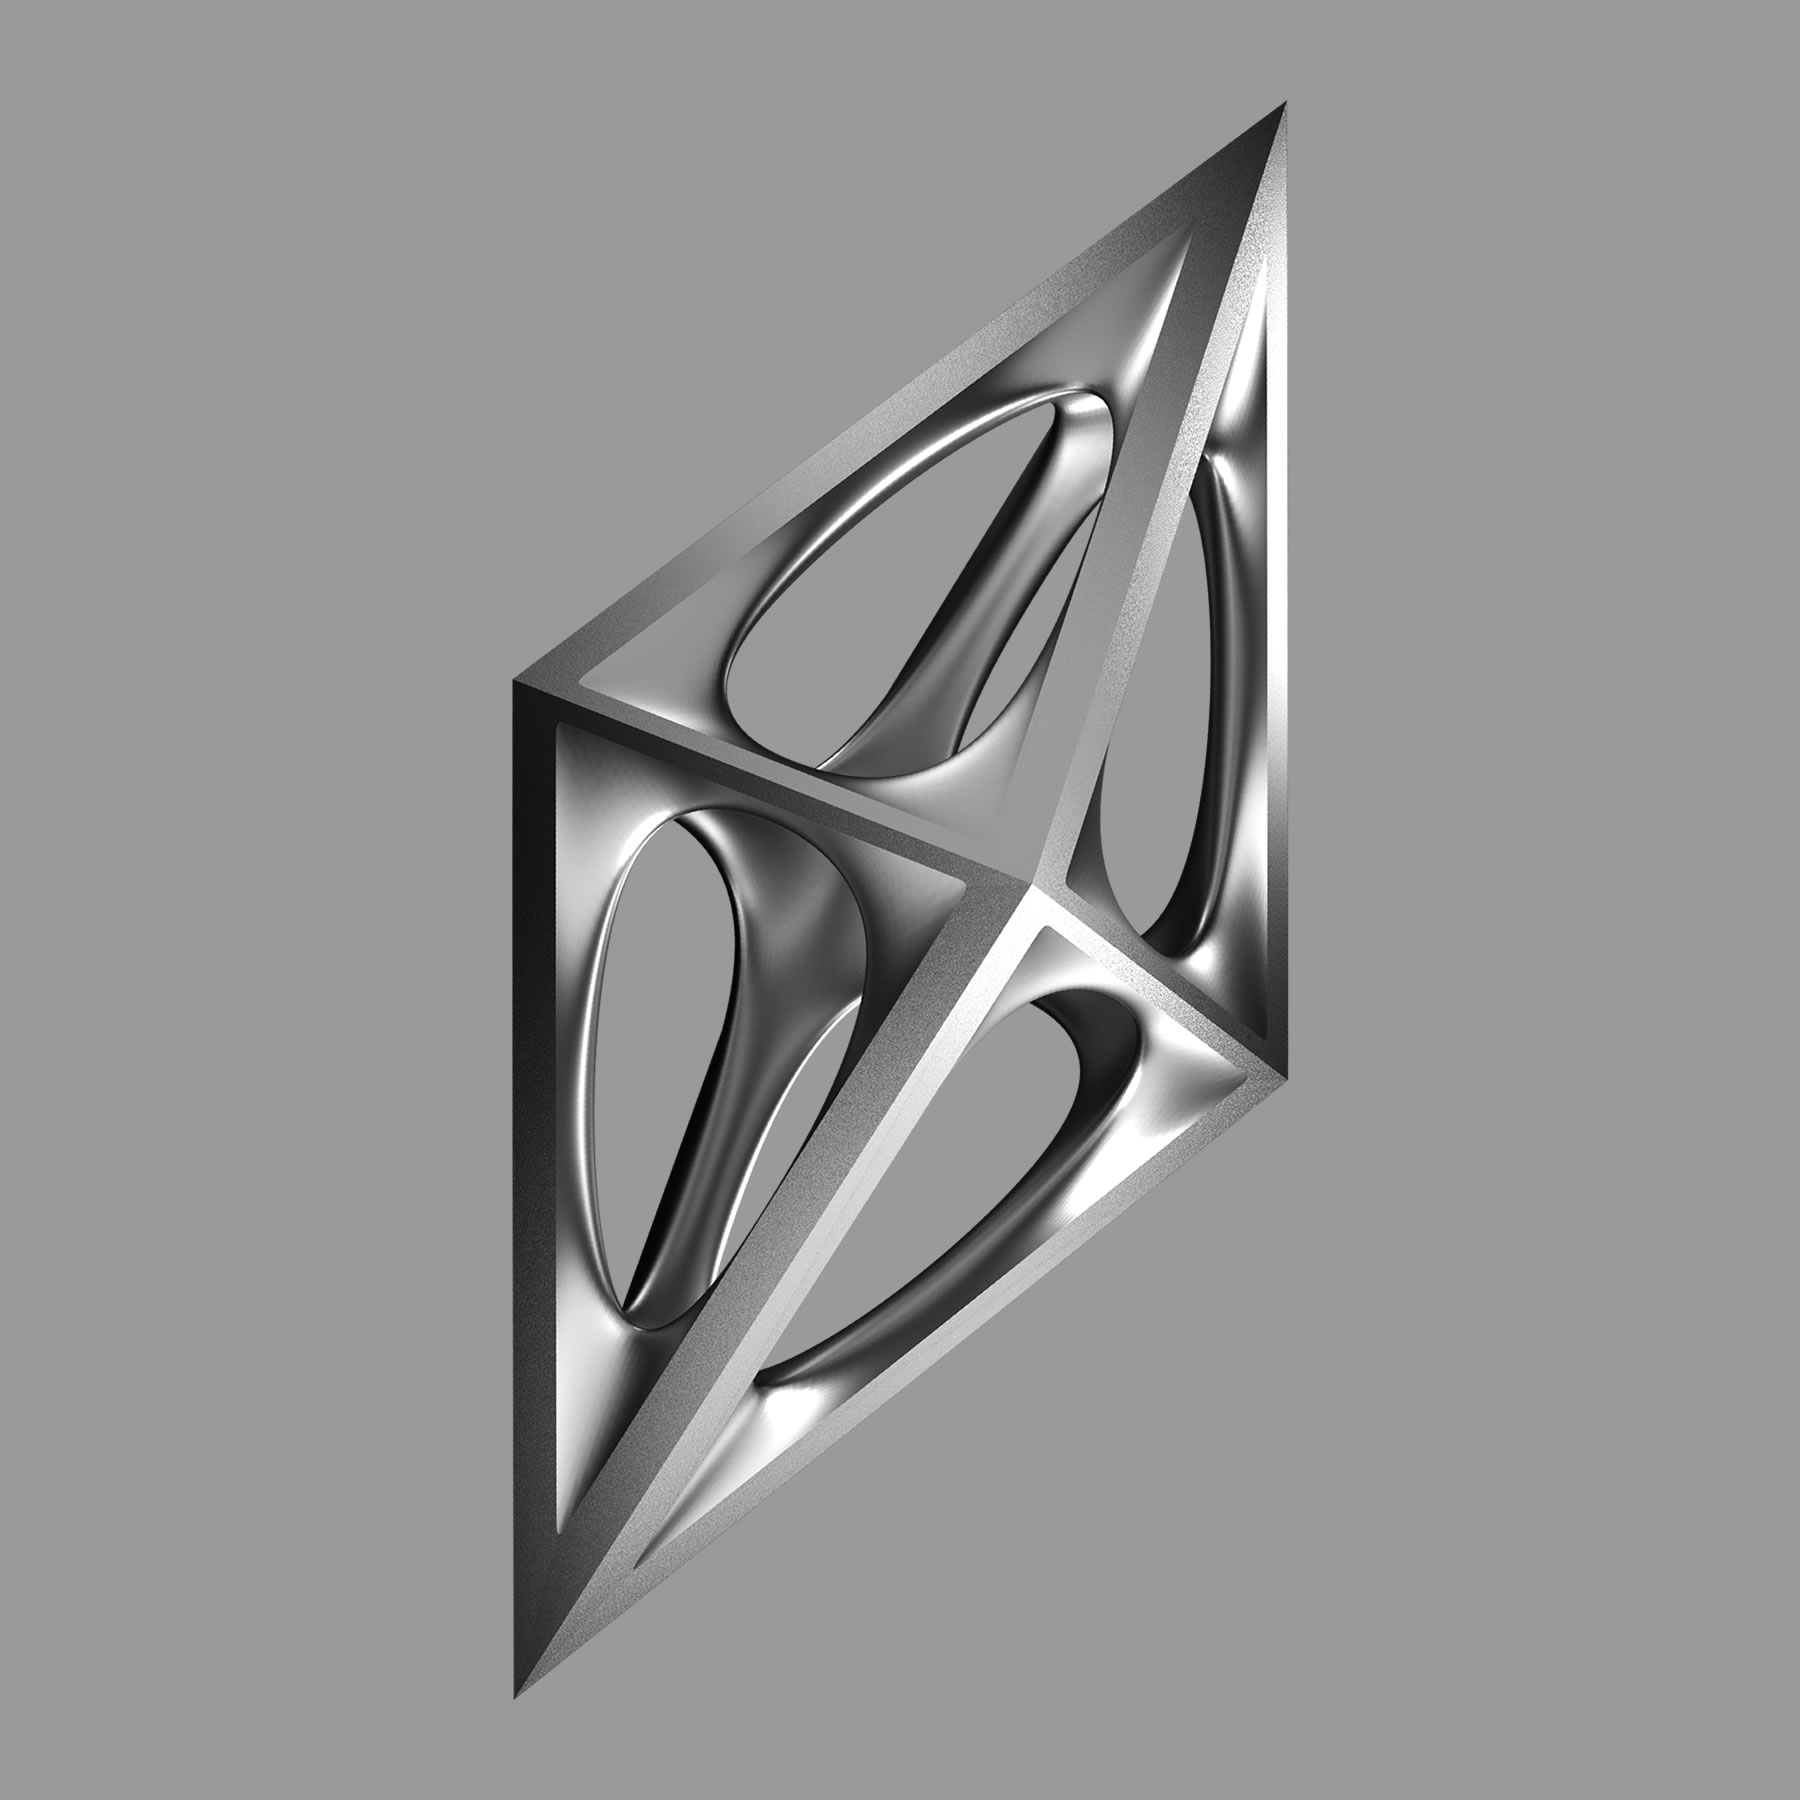
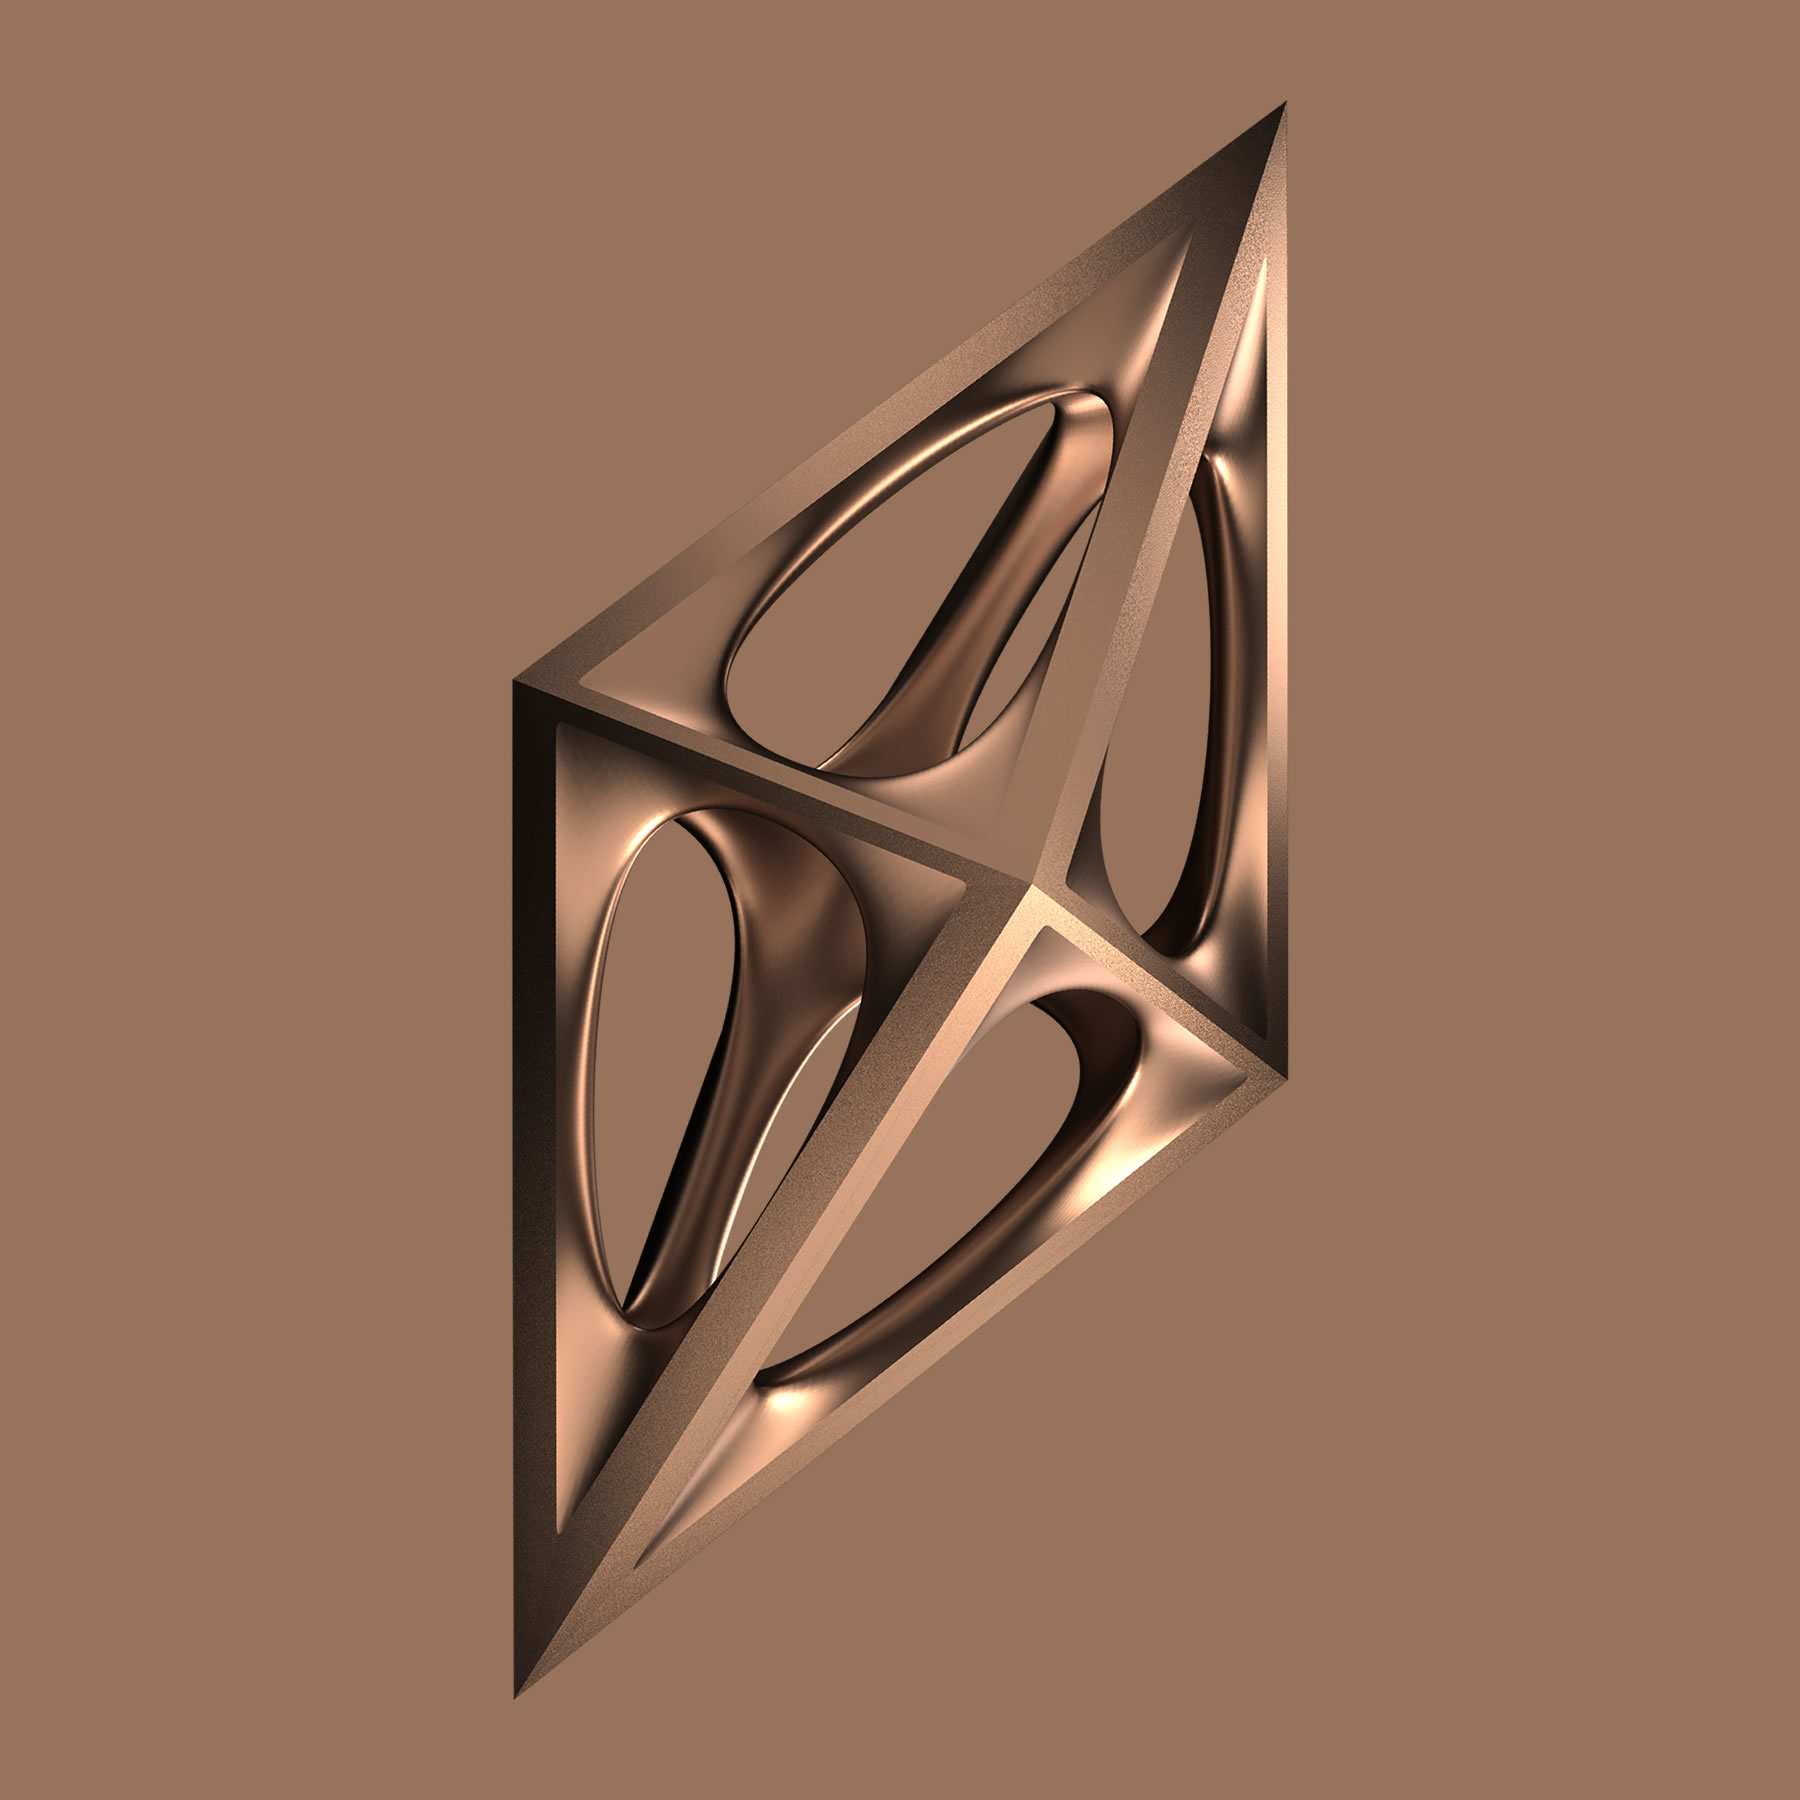
SCULPTURE DESIGN AWARD TROPHY
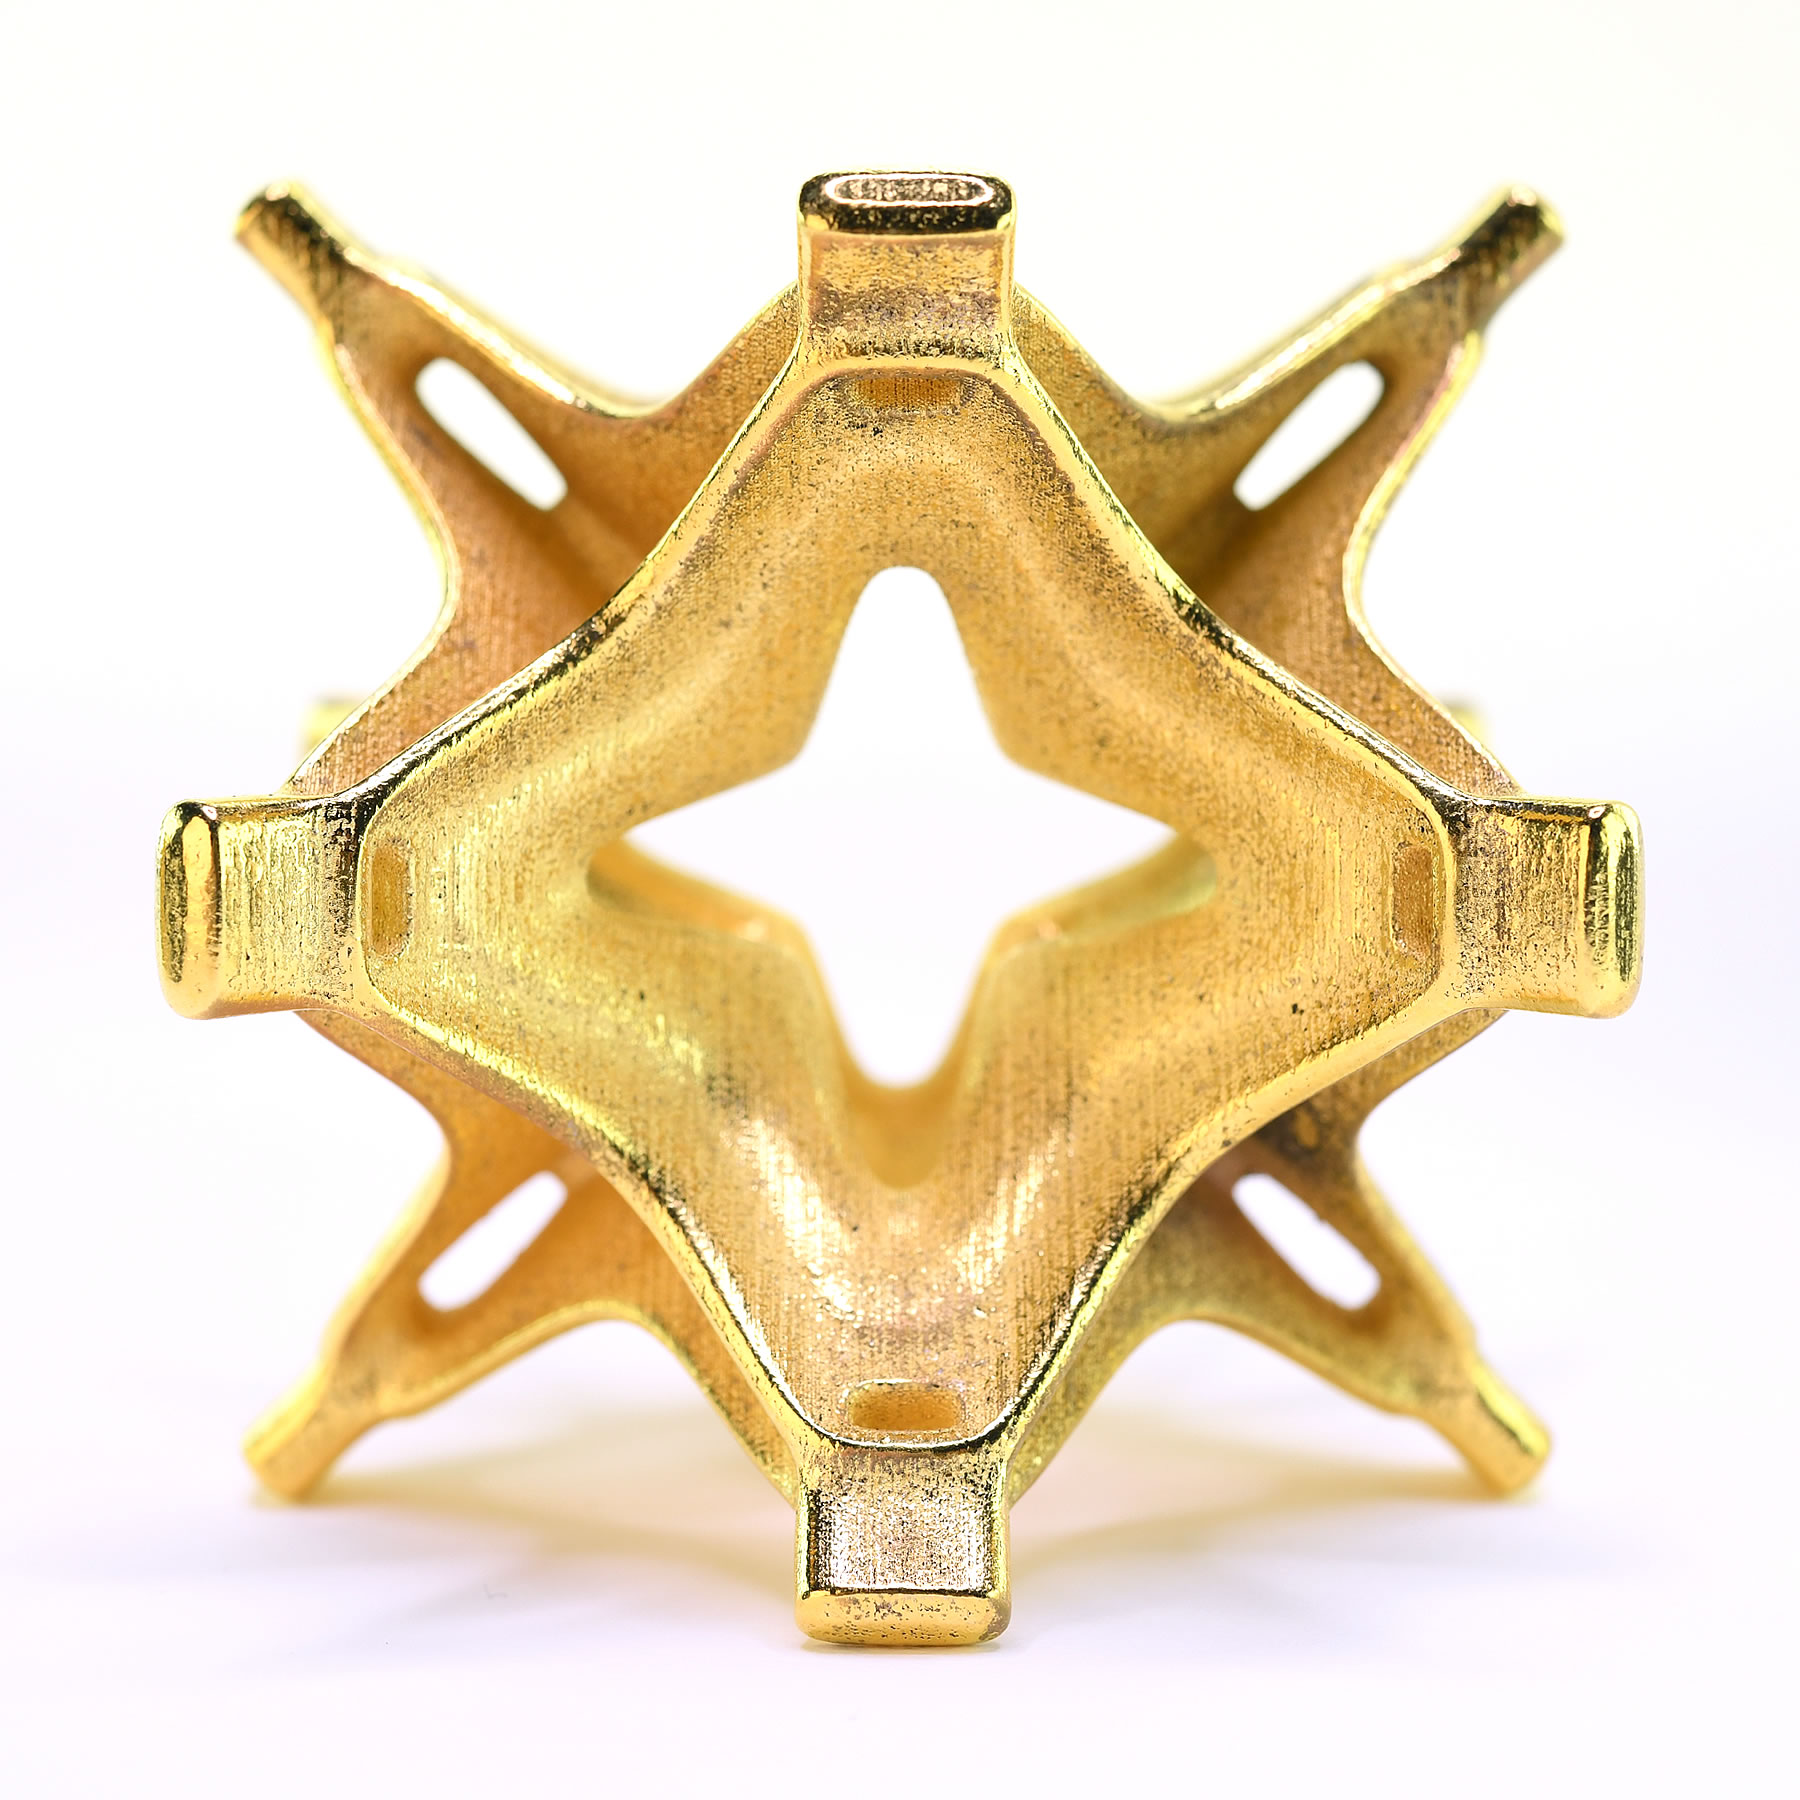
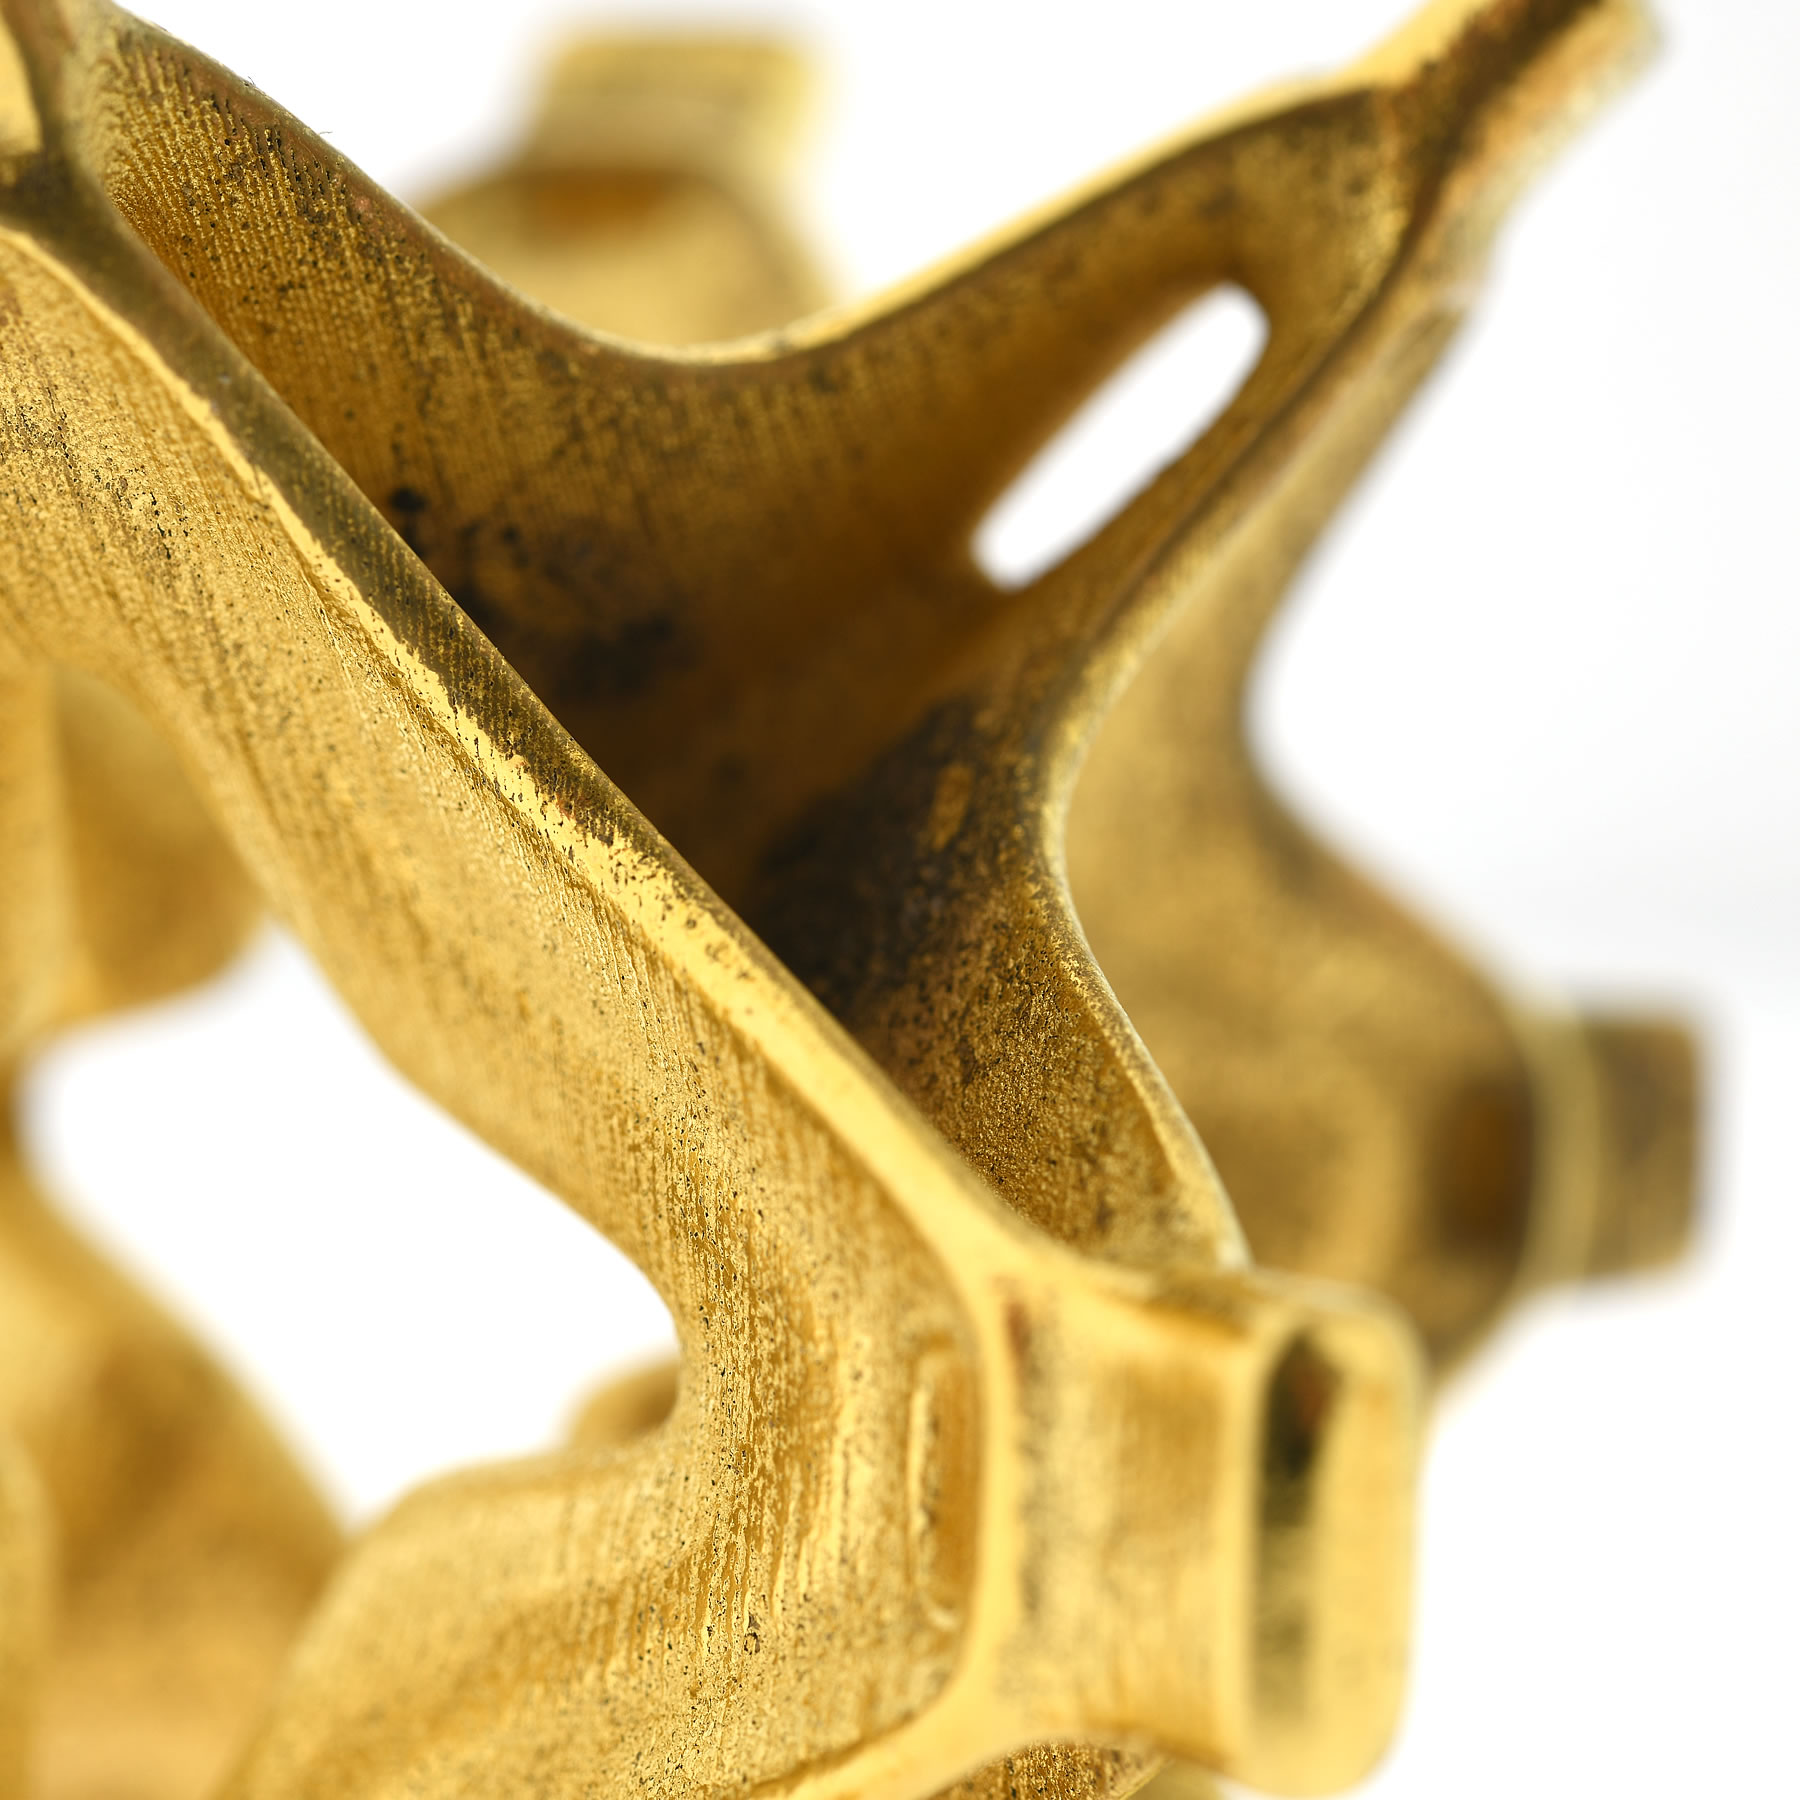
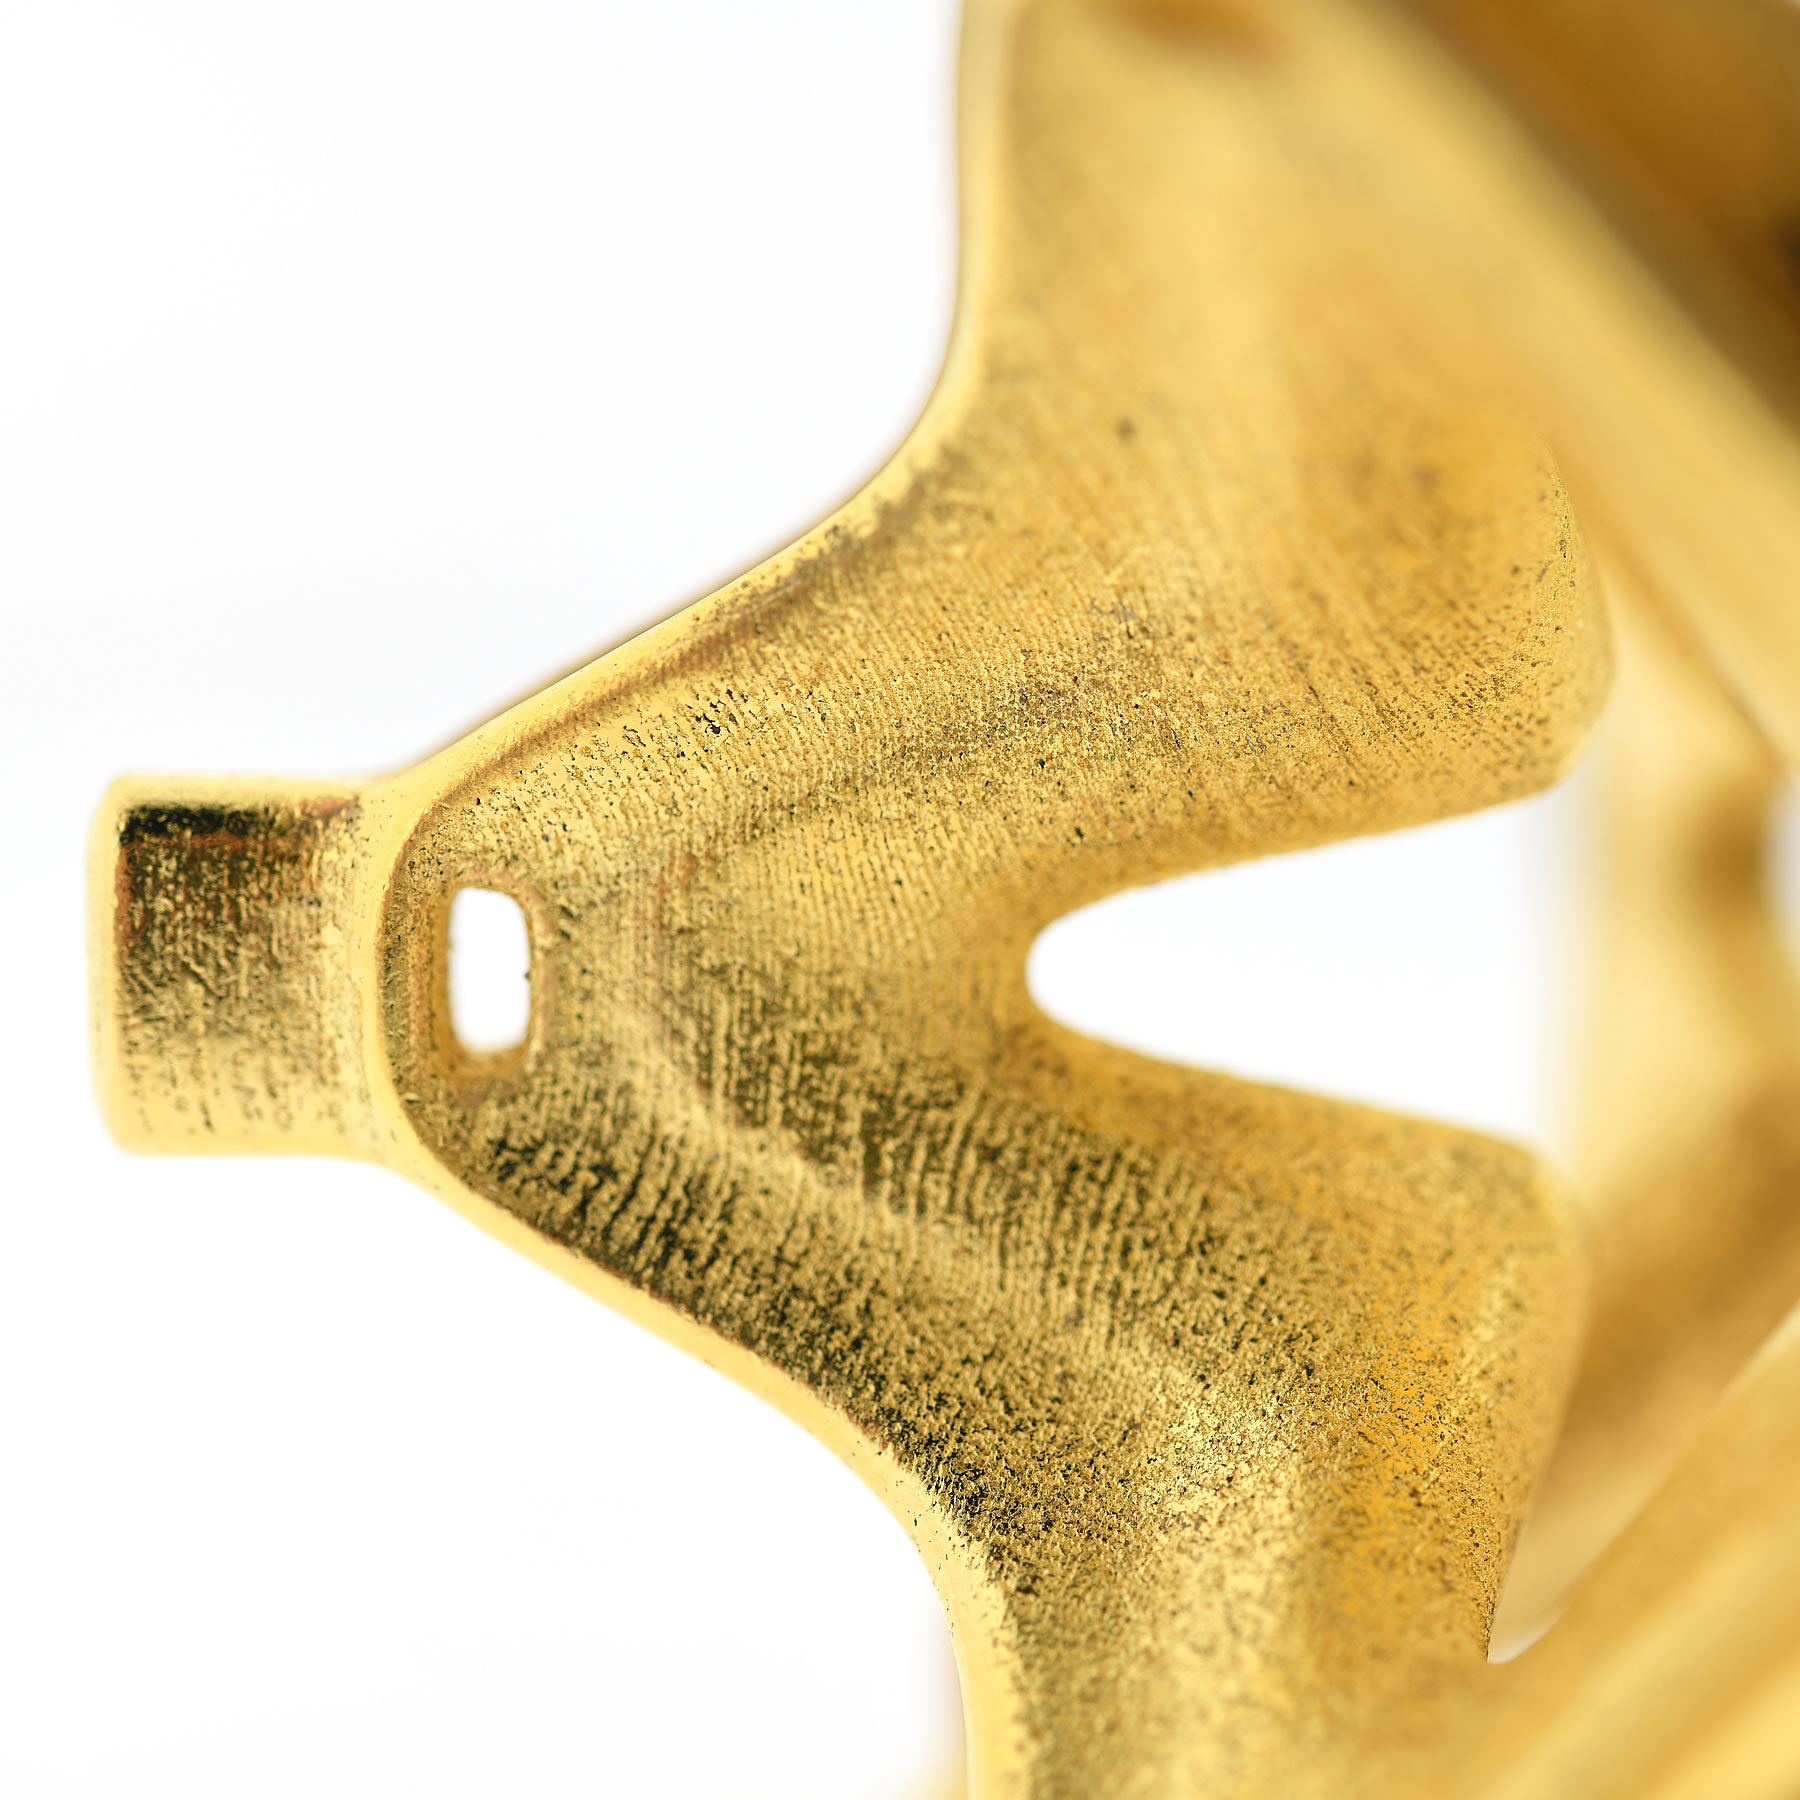
Omega Particle is the name of the trophy given to A' Sculpture Design Award winners. The A' Sculpture Design Award Trophy represent infinite possibilities of a design process.
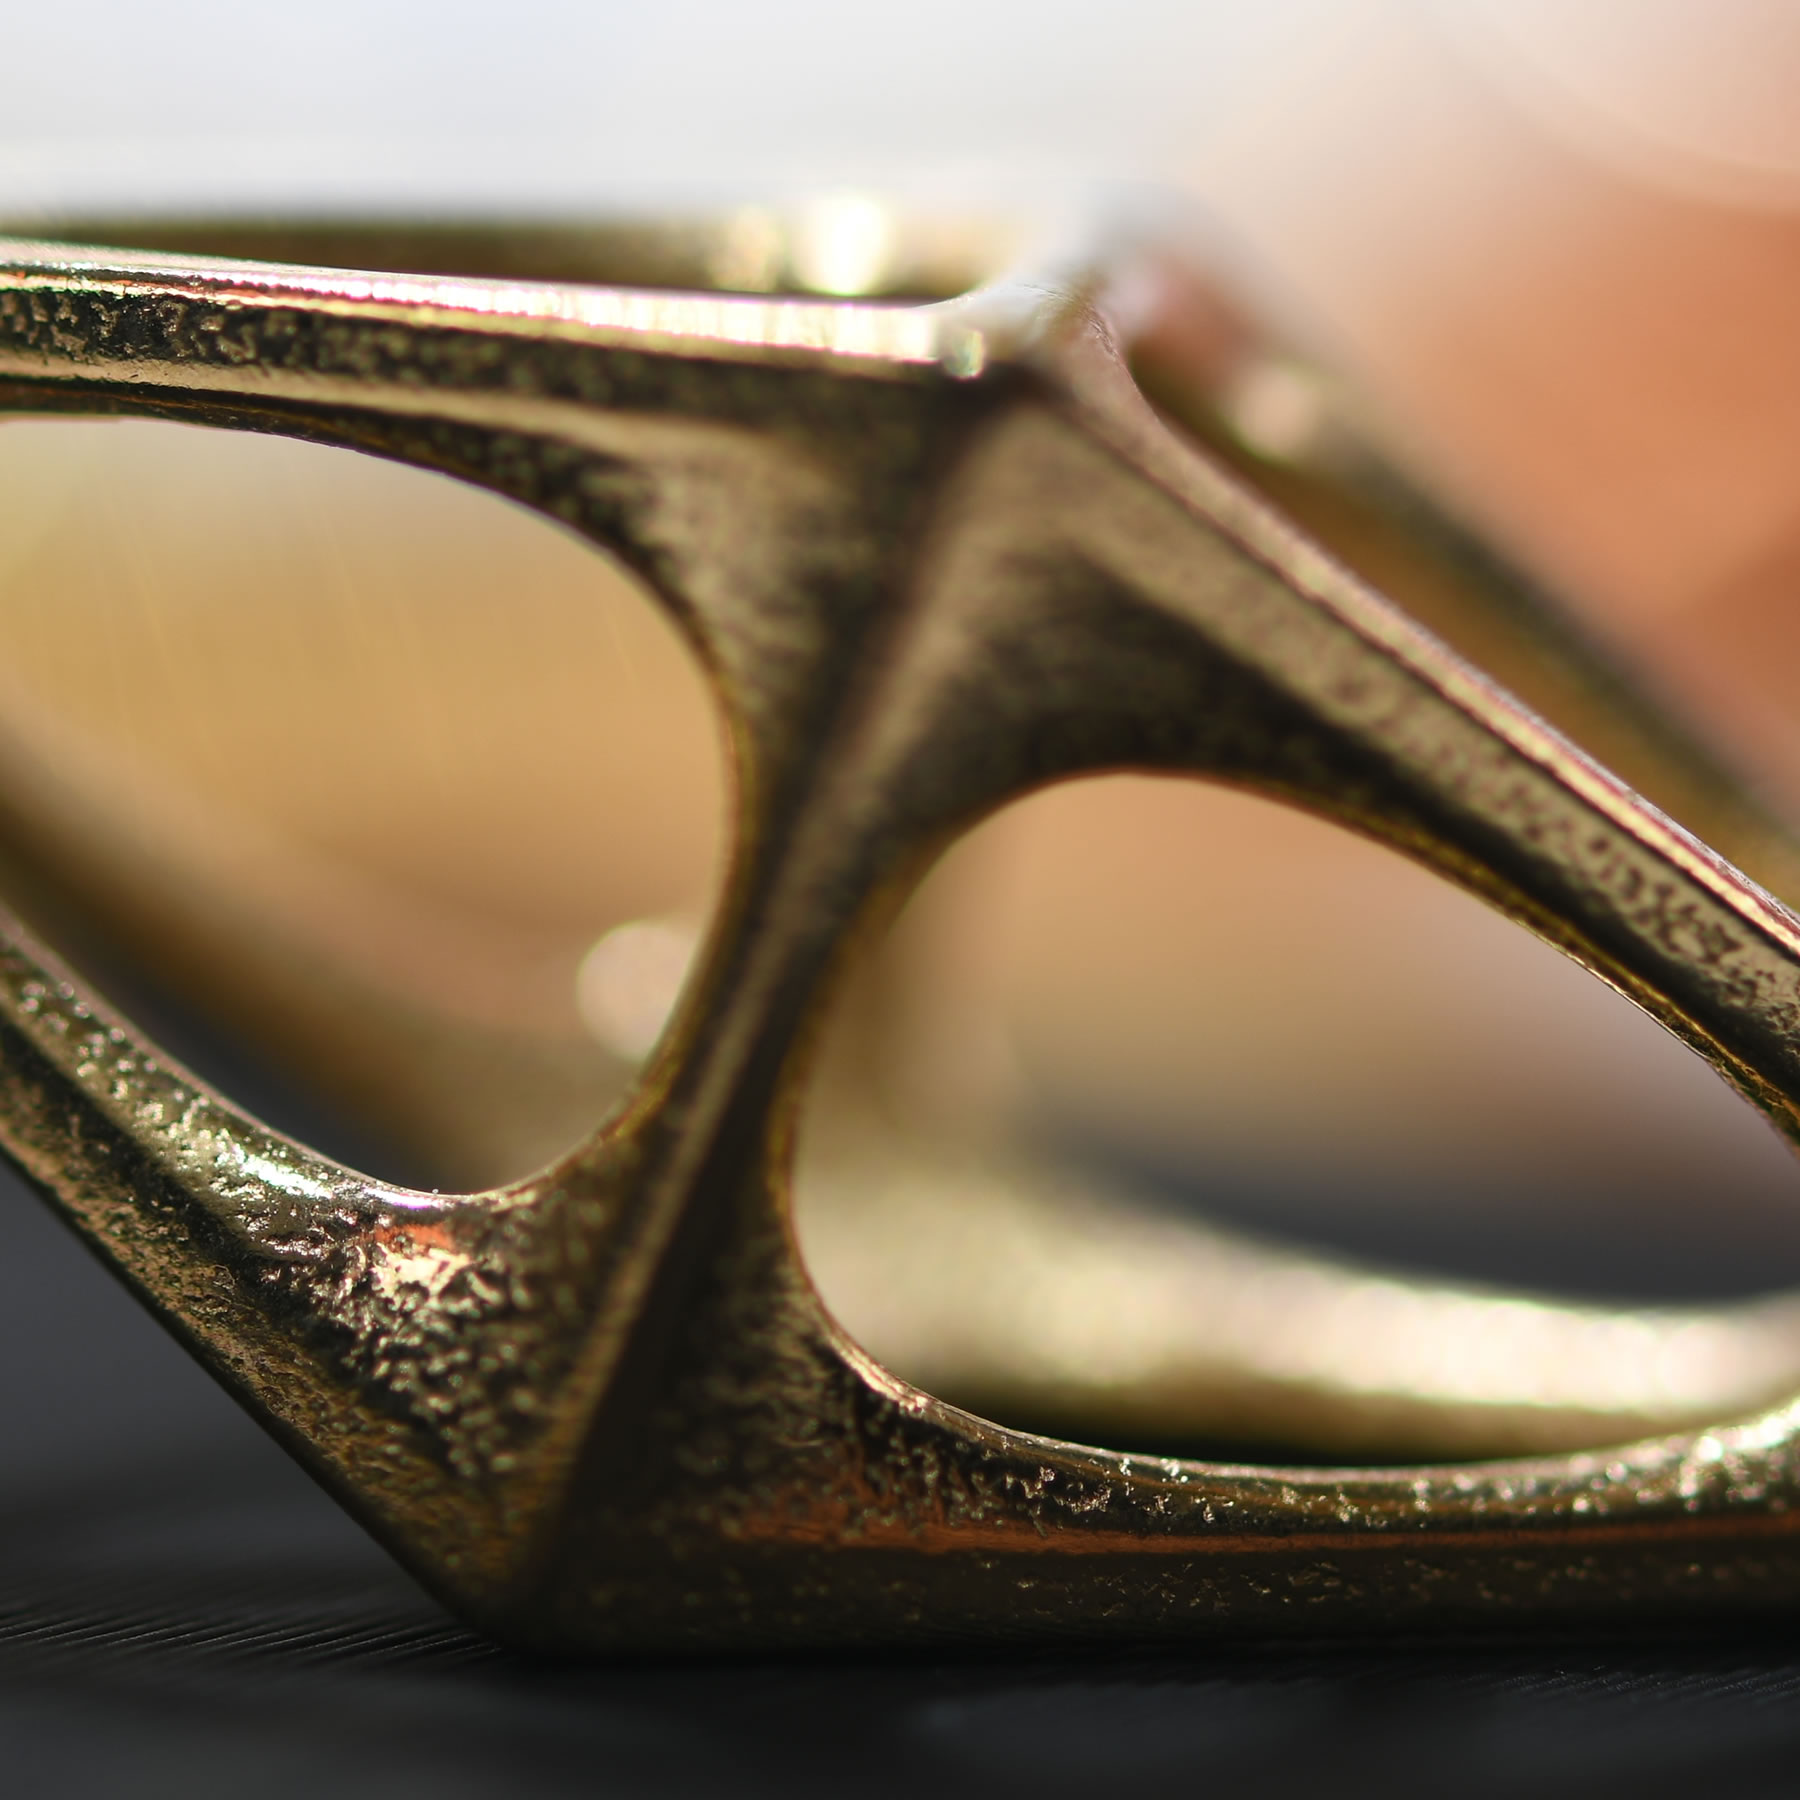
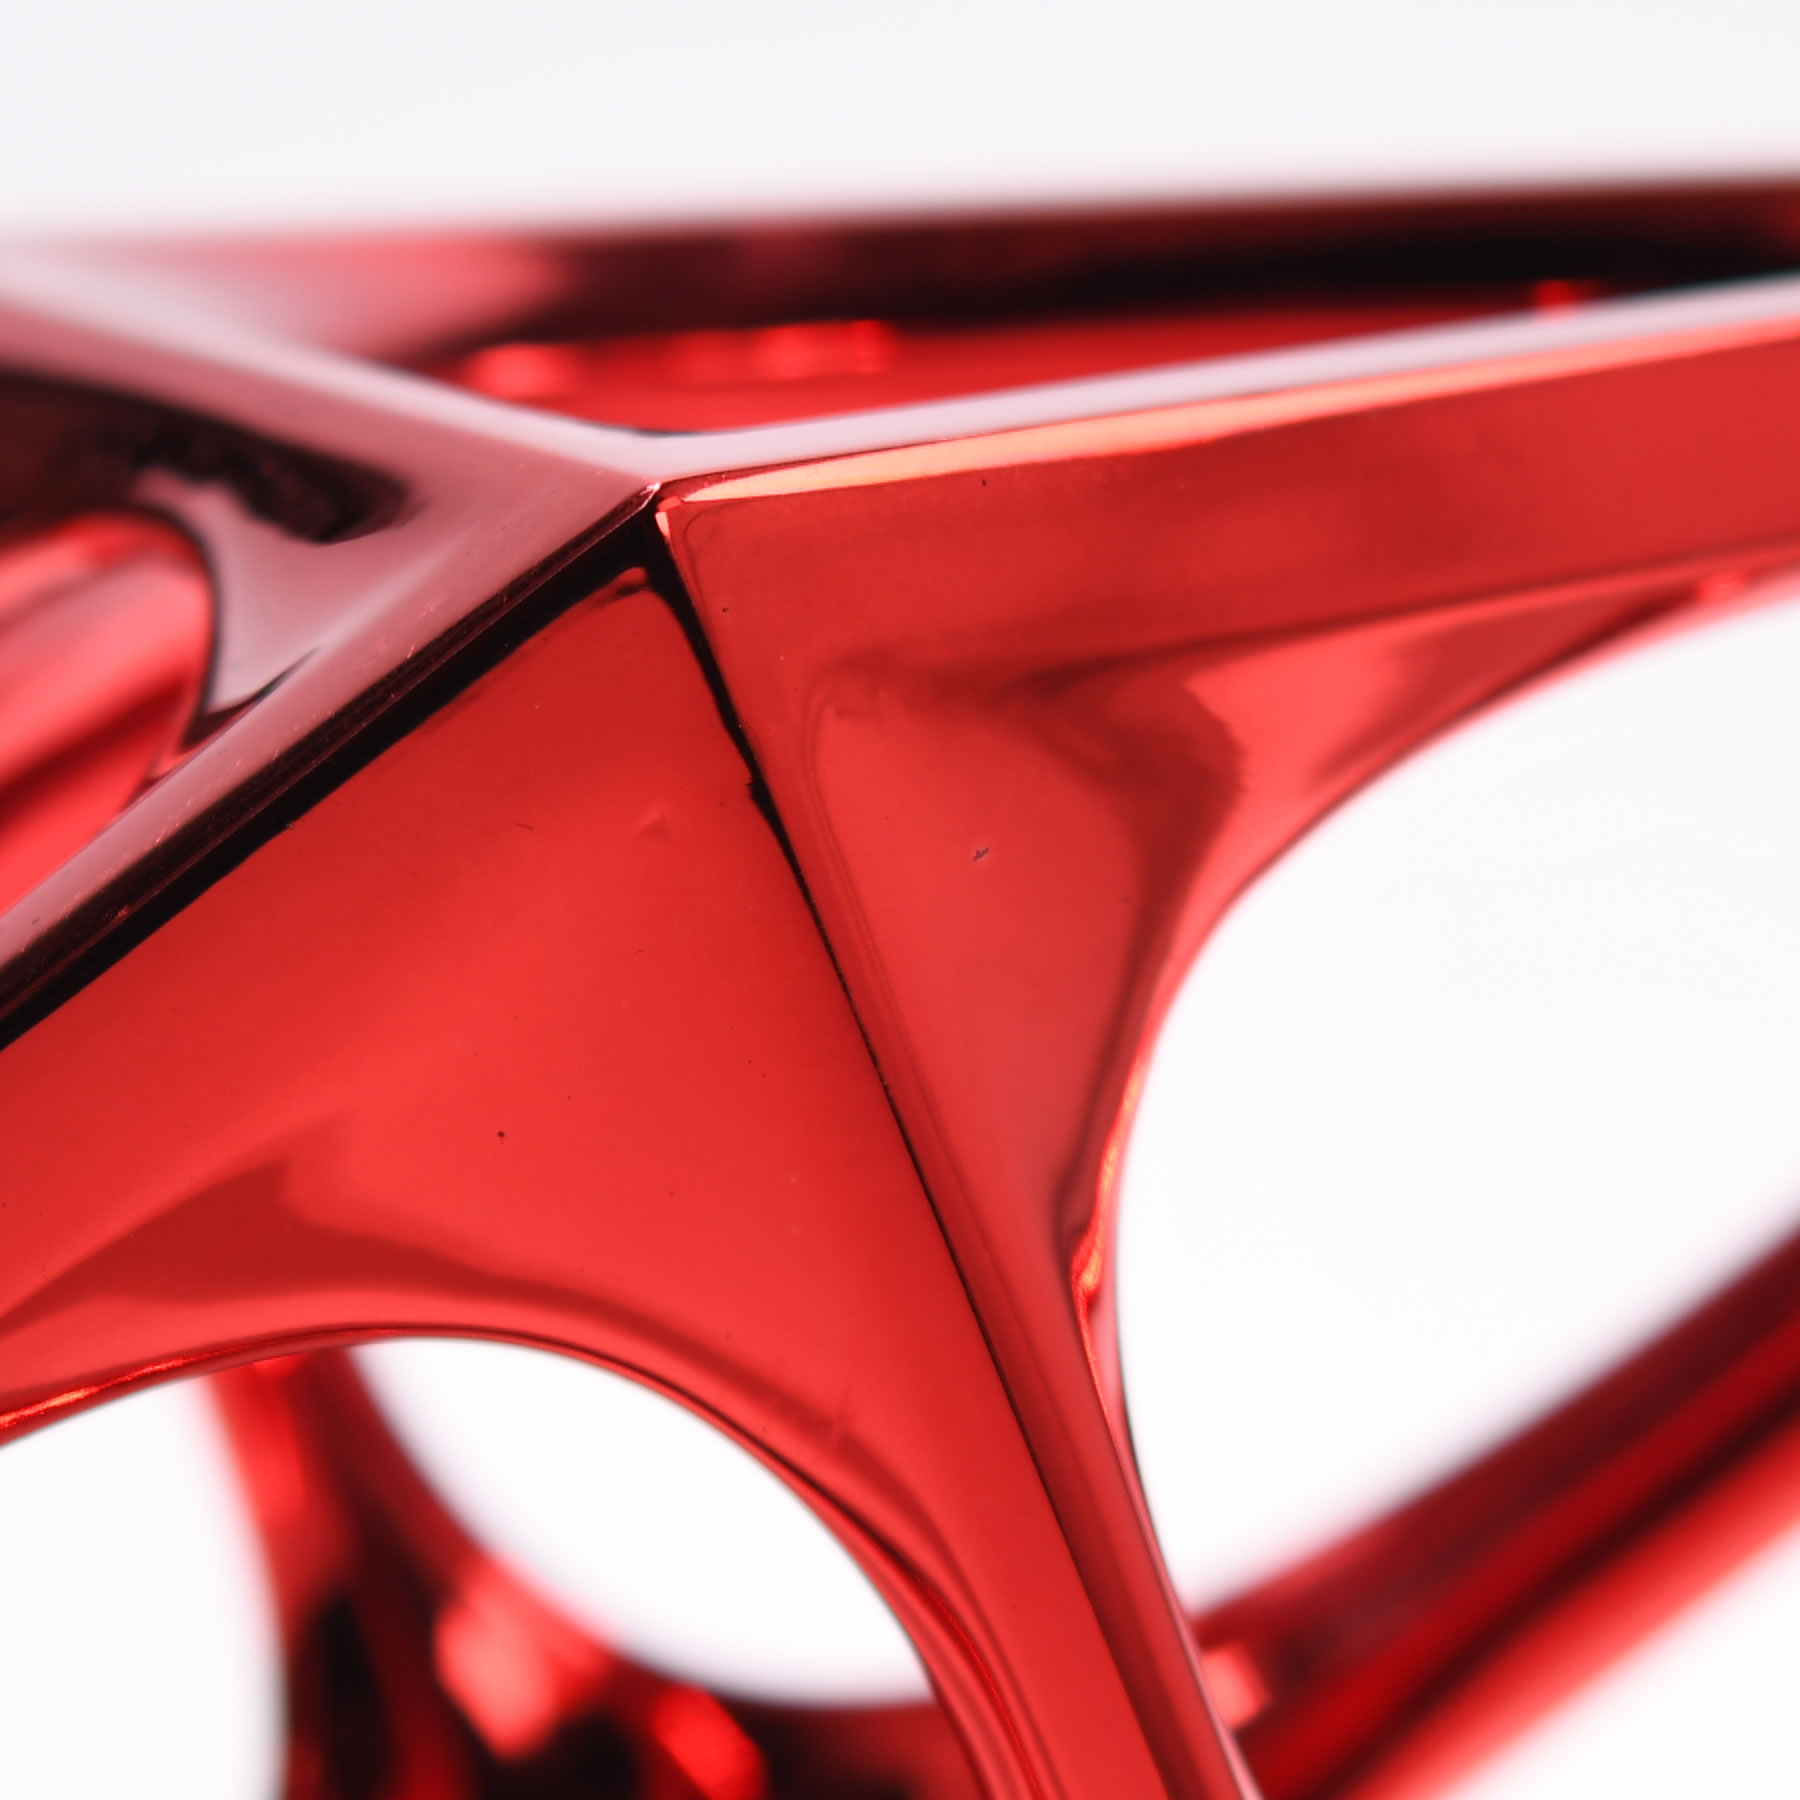
SOFT ORGANIC INTERIOR
The soft organic curves within the A' Sculpture Design Award Trophy signify our emotions. the emotional content that is implemented in design process.
HARD GEOMETRIC EXTERIOR
The hard geometric edges of the A' Sculpture Design Award Trophy signify logic, the scientific content that is embedded in design process.

MEDIA PARTNERS
A' Sculpture Design Award has 41 media partners this year, when we talk about Media Partners, these are different from the list of publications we reach via pr campaigns or press releases; these are the list of publications that will definetely publish a selection of our winners.

DIRECT EXPOSURE
By taking part and nominating your work, you gain direct exposure to our Media Partners, which combined, have more than hundred million page views annually, your sculpture design will have a chance to tap on their audiences, and get your work seen by the millions. We had already provided 36.105 media placements for our laureates.
INDIRECT EXPOSURE
In addition to getting your work seen by 41 Media Partners, your sculpture design will also get an opportunity to be discovered by 500.000+ journalists, editors and media members that receive our press releases.
DESIGNER.ORG
Designer.org is a highly prestigious global marketplace and community for good design. Designer.org brings together the finest minds in the design industry to showcase their exceptional projects to prospective clients, design buyers, customers, and the media, with a clear call to take action towards business and collaboration.
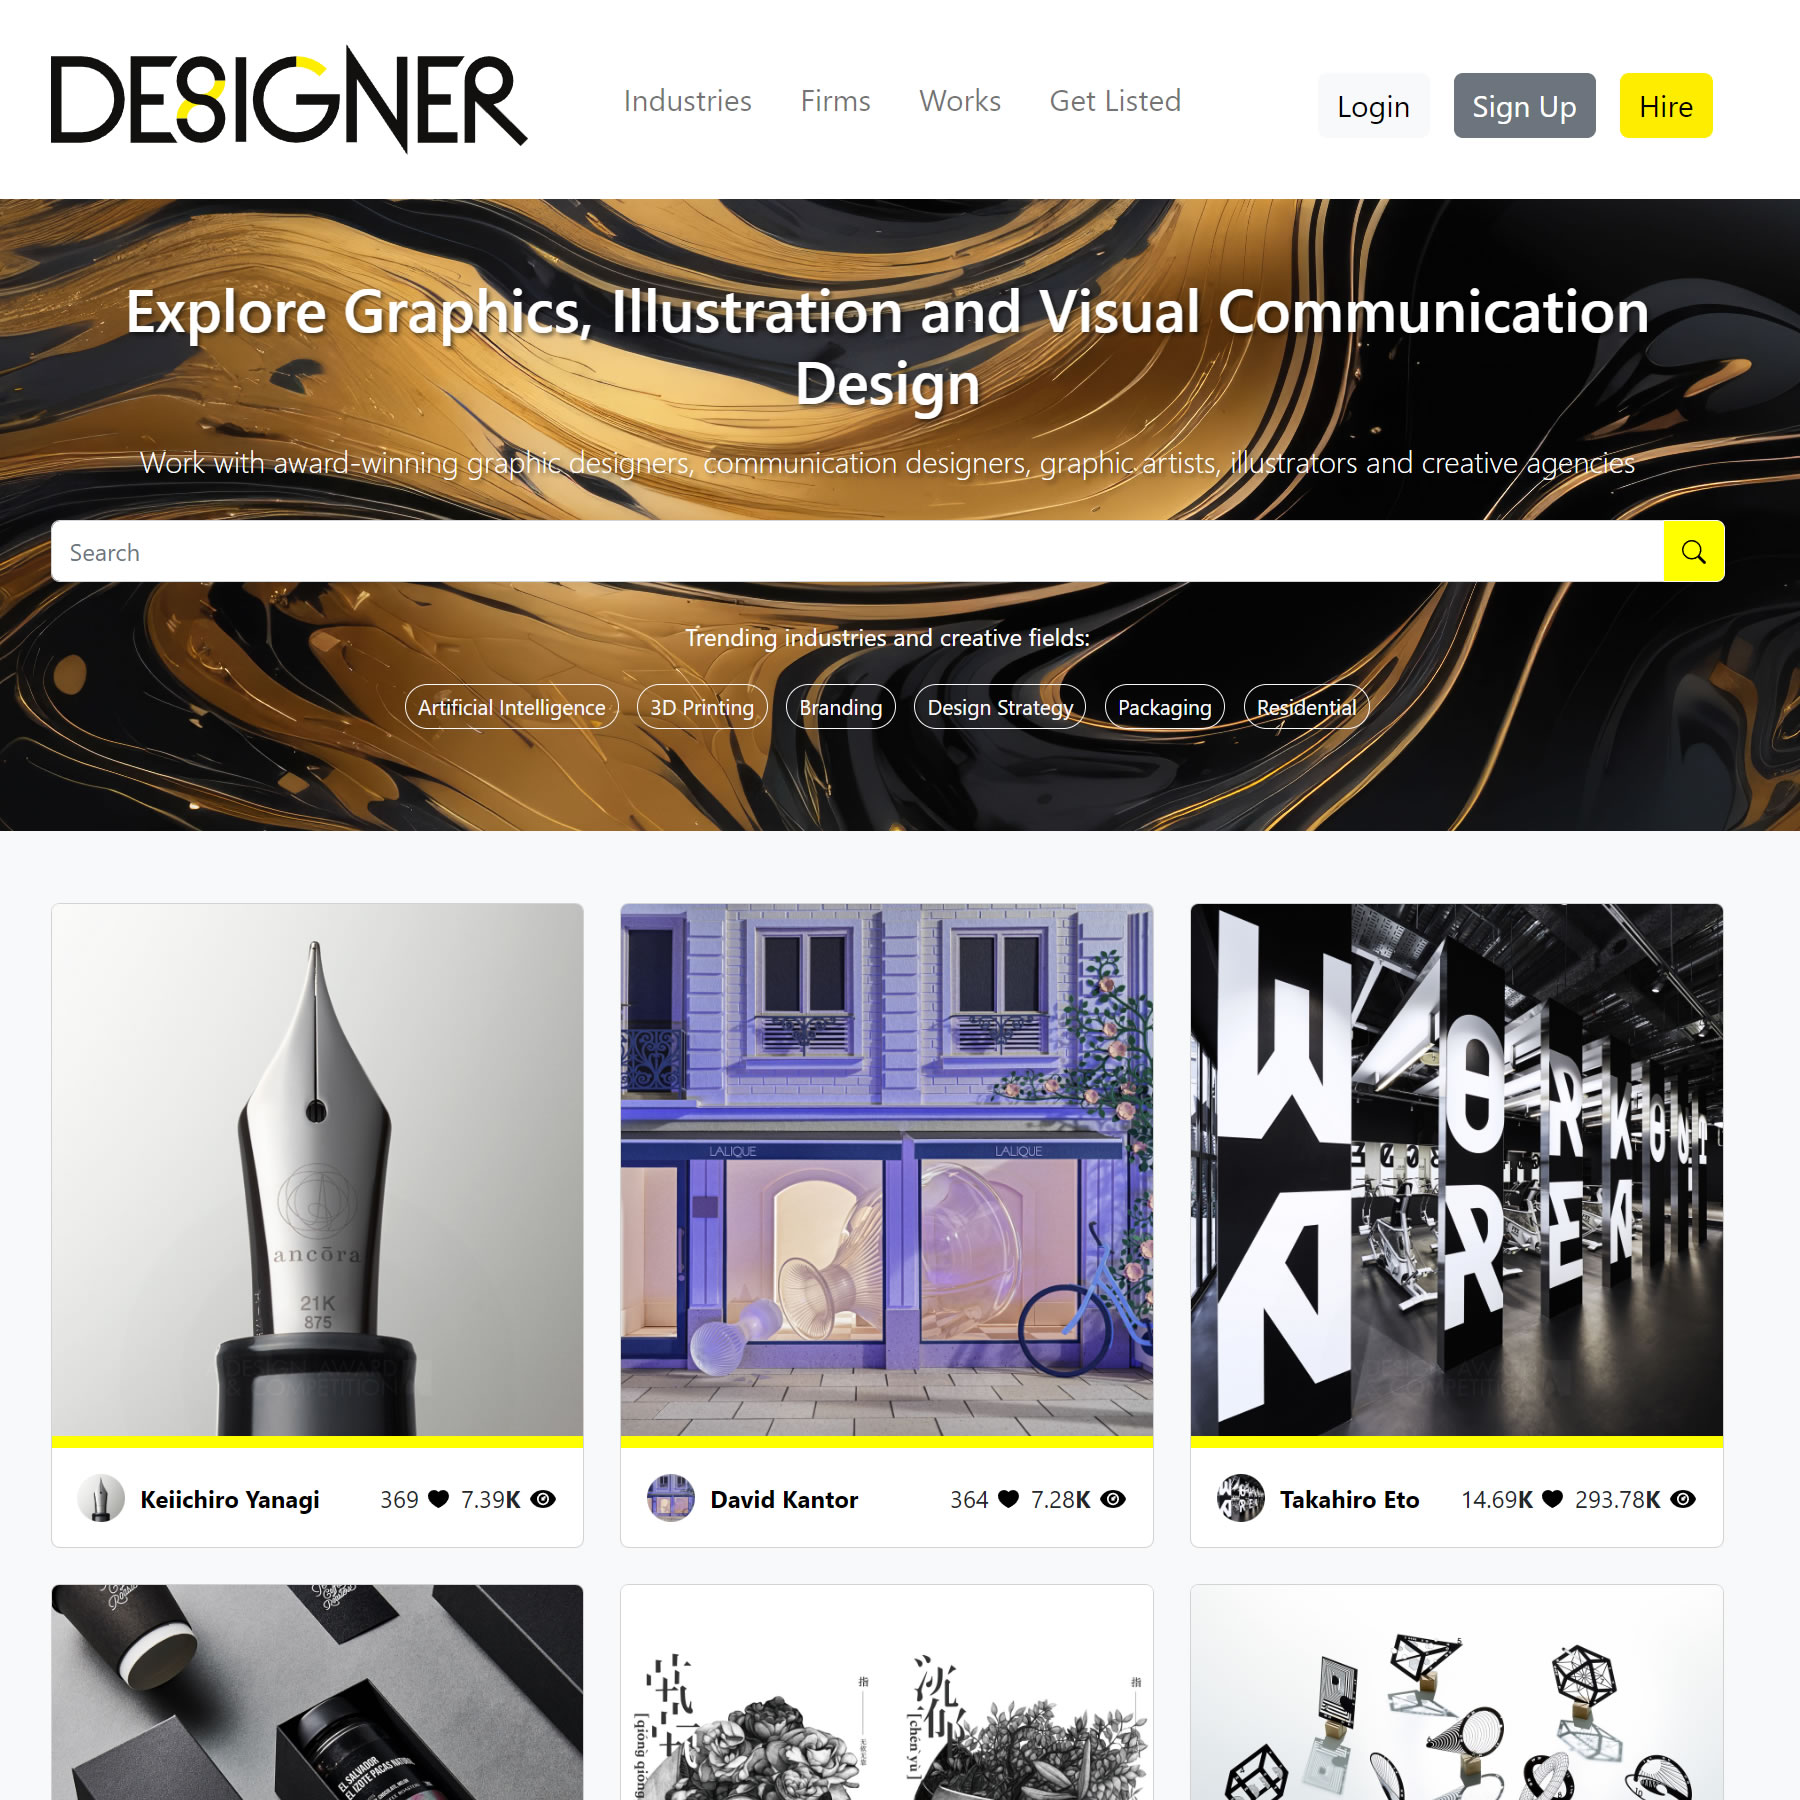
GOOD DESIGN
Designer.org connects award-winners with leading brands and enterprises. This collaboration-centric approach allows designers to expand their horizons and gain global exposure. For companies, listing on Designer.org signals a dedication to good design, quality and innovation.
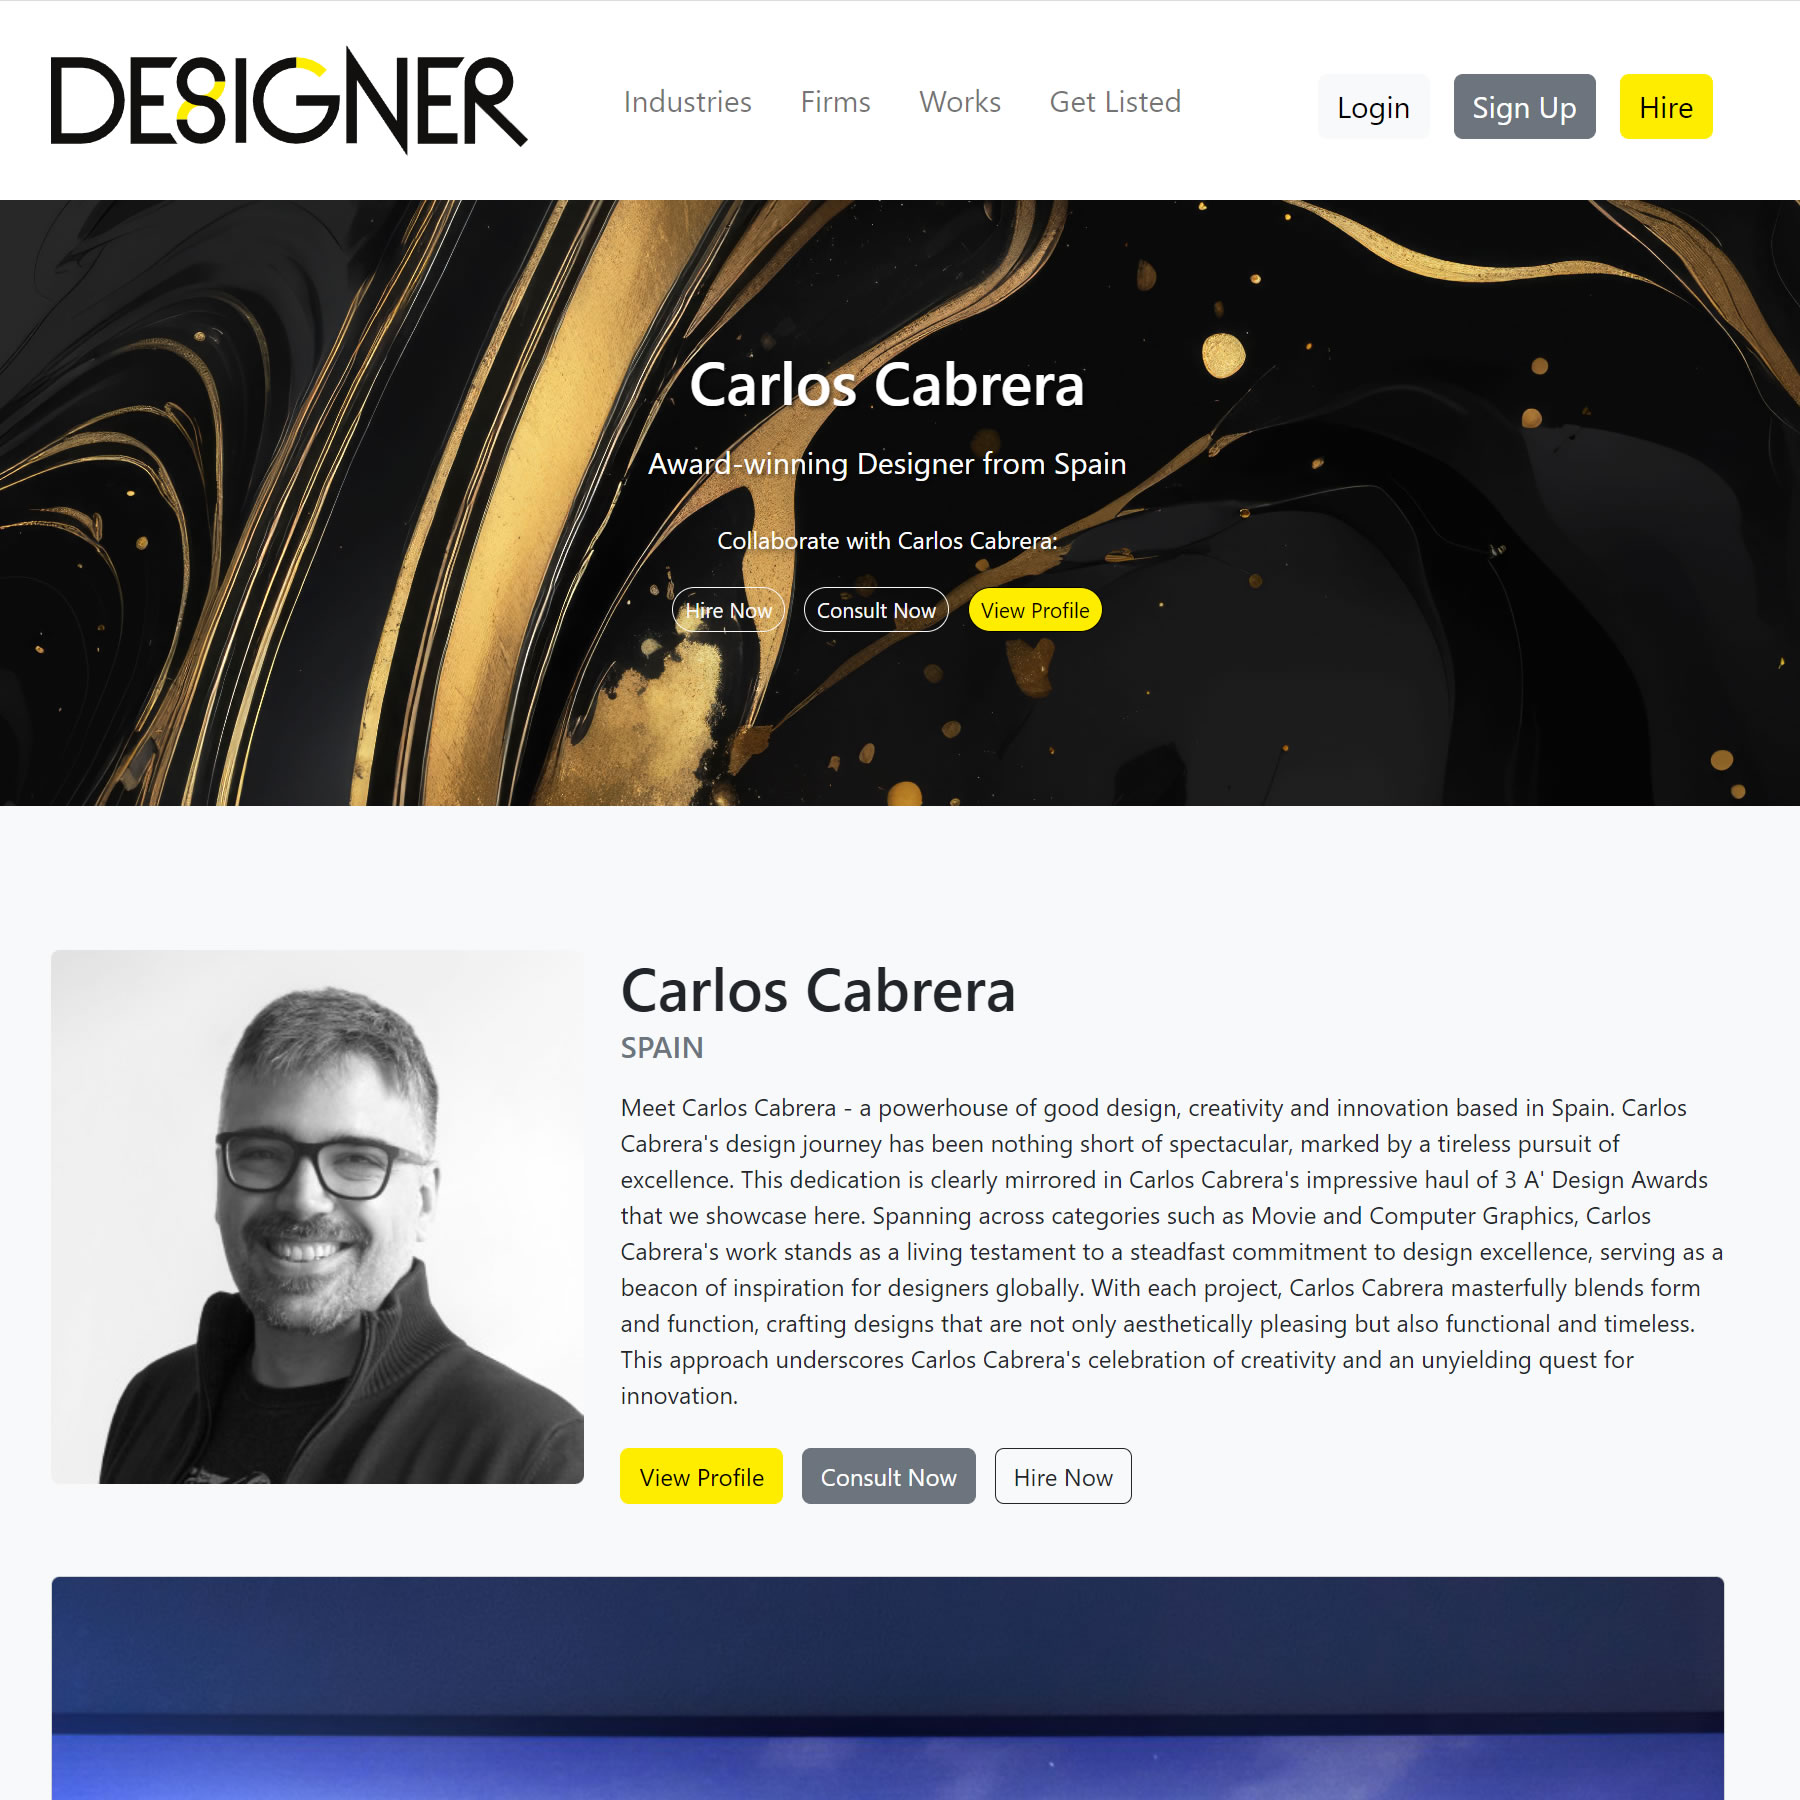
GOOD BUSINESS
Being a winner of the A' Sculpture Design Award comes with many perks, one being a spot on Designer.org. Designer.org listing offers A' Sculpture Design Award laureates increased visibility and a pathway to new business contacts and opportunities.
PRIME EDITIONS
In addition to the A' Design Award yearbooks, the A' Design Award winners get an exclusive opportunity to get their work published in the Prime Edition books. The Prime Editions are ultra-premium, extra-large, carefully curated, high-quality, outstanding photobooks that publish award-winning excellent designs, original art and innovative architecture worldwide.
YOUR OWN DESIGN BOOK
Prime Editions, anthology and monograph books, come in three types. The Designer Prime Editions are books that publish award-winning works of just one designer. Plus, The Category Prime Editions publish award-winning works from a given design award category. Finally, The Locality Prime Editions publish award-winning works from distinct territories.
PREMIUM PUBLICATION
Winners of the A' Design Award will have the exclusive opportunity to have their award-winning works published in the Prime Editions publications. Top award-winning designers will have a special opportunity to have a book dedicated to just their own works.
BIG BRANDS
The A' Sculpture Design Award is for everybody, but big brands know better how to use the sculpture design award efficiently for their benefits.
FAMOUS COMPANIES
Enterprises especially use the sculpture design award logo, sculpture design award-winning status to promote sales, and further use the sculpture design award to celebrate success of their R&D teams.
MAKE USE OF A' AWARD.
Companies also benefit from the international publicity, advertising and marketing services provided to sculpture design award-winners. You too can enjoy all these advertising and promotion benefits if you win the A' Design Award.

/DESIGN/Newswire
With /DESIGN/Newswire, every A' Sculpture Design Award winner gains exclusive access to broadcast their award-winning work and press release to global design outlets, media, editors, journalists, and prestigious publications.

BROADCAST YOUR SUCCESS
/DESIGN/Newswire is ready to amplify your A' Sculpture Design Award achievements, relaying them to influential design magazines, industry publications, and a vast array of national and international media outlets, including television, radio, newspapers, and online news networks.

GET MARKETPLACE ATTENTION
Being featured in prominent sculpture design publications opens doors to potential consumers, customers, and clients. Each media placement secured by /DESIGN/Newswire amplifies your voice, connecting you with a marketplace audience eager for original and innovative sculpture designs.

DESIGN NEWSROOM
A' Sculpture Design Award will create a tailored Design|Newsroom for you, complete with high-res images, detailed interviews, and expertly crafted texts. This newsroom offers journalists the ready-to-use content and high-resolution imagery they seek.

GOLDMINE FOR MEDIA
Design|Newsroom presents a curated collection of exceptional, award-winning design content to media professionals and journalists. Design|Newsroom equips press members with an array of ready-to-publish assets, including high-resolution images, interviews and in-depth design stories, making it easy to feature your award-winning sculpture designs.

MAKE IT EASY
The easier you make it for journalists, the more exposure you get. A' Sculpture Design Award sets you up for success with prepared high-res images, detailed interviews, and visuals of your %work%. By streamlining the content process, you become a quick pick for media features.
DESIGN NEWS WORLD NETWORK
DNWN is a global, multilingual media network dedicated to spotlighting design excellence. When you win A' Sculpture Design Award you award-winning sculpture design will get eligible to get published via DNWN platform to help your news reach its intended audiences; clients, consumers, and customers in many countries.
IN-DEPTH ARTICLES
Being showcased on DNWN through in-depth articles spotlighting your works helps your award-winning sculpture design reach and resonate profoundly with key audiences — clients, consumers, customers and sculpture design buyers across diverse regions worldwide.
AMPLIFY YOUR SUCCESS
The high quality and organized presentation of your award-winning sculpture designs on premium DNWN publications can inspire other journalists, editors and media houses to feature your sculpture design in their own publications, leading to even more exposure.

88 PERCENT
Higher Certainity : Before nomination, A' Design Awards gives you a score on your sculpture design. This score is provided to you free of charge. About 88% of the time, your preliminary score will be close to your final result. If there's a big difference, we give you another go within the scope of our Second Chance Policy.

VICTORY UNVEILED
When you secure a victory at the A' Sculpture Design Award, you are not tied down with mandatory winner fees. In recognition of your award-winning design, you gain eligibility for the highly esteemed and much coveted A' Design Prize without any contractually obliged winner fees.
95 PERCENT
Increased Safety : 95% of A' Sculpture Design Award entrants use our free score-check before nominating their sculpture design. The preliminary score serves as a barometer and offers insight into the strength of your presentation and the potential success of your design, to help you make an informed decision of participation.
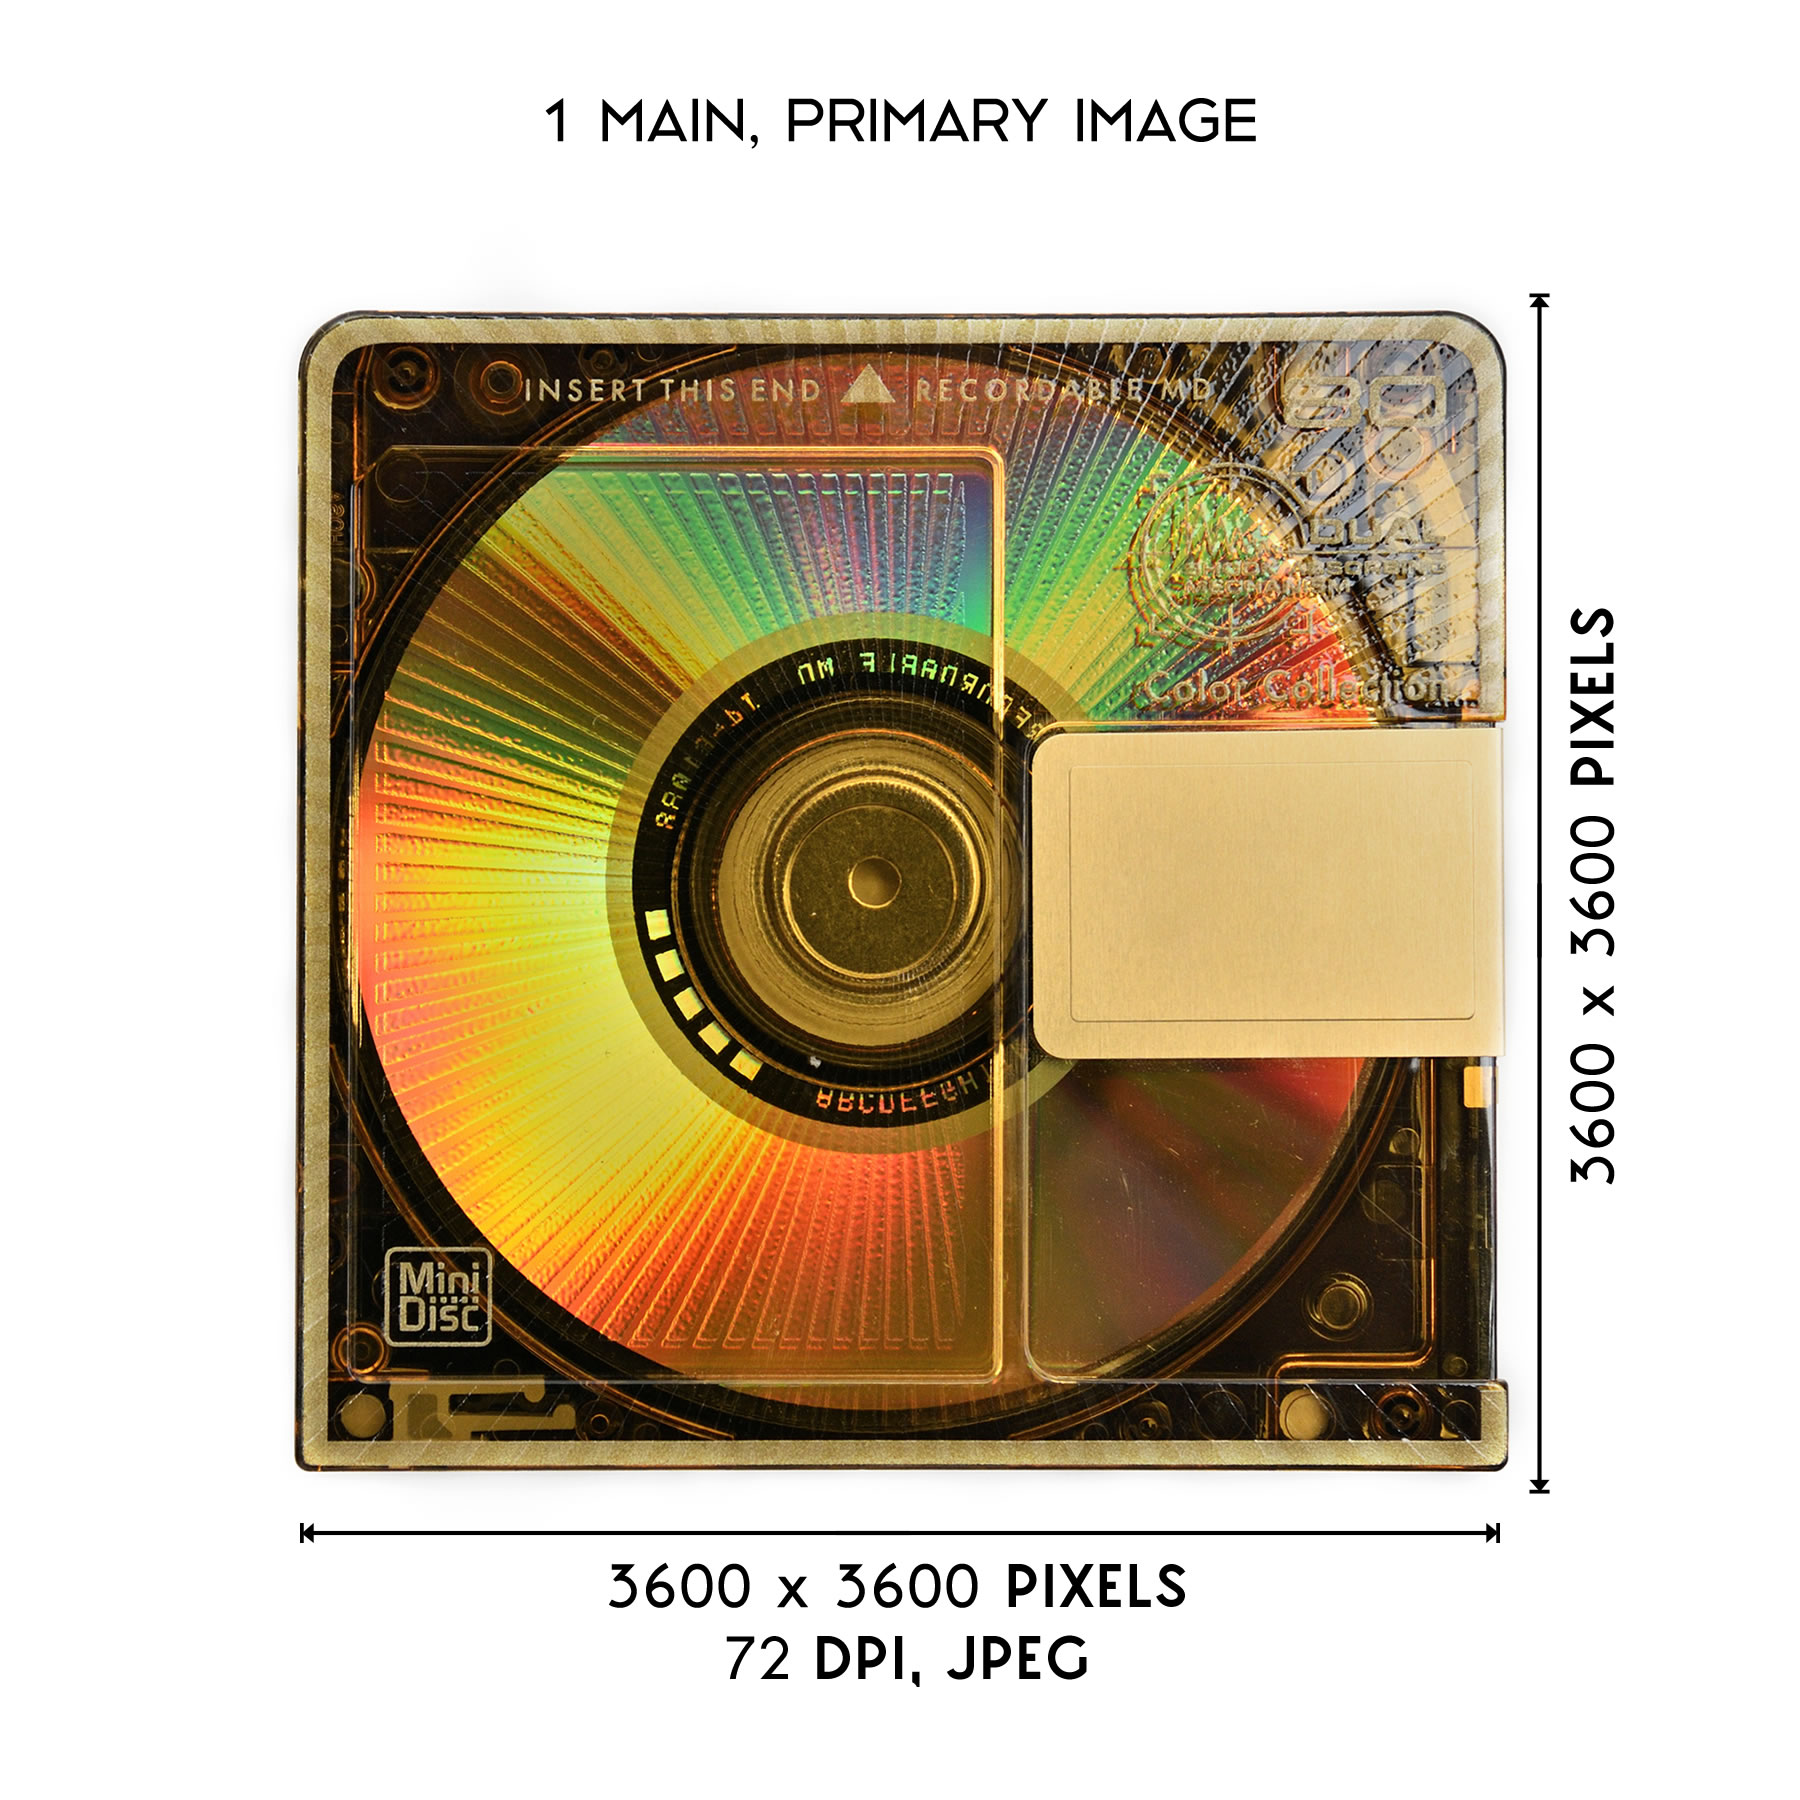
MAIN IMAGE
To take part in A' Sculpture Design Award you need one primary main image that represents your sculpture design. Your sculpture design image shall be placed in a canvas that is 3600 x 3600 pixels, and should be a 72 dpi resolution, jpeg file.
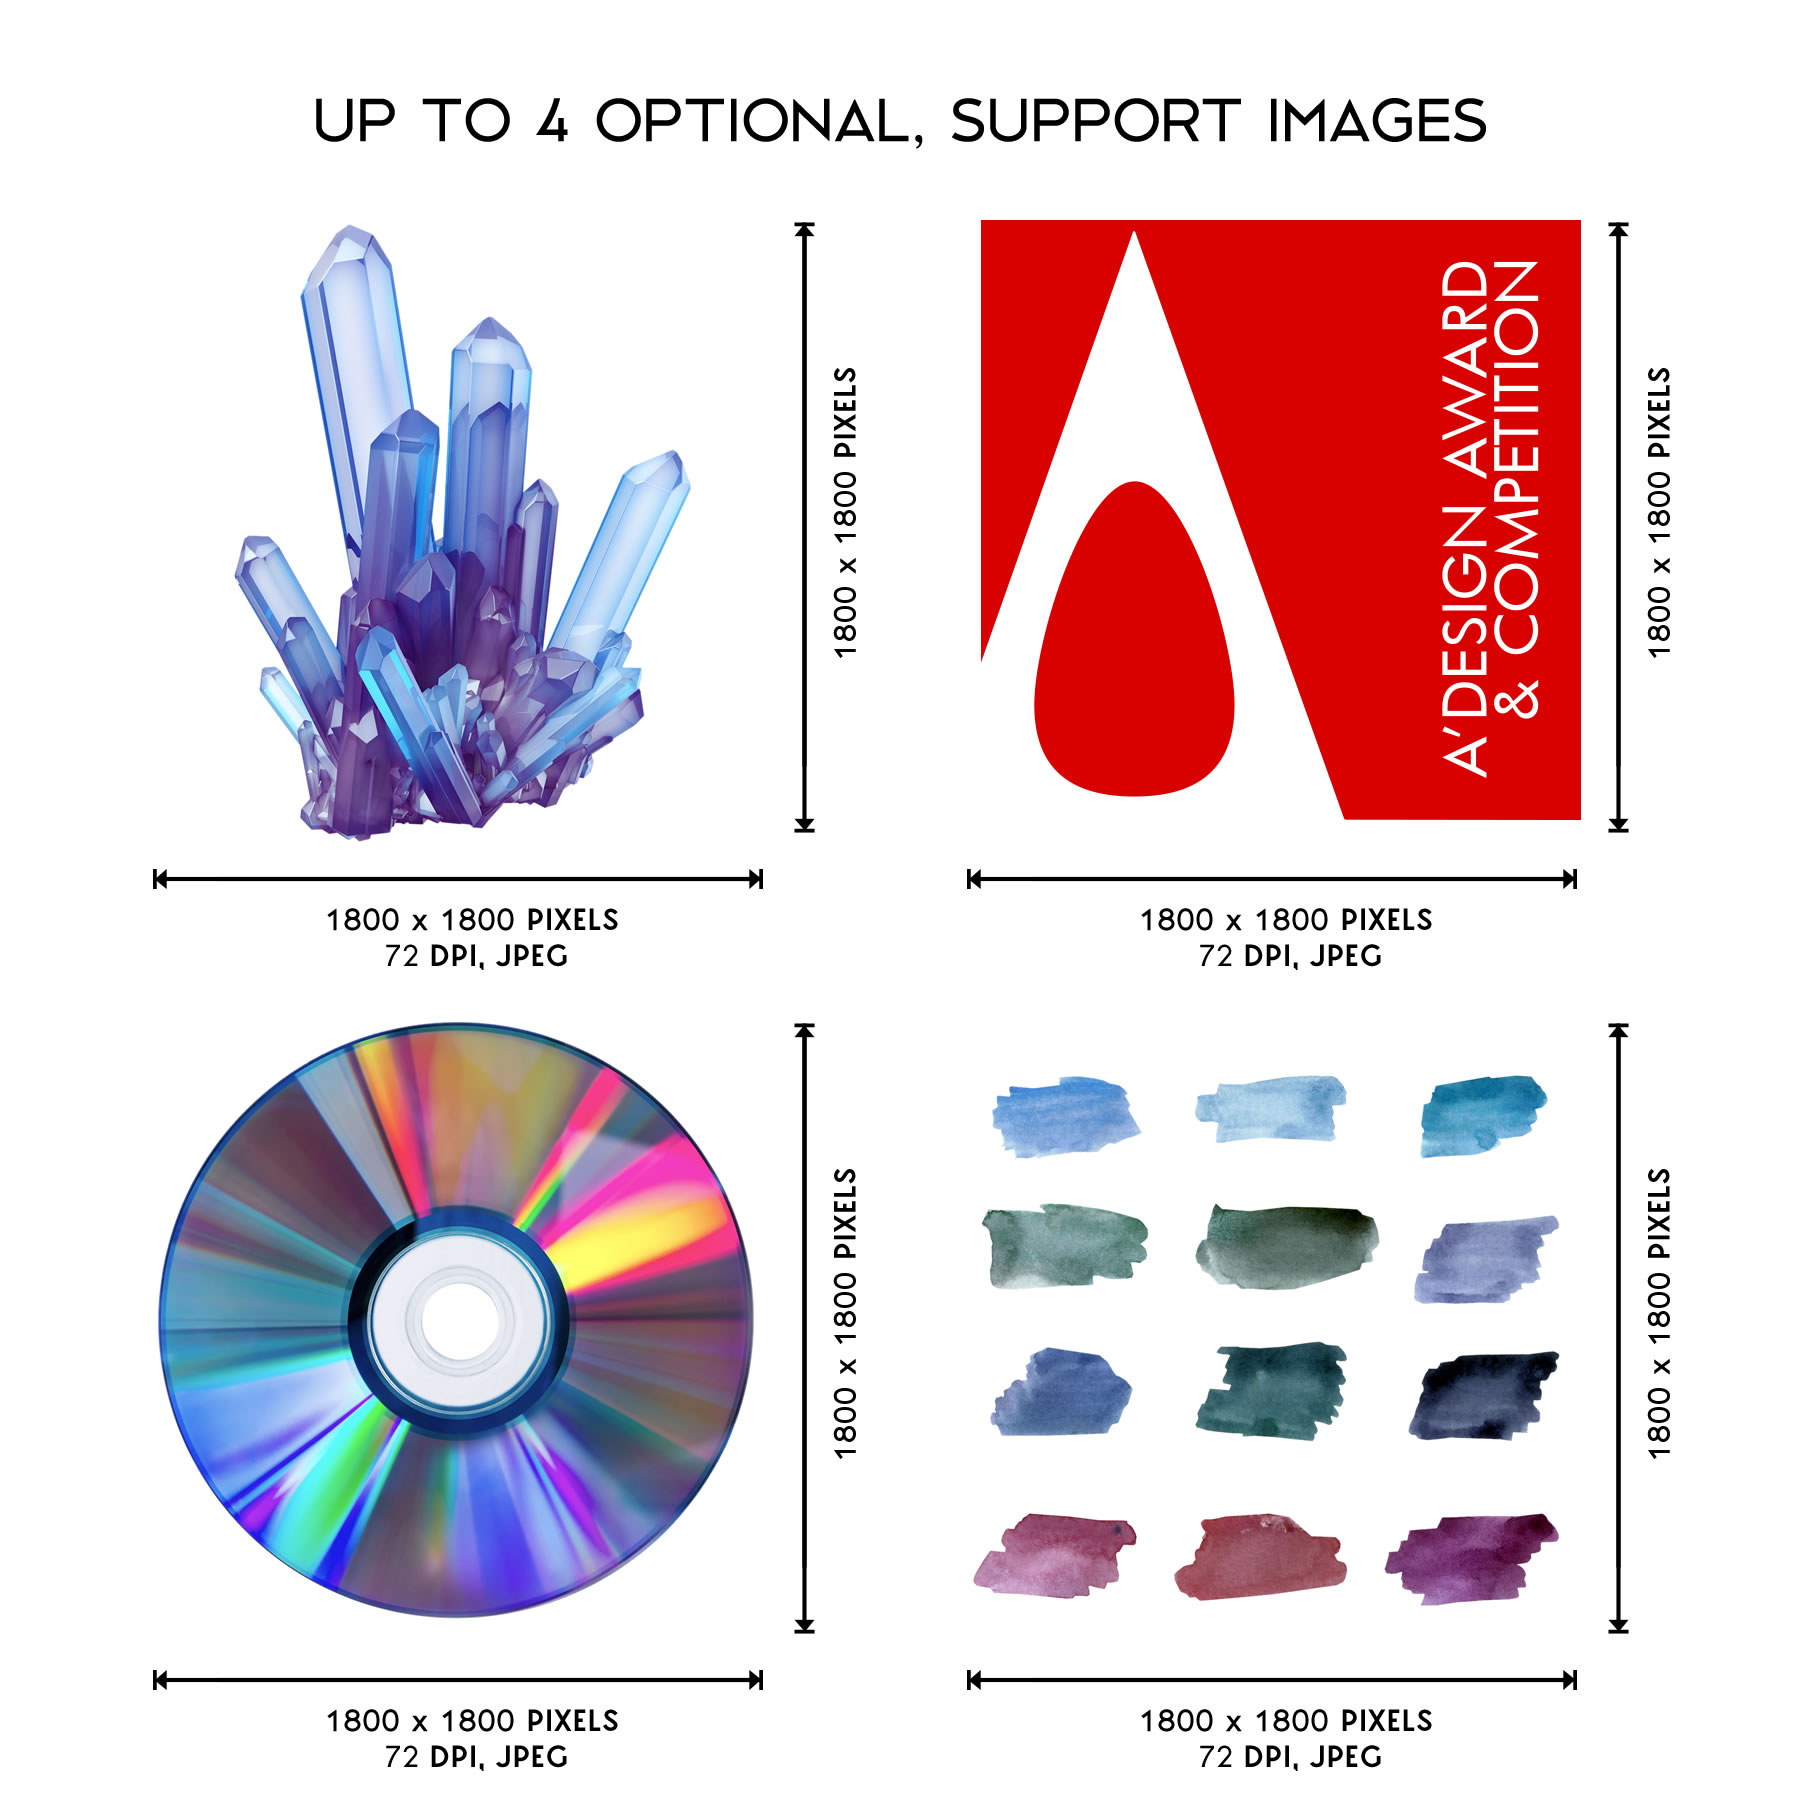
OPTIONAL IMAGES
If you wish to represent your sculpture design better, we would further recommend that you upload up to 4 optional images, each placed on a 1800 x 1800 pixel canvas, your images should have 72 dpi resolution, and should be jpeg files.
OPTIONAL PDF, LINK OR VIDEO
Finally, you will have an opportunity to support your sculpture design presentation with an optional video presentation, a private access link or a PDF document up to 40 pages, accessible only to jurors.

TAKE PART STEP #1
Register to A' Design Award & Competition for taking part in A' Sculpture Design Award. During sculpture design award registration, you will type in your name, surname and email. Confirm your e-mail address after registration to fully activate your profile. It is free to create an account.

TAKE PART STEP #2
Login to A' Design Award website. Upload your sculpture design. You can upload as many sculpture designs as you like. It is free and very easy to upload your designs.

TAKE PART STEP #3
Select the award category that you wish to compete for and nominate your sculpture design for the A' Sculpture Design Award before the competition deadline.
Join A' Sculpture Design Award today for fame, prestige and publicity as well as to promote and advertise your name and your excellency in sculpture design. Position and market yourself as a leader in sculpture design industry.
References and Sources.
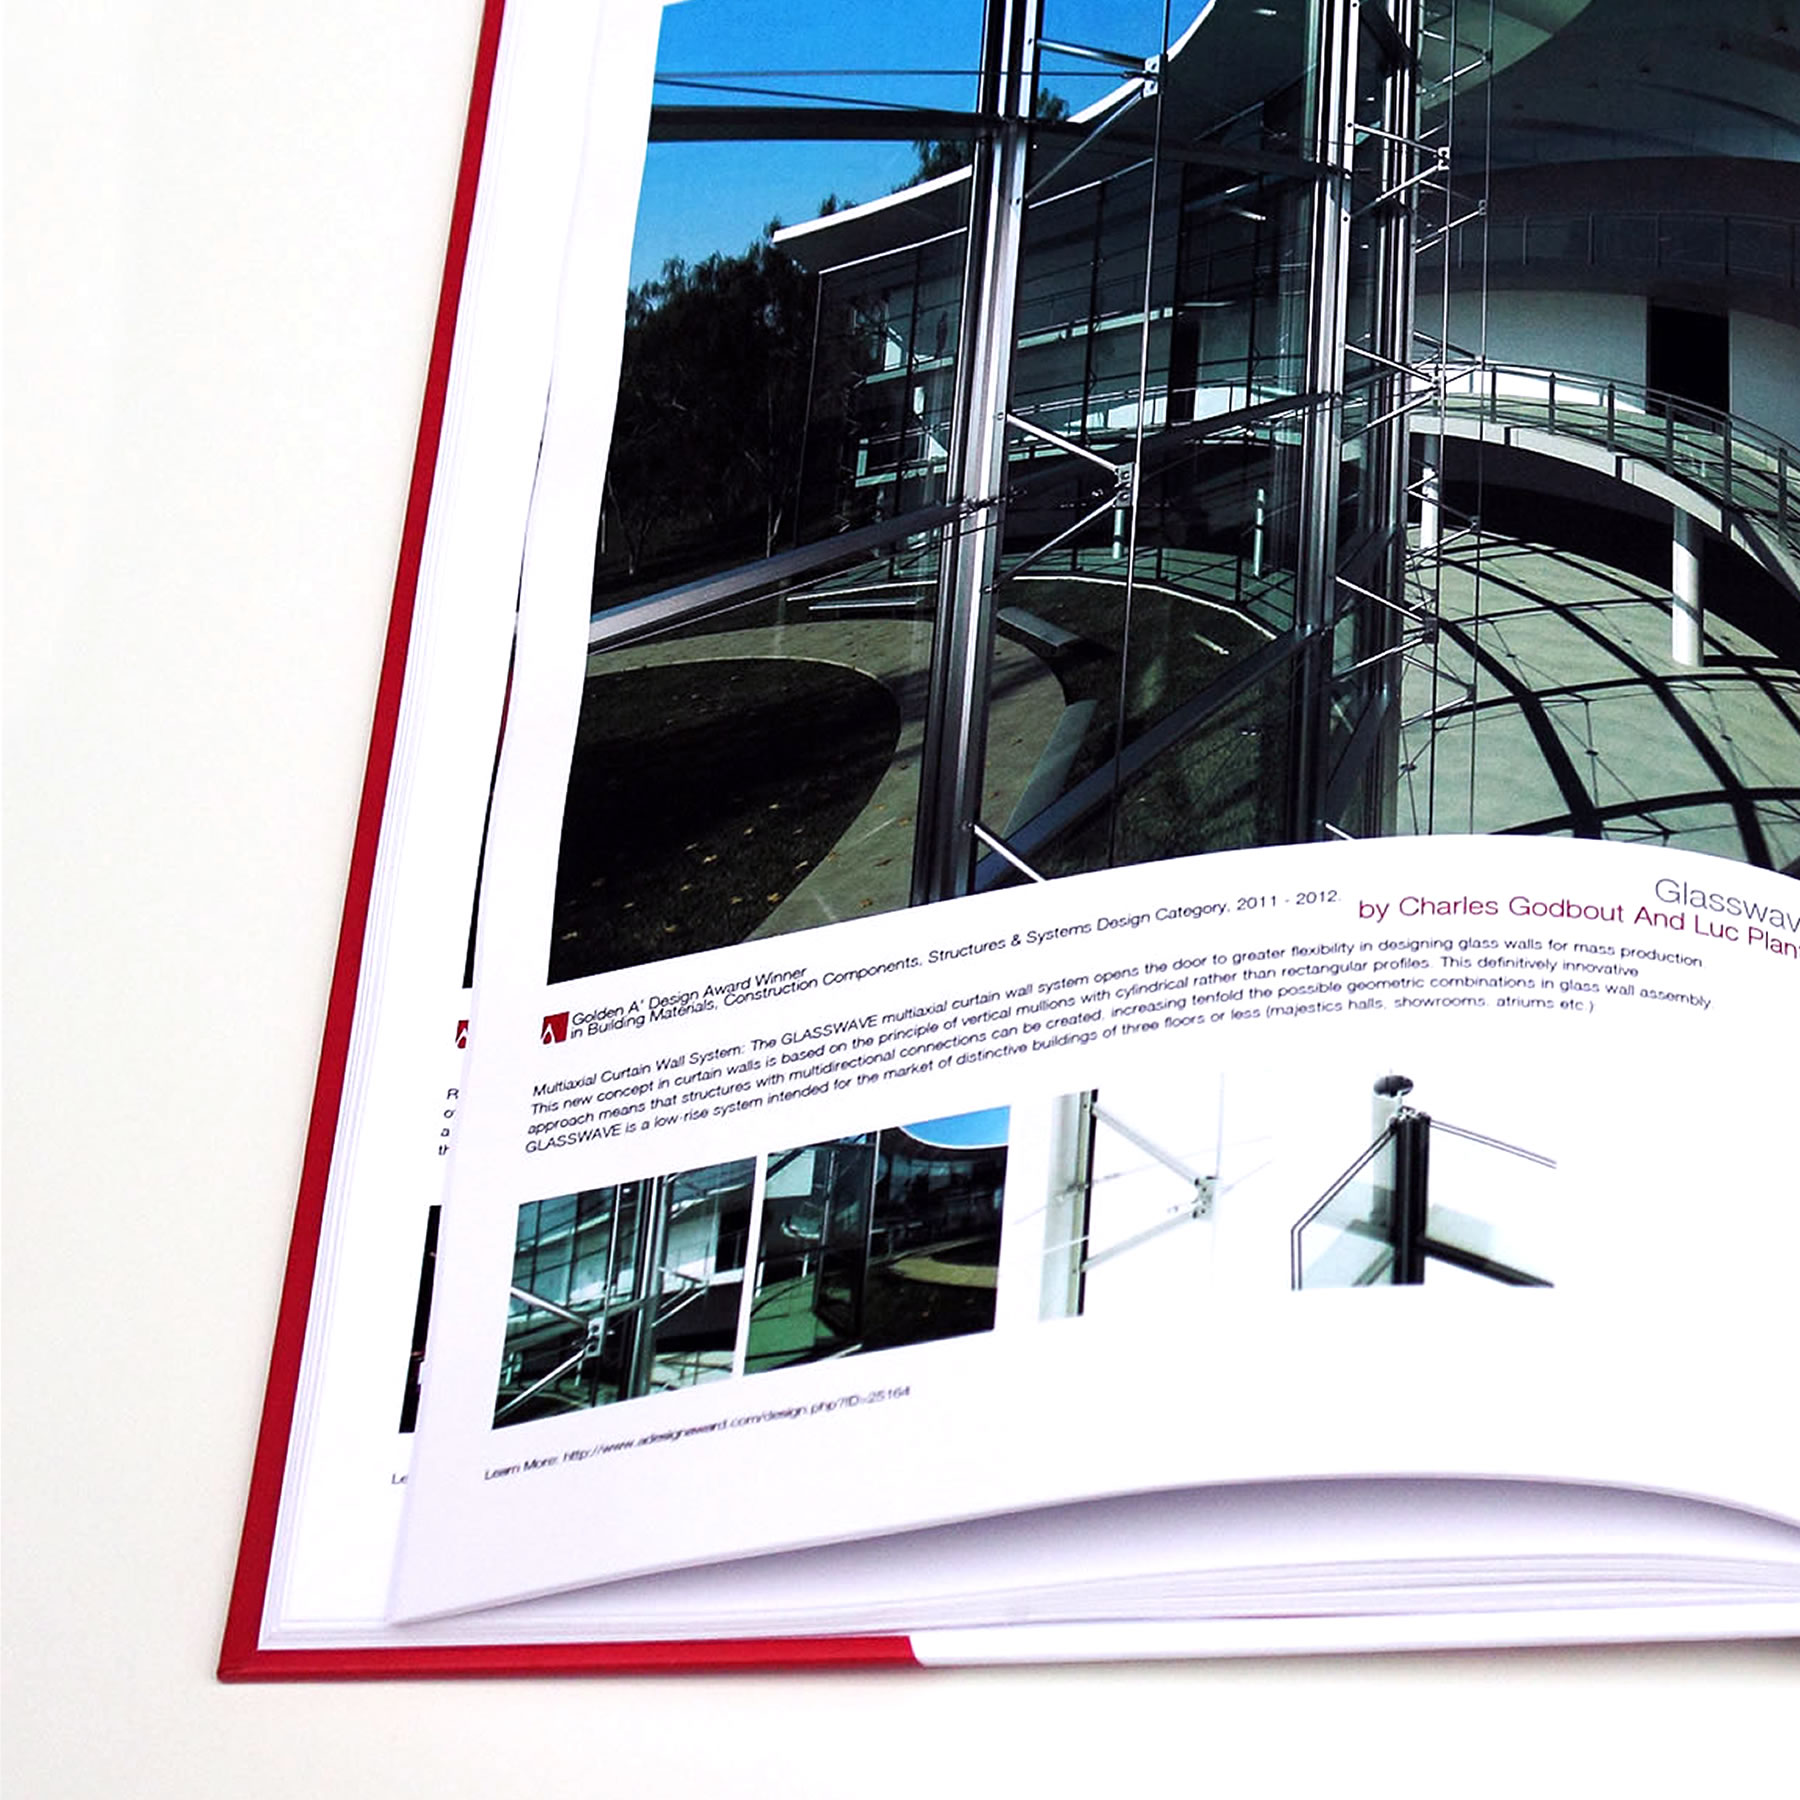
Lists of award-winning projects featured, from first row to last row, from left to right, in order of appearance: — 1 #122969 The Book That Grew Grazing Guide — 2 #54635 Robot Artwork — 3 #92317 Superegg Sculpture Installation — 4 #97198 Bubble Forest Public Sculpture — 5 #64066 Wood Storm Desktop Installation — 6 #57537 The Hex Kite — 7 #104473 Flow With The Sprit Of Water Public Art — 8 #28675 Or2 Photochromic Canopy Structure — 9 #123144 Pop Star View Platform — 10 #25052 Artificial Topography Installation — 11 #83192 Eighteen Art Installation — 12 #29232 Opx2 optic installation — 13 #37260 Transform Shape Changing Furniture — 14 #97923 Heaven Bloom kinetic installation — 15 #38358 Santander World Urban Sculptures — 16 #97996 Alive Design Object — 17 #123522 Milky Way Giant Installation Artwork with Lights — 18 #146618 Coralarc Installation Art — 19 #142454 The Book That Grew Grazing Guide — 20 #60913 Robot Artwork — 21 #136443 Superegg Sculpture Installation — 22 #100399 Bubble Forest Public Sculpture — 23 #59466 Wood Storm Desktop Installation — 24 #50953 The Hex Kite — 25 #64196 Flow With The Sprit Of Water Public Art — 26 #55245 Or2 Photochromic Canopy Structure — 27 #50769 Pop Star View Platform — 28 #61514 Artificial Topography Installation — 29 #54635 Eighteen Art Installation — 30 #126211 Opx2 optic installation — 31 #96514 Transform Shape Changing Furniture — 32 #49675 Heaven Bloom kinetic installation — 33 #148885 Santander World Urban Sculptures — 34 #79717 Alive Design Object — 35 #31501 Milky Way Giant Installation Artwork with Lights — 36 #61892 Coralarc Installation Art — 37 #71249 Competition Artwork — 38 #126567 Infinity Interior Element — 39 #39767 Mangrove Installation — 40 #44305 Micro Matter miniature sculptures in glass test tubes — 41 #63770 Falling Water interactive installations — 42 #69904 Herzl Design-Art Ceramic Objects — 43 #59746 CityWood Artwork — 44 #66796 The HK Eye Sculpture Public Art Sculpture — 45 #23279 MU'trans home accessories — 46 #45572 Light Origami Art Installation — 47 #65226 Peep Modular Screen — 48 #72280 The Fire of Holy Spirit Art Exhibition — 49 #76102 Leonardo 1482 Interactive Light — 50 #122569 Golden Dot Invasion Christmas Decoration — 51 #38337 P'iolin Musical Instrument, Paper Craftwork — 52 #29919 Qadem Hooks Console — 53 #52917 "Annabelle and Guy" Painting — 54 #92818 Illusory Space.